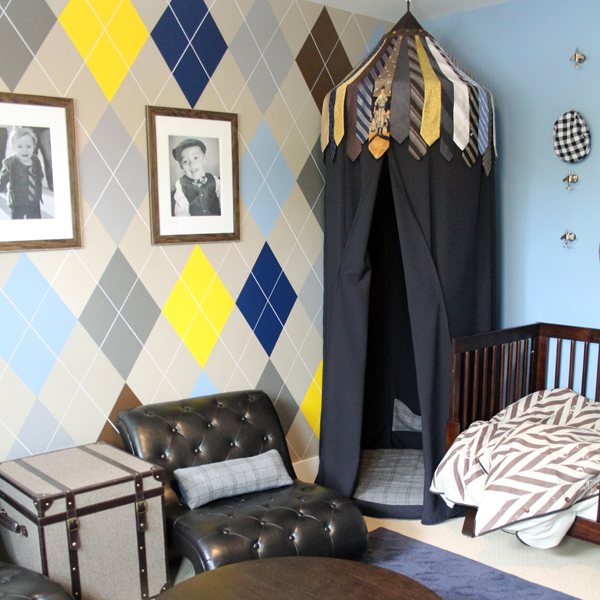
Boy Mom Madness continues, and today we are talking D.I.Y. for the B.O.Y. This is a topic I just love, and it’s the perfect opportunity for me to share a tutorial that is almost a year overdue! When I designed my son Beckett’s “big boy” room, I spent many weeks blogging about the DIY projects in the room {no less than 15 DIYs!}, until I feared that you must be getting sick of hearing about that room {because I was getting sick of writing about it}. I promised to return with the details of the few remaining projects, and now I’m finally making good on that promise by sharing the tutorial for the necktie-topped hanging play tent.
It’s hard to believe that it has been almost a year since we hung that tent in the corner and called Beckett’s bedroom complete! My two year old is now a three year old, and he still enjoys the play tent in his room just as much as he did on day one. And the feeling is mutual! This tent – a collaboration between my mom and I – really is one of my very favorite projects – EVER!
My mom is the seamstress among us, so she did all of the heavy lifting on this project – but it took a lot of figuring and experimenting on both of our parts to figure out how to lay out the ties on the top of the tent – so that is the focus of this tutorial.
SUPPLIES FOR NECKTIE-TOPPED HANGING PLAY TENT:
- Sewing machine
- McCall’s Sewing Pattern M5827 for Play Canopy {modified to suit your needs}
- Hula Hoop {we used 30″ hoop}
- Fabric for tent & cushion inside tent {adjust pattern requirements based on any height and width adjustments}
- Batting for cushion
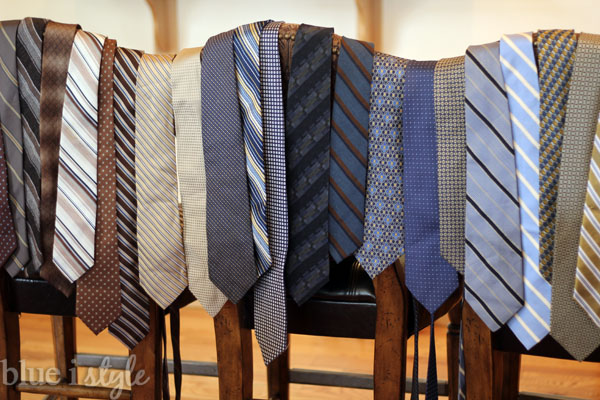
- Men’s Neckties {we used 33 total – about half collected from family, the other half thrifted
- Ribbon, Fray Check, and Fabric Marker {if you want to label the ties}
- Straight pins & a needle
- Scissors
- Thread {several colors to coordinate with the colors of the ties
- Small piece of wool felt
- Buttons {2 large buttons; additional are optional}
MAKING THE TENT:
Since there is no reason to reinvent the wheel, my mom purchased a play canopy pattern from McCall’s and used that as a starting point. The dimensions of the two tents in the pattern were much too big in diameter for the space I had available in Beckett’s room, so my mom adjusted the size down. And since the tent hangs from the ceiling, she also made length adjustments to accommodate the ceiling height in the room.
For the fabric, I selected an inexpensive navy and white pinstriped men’s suiting fabric {if you’re in Denver – Colorado Fabrics is the best place to shop for specialty and decorator fabrics at great prices}.
Neither my mom nor I really cared for the shape of the door opening in the McCall’s tent pattern, so that was another easy adjustment my mom made. Rather than creating the squared doorway with flaps, she instead slightly overlapped the two front tent panels, allowing the panels to hang closed or to be pulled back to create a doorway.
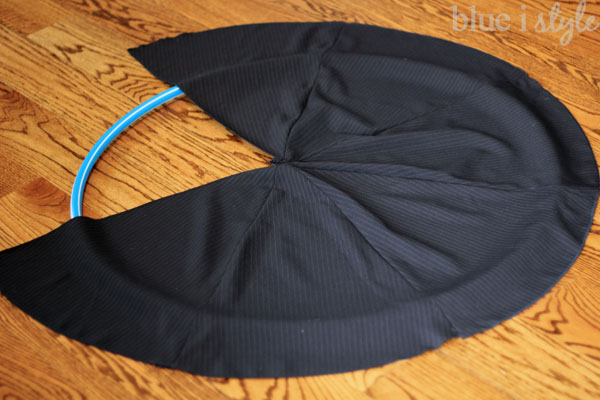
A 30″ hula hoop serves as the “frame” for the tent – holding the shape where the roof meets the side panels of the tent. Here’s what the top of the tent looked like before the final seem was sewn shut, creating the conical shape of the roof:
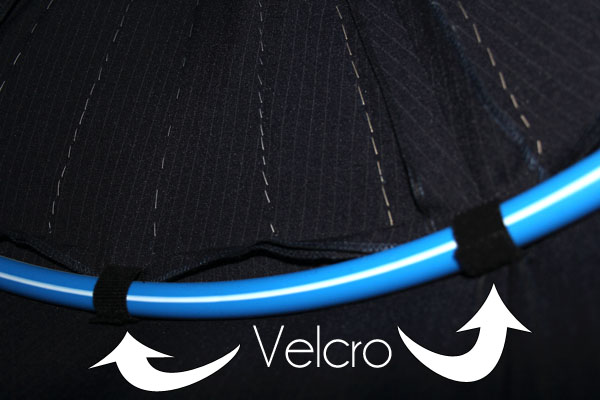
My mom opted to use Velcro to hold the hula hoop in place inside the top of the tent, rather than sewing it in place. This will allow us to remove the hula hoop in the future for easier storage when Beckett someday outgrows this tent {because I’m certainly not getting rid of it ever!}.
SELECTING MEN’S TIES FOR THE PLAY TENT ROOF:
Once the entire tent was complete, we were ready to attach the ties to the roof. Before I talk about the logistics of how we attached the ties, let’s first talk about the ties themselves.
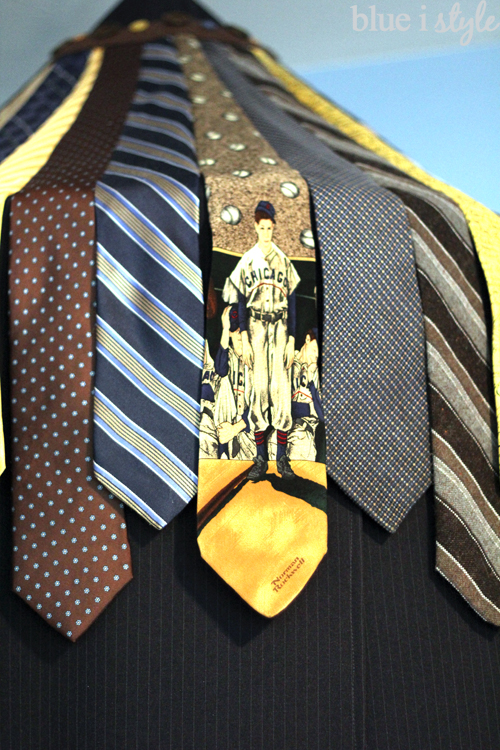
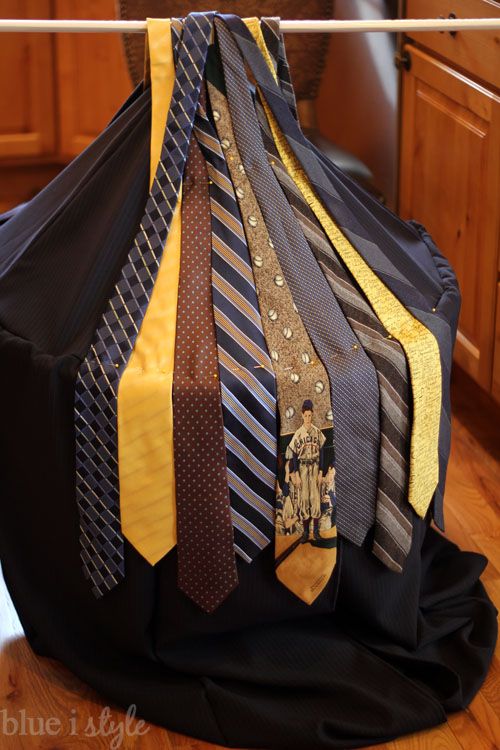
I really wanted this tent to be a meaningful addition to Beckett’s room – one that would provide a connection to all of the men in our family – starting with dad, of course! My husband located the very first tie he ever owned – a Norman Rockwell of his beloved Chicago Cubs- and agreed to let me put it on the tent. He also picked a handful of other favorite ties for the tent as well.
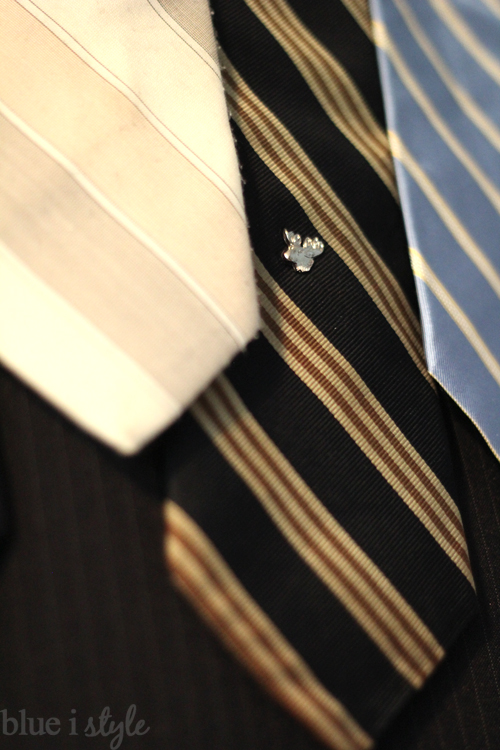
Then we asked each of the other men in the family for one tie – including Beckett’s uncles, grandpas, and great grandfathers. We were even able to get a tie that belonged to one of his great grandfathers that passed before Beckett was born, and another from a great grandfather that passed away while we were working on the tent. Talk about a meaningful piece of family history hanging in the corner of a little boy’s room! A third great grandfather didn’t have a tie to donate, but did offer a tie tack from his days in the Moose Lodge, which we pinned to a tie on the tent.
Ironically, even I was able to donate a tie for the top of the tent! When I was in high school, I worked as a hostess and cashier at Black-Eyed Pea, and we were required to wear white dress shirts and ties. I owned a few ties during that job – but the one I liked best featured my favorite basketball team, the Utah Jazz. The colors of that tie didn’t look great with the classy look of the other ties on the tent, so I hid it a bit by placing it near the back, but it’s there nonetheless. And because going to Jazz games was always something special that I did with my dad, having it there adds just that much more family history to the tent.
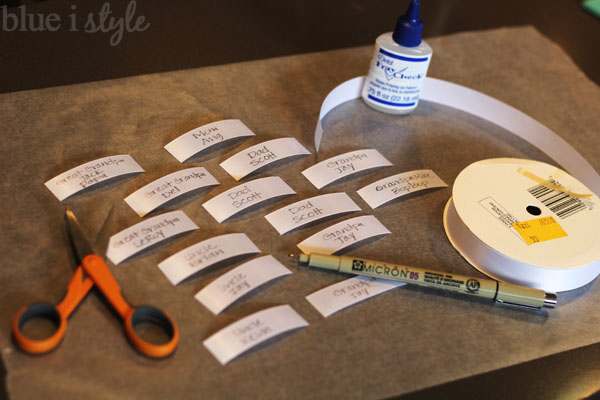
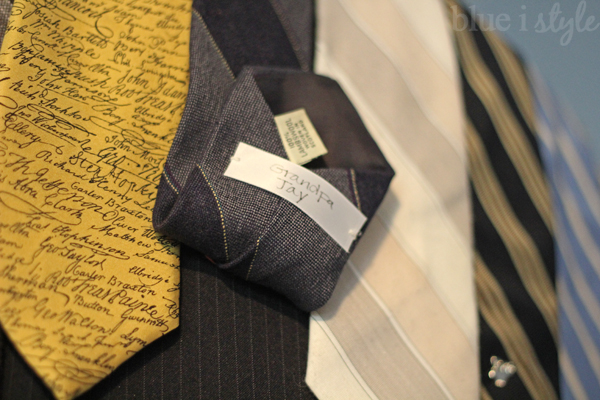
I wanted to be sure to document which ties belonged to whom, so I wrote each name on a piece of ribbon using a Micron fine point fabric marker.
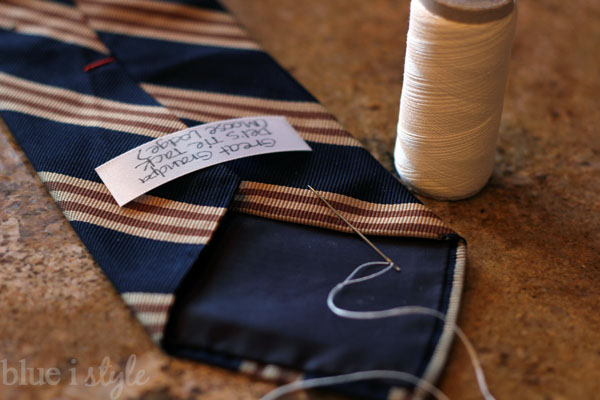
I used Fray Check to seal the ends of the ribbon, and then my mom stitched each label to the back of the appropriate ties.
After collecting all of the ties from our family, we still needed more to fill the remainder of the tent roof – so a-thrifting we went. We had to hit up a handful of Goodwills, Arcs, and Savers before we were able to find enough ties in neutral colors, but the price was right and before long we had all the ties we needed {and a few extras for potential future projects}.
ATTACHING THE TIES TO THE PLAY TENT ROOF:
We considered a lot of different ways of attaching the ties to the tent roof. The challenge is that the top of the tent is conical in shape – meaning that its circumference much smaller at near the top than it is at the bottom. To further complicate things, ties themselves are wide at the bottom and get narrower as they go up.
My mom and I originally thought it would be easiest to layout the ties and stitch them to the roof before sewing up the final roof seem – meaning that that tent rood could lay flat on the floor while we worked and wouldn’t take on the cone shape until the final seem was stitched at the very end. But then we realized that doing it this way would actually complicate things because we wouldn’t be able to take the angle of the roof into consideration when laying out the ties.
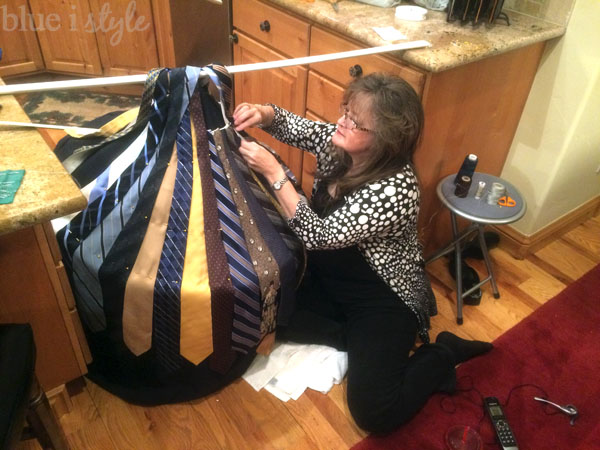
In the end, we decided that my mom would completely assemble the tent, then I would pin the ties to the room of the tent – adjusting and repositioning them as necessary until the placement looked right, and then my mom would stitch them down.
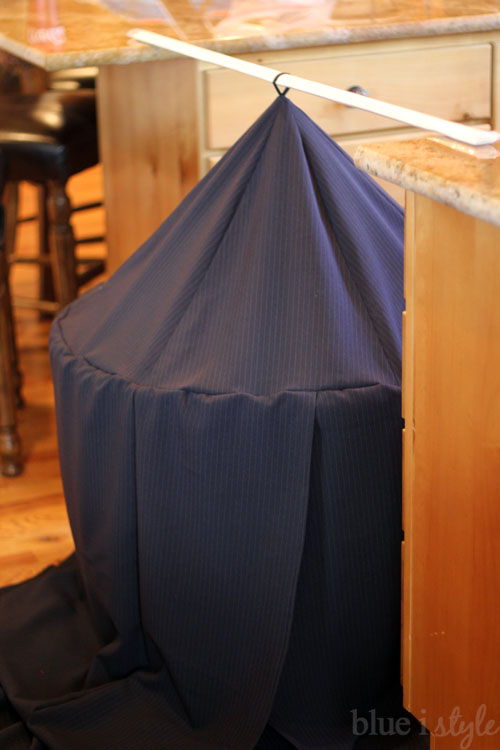
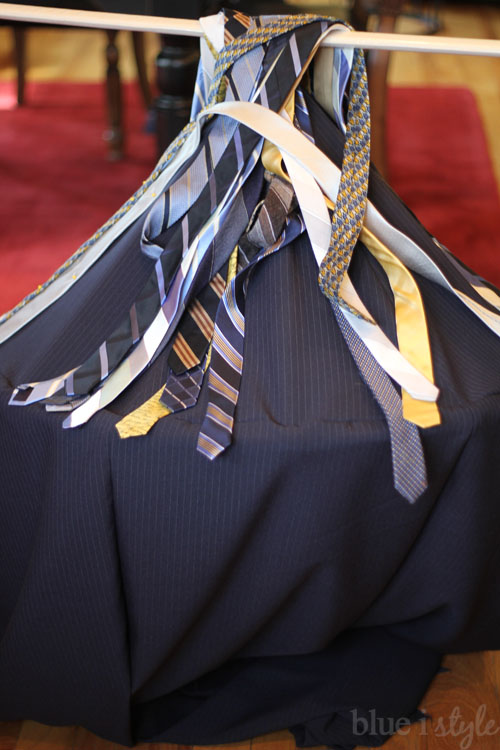
This was certainly the easiest from the perspective of getting the positioning of the ties right and determining how and where to overlap them. But for my poor mom, it was certainly not the easiest way to sew them in place since she had to work around 6 feet of fabric panels all around the tent! We came up with a method that made this manageable by hanging the tent from a rod placed between my mom’s kitchen counter and island.
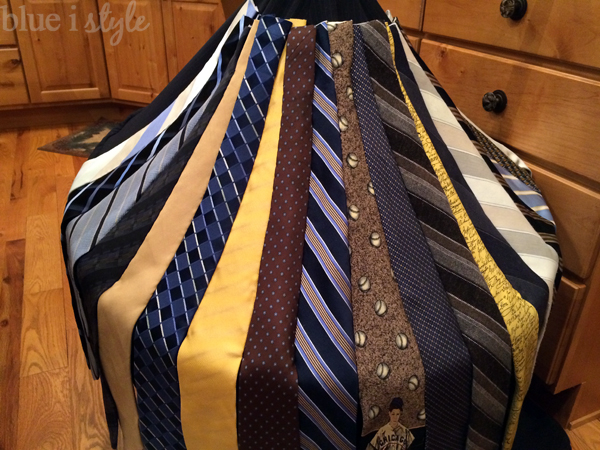
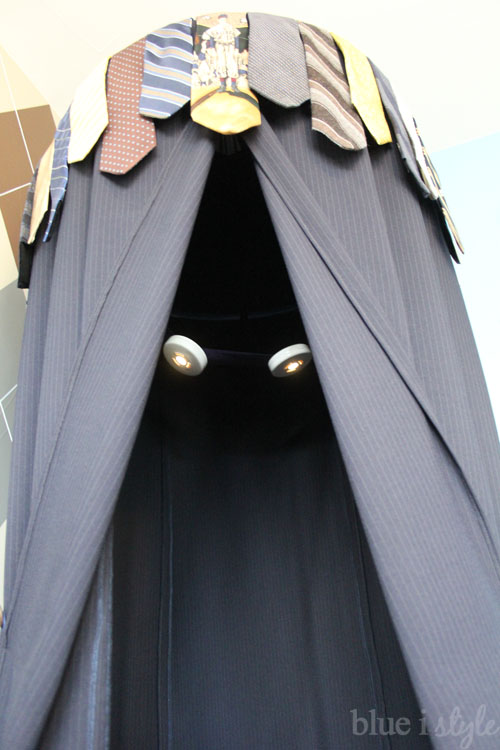
Keep reading and you’ll see how hanging the tent in this way helped. But first, let’s talk about how I went about pinning the ties to the roof. I started with my husband’s Cubs tie – which I placed in the very center of the tent {where the tent flap opens}. Then I placed four ties on each side of this center tie – positioning them so that were exactly side by side right at the roof line, and pinned them in place. To add interest {and to minimize the overlap of the ties near the top of the roof} I staggered the bottoms of the ties so that every other tie hung several inches lower than the in between ties {I’ll refer to these as the long and the short ties}.
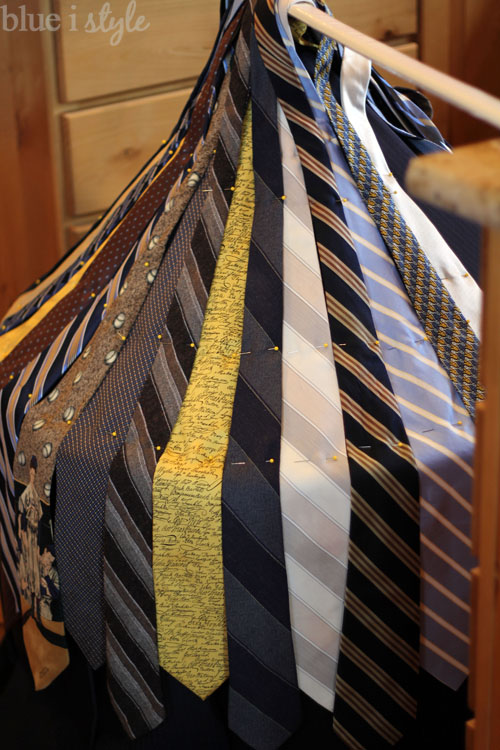
For consistency and ease, I decided to have the long ties be the “top ties,” and the short ties became the “bottom ties.” By this, I mean that the longer ties always overlap and lay on top of the shorter ties as you go up toward the peak of the tent. To accomplish this, I pulled each short tie up to the top of the tent and pinned it in place; then I positioned the long ties to overlap the short ties and pinned them in place on top. I continued with this process, pinning ties in place until I had the front half of the tent roof completely covered.
Once I was happy with the overlaps, I added a third pin in the center of each tie. Since the ties are about twice as long as the top of the tent, I tossed the narrow end of each tie over the hanging rod to keep them out of the way while my mom began to stitch the ties in place. As a result, we could only work on the front half of the tent in the first go-around.
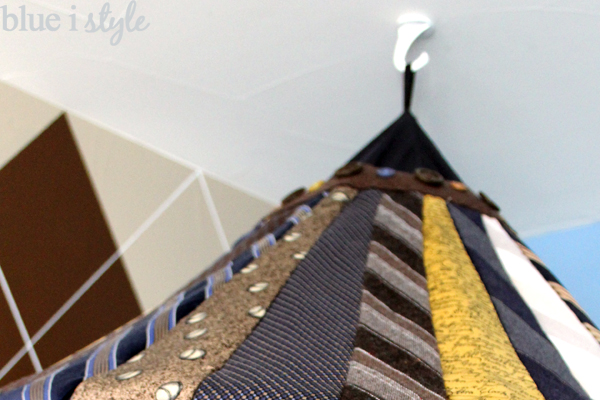
The final step was to cover the raw edges of the ties. My mom cut a circle of wool felt and slit it to the center, laying it over the raw tie edges. Once she had determined the right positioning for the wool felt, she cut it into a ring. {Wool felt was an idea choice for this use because it doesn’t fray.} Before stitching the ring of wool felt over the cut ends of the ties, my mom first added some fun buttons to dress it up.
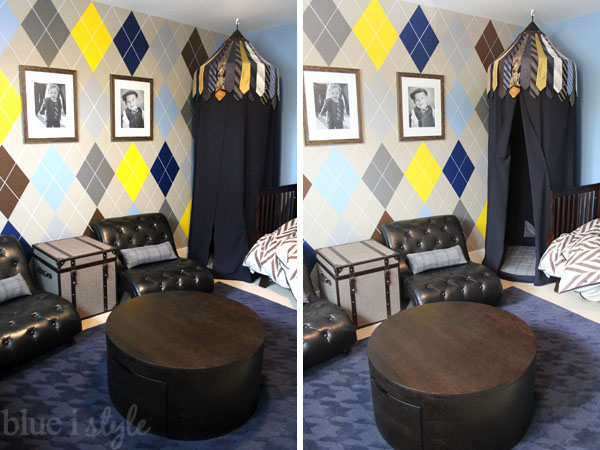
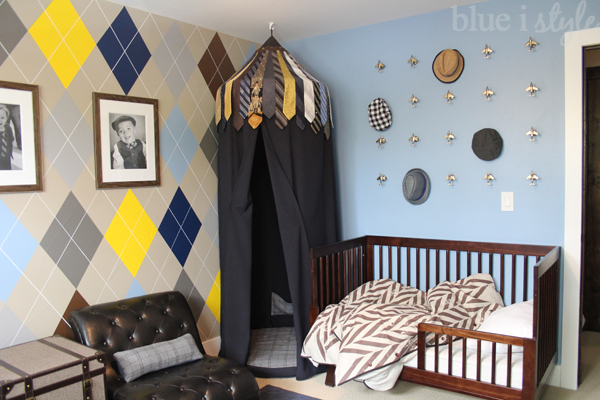
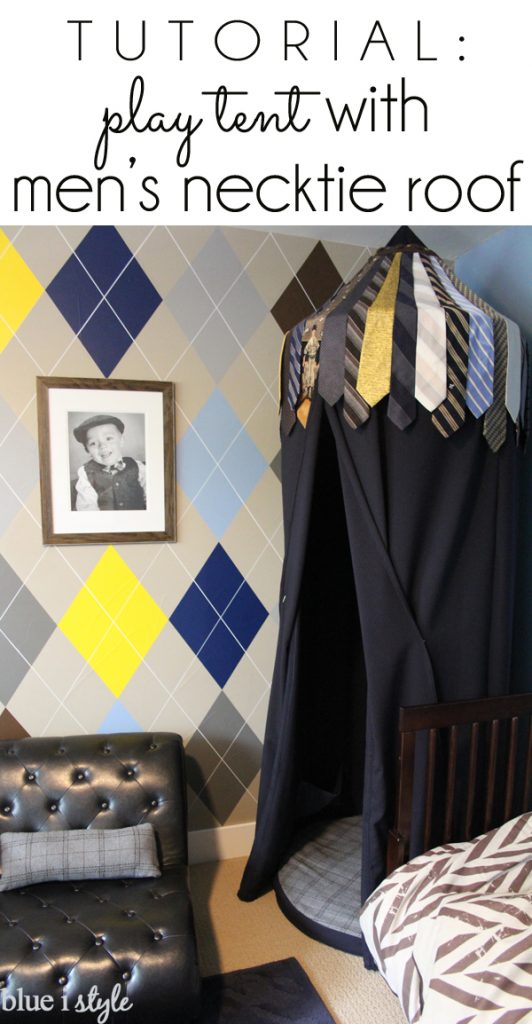
The completed tent looks just PERFECT hanging in the corner of Beckett’s bedroom!
ADDING A FEW EXTRAS:
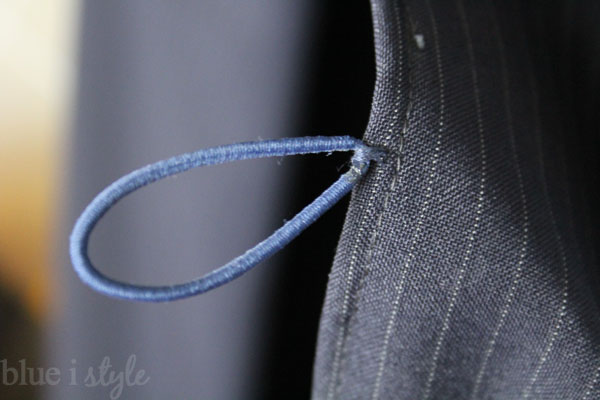
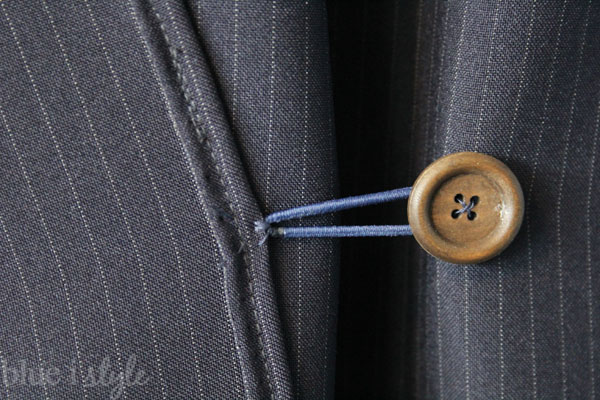
When I took the original photos of the tent, I used safety pins to hold the flaps back so you could see into the tent. We loved the way the tent looked with the flaps open, so my mom stitched a blue hair tie to each of the tent flaps and added a button to each side of the tent. Now when we want the tent flaps open, we simply pull the flaps back and hook the hair tie over the button.
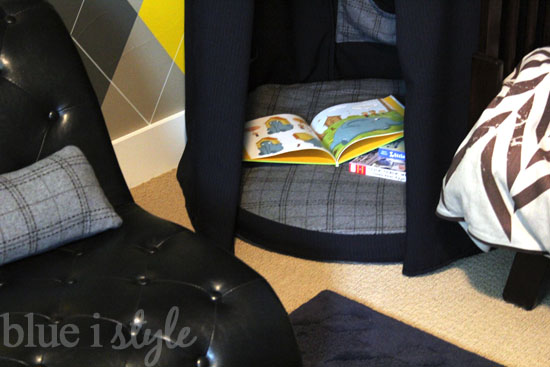
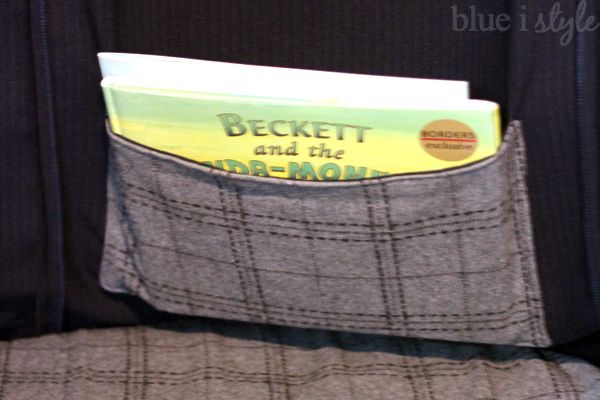
Since Beckett uses this primarily as a reading tent mom also added three pockets around the inside of the tent, giving Beckett a place to keep a few favorite books and toys.
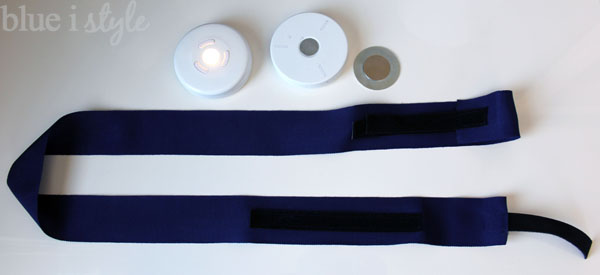
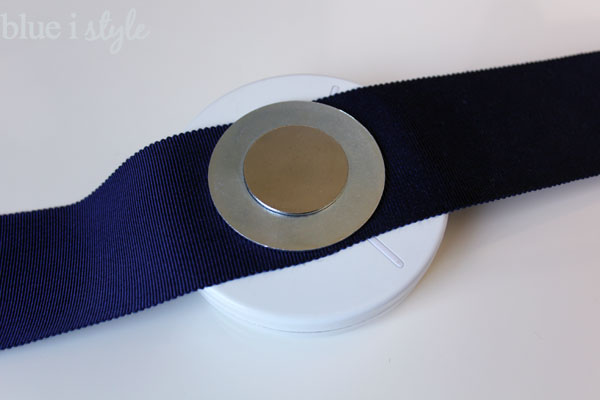
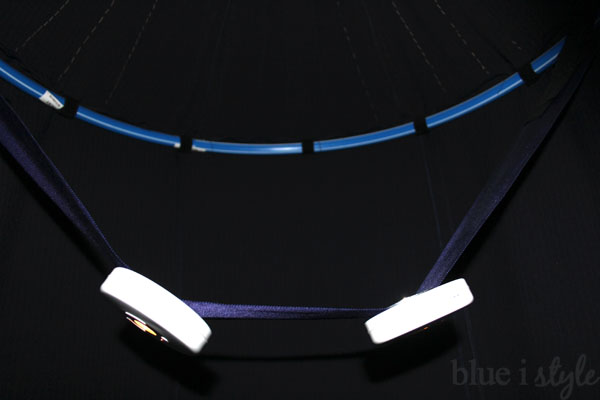
We also wanted to find a way to add some light in the tent so that Beckett wouldn’t strain his eyes. My mom and dad came up with a genius plan. My mom cut a length of wide, blue ribbon and attached a strip of Velcro to each end. Then they picked up two magnetic, battery operated lights from Lowe’s. Because the metal backs that came with the magnetic lights weren’t very large, they also picked up two large washers to place underneath the smaller backs to create a larger surface area for the magnet to stick to.
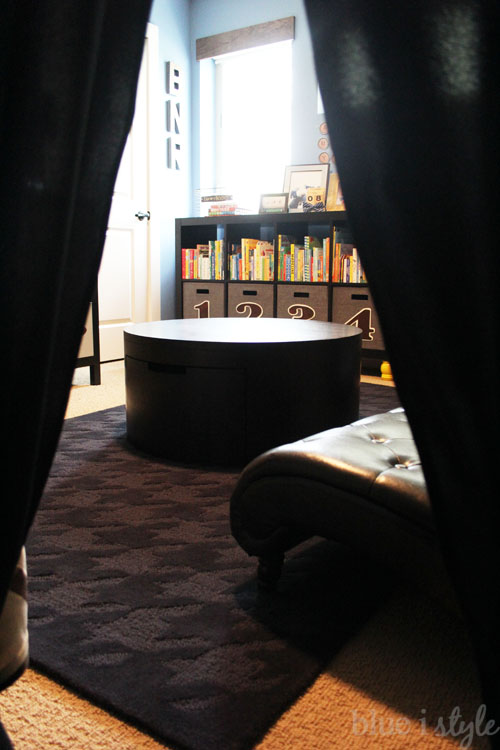
The lights are controlled by simple push buttons, making them easy to turn on and off . Here’s how the lights look hanging inside the tent.
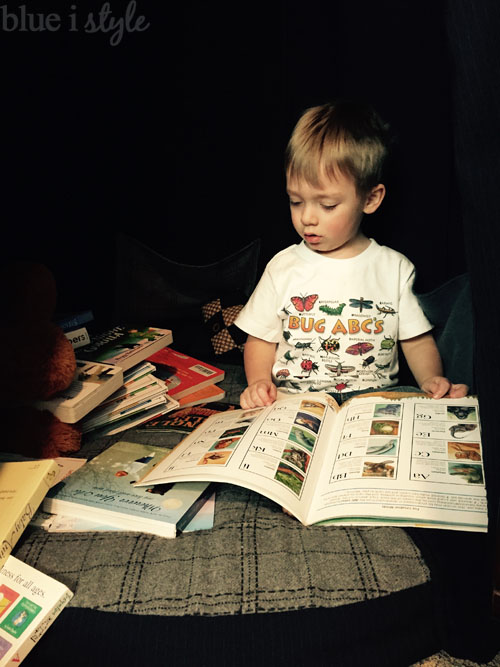
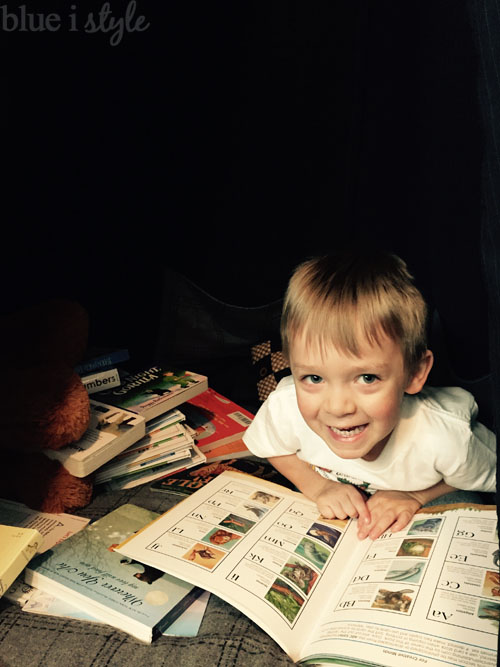
Beckett spends hours at a time sitting in his tent looking at his books. He would probably spend all of his time in there if I would let him!
VISIT THE OTHER BLOGS PARTICIPATING IN

Linked up at Remodelaholic
