Kids and art supplies seem to go hand. Whether they are flexing their creativity over the summer or completing their homework assignments for school, hardly a day goes by without one of my boys sitting at the kitchen table with crayons and markers. A few of years ago, I created an art cart to organize kids’ art supplies in our kitchen, and this organizing project has definitely stood the test of time.
This week, I’m joining 10 talented bloggers to help you get ready for the new school year. I’m sharing all the details about my art cart on wheels, and they will each be sharing their fabulous back to school organizing projects throughout the week, as well. I’ll continue adding links at the bottom of this blog post!
At this time last year, like many families, we were prepping for a semester of school from home. I shared our remote learning cart and showed you how we organized our school supplies, Chromebooks, headphones, and much more. I was blown away by how much you all loved our rolling school cart, and it reminded me that I should share the details of our rolling art cart.
This post contains some affiliate links. If you purchase something I recommend, you’ll pay the same price, but I may receive a small commission.
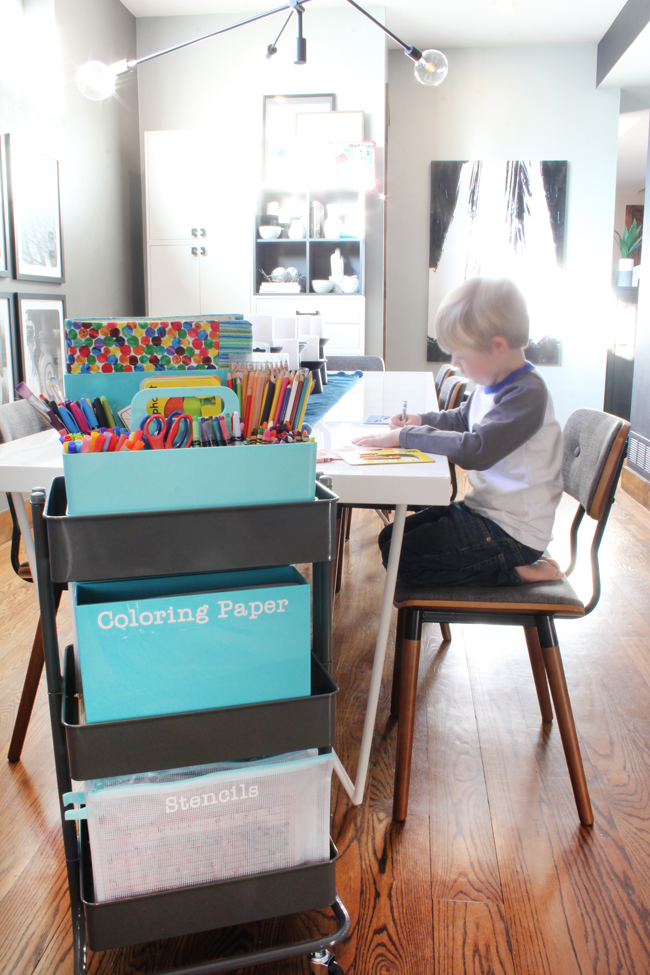
Both of my boys have always loved to color, draw, and create. It all happens at the kitchen table, so I needed to find a way to keep their art supplies close at hand without letting them take over the kitchen! I turned to one of my favorite organizing tools… a rolling cart!
I own quite a few rolling carts, and they all look and function just about the same. The Container Store rolling cart I used is nearly identical in size and style to the popular IKEA Raskog carts, but it was a bit easier to assemble by myself.
Whether you’re creating a Container Store art cart, an IKEA art cart, or a Michaels art cart, the most important thing is to organize kids’ art supplies in a way that will be easy for them to find what they need and to clean up after themselves!
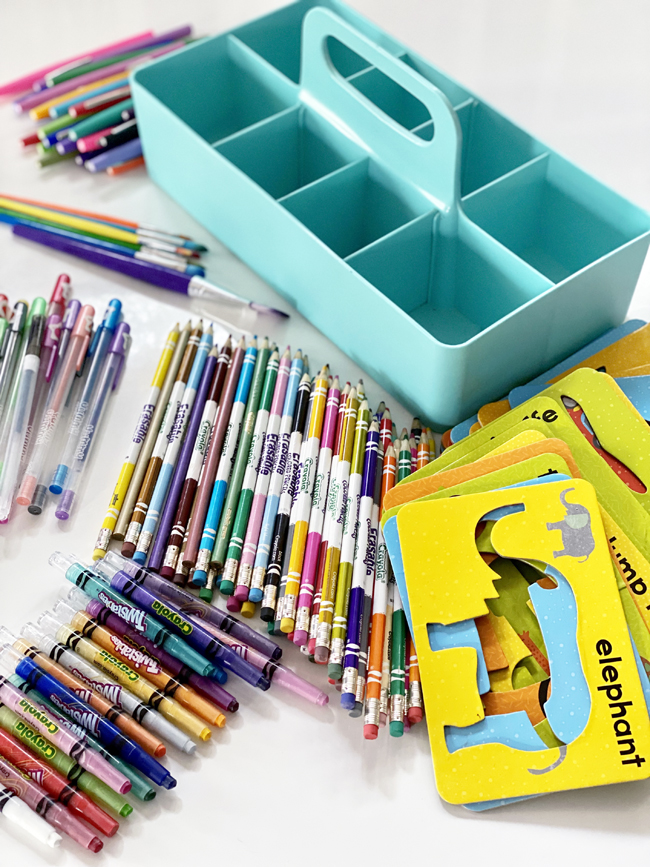
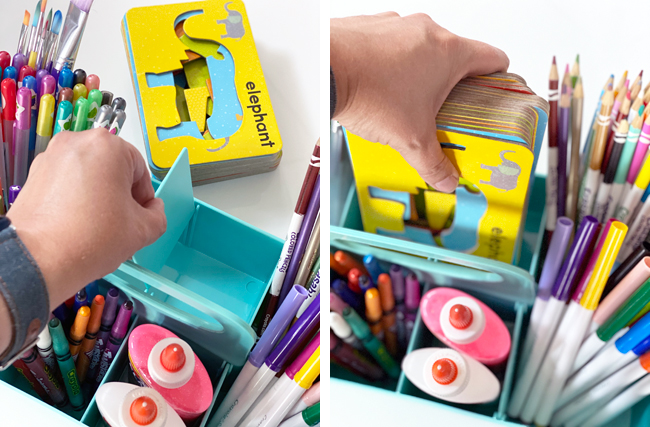
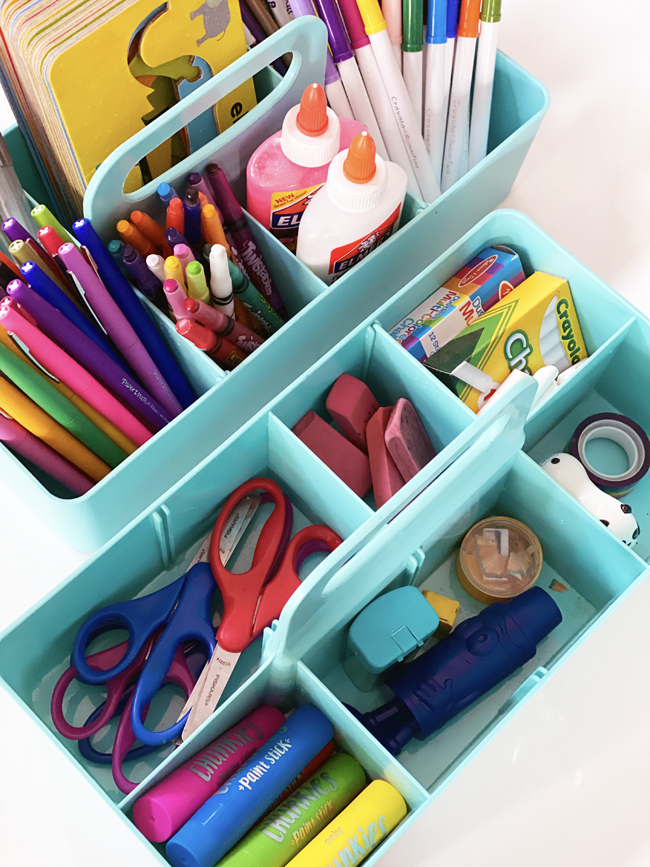
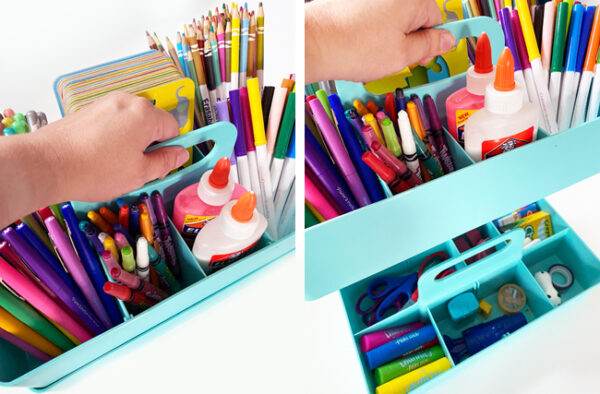
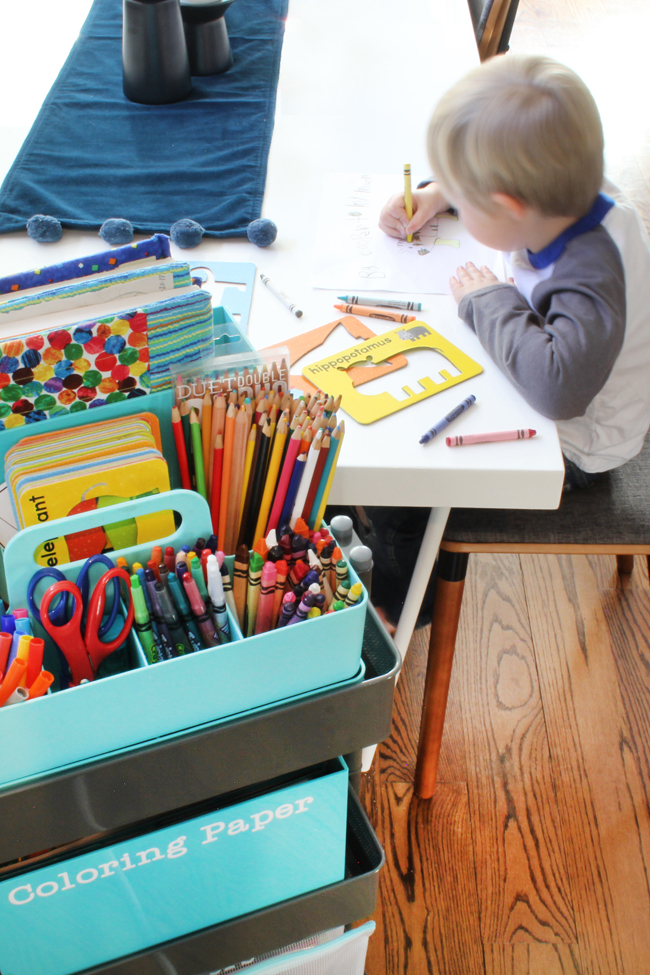
This plastic caddy makes a perfect crayon and marker organizer! It provides eight sections to sort out lots of different art supplies, and the handle makes it so easy for kids to carry it to the table and put to back when they’re done. It even stacks (as I’ll show you below).
One of my favorite features of this crayon organizer caddy is the removable dividers. I removed the back center divider to make room for my boys favorite stencils – the ones they use most often.
After initially starting with just one art supply caddy on the top shelf of our kids’ art cart, I realized I could double our storage and create room for additional, smaller art supplies and accessories by purchasing a second, stacking caddy. In order to stack them together, the lower caddy can’t have anything talk in it, but it’s perfect for erasers, pencil sharpeners, tape, scissors, and more!
I bought these aqua art supply caddies from The Container Store, but unfortunately they’ve since been discontinued. I did, however, find a very similar stacking caddy that’s sold in sets of two.
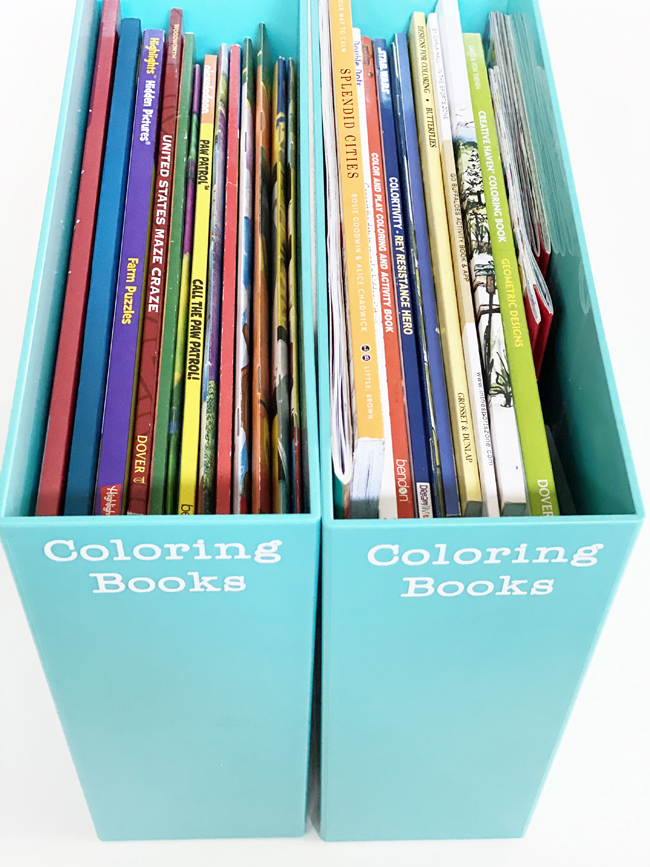
These aqua file boxes make the perfect coloring book organizers. I could have definitely selected cheaper file boxes (these were a bit of a splurge), but since I knew from the start that this art supply cart would be on display in our kitchen for years to come, I decided it was worth it to select organizing supplies that fit my aesthetic.
Not only does the aqua color look good with our decor, I also like that these file boxes are very durable, and not translucent. Many of the alternatives I looked at were transparent or semi-transparent, but I didn’t want to feel like all of the coloring books were on display in the kitchen. Additionally, most of the non-transparent file box options were made of cardboard, and I knew that wouldn’t end up holding up over years of use from my boys. The investment paid off, because we’ve now had these file boxes for several years, and they look as good as new.
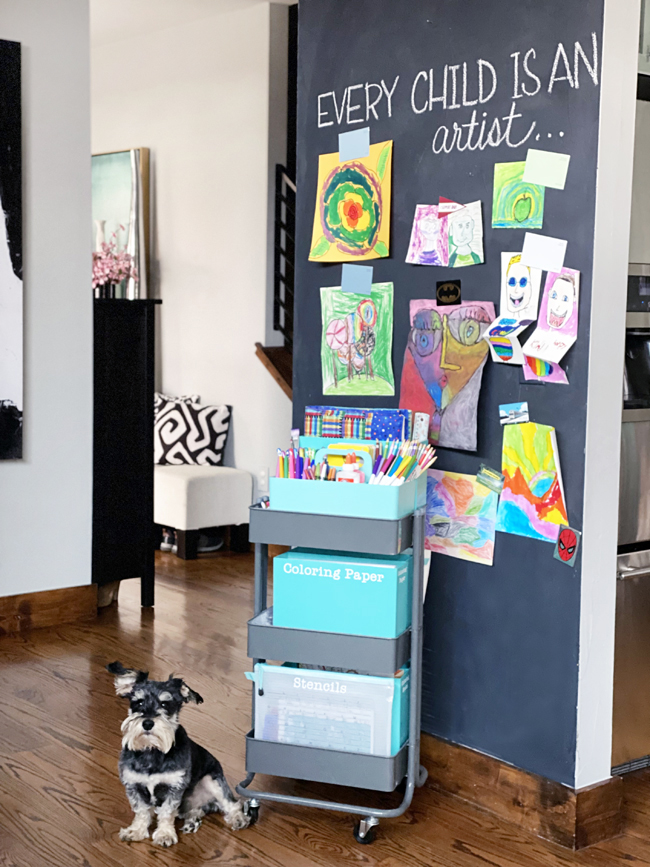
I use these same aqua file boxes to store drawing paper on the art cart as well. I used my Cricut machine to cut vinyl adhesive labels, which I added to the front and sides of each file box, making it easy for the kids to find exactly what they need. Labels are also a really effective way of making sure the kids put things away in the right place as well.
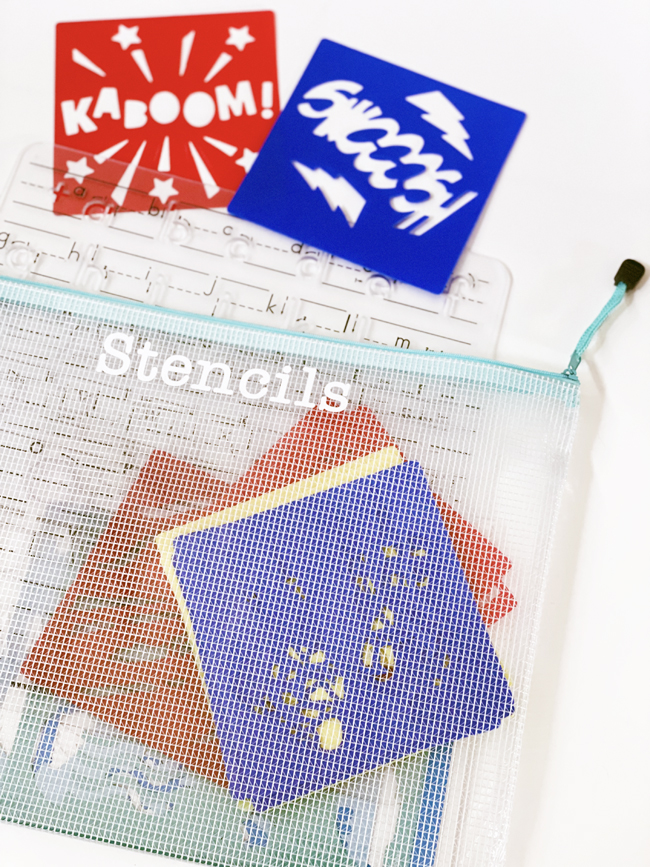
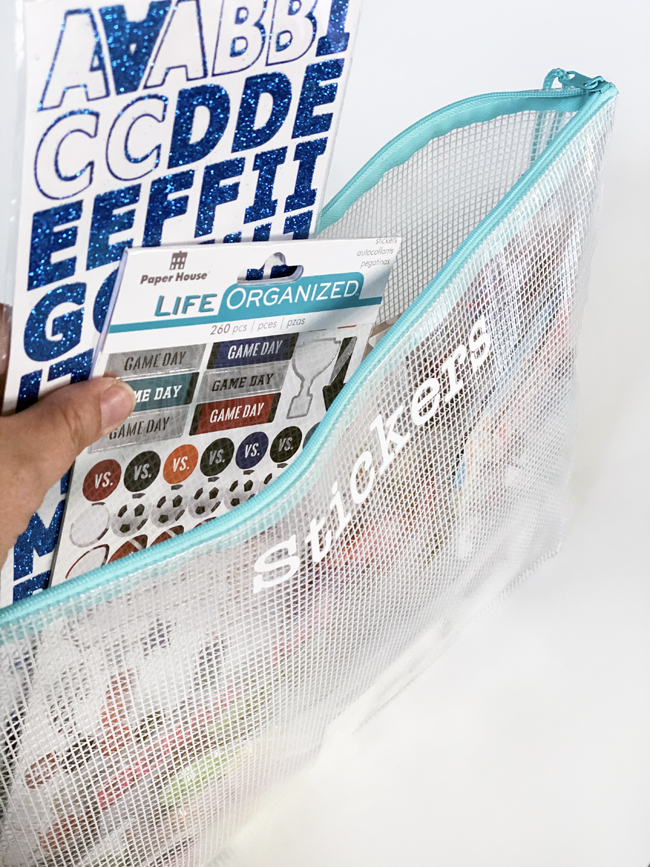
To save space on our art storage cart, I used zippered pouches, rather than file boxes to contain the boys stencils and stickers. If we had more stencils or stickers, the file boxes would have worked well, but for the size of our collection, the pouches easily held what we needed without taking up extra space. Of course, I also loved that the aqua zippers matched the file boxes. They no longer sell these in aqua, but the version with the black zippers is the same in every other way.
Purchased individually, the best deal I’ve found on these pouches is at The Container Store, but if you want to buy them in a larger quantity, you can get a great deal on sets of 16 or sets of 24 with a variety of rainbow colored zippers Amazon.
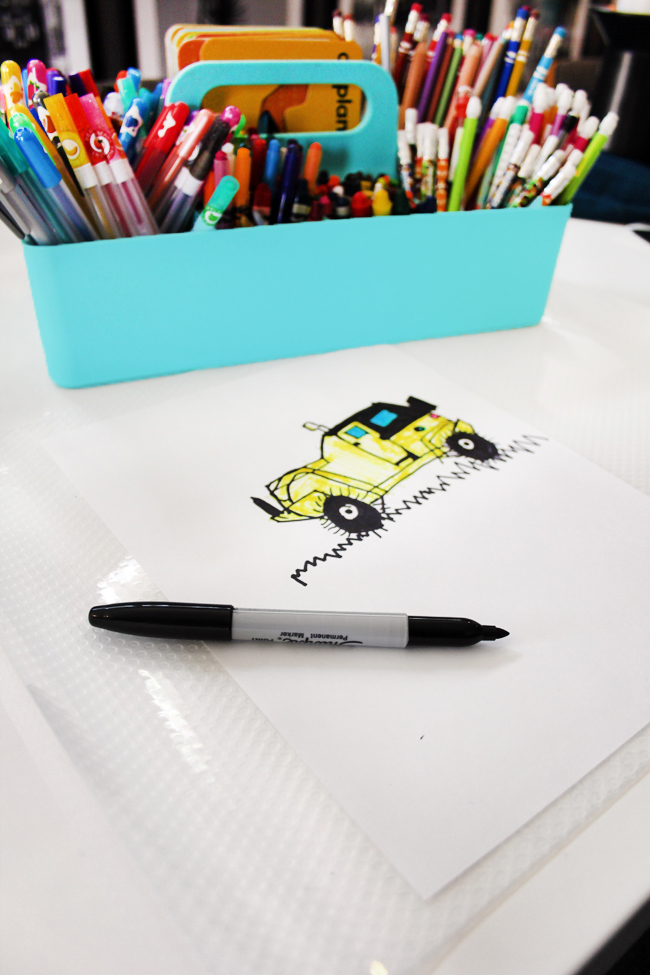
When it came to art cart organization, the one thing I didn’t label was the crayon organizer caddy. I knew that the art supplies in this caddy would change and evolve over time, and I didn’t want to have to change and update the labels. You’ll notice that the crayons, markers, and colored pencils in this photo (taken a few years ago) are different from the art supplies currently in our art supply caddies in the more recent photos. Now that the boys are older, for example, I give them access to more markers (although the Sharpies I still keep out of reach and only allow them to use with supervision, because… permanent!).
When the boys do use Sharpies, we always put a mat underneath to ensure that we don’t end up with their drawings bleeding through onto our white kitchen table. I simply cut two pieces of thick, plastic shelf liner for the boys to use under their drawings. When not in use, I store these shelf liner drawing mats in the drawer with all of our placemats. {Check out this post for lots more tips on creative uses for shelf liner.}
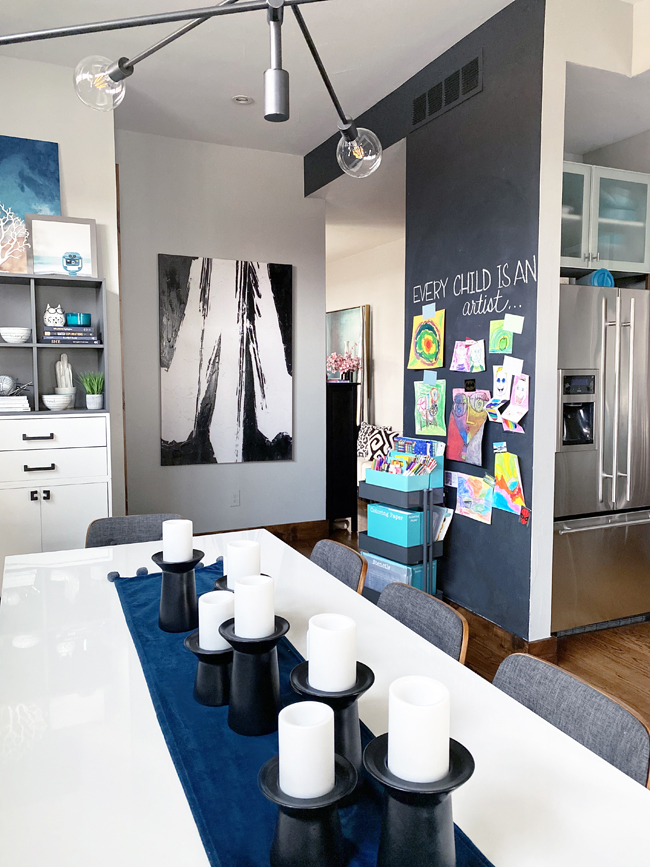
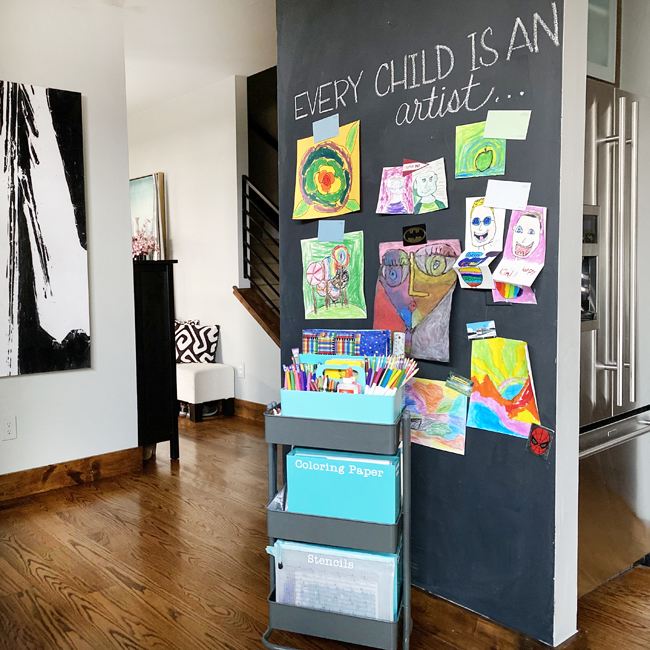
Our rolling art supply cart lives in our kitchen year round, throughout the school year and the summer alike. Of course, I do love that this art caddy on wheels can be rolled away into our pantry or coat closet if I want it out of sight for a party {remember the days when we used to actually entertain?!}, but since the cart is organized and looks nice, it stays on display in the kitchen nearly 365 days a year.
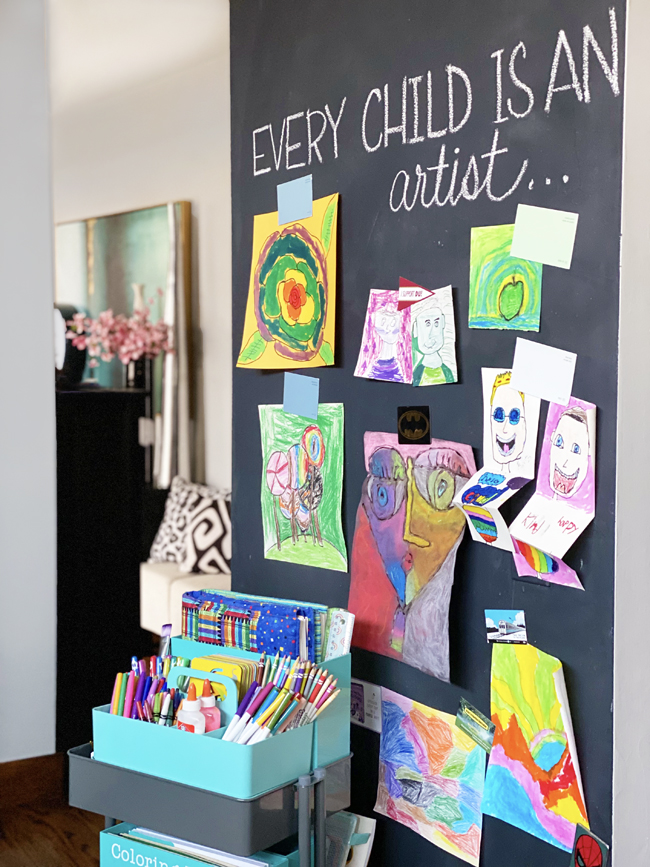
Our kitchen chalkboard wall gets lots of use throughout the year as well. We create large countdown calendars for Christmas and birthdays on this chalkboard, and of course the boys also have free reign to draw on it to their hearts’ content. Since we used magnetic primer under the chalkboard paint, this wall is also a fun place to display the art work that the boys bring home from school.
In all, our cart holds: 2 stacking art supply caddies, 5 file boxes, and multiple zippered pouches. I love having everything the boys need to get creative all in one place.
I hope our rolling art cart helps you with how to organize kids art supplies. If you’re also looking for tips on organizing additional school supplies, like laptops and iPads, headphones, school assignments, and more – check out organized rolling homework cart (which also lives in our kitchen throughout the school year).
GET MORE BACK TO SCHOOL ORGANIZING IDEAS
The Organized Mama :: SKG Designs and Style :: Kate Decorates :: Global Mindful Journey :: Small Stuff Counts
Simple Joy with Ann :: The Modern Minimalist :: Practically Perfect :: The Tidy Dad
