In the past, the One Room Challenge has been a six week event… thank goodness it was extended to an 8 week event this summer, because I’m going to need every minute of the next two weeks to pull this one off! If you’ve been following my Instagram Stories, then you know that I’m working on making the cushions for our banquette seating, but in this weeks progress post I want to show you what we’ve accomplished at the other end of the room.
Our Plans for the Ultimate Game Room
If your just tuning in to my game room makeover, be sure to check our all the before photos and design plans for this basement family room makeover in my Week 1 post. Between now and June 24th, I’m transforming our basement into our dream game room, and we’re doing alongside more than 200 other talented designers as guest participants in the One Room Challenge. The ORC was started by Linda Weinstein of Calling It Home, and Better Homes & Gardens is the official media sponsor.
ORC Week 6: Basement Bar Updates
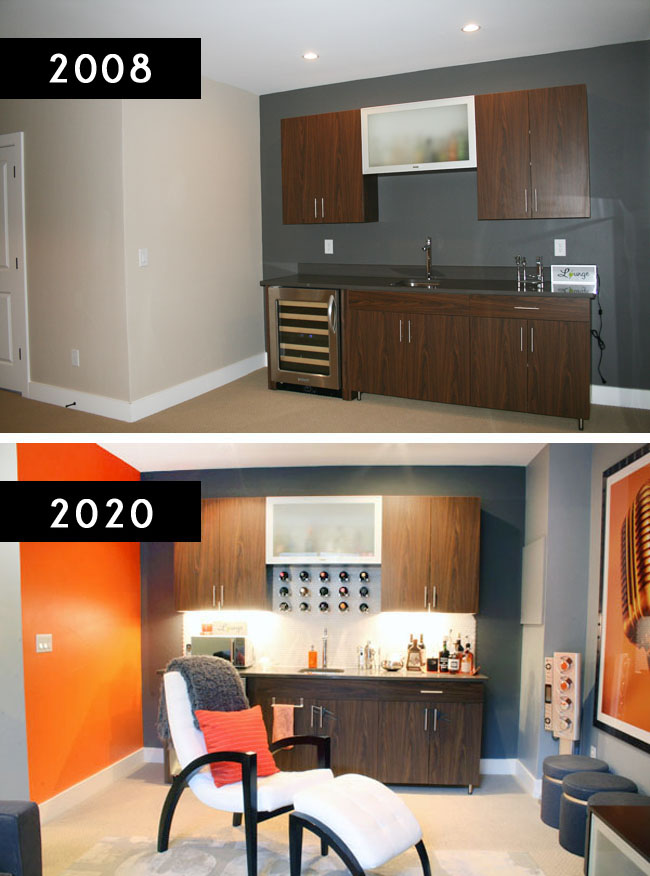
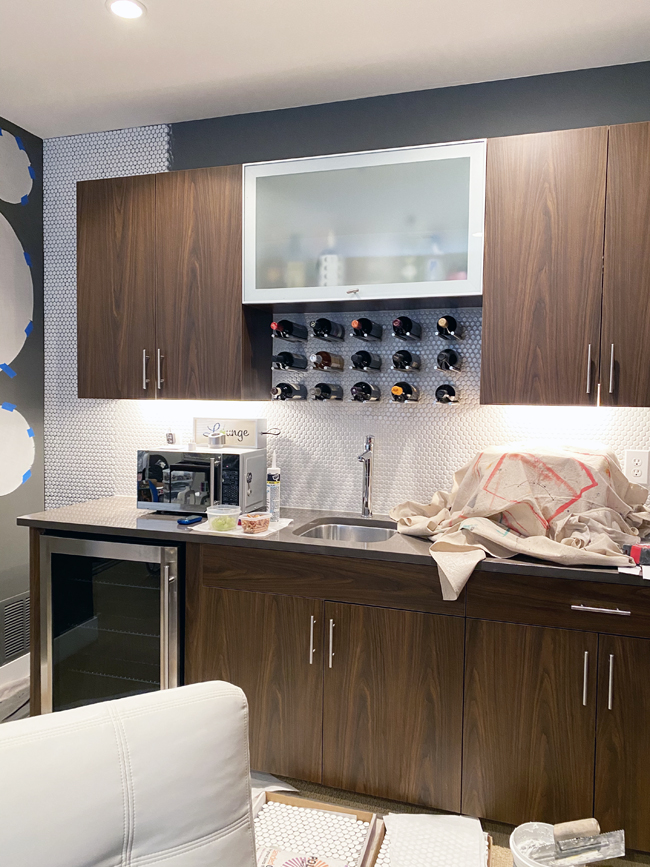
Most of this week’s progress centers around our basement bar area. Let me remind you what this space looked like when we moved in, and also how it looked until recently.
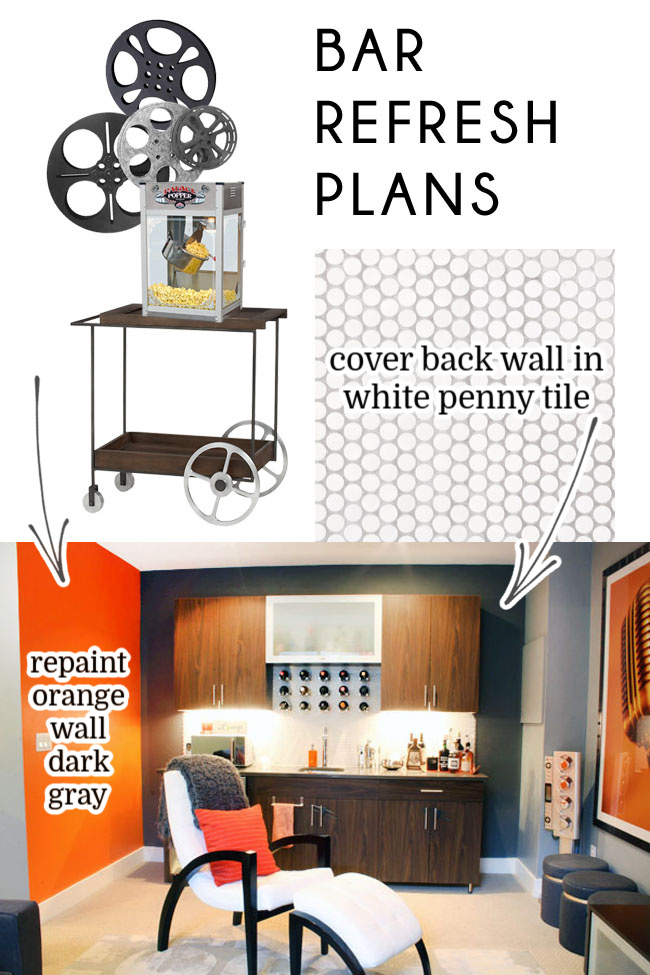
Our plans for this space called for (1) painting the orange wall charcoal gray; (2) hanging a feature wall of film reels on this wall, above a popcorn machine; and (3) tiling the entire back wall in white penny tile to match the tile on the bar backsplash.
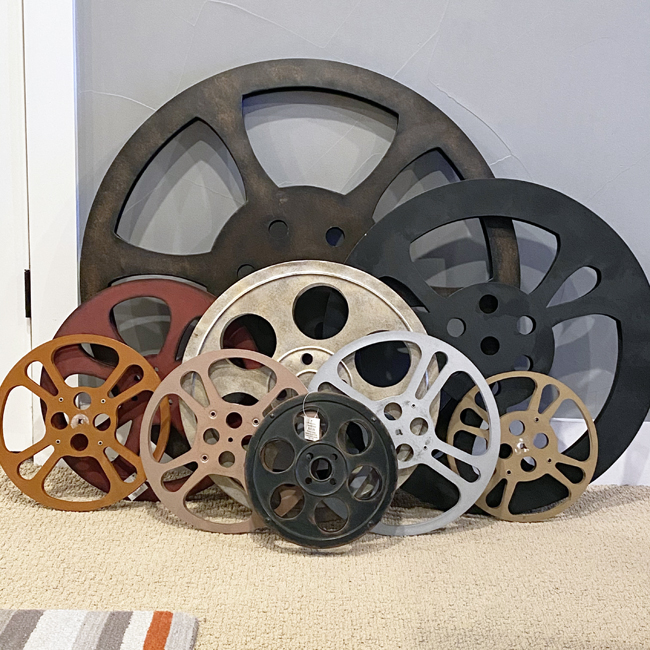
During the first week of the ORC, we painted over the orange, and this week I started planning out the film reel wall. I’ve been collecting these film reels for about 10 years, so if you ever feel bad about not getting projects done quickly at your house… don’t! I’ve had this project planned almost since we moved in, and if it weren’t for the deadline of the One Room Challenge there’s no telling when it would finally get done.
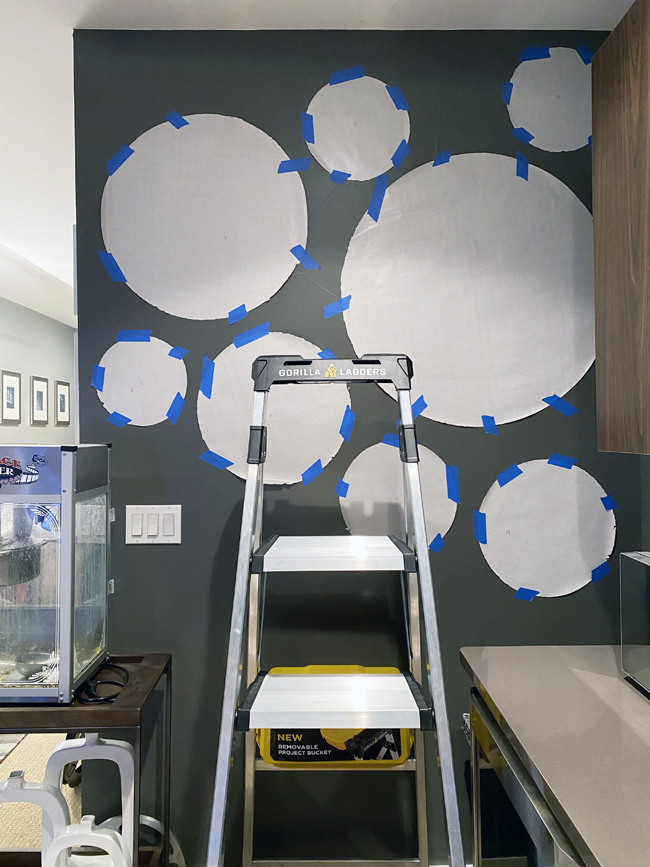
I’m going to spray paint some (or all) of these film reels before I hang them. But in order to decide which ones should be which colors, I needed to plan out their arrangement on the wall.
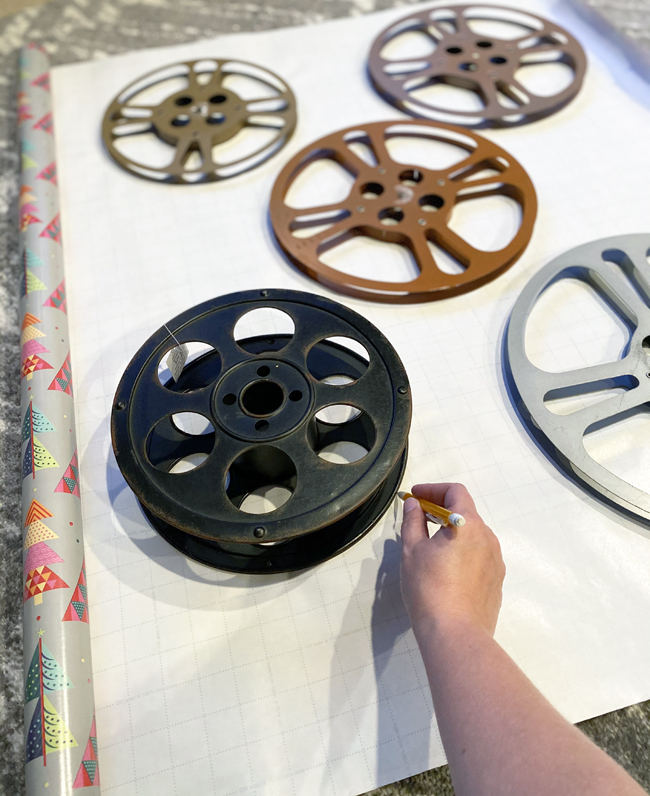
Creating wrapping paper templates is one of my go to moves anytime I’m planning out a gallery wall or when I need to hang something tricky. I grabbed a role of old gift paper and traced each of the film reels on the back.
Since there are so many of similar sizes, I used blue painters tape to label each film reel with a number and wrote the same number on the corresponding circle on the wrapping paper. This way I can keep track of which template matched which reel.
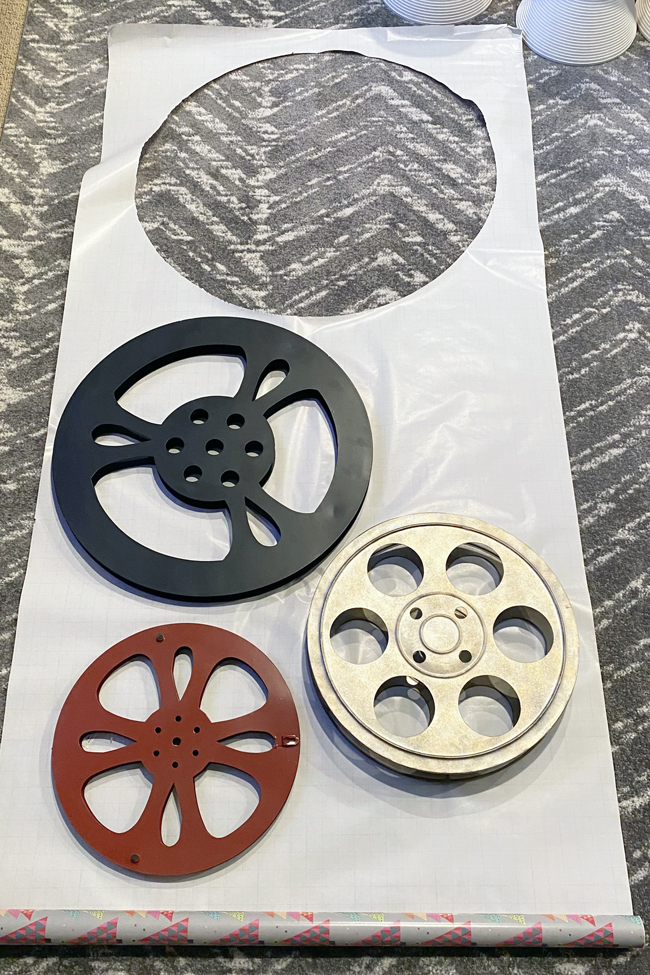
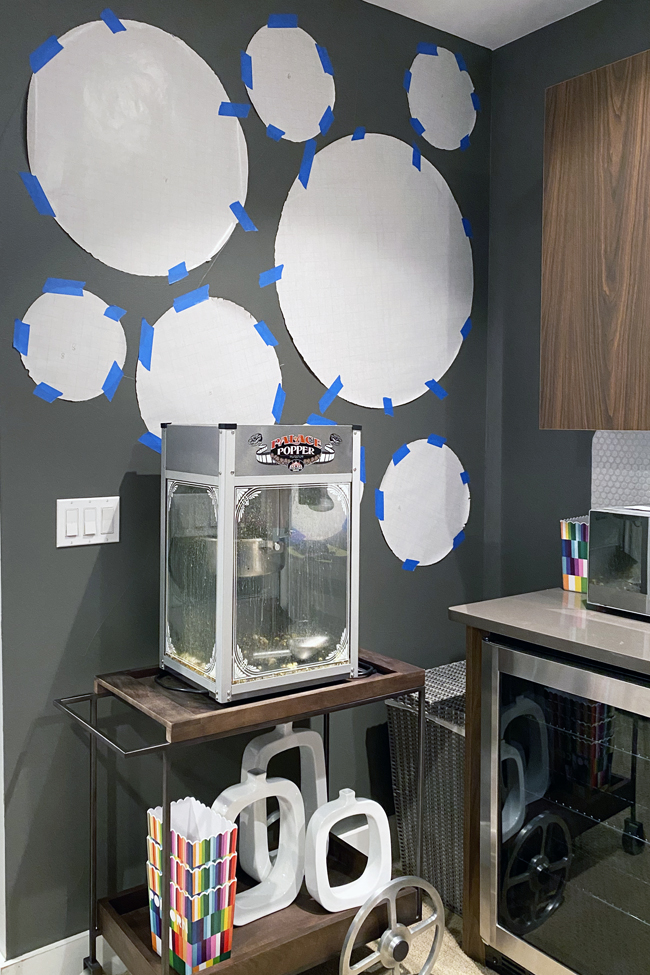
Once I had all of my templates cut out, I started playing around with possibly placements on the wall using painters tape.
Our popcorn machine is on a rolling cart. It will sit in front of this wall when it’s not in use, and then we’ll roll it out to access the back anytime we’re making popcorn. When it’s in place, I want the popcorn machine to overlap the film reels just a bit, so I rolled it in place to take a look at my possible arrangement.
Now I just need to decide on colors. I know I want to paint a few of the film reels high gloss white, and I might paint a couple of them silver (to coordinate with the film reel looking wheel on the rolling cart that holds our popcorn machine. The real debate is whether I should paint at least one of the film reels orange. We’ve eliminated a lot of the orange from this room, but I’m still keeping it as an accent color… so it’s a maybe. What do you think?
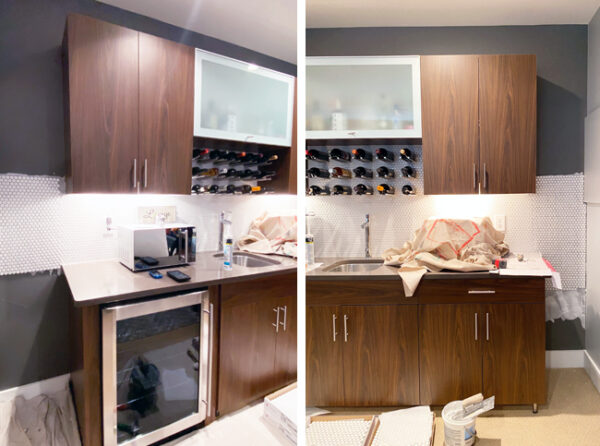
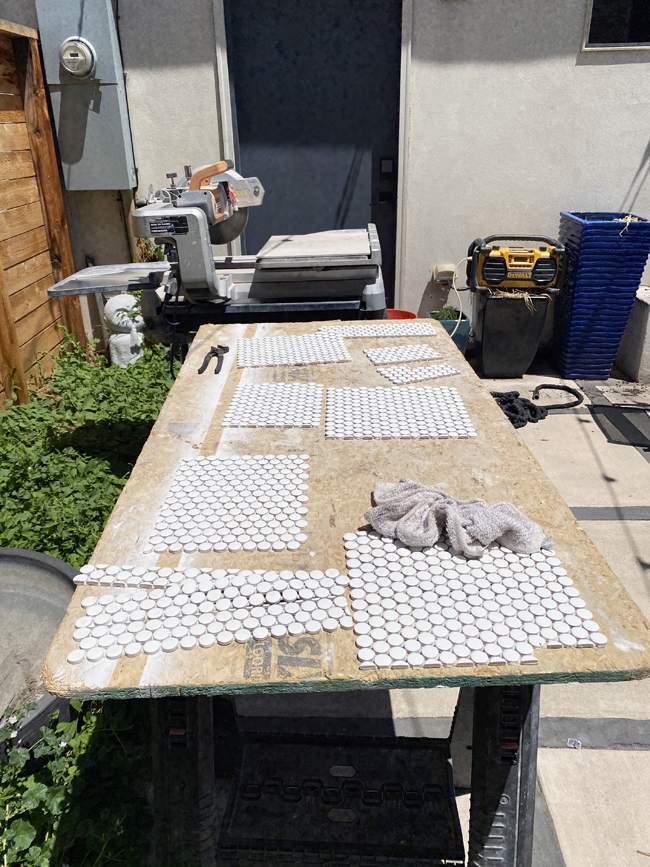
As you saw in the plans I shared above, another big update I wanted to make in this space was tiling the entire wall behind the bar in white penny time. About a decade ago, we installed a cool wine rack and tiled the backsplash area, but after that was finished, I wished we’d tiled the entire back wall.
Scott has done a couple of tile projects before, but he’s incredibly busy with work right now, and I wasn’t ready to learn to tile in order to tackle this project on my own – especially since we needed the new tile to be aligned perfectly with the existing tile.
I’m all about DIYing when I know I can do a good job – but I also know when I need help. We hired a professional to do the job, and he was able to knock in out in a day and half earlier this week.
My eight year old loved watching the progress on the tile and asked a million questions so he could learn “how to be a builder.” The guy who did the tile work for us was so kind, answering all of his questions and giving him lots of tips.
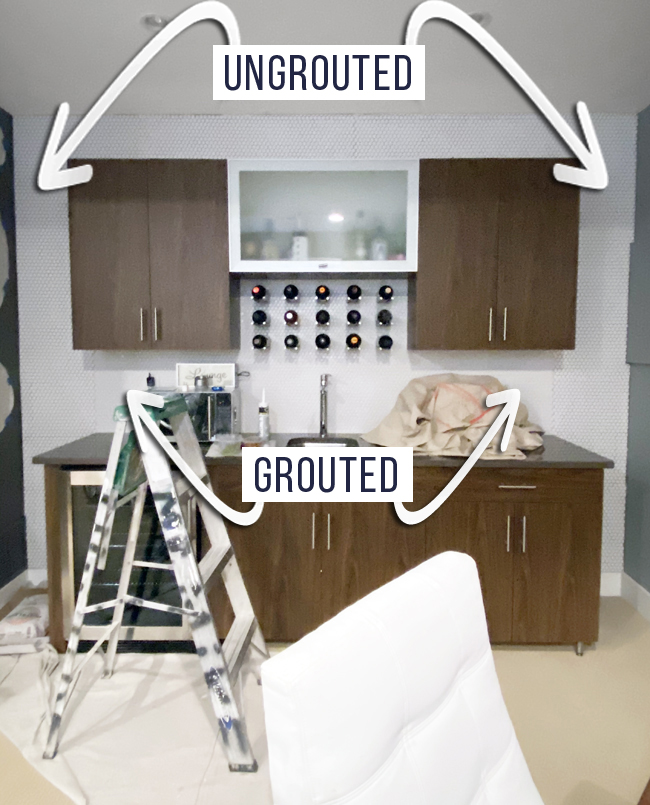
I haven’t taken any photos of the new tile since he finished… but here’s a photo at the half way point, when all the tile was up, but not yet grouted. You can see that the difference between the grouted tile below the cabinets, and the ungrouted tile all around the outside.
Here’s a quick run down of what’s left on the to do list over the course of the next two weeks: (1) finish making the cushions for the banquette seating; (2) install handles on the new bookshelves; (3) hang the metal wall games; (4) hang tons of art; and (5) if we can fit in one more project, I’d love to build a sofa table for behind the couch – but this project wasn’t in our original ORC plans, so I’m not sure we’ll be able to squeeze it in before the deadline. Follow along in Instagram Stories if you want to see the real time progress.
