DETERMINING YOUR FRAME SIZE AND LAYOUT
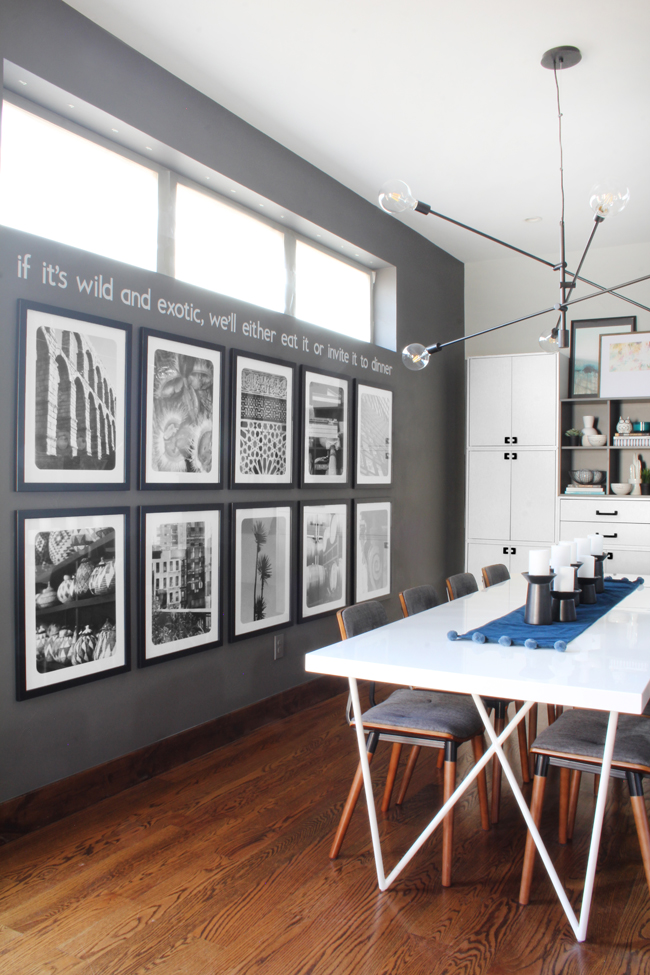
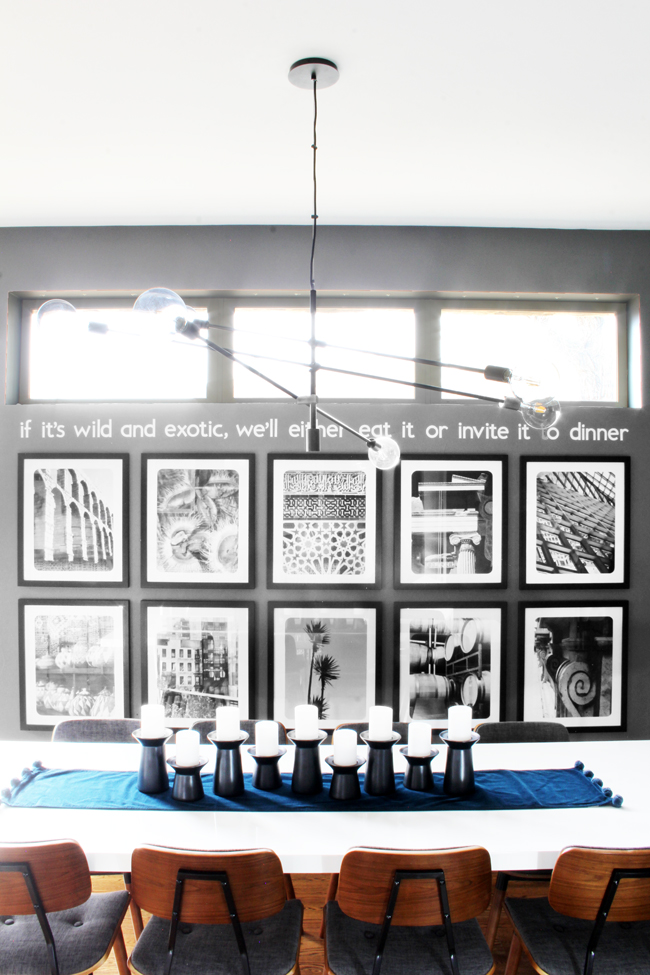
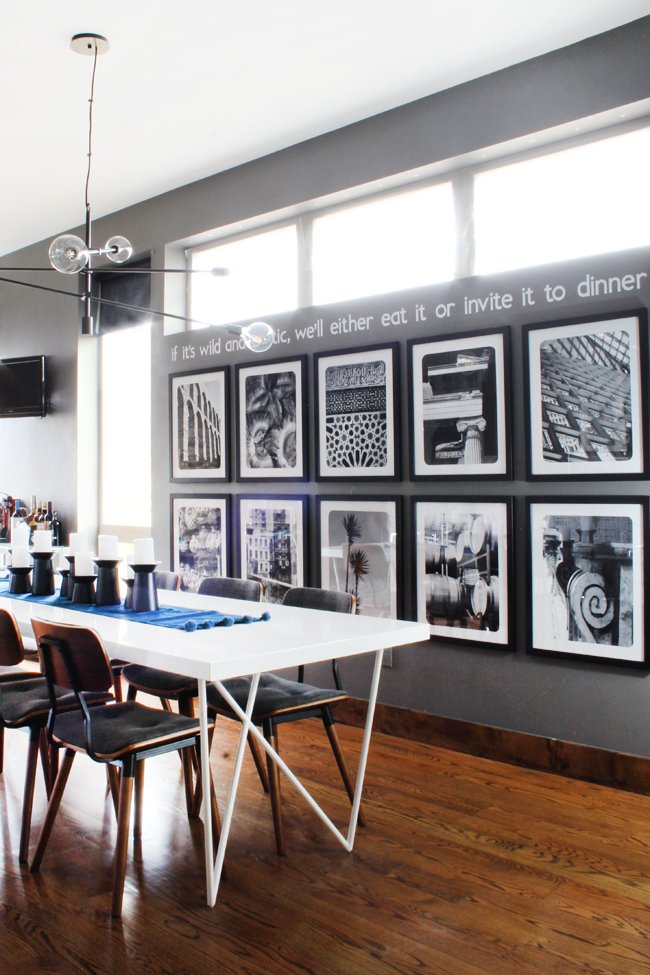
I love the look of floor to ceiling gallery walls. Of course, in this instance I couldn’t go all the way to the ceiling because of the high window, but I did want to fill as much of the wall space as possible.Start by measuring both the width and height of the space you want to fill, but don’t forget to take into account things like light switches and electrical outlets. I originally wanted to take my gallery wall all the way down to the baseboards, but realized I needed to stop a bit higher to avoid covering the outlet that you can see in the photo below.
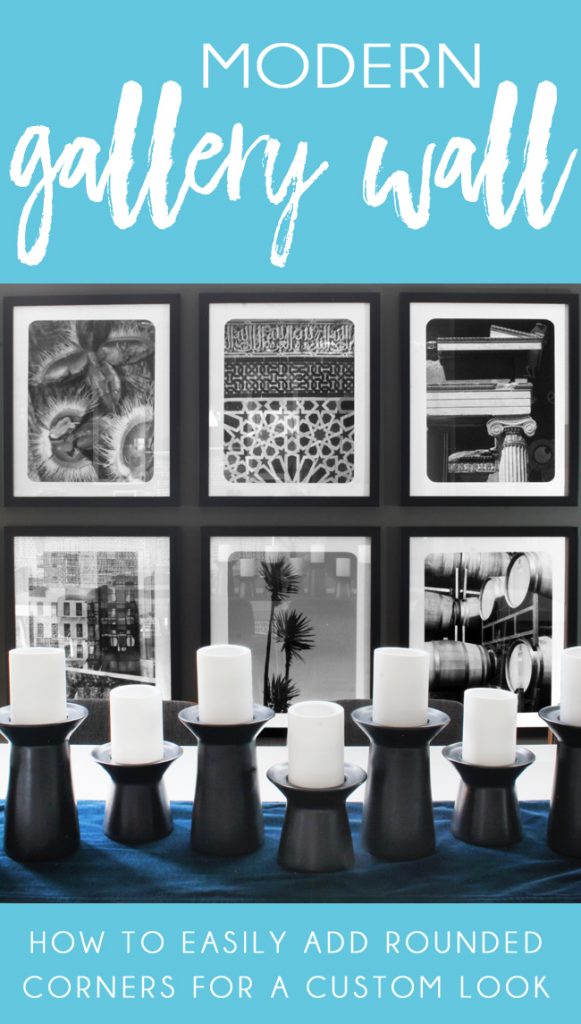
Measure the outer dimensions of the frames. Remember that the size listed on the frame will be the size of photo it holds, not the size of the frame taking into account the frame width and mat. Take a measuring tape with you, and measure the outside dimensions of each frame. Then use the calculator on your phone to determine how many frames of that size you could fit across your wall, and what space that would leave between the frames. Aim to fill as much of the wall space as possible, leaving no more than a few inches of space between each frame. I ended up with 20″ x 24″ frames and 16″ x 20″ photos.
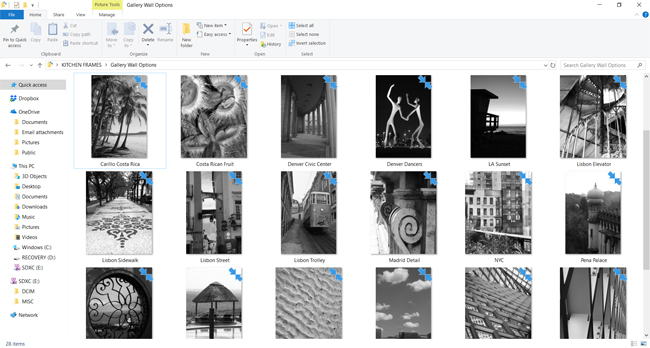
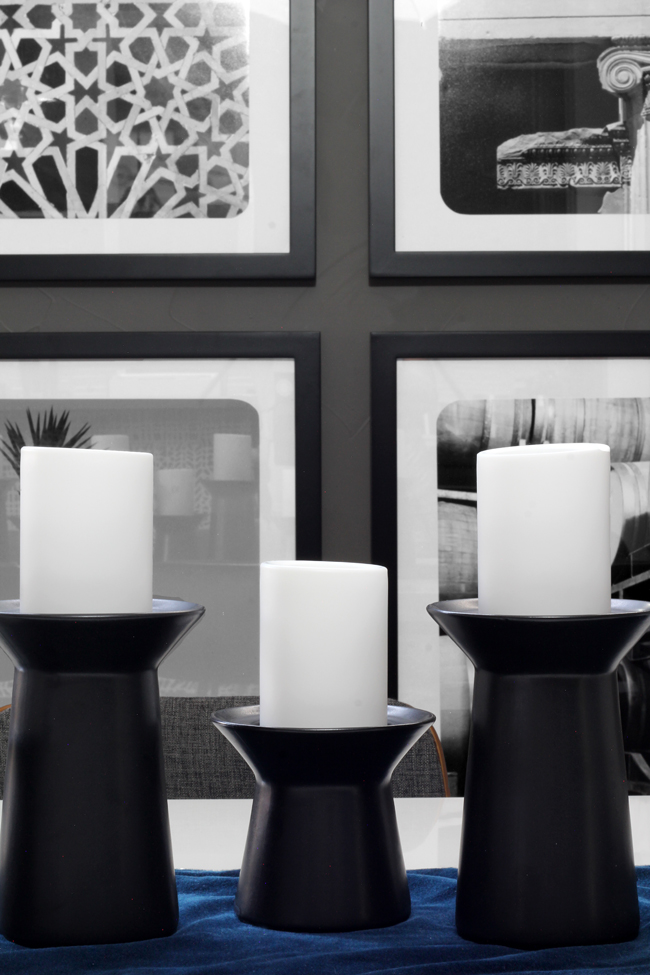
CHOOSING PHOTOS FOR A MODERN GALLERY WALL
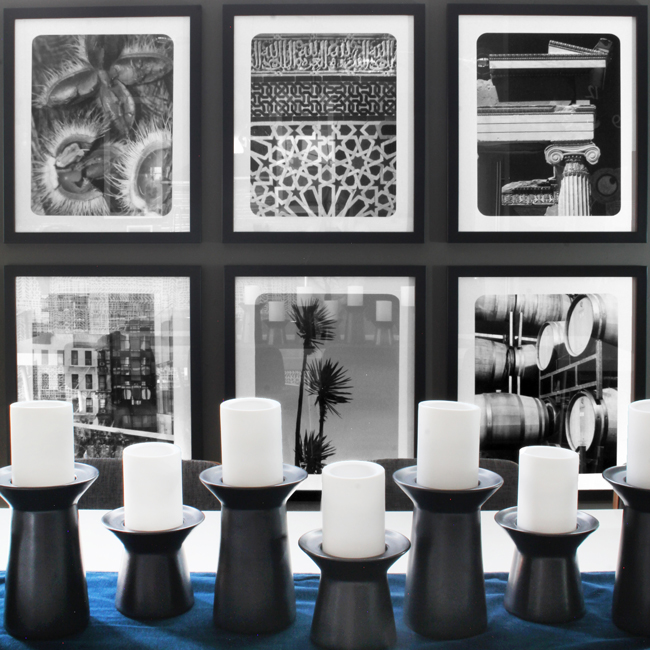
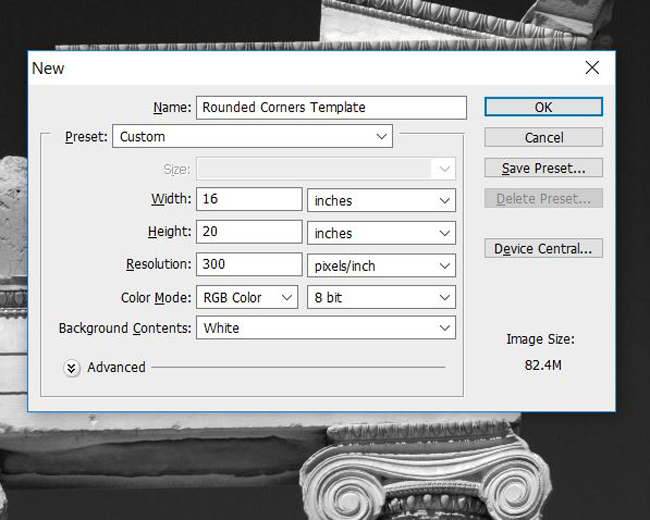
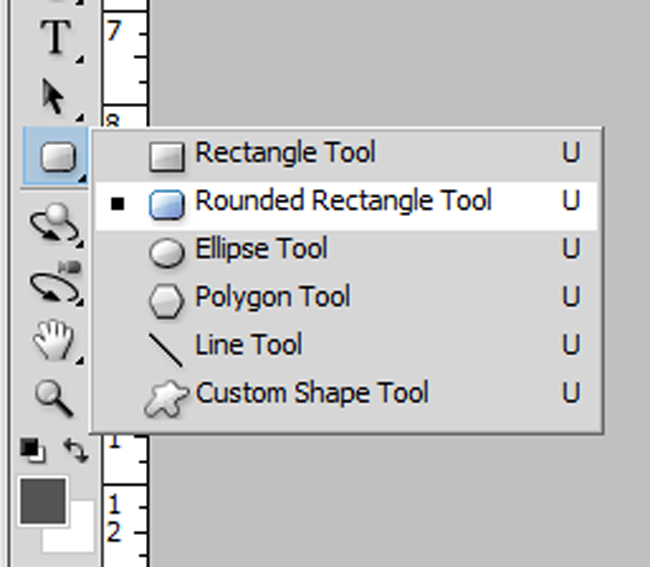
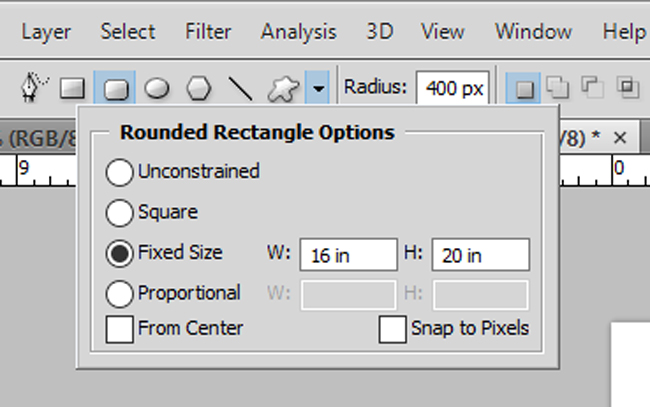
ROUNDED PHOTO CORNERS FOR A CUSTOM LOOK
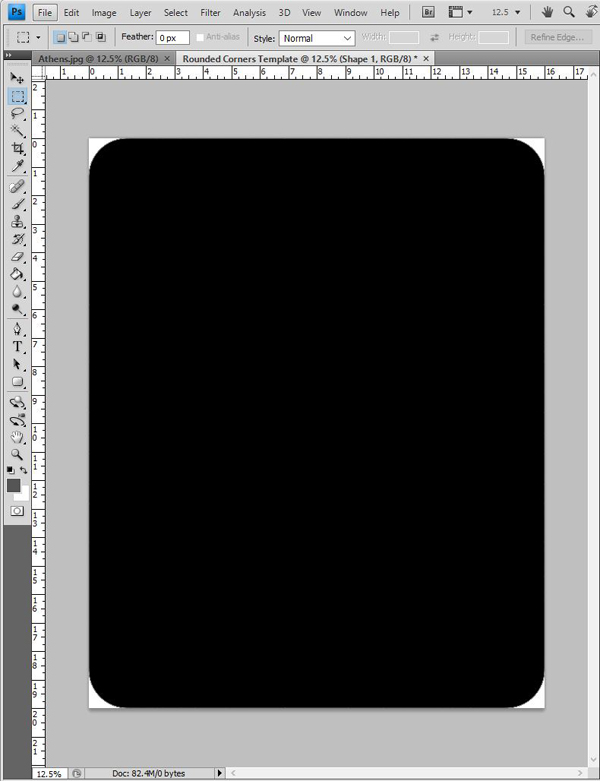
Under the “Layer” menu at the top of the Photoshop window, choose “Flatten Image” to merge the black and white layers together.
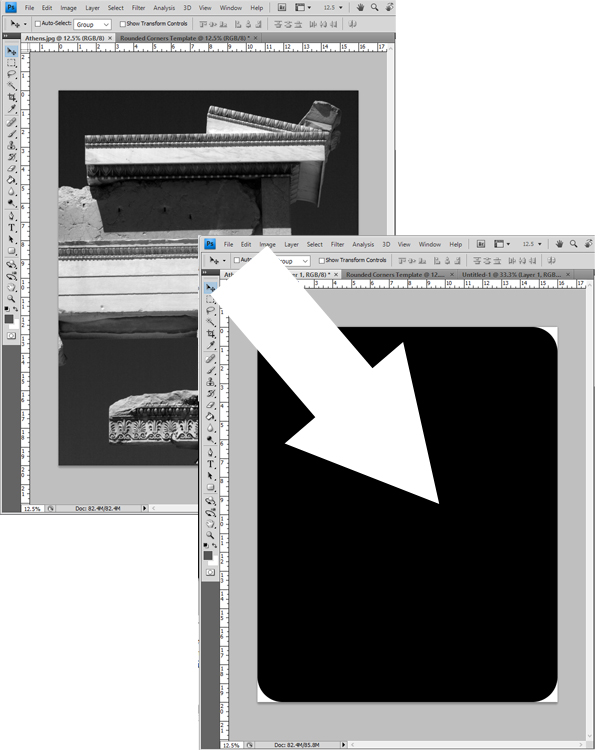
Now click CTRL+C to copy this rounded corner rectangle template, and then paste it on top of the photo that you resized in the first step.
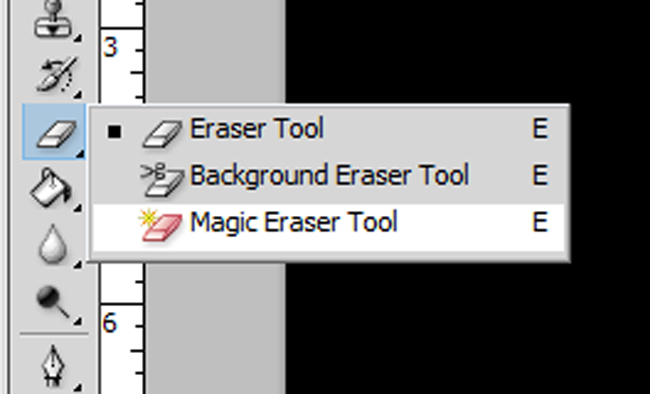
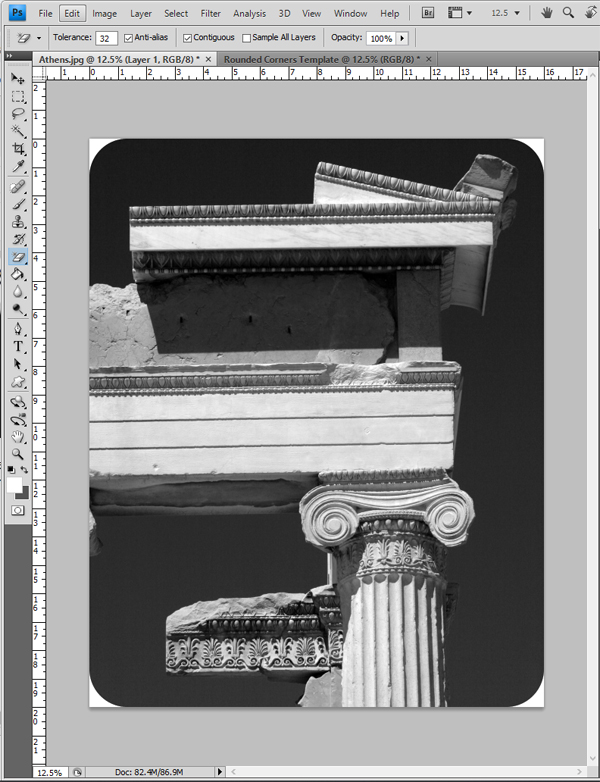
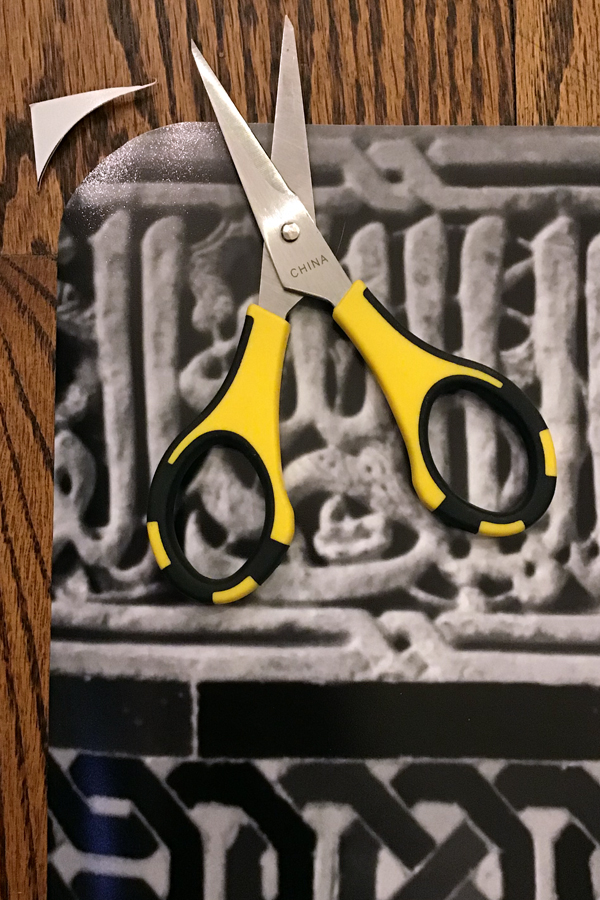
Save your photo, and it’s ready to be printed. Repeat these steps for each photo – paste the black rounded rectangle template on top of each photo, use the magic eraser tool to erase the black and leave just the white corners, save, and print.
