So much drama in ORC…
What would the One Room Challenge be without a few challenges and a little drama? The good news is that I now have the new home office flooring of my dreams. The bad news is that, due to some unexpected challenges, it cost a lot more than we’d planned, and we won’t be continuing these beautiful new floors throughout the rest of the basement as I’d hoped.
Let me explain. After completely cleaning out the office (in last week’s ORC post I showed you how I tackled the huge mess), the first thing on my to-do list was replacing our ugly carpet with new, solid surface flooring.
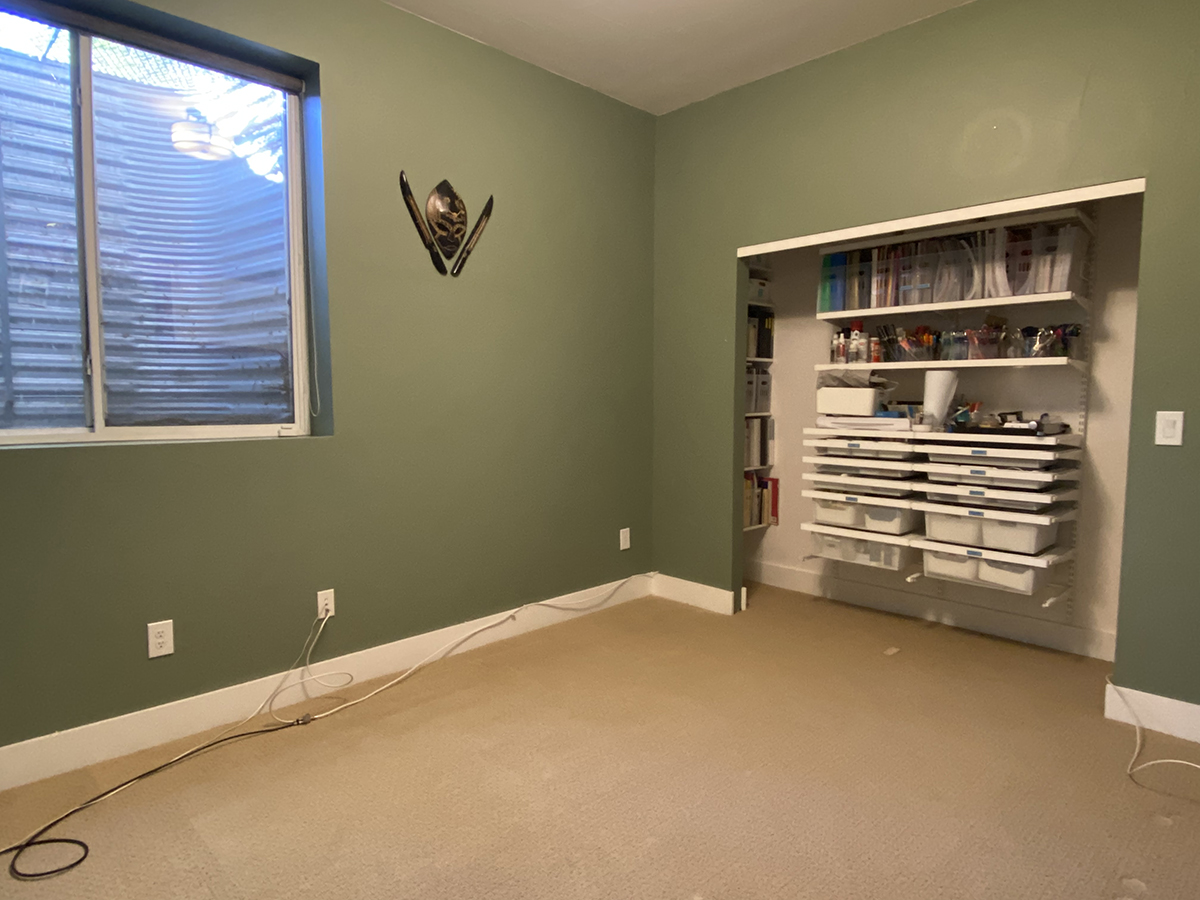
I wanted the look of hardwood in the home office, but since it’s located in the basement, real wood wasn’t a possibility. I researched our solid surface flooring options and compare the pros and cons of laminate vs LVT. After talking to quite a few people, we were convinced that luxury vinyl tile (LVT) was our best bet. Next up, we compared prices and color options for different LVT brands. Our favorite – and the best deal we found – was CoreTec from CarpetExchange in the color Galveston Oak.
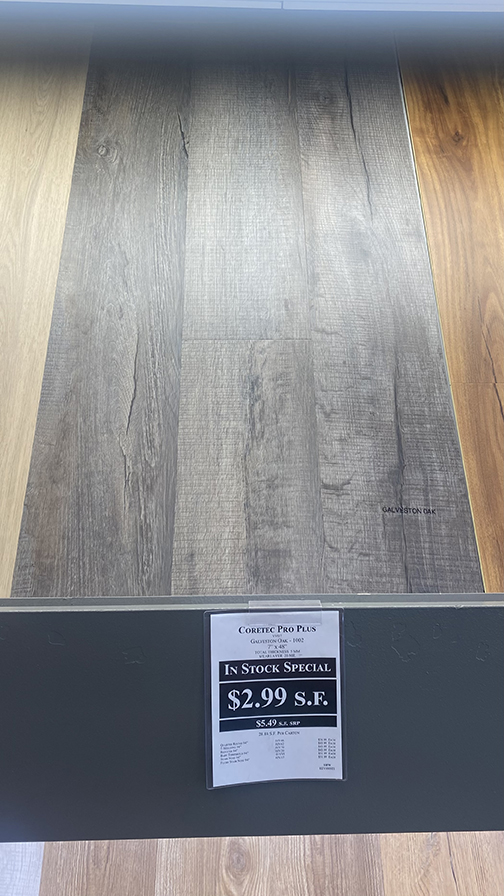
Though we started shopping for the home office, I started envisioning how great it would look to have this flooring throughout the basement family room/game room as well. The sale price was great, so we decided to order enough for the entire basement. The plan was to have the CoreTec installed in the home office first, and then CarpetExchange agreed to hold onto the remainder of our flooring order until we were ready to install it.
But when the installers showed up to get started on the home office, things got complicated. The removed the carpet and pad, and then came upstairs to inform me that unfortunately, they wouldn’t be able to lay the CoreTec. Wait, WHAT?!
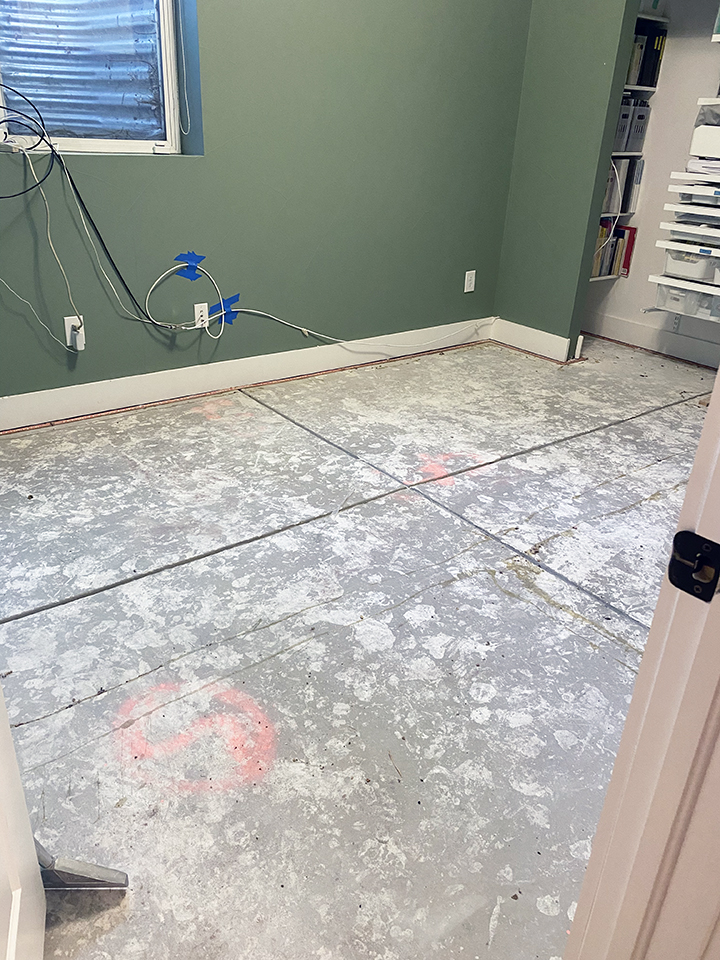
They took me downstairs to show me the problem. The concrete floor was extremely unlevel, as you can see in the photo below. Laying CoreTec requires a very level surface, so they recommended we choose a new carpet and move on. While this is extremely unfortunate, they tell me it’s not at all uncommon. They said that builders typically don’t bother perfectly leveling the basement concrete floors if the plans call for carpet, because the carpet pad tends to disguise the imperfections.
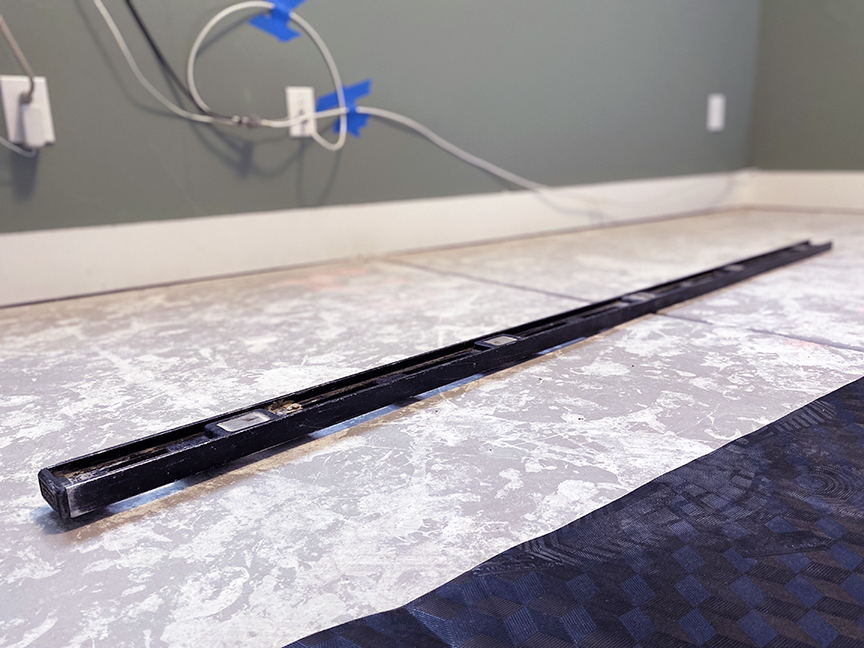
I wasn’t ready to give up on my solid surface floor dreams just yet, so I called the installation manager and begged and pleaded for other options. They said the only way to make it work was to sand down all of the high spots and pour additional concrete to raise the low spots. The quote for this gave us sticker shock (a couple thousand extra dollars of the office alone), so we decided to compromise. We would spend the additional money to level the home office for the CoreTec, but we’d scrap the plans for the rest of the basement. If the entire family room was as unlevel as the office (and it seems that it most likely is), then the cost to level that full space would be totally prohibitive for us.
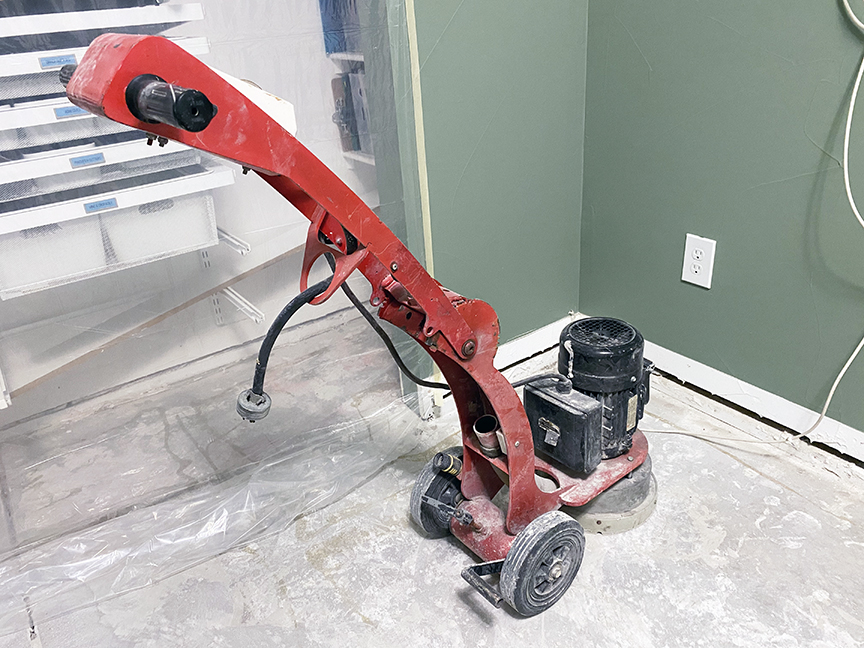
So, moving forward in the office, the first step was for them to sand, and sand, and sand some more. Which, of course, meant a fine layer of white dust on everything despite their best efforts to keep the mess to a minimum.
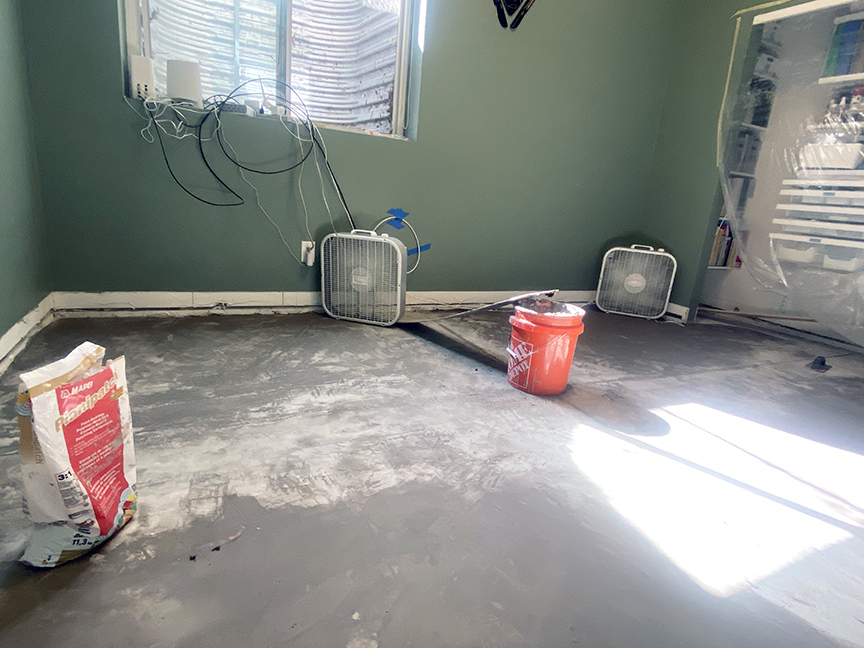
Then, they used Planipatch Fast-Setting Polymer Modified Cement Based Patching Compound to fill in the remaining low spots. We brought in a few fans to help things dry/set a bit quicker.
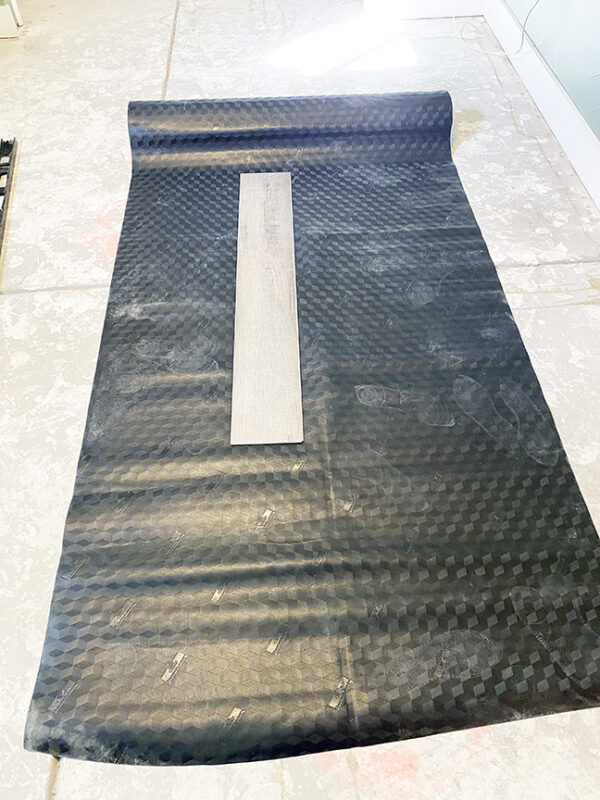
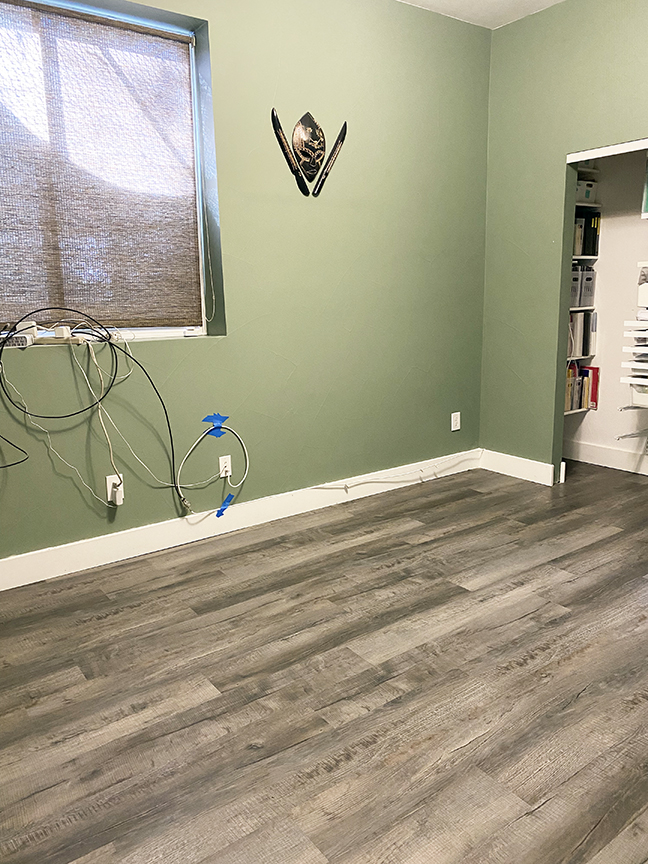
Finally, a couple of days later, they were finally able to install the CoreTec LVT floors. Rather than laying the planks directly on the concrete, the installers recommended an underlayment for better sound absorption, increased comfort underfoot, and to prevent mold and mildew (although this last one is of much less concern in Colorado basements).
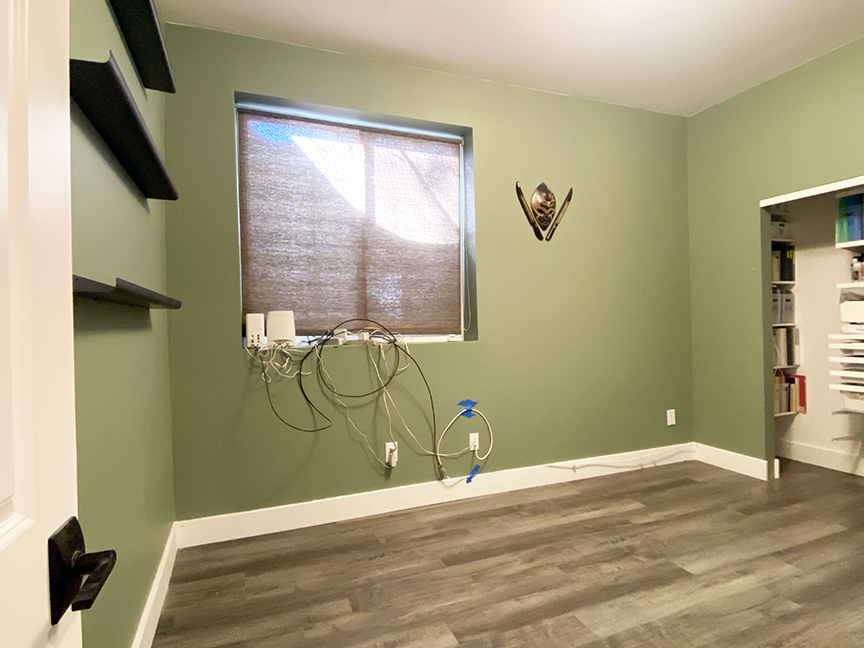
Finally, a few days and a few thousand dollars later… click play to see the transformation:
Although it’s disappointing that we won’t be able to continue this flooring throughout the rest of the basement, I’m thrilled with how it looks in the home office.
Next up on our to-do list are closet doors and paint:
Completely clear the spaceReplace carpet with solid surface flooring- Install new pull-open closet doors (previously removed the bi-pass closet doors)
- Paint walls and closet doors
- Install new light fixture
- Install new window blind
- Select / assemble new furniture
- Select rug
- Create double sided desk
- Set up computers / technology
- Organize new storage spaces
- Hang gallery wall
- Hang other art
- Style the space
A LOOK BACK AT ALL MY PAST ONE ROOM CHALLENGE PROJECTS
It can be interesting to see the week-by-week progress of a big project, but if you prefer the satisfaction of the final reveal, check out the eleven One Room Challenge spaces that we’ve completed over the past decade:
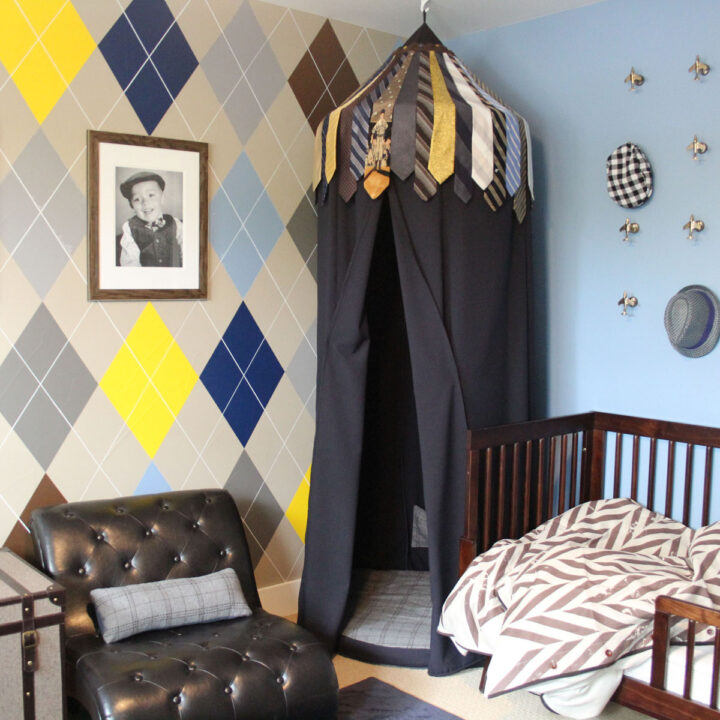
Menswear Themed Boy's Bedroom
I participated in my very first One Room Challenge back in the spring of 2014. Baby #2 had recently entered our lives, and needed the nursery, so I designed a menswear themed boy's bedroom for my older son, who was 2.5 at the time. Since that time, the boys now share a different room (also an ORC project below), and we recently made some minor updates to turn this room from a toddler room to a playroom / hangout room.
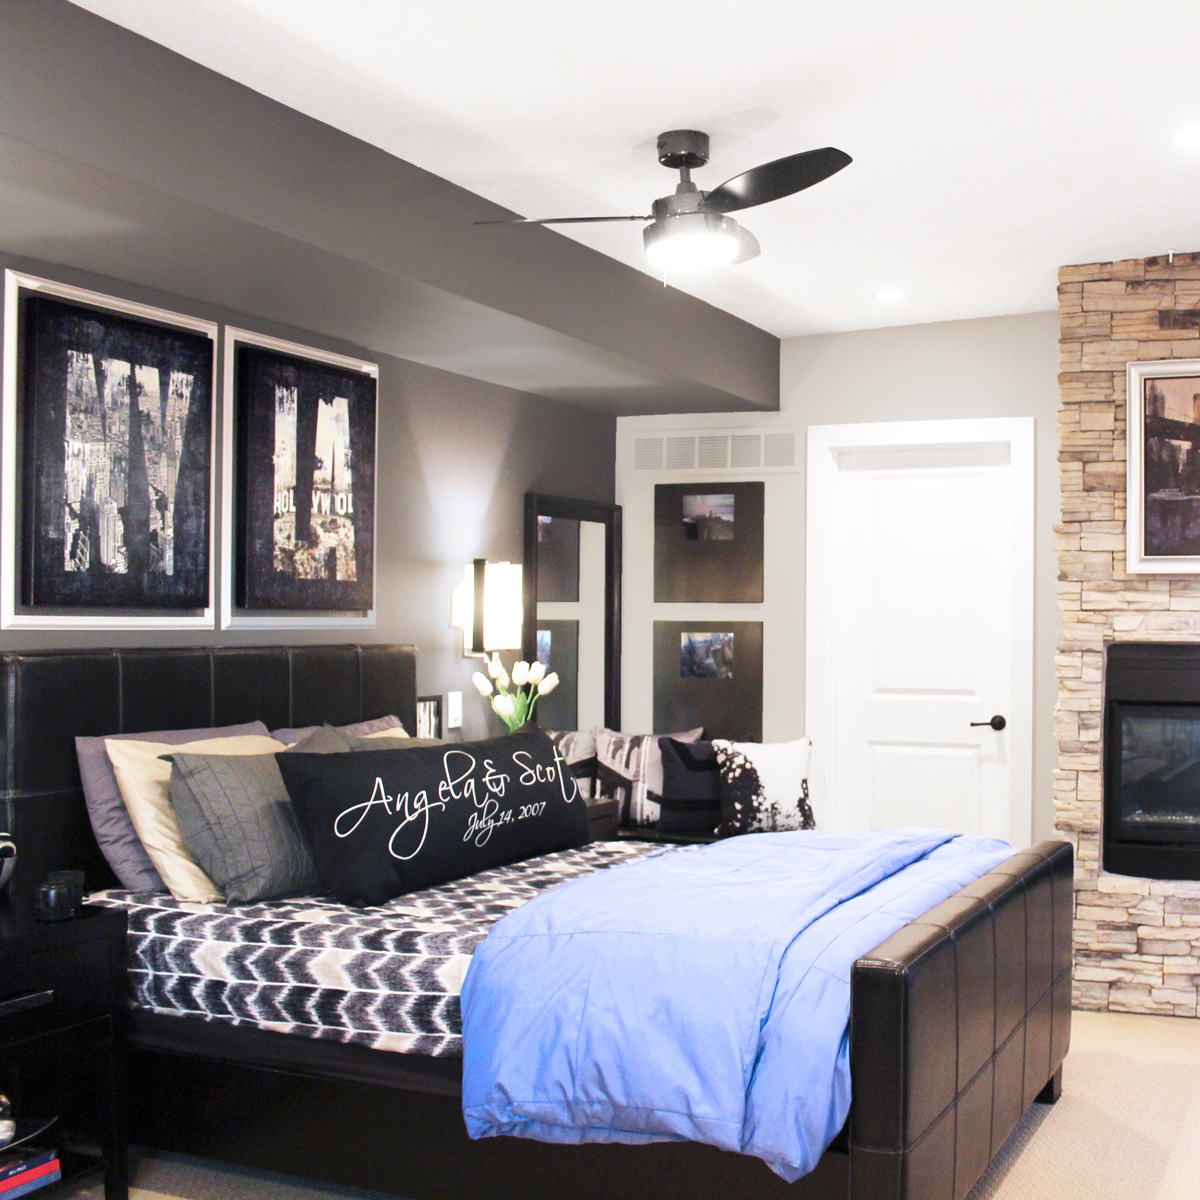
Master Bedroom Makeover Without Replacing the Furniture
The next ORC round, in the fall of 2014, I turned my attention to our master bedroom, which had been largely neglected in the six years since we'd move into our home. I made a big impact in this space without replacing any of the furniture, or even changing the placement of the furniture in the room.
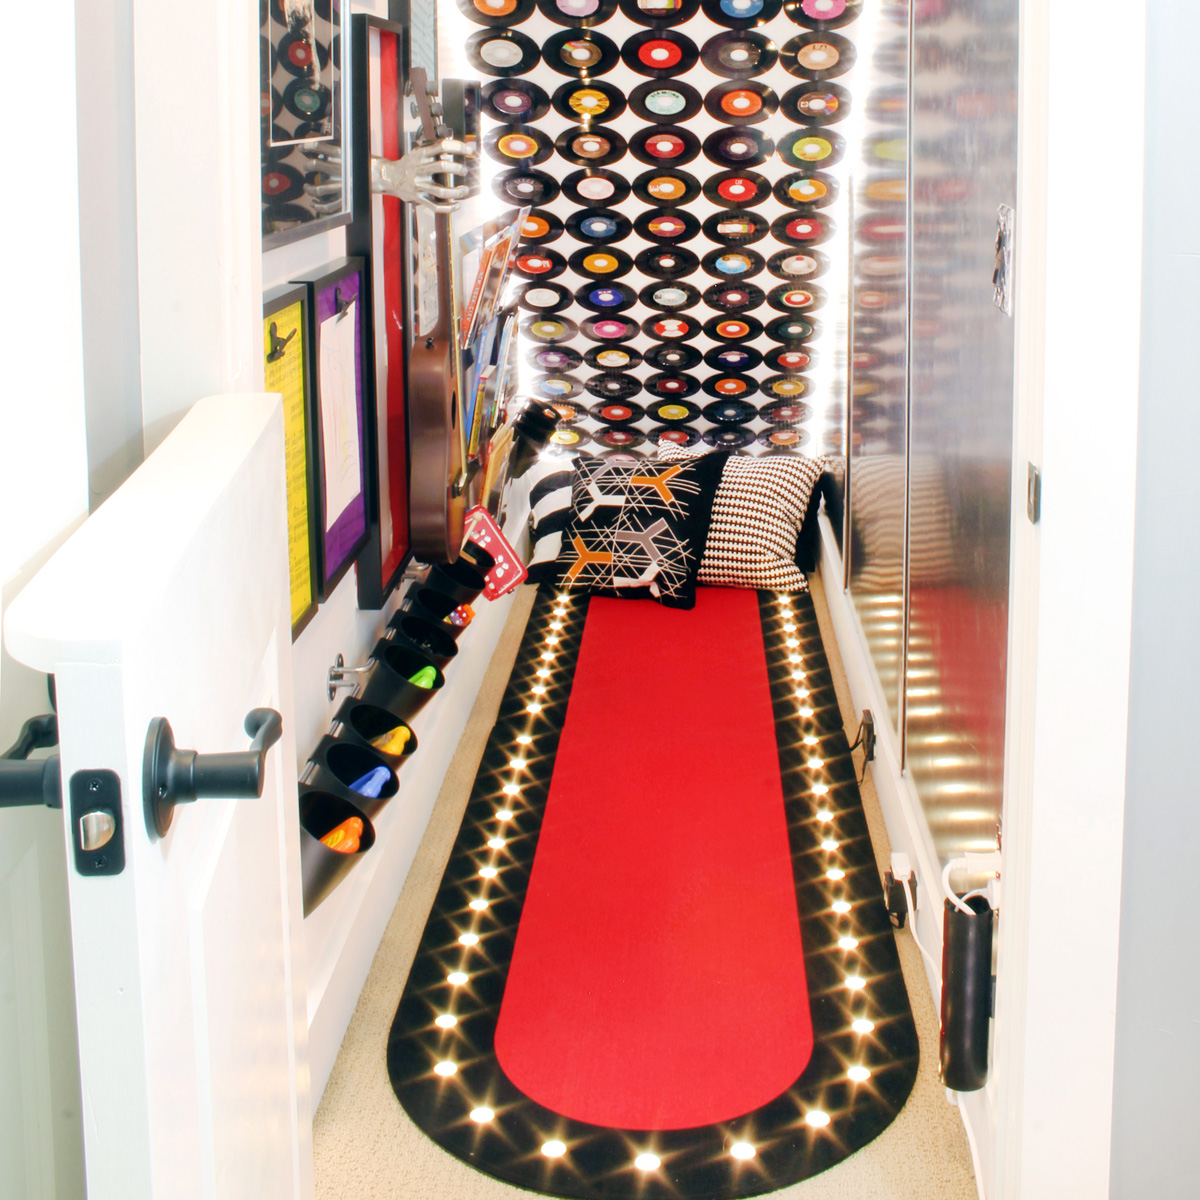
Rock 'n' Roll Playroom Under the Stairs
In the spring of 2015, I converted the storage space under our basement stairs into a rock 'n' roll inspired playroom for my boys. At only 3 foot by 12 foot, it's one of the smallest spaces I transformed, but what it lacks in size it more than makes up for in style and fun! This is still one of my very favorite projects to date, and it was featured in print in 5280 Home magazine!
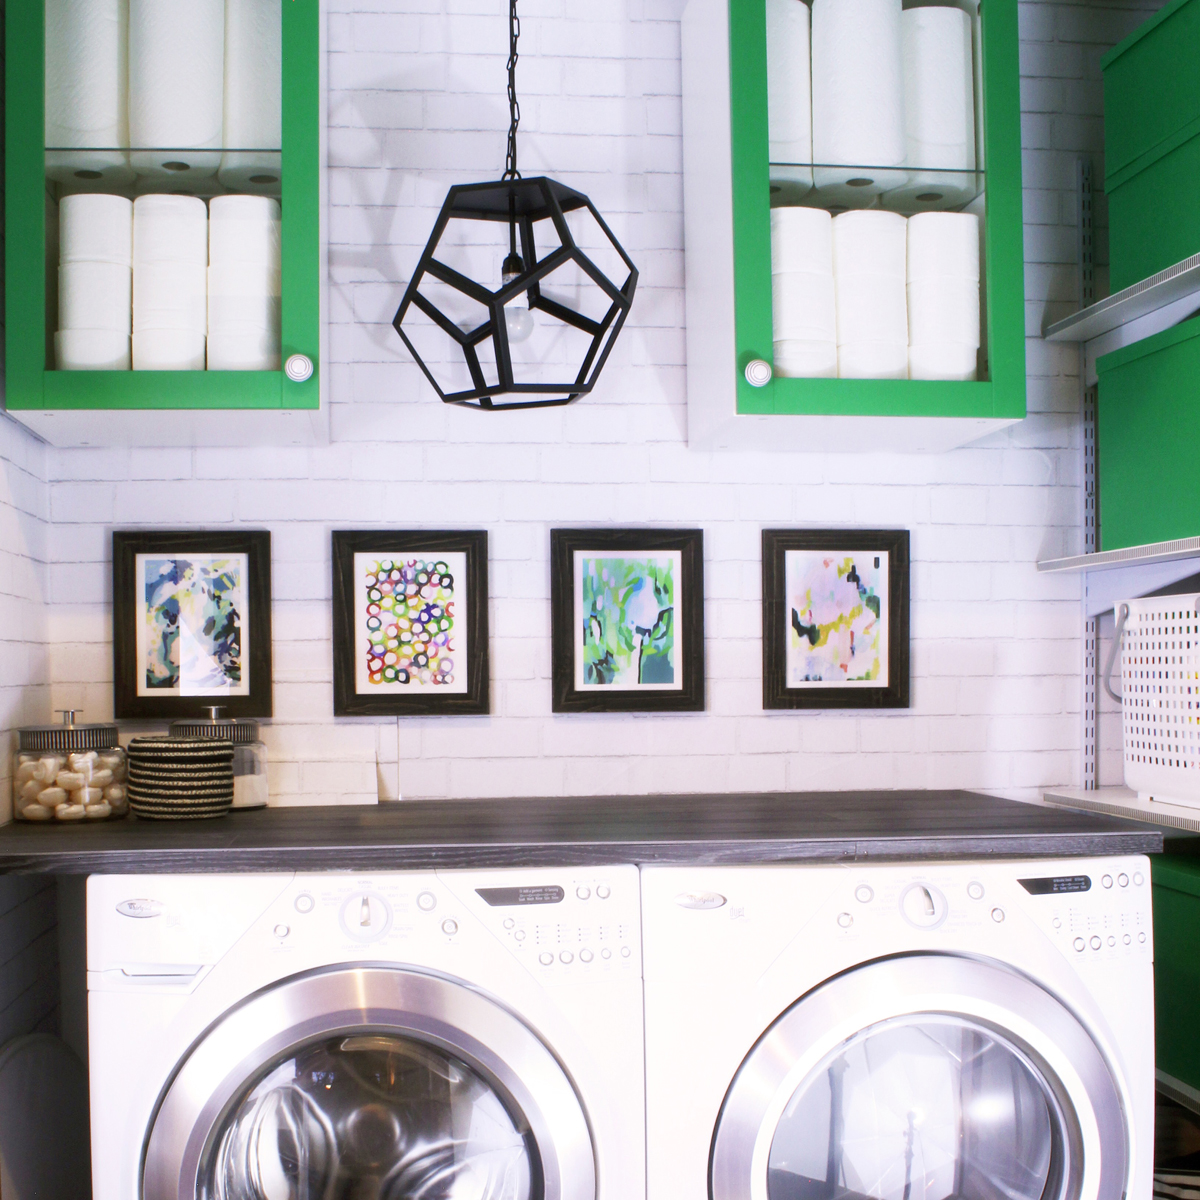
A Laundry Closet That Functions Like a Laundry Room
In the fall of 2015, I finally achieved my goal of making our laundry closet feel and function more like a laundry room by adding tons of style and storage, including removable wallpaper and, a hanging light fixture, and bold cabinets.
Modern Master Bathroom Makeover
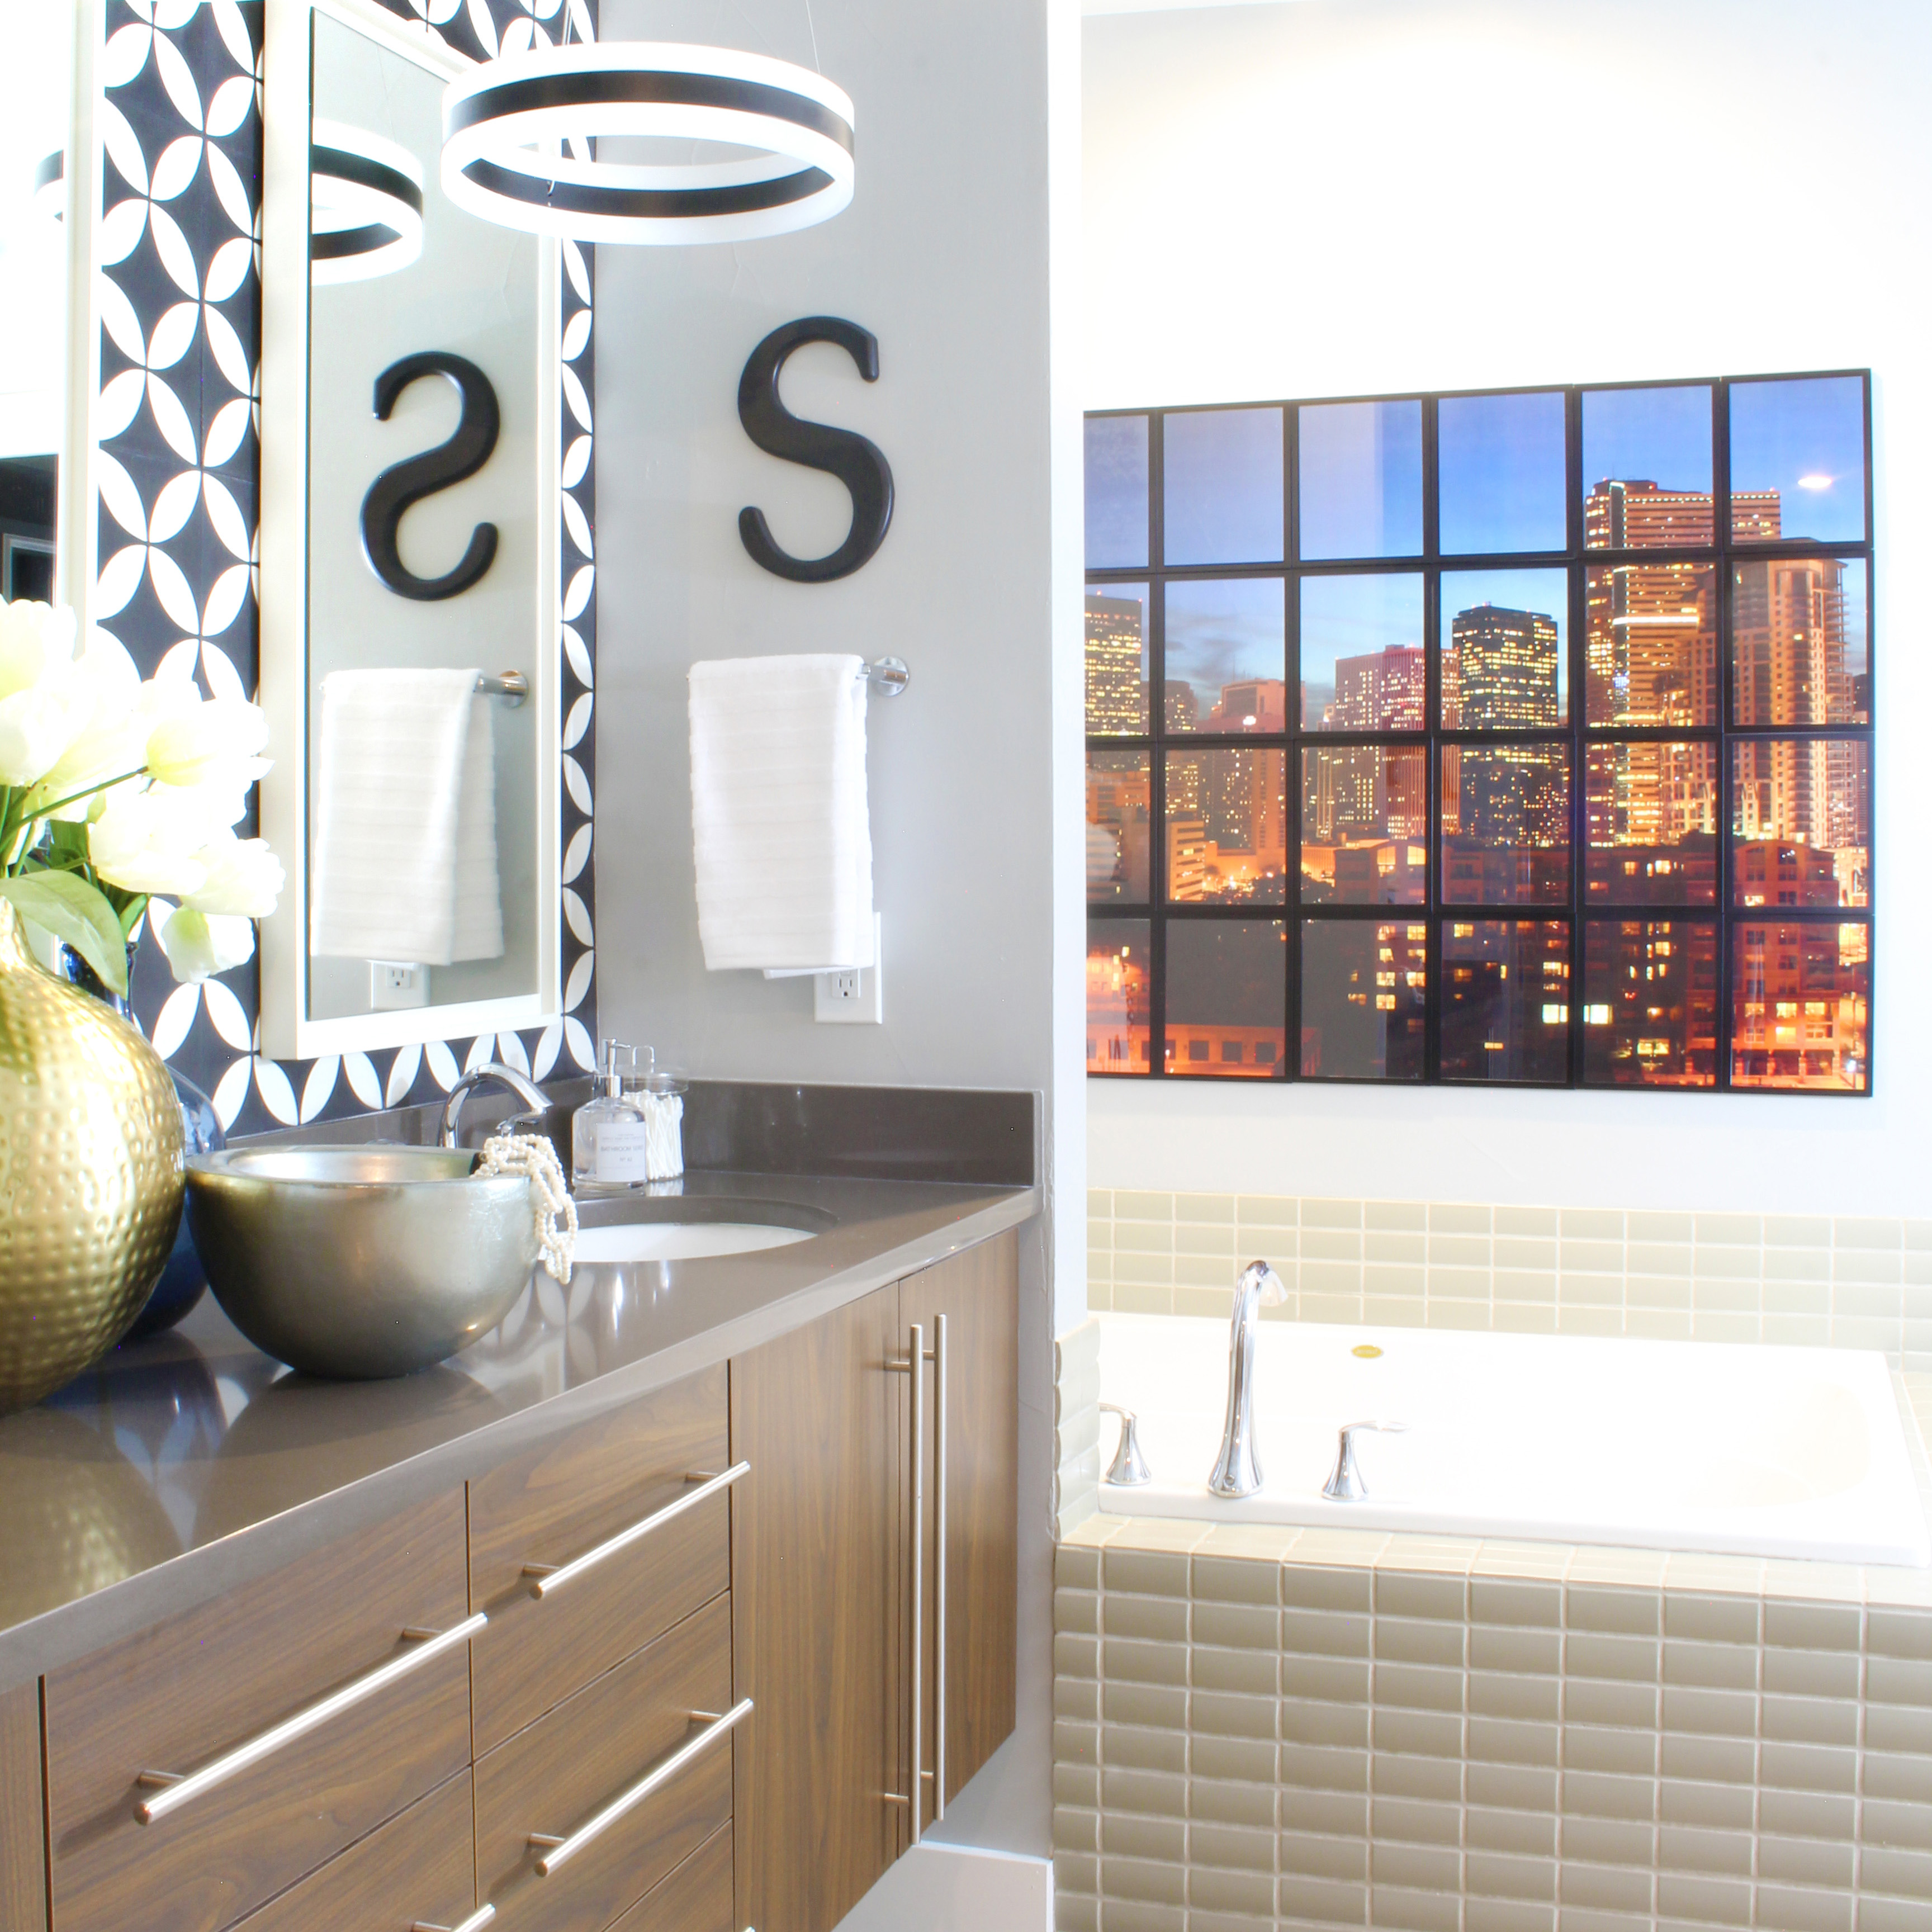
The following spring, in 2016, I updated our master bathroom to match the "graphic glam" style of the adjoining bedroom. The wall of graphic black and white cement tile and statement light fixtures are the stars of the show. I was thrilled with what a huge transformation we created in this space without replacing any of the existing cabinets or fixtures.
Garage Organization with Style
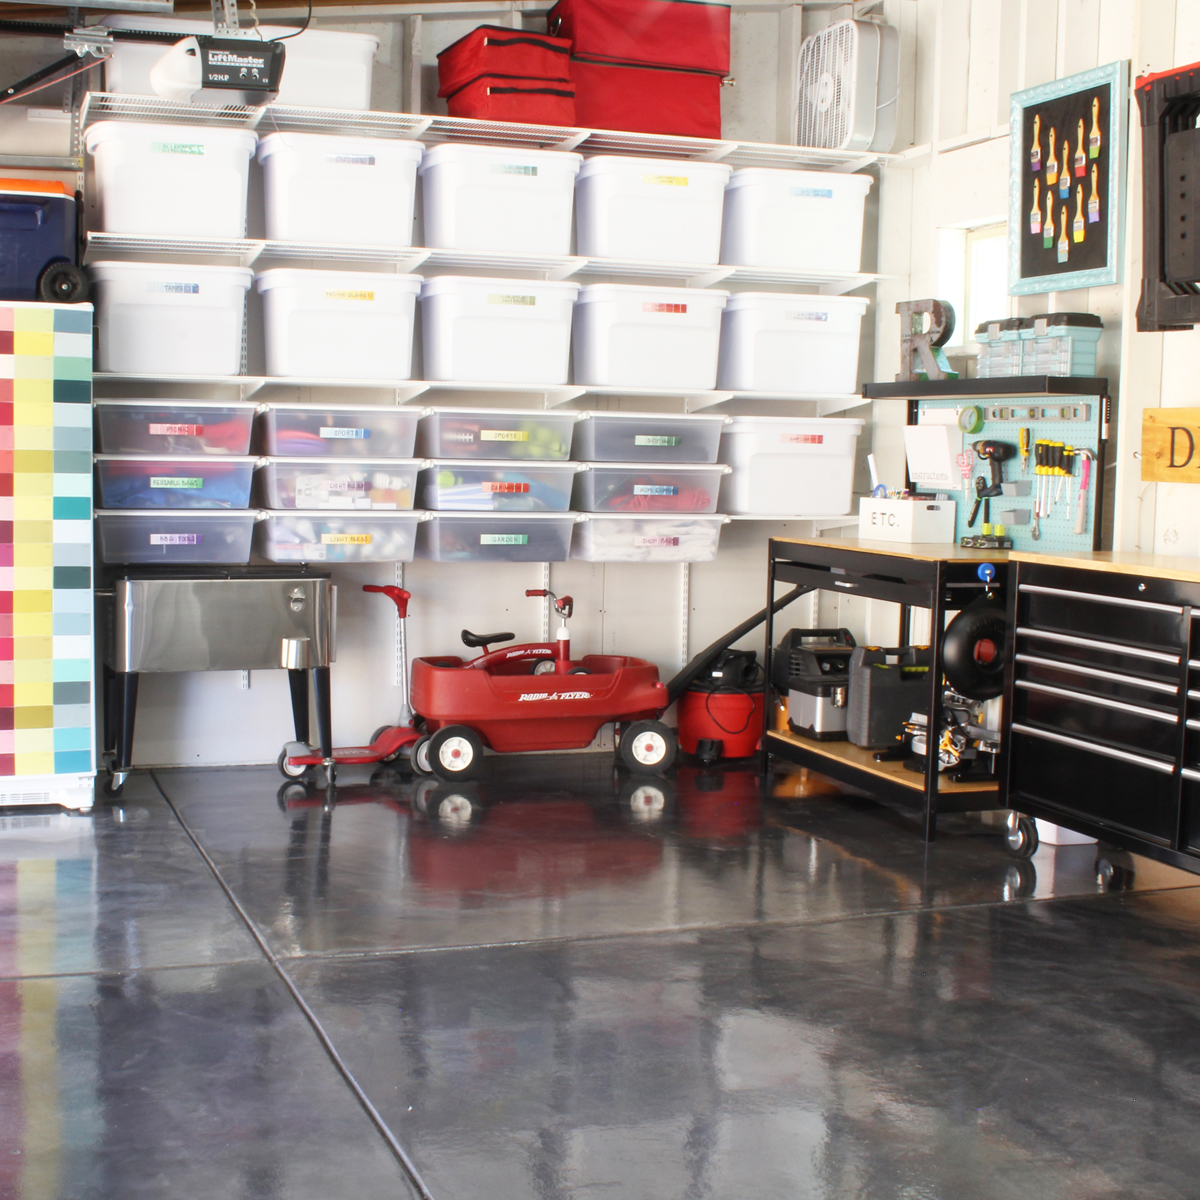
Later that fall, I tackled the much dreaded garage! I was hoping to just create a more functional storage space, but in the process of cleaning and organizing, thanks to some creative DIYs, I also managed to make the garage pretty! I was incredibly honored to have our garage makeover featured on a two-page spread in the March 2018 issue of Better Homes & Gardens magazine!
A Small Shared Boys' Room with Bunk Beds
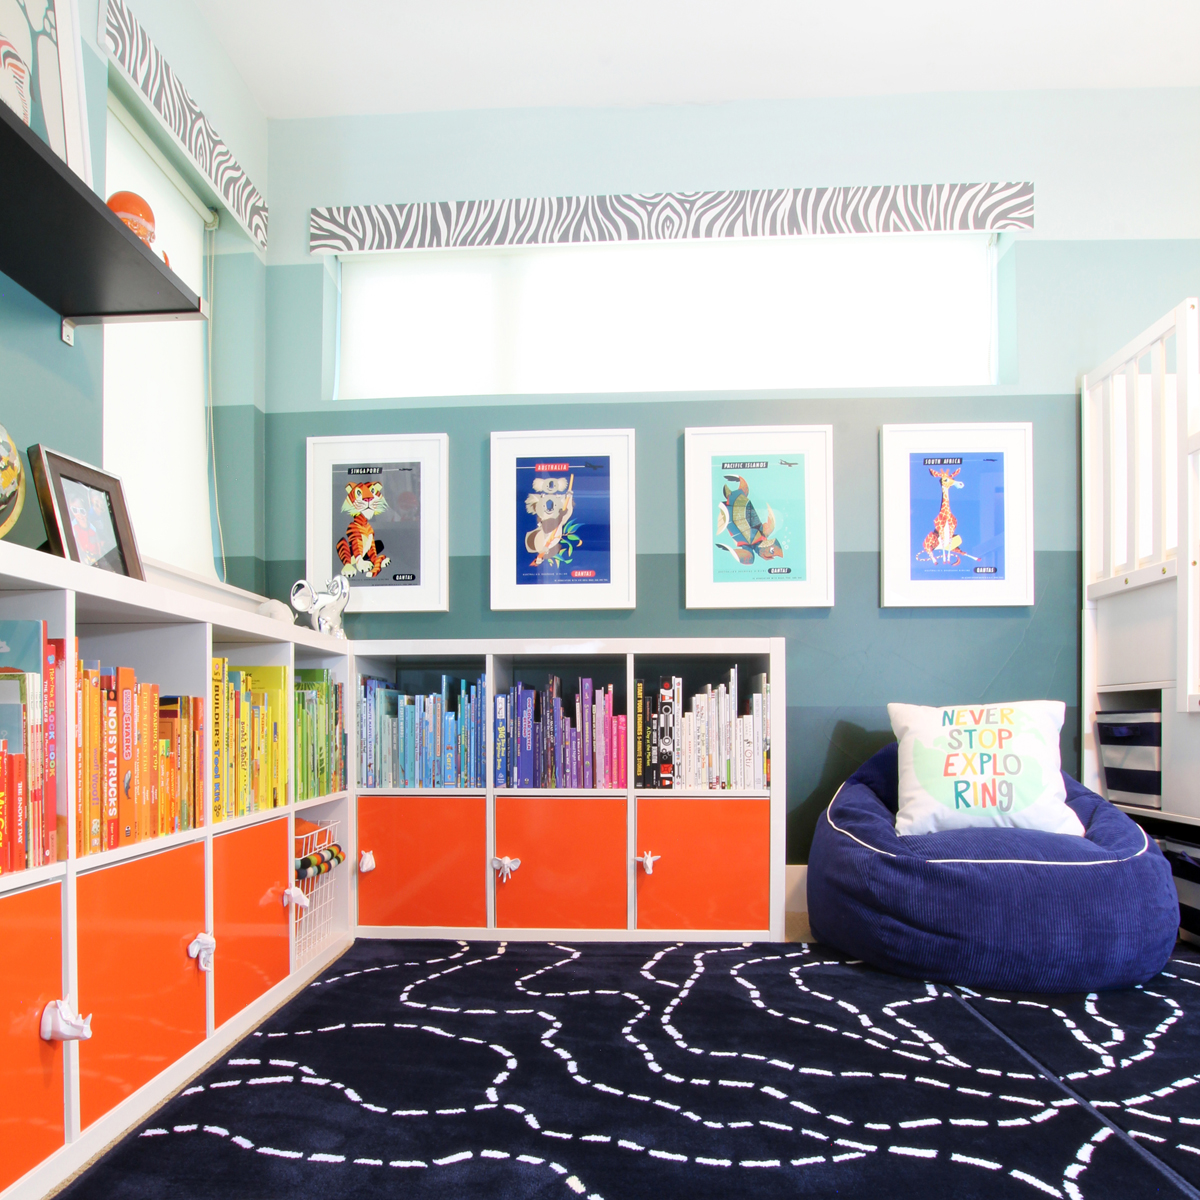
In the spring of 2017, my boys (then 3 and 5) were begging for bunkbeds, so we turned the former nursery into a shared boys room, complete with lots of color and tons of storage for books and toys.
Modern Kitchen Dining Area
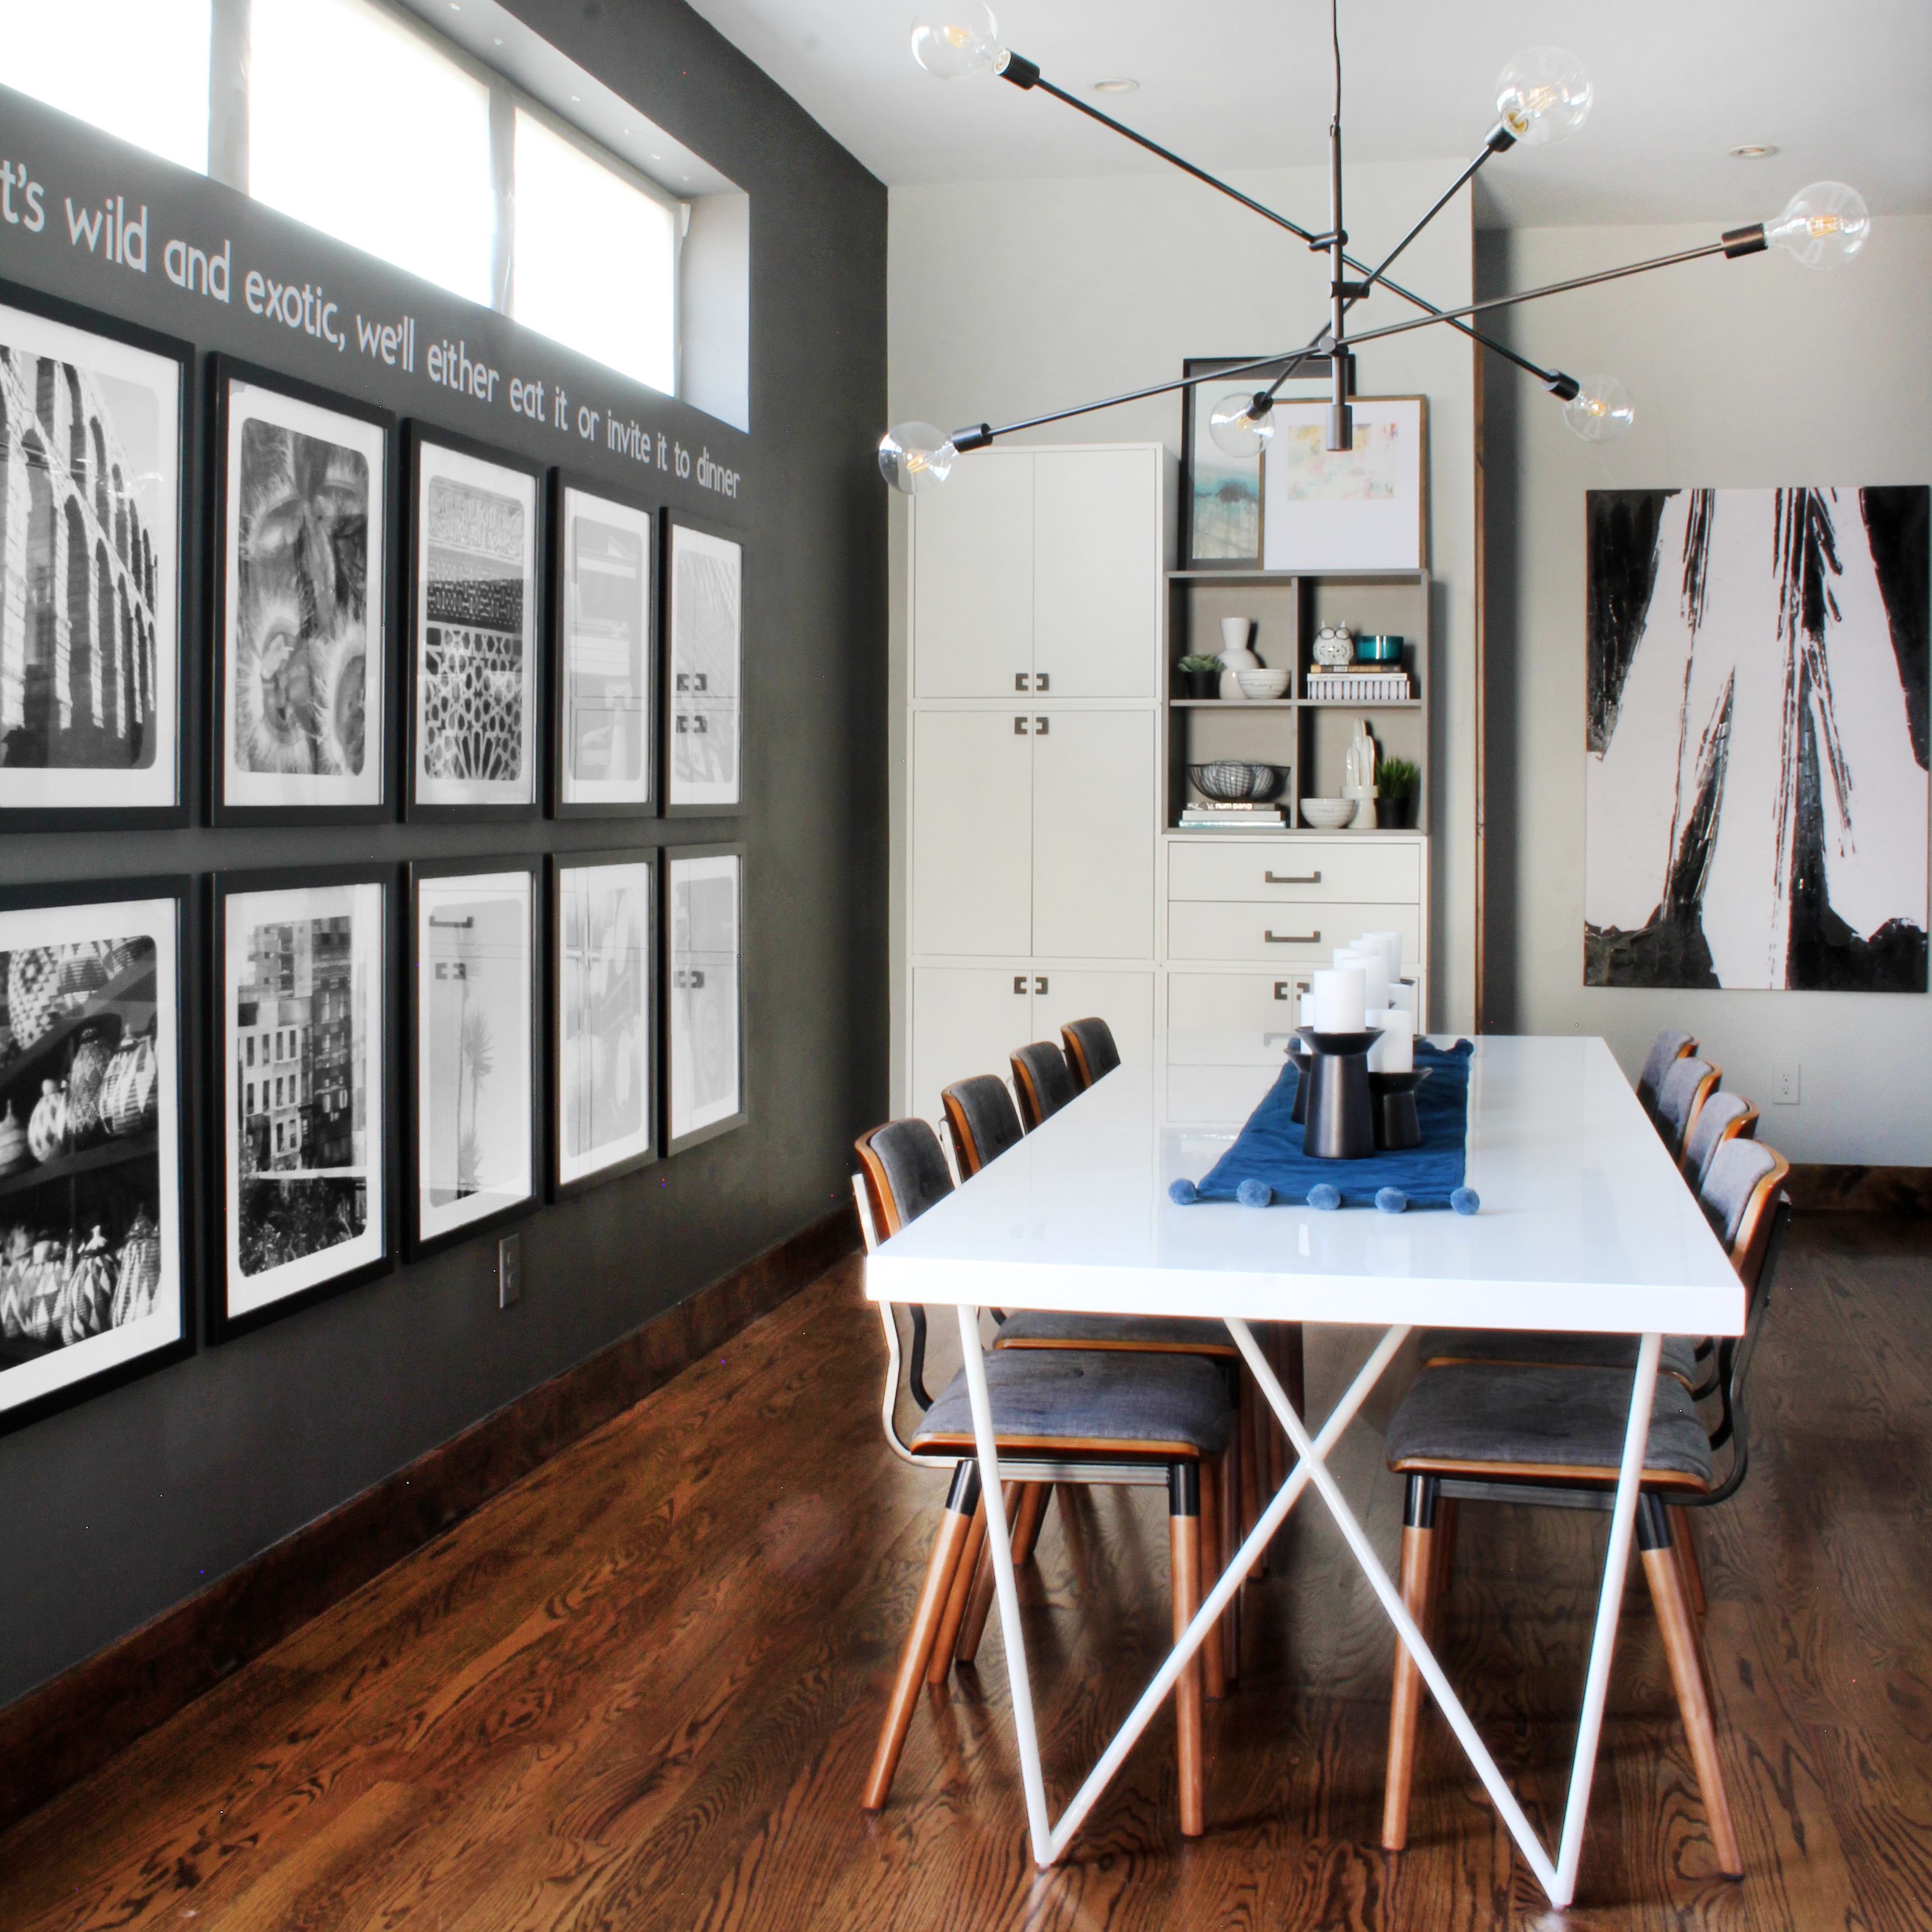
In the fall of 2018, I took on a modern dining room makeover. We added more storage, finally found a solution to an awkward wall, and made a big statement on the kitchen island. And we did it all on a budget.
Colorful Rooftop Retreat
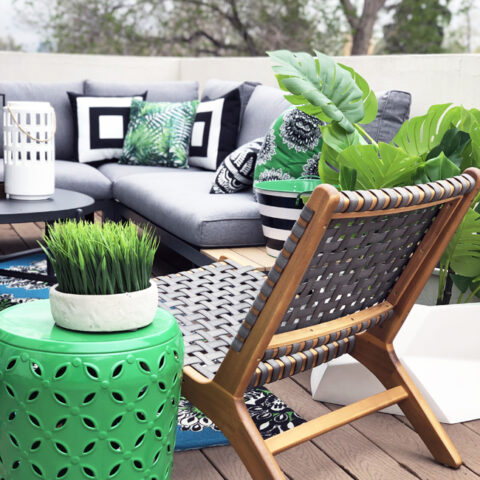
In the spring of 2019, we turned our unused deck off of our master bedroom into a colorful and comfortable rooftop retreat for the whole family to enjoy. This deck is perfect for lounging and enjoying the summer weather, and when the sun goes down, it quickly transforms into an outdoor movie theater.
Ultimate Game Room
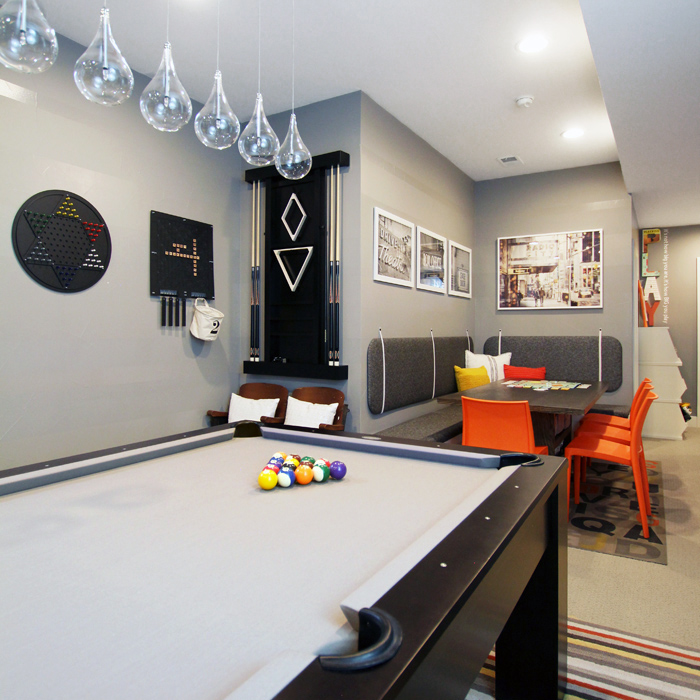
In the spring of 2021, we turned our basement family room into the ultimate game room, complete with a custom-built game table, comfy banquette seating, and tons of hidden storage for all of our games and puzzles. On the other end of the basement, our home theater includes a stylish popcorn and candy bar.
Bright Basement Bathroom
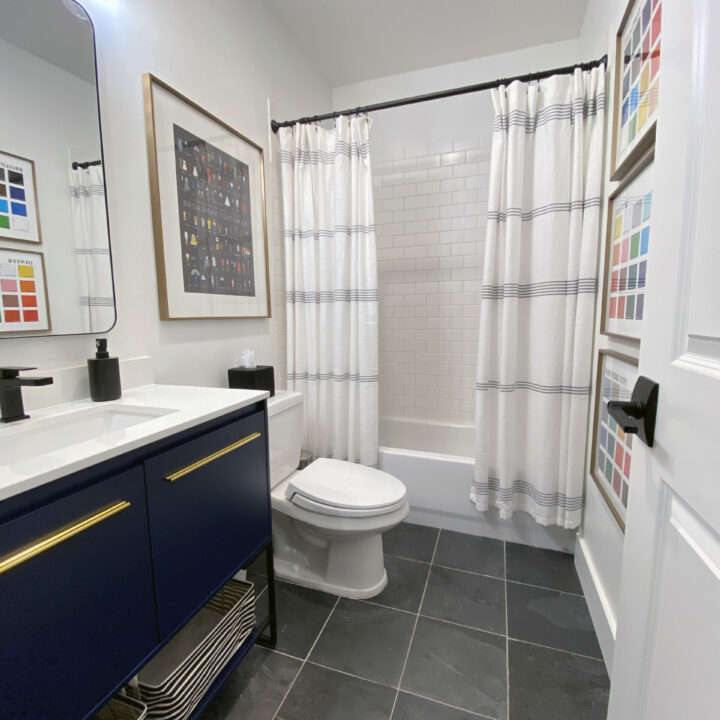
In the fall of 2021, we took our orange basement bathroom from bold but boring to a bright and stylish space. The playful artwork reflects our family's love of the theater.
