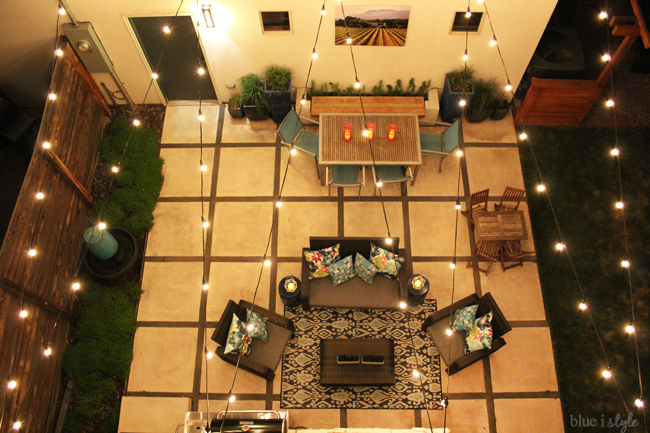
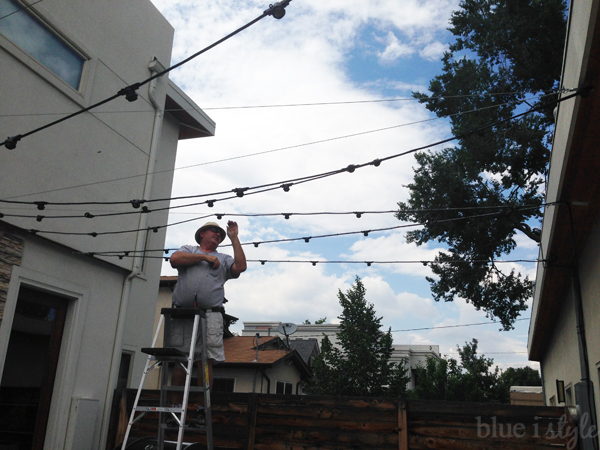
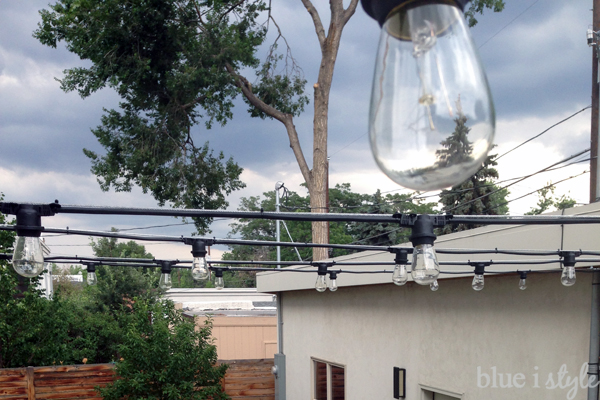
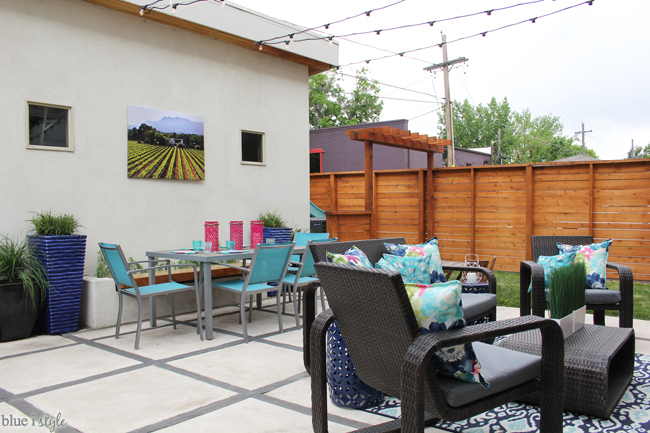
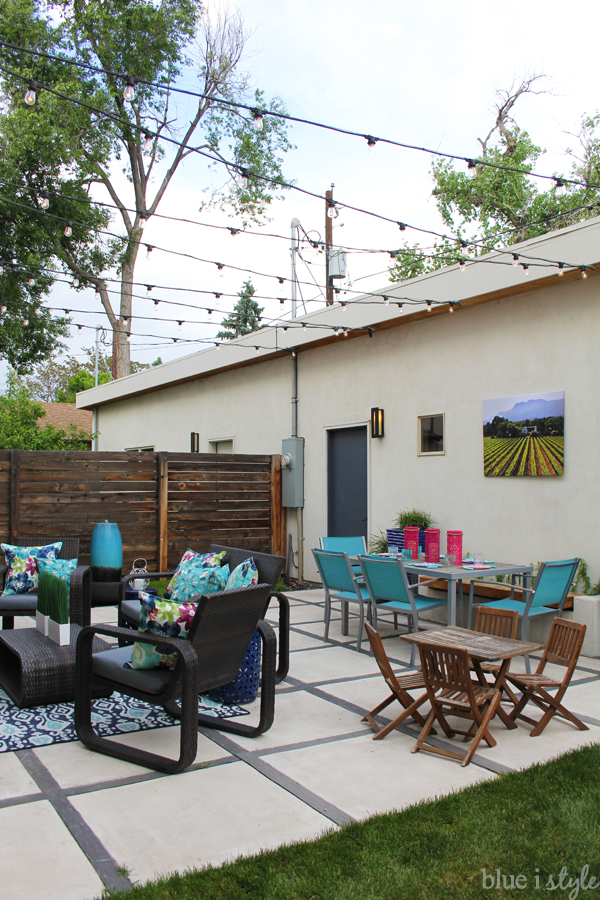
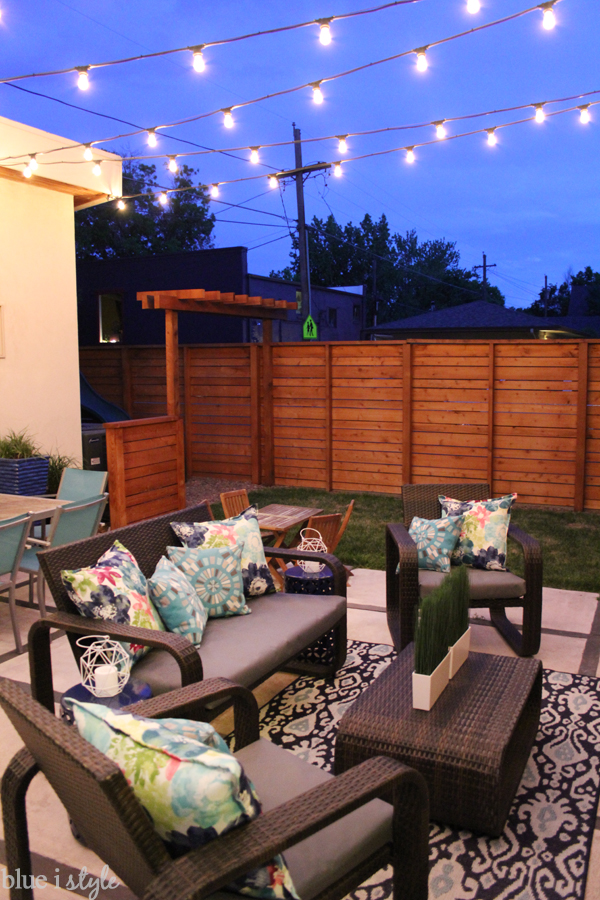
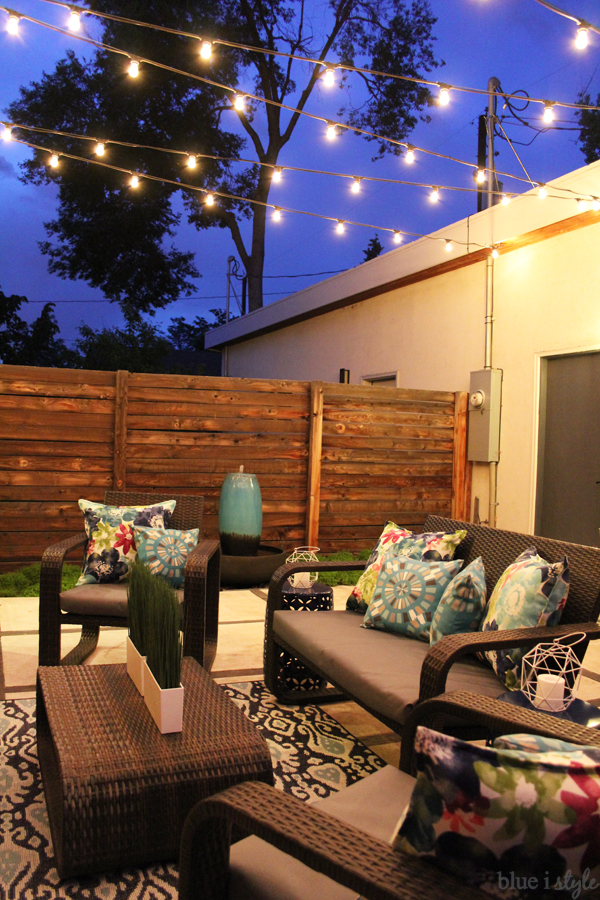
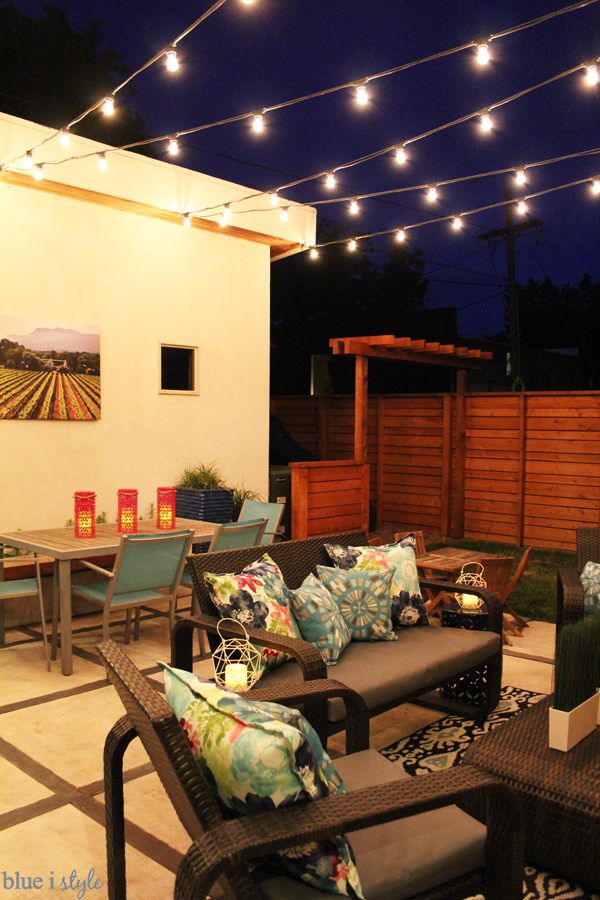
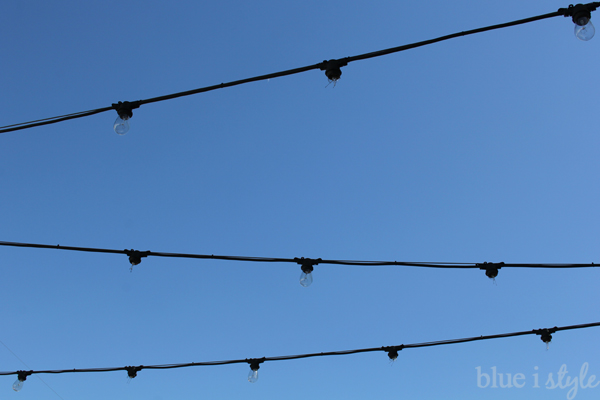
Our backyard patio is situated between our kitchen and our detached garage, so I always envisioned lights strung back and forth between the house and the garage.
PLANNING FOR & PURCHASING PATIO STRING LIGHTS
I honestly think that figuring out the layout for the lights and determining the lengths, wattage and socket spacing was harder than the actual installation of the lights. However, I fully admit that is probably a biased perspective because since I was in charge of the measuring and planning, but I didn’t have to do any of the work of installing the lights.
Nonetheless, planning is obviously an important step, so let me show you the plan we came up with. As we went along, I learned that there is a lot more to it than just measuring for the length of your string lights, and it can get pretty confusing, so I’ll try to sum up all of the things you need to consider before purchasing your string lights.
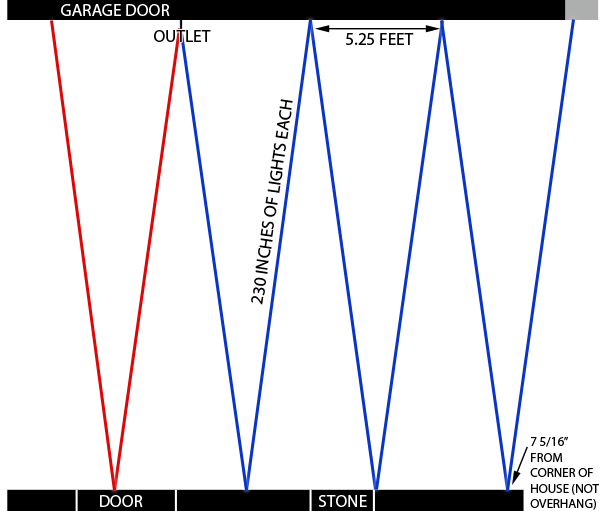
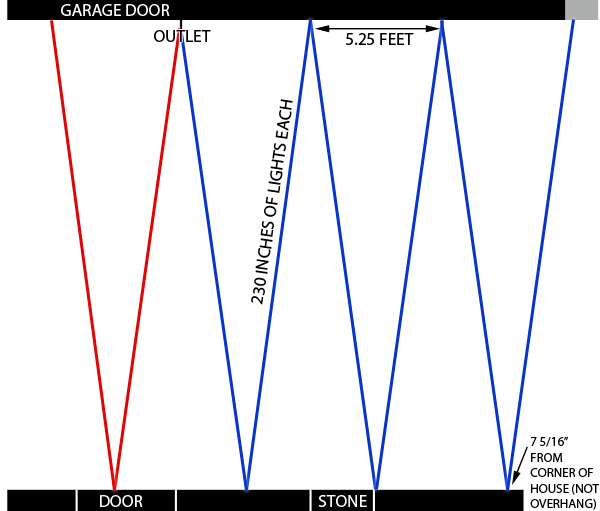
Because of the placement of our outlet in the garage eave, we actually used two separate strands of lights {as represented by the red and blue in the diagram below}. Each strand plugs in to the outlet on the garage eave, and then zig zags back and forth between the garage and the house. We measured the length of the garage, including the overhang of the roof line. Taking into account the location of the electrical outlet, we determined that 5.25 feet between points would allow us to have five evenly spaced connection points, as illustrated in the diagram below. {The gray in the diagram represents where the roof line extends beyond the garage building.}
We then identified four corresponding connection points on the house side of the patio – each evenly spaced between the connection points on the garage. Knowing the distance between the garage and the house, and given the 5.25 foot distance between connection points, we were able to calculate the length of each zig {or is it a zag?} at 230 inches. Who ever said you’d never need the Pythagorean Theorem in real life?!
- Commercial Grade String Lights from PartyLights.com {discussed above}
- 1/16″ Wire Rope
- 1/16″ Wire Rope Clamps
- Eye to Eye Turnbuckle
- Screw Hooks
-
Zip Ties
- Outdoor rated plugs
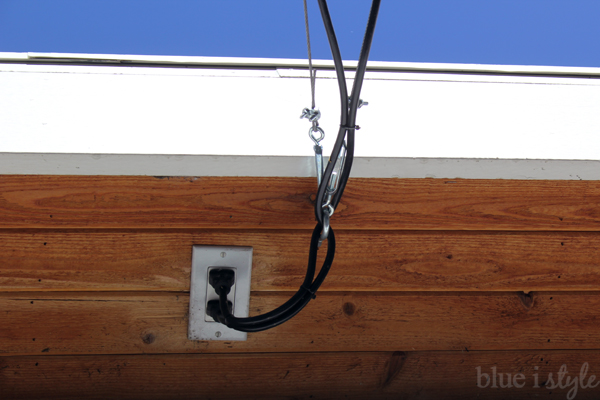
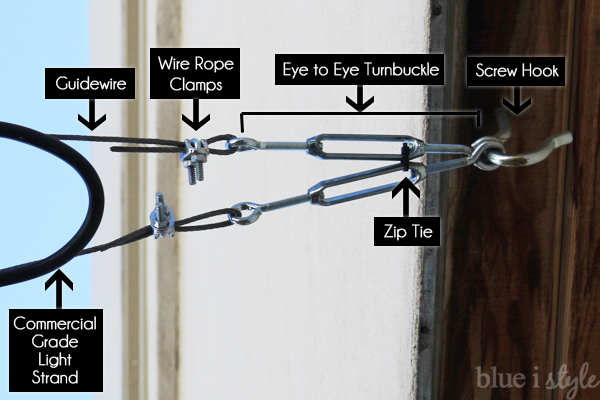
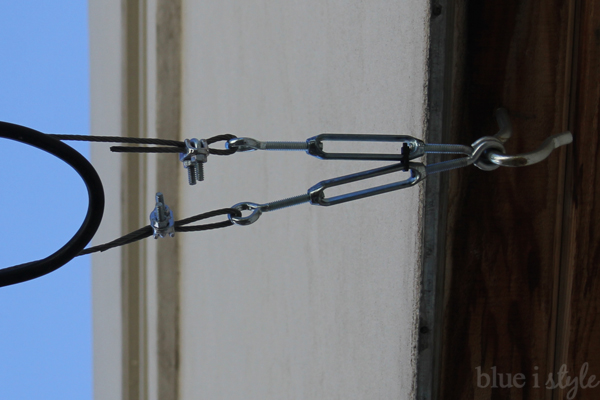
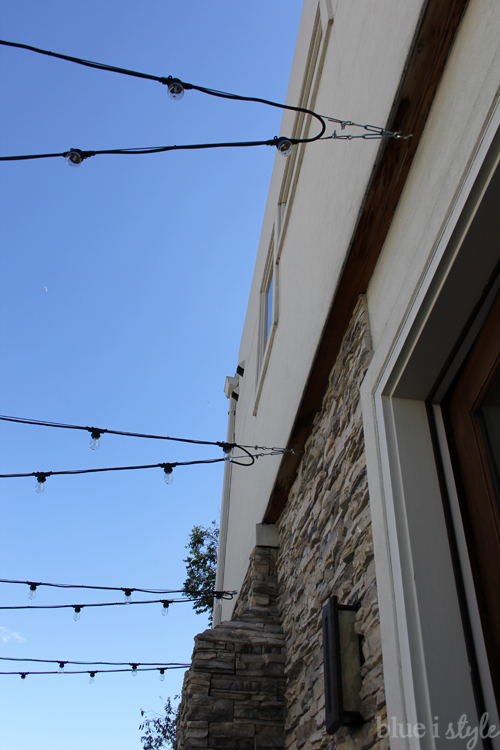
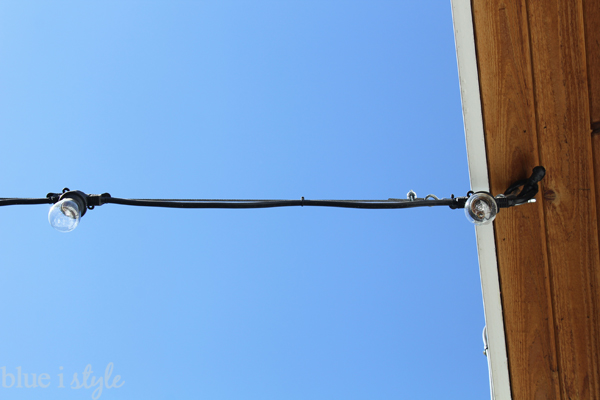
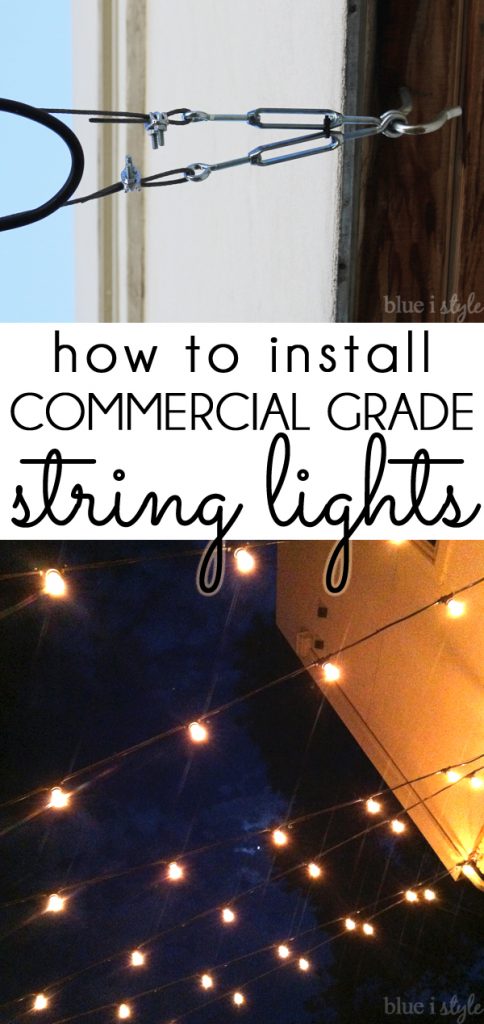
The screw hooks at each far end of the garage have just one eye to eye turnbuckle {because this is where the string lights end}. All of the other screw hook has two turnbuckles on it, so the guys zip tied the two turnbuckles together to secure the position of the each guide wire.
We swapped out the regular light switch inside the garage for a dimmer switch, allowing us to control the amount of light that we get from the string lights at night. When not dimmed, the lights make the backyard quite bright {but not too bright} – perfect for entertaining or letting the kids play at night. But for a quieter backyard dinner, or when relaxing on the outdoor couch, we enjoy being able to dim the lights a bit for more ambiance.
- Late Summer 2015:The backyard renovation is complete! Come see how we made our yard feel twice as big!
- Summer 2016: Backyard Tour – Creating a Colorful Outdoor Living Room
