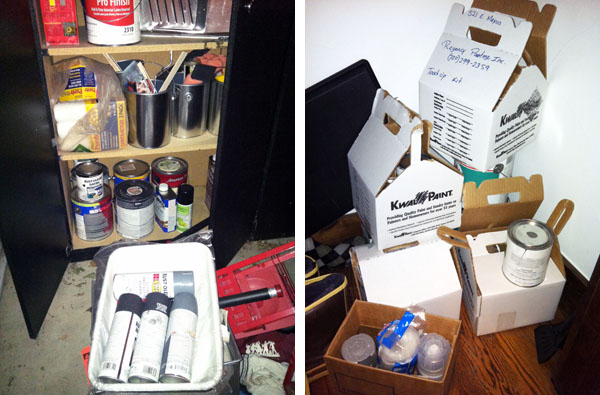
For years, we didn’t have any usable storage space in our utility room, so we were storing all these cans of paint in a very haphazard manner. Some leftover paint was stored on shelves in our detached garage, which was a bad idea since the garage is unheated and allowed the paint to get to cold in the summer (and probably to hot in the summer as well). And all the leftover cans from the builder were stacked up in boxes on the floor of our coat closet, which was definitely not the best use of that space!
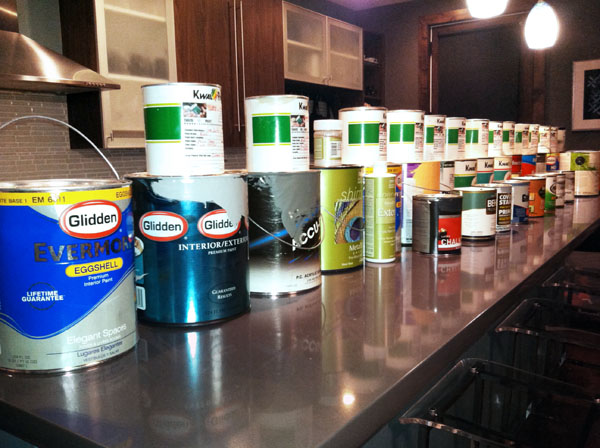
I had been itching to get our paint situation under control, but I first needed a place to put it all. We finally found a way to add shelving to our tiny utility room, so with those shelves in place, I was ready to embark on Project Paint Storage. The first step was to gather all the paint into one place. Wow, that’s a lot of paint!
Once I saw how much paint we had, I realized that I needed to do something more than simply moving all the cans downstairs to our new utility room shelving, so I started doing some research {in blogland of course} to find alternate paint storage ideas.
I quickly learned that mason jars had become the favorite way to store leftover paint. And while I can see the appeal, because the paint looks oh so pretty in those little jars, I knew that wasn’t the best solution for me for a couple of reasons. First, a standard size mason jar holds 16 ounces (or 1 pint), and the majority of my paint cans contained more than a pint. Second, I just don’t trust myself with glass when it comes to something that could be so devastatingly messy if the glass were to break.
This second concern was of particular concern to me because our new utility room shelves are attached to the studs, leaving a gap between the studs large enough for a mason jar to be pushed right off the back of the shelf where it would end up crashing down onto the cement floor.
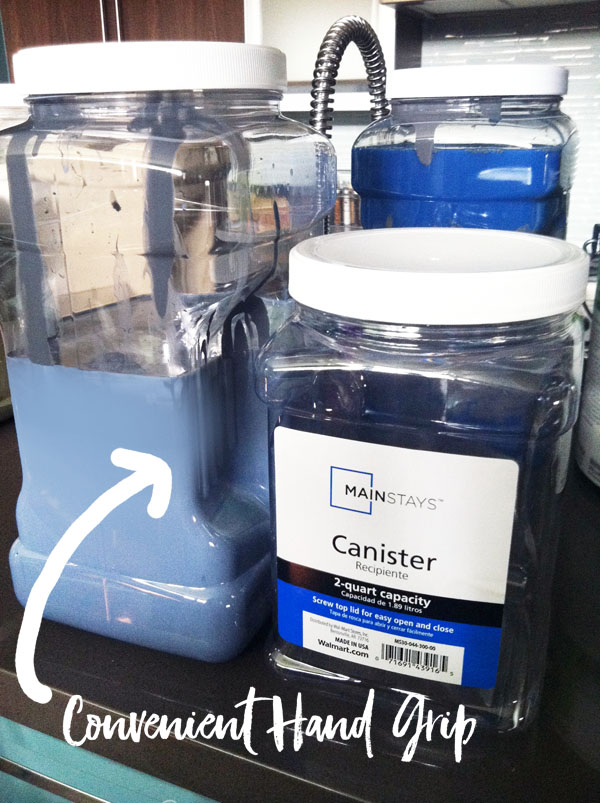
But I liked the concept of transferring my paint to different containers, and I liked the idea of those containers being clear so that I could see the paint color and quantity within each. So I asked the internet, “Can you store leftover paint in a plastic container?” Turns out, the answer is yes! In fact, some paint brands have begun switching to plastic cans. After a little shopping, I found the perfect plastic canisters! This post contains affiliate links. If you buy something I recommend, you’ll pay the same price, but I may receive a small commission.
In addition to being plastic, rather than glass, these canisters have several major advantages:
(1) they come in both 1 gallon and 2 quart sizes (ideal for the quantities of paint I need to store);
(2) they have screw tops that create a nice seal;
(3) their overall square shape allows them to be lined up side by side while taking up considerably less space than a standard round paint can;
(4) they have a great built in hand-grip that makes them easy to lift and pour with one hand;
(5) the canisters can easily be washed out and reused for a different color of paint in the future; and
(6) the price can’t be beat!
A few important notes: I only transferred my latex (water based) paint into the plastic canisters. I have read that oil-based paint will eventually eat through plastic, so I don’t recommend storing oil-based paint in plastic canisters like these. Since oil-based paints suffer the same woes from rusting cans, instead consider using glass to store leftover oil-based paints. Additionally, I will only be storing my latex paint in the utility room. I have a detailed post where you can read about how to properly store and dispose of different kinds of paint, including latex, oil-based, and spray paint.
As I transferred all of our latex paint out of their original paint cans and into the plastic canisters, I needed to create labels for the canisters to capture all of the details, including the paint brand, color name, color number, and sheen. At the same time, I also created a paint reference chart to keep all the details in one place, as well as a simple custom paint deck that I could take with me shopping when matching decor to our paint colors.
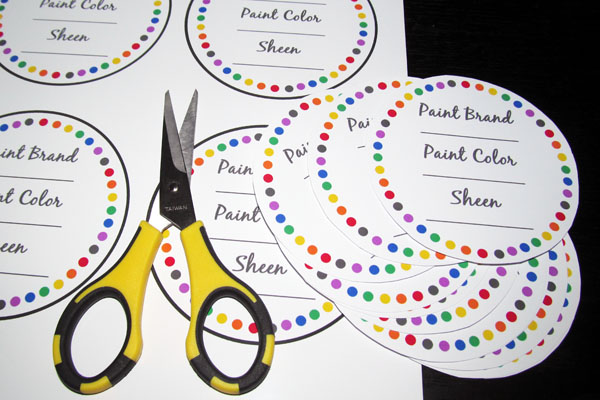
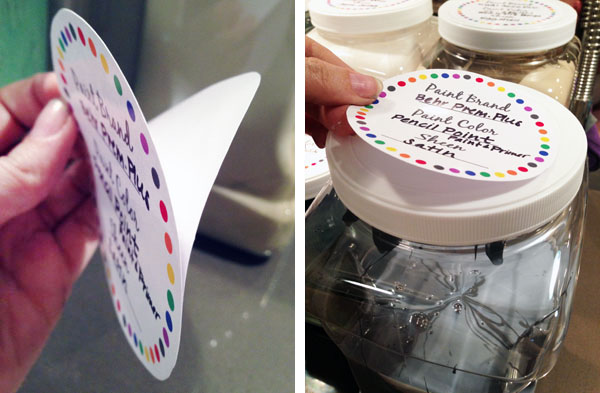
Rather than printing pretty labels with all the paint details already included, I instead opted to create a simple label template upon which I could hand write the details. This was a forward thinking decision, because I know that, realistically, the next time I buy paint and transfer the leftovers to a canister, I won’t want to take the time to print out a custom label. Instead, I can print extra blank labels now and have them ready to write the details in and stick it to a canister when the time comes.
I printed my labels on glossy sticker paper, then, using the round border as a guide, I cut out the round labels just inside the black line.
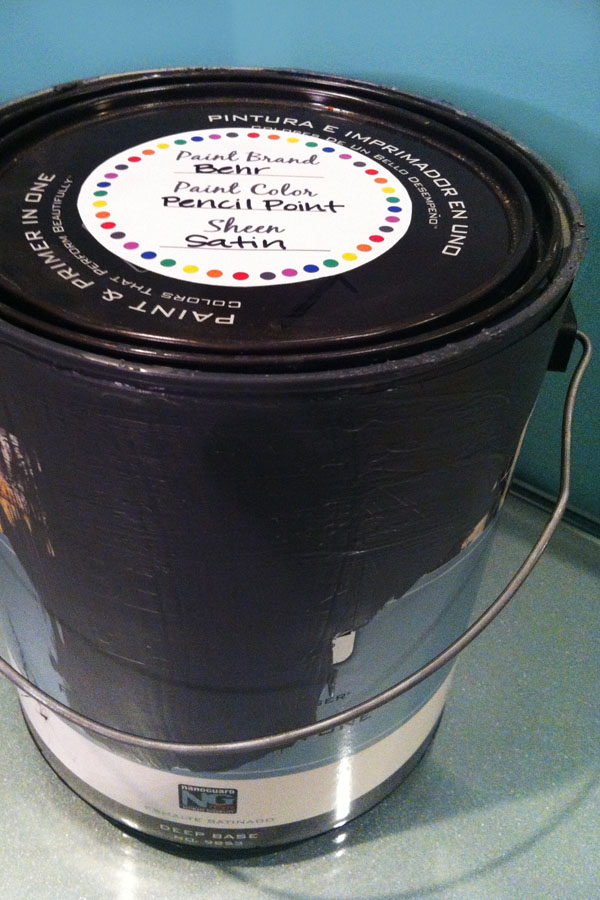
And guess what? I’m sharing this cute paint label template with you! Just click here to download the full-size (four labels per 8.5 x 11 inch) template as a JPG file and print your own labels. These labels are perfectly sized to fit the lids of the plastic canisters, but are also an ideal size for placing directly on the top of a paint can (more on that below).
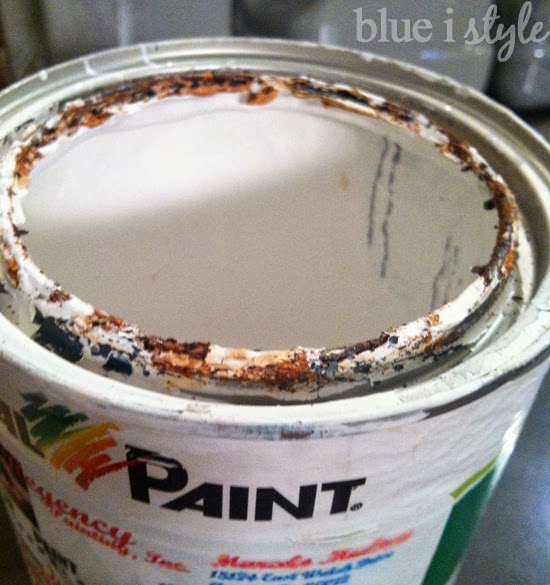
Once my labels were cut and ready, it was time to start transferring paint. At this point you may be asking yourself, “Why go to all this trouble? Why not just leave the paint in the original cans?” They say a picture is worth a thousand words – so here is my best answer to that question:
Not only does it look gross, but that rusting can is certainly no good for the paint! And that particular can of paint was not even very old. If I were to leave all the paint in the original cans, the cans would continue to rust and ultimately ruin the paint. My online research indicates that their is really no good solution to stop cans from rusting, so transferring the paint to another, air-tight storage container will prolong the life of the paint. Read more about proper paint storage and how to determine if paint has gone bad.
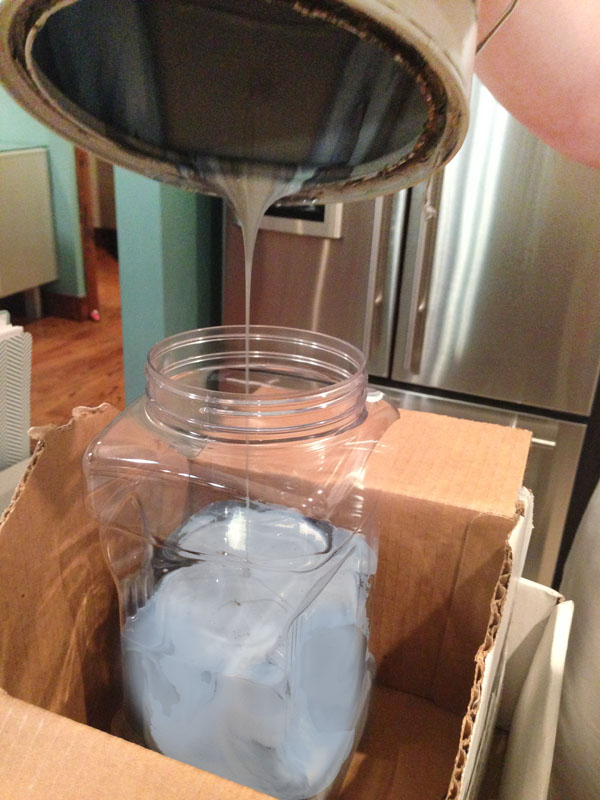
When it came to actually transferring the paint from the cans to my plastic canisters, we sat each canister in a cardboard box to protect our kitchen counter from any drips or spills, then we simply poured the paint from one container to the other.
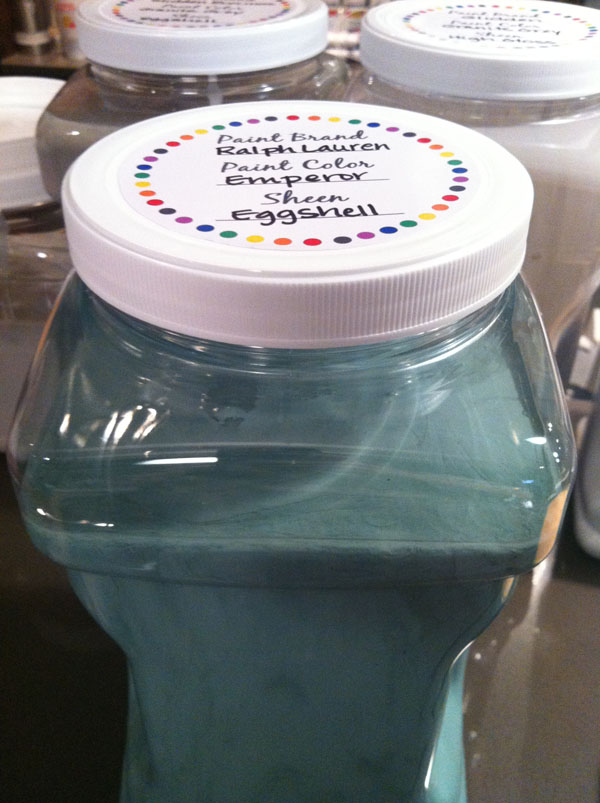
One by one we transferred the cans of paint into the canisters and labeled the top of each canister with a sticker indicating its contents, including the brand of paint, paint color, and sheen. I peeled the backing off of the sticker paper and placed each label in the center of the canister lid, pressing down around the edge to create a good seal.
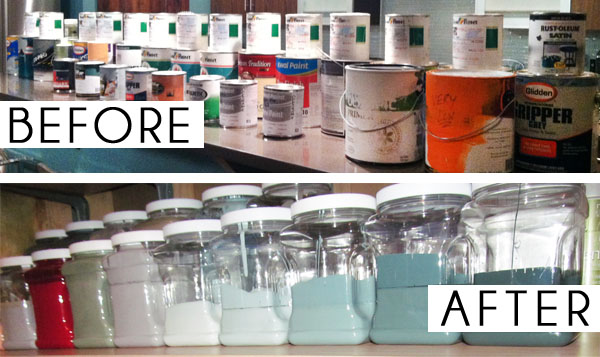
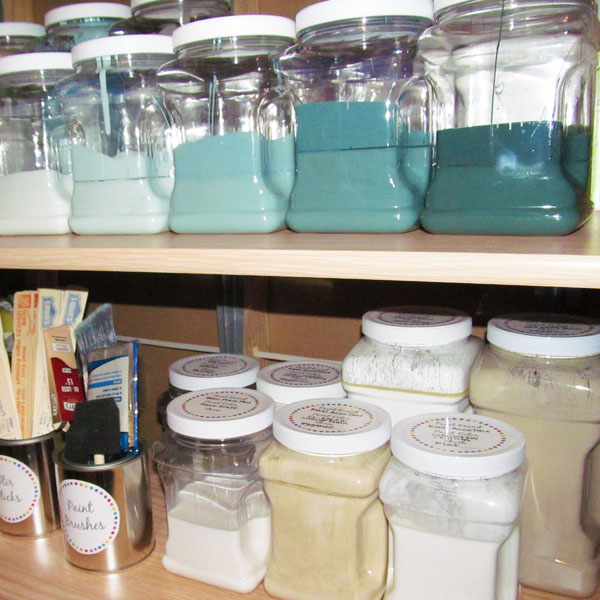
Once all of my paint was transferred into the canisters, and all of the canister lids were labeled, I was thrilled with the results. Now a quick glance allows me to see the color of the contents and the approximate quantity. Best of all, however, is that my paint is no longer at danger of being ruined by rusting cans.
A comparison of the old paint cans to the new paint canisters lined up on a shelf in the utility room illustrates the efficiency of my new leftover paint storage solution.
 JavaScript is currently disabled in this browser. Reactivate it to view this content.