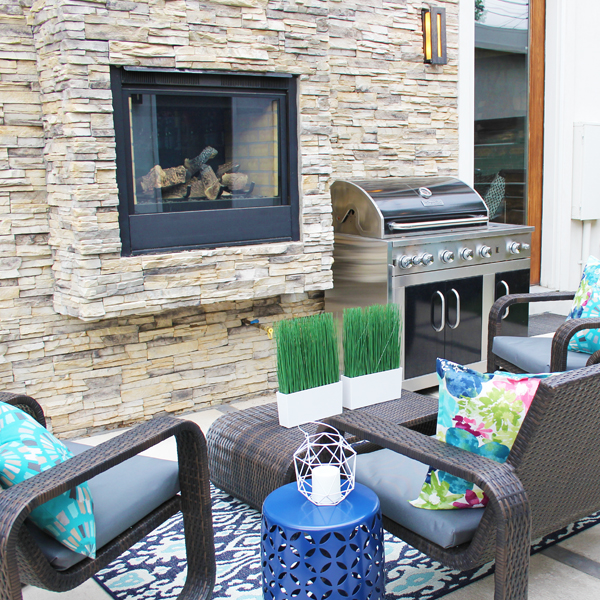
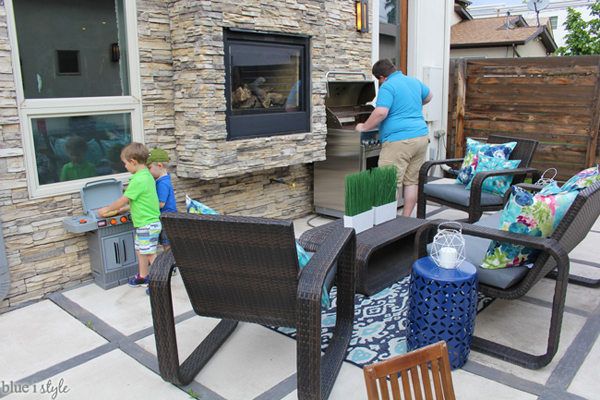
Raise your hand if you’re ready for summer grilling season. Me too! I’m so eager to get our patio ready for family dinners and entertaining friends. We’ve uncovered the patio furniture, we’ll plant flowers and grasses in our pots and planter bench soon, and the BBQ grill needed a really thorough cleaning. This last one is a task I usually dread, but this year I found an easier method!
We always use a wire brush to give the top of the grates a quick cleaning after each meal, while the BBQ is still warm. But overtime, the grates still get pretty dirty and a lot of left over gunk ends up in the bottom of the burner box.
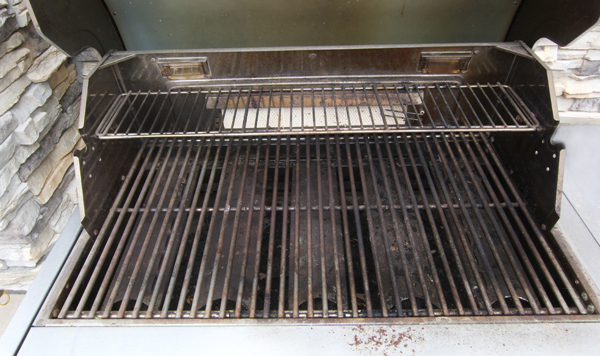
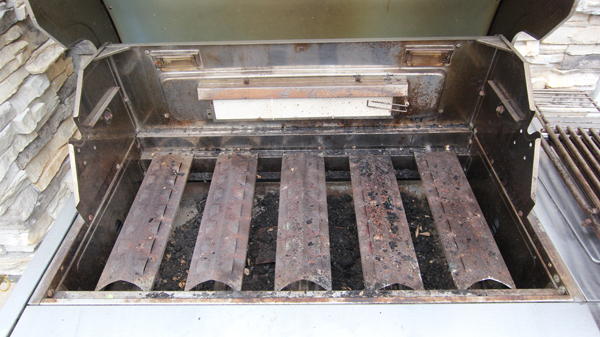
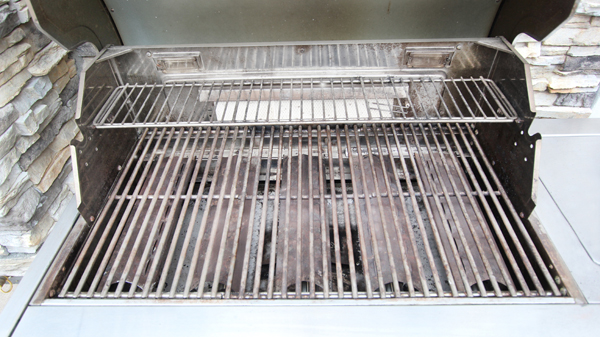
Here’s what the grill looked like when I opened it up this spring… Lots of black char and in need of a good cleaning! And it got worse as I worked my way down through each layer.
This is a sponsored post written by me on behalf of Scrub Daddy. All opinions are 100% mine. This post also contains affiliate links. If you purchase something I recommend, you’ll pay the same price, but I may receive a small commission.
I wasn’t really sure how to clean the BBQ grill. I didn’t want to use anything with harsh chemicals that might damage the various grill parts, I needed it to be food safe and non-flammable, and it needed to be tough enough not to fall apart with what I knew would be a lot of scrubbing. I looked around the house and didn’t find anything up to the challenge. Then I remembered recently reading a list of 50 unique uses for Scrub Daddy, including cleaning a BBQ, so I decided to give it a try.
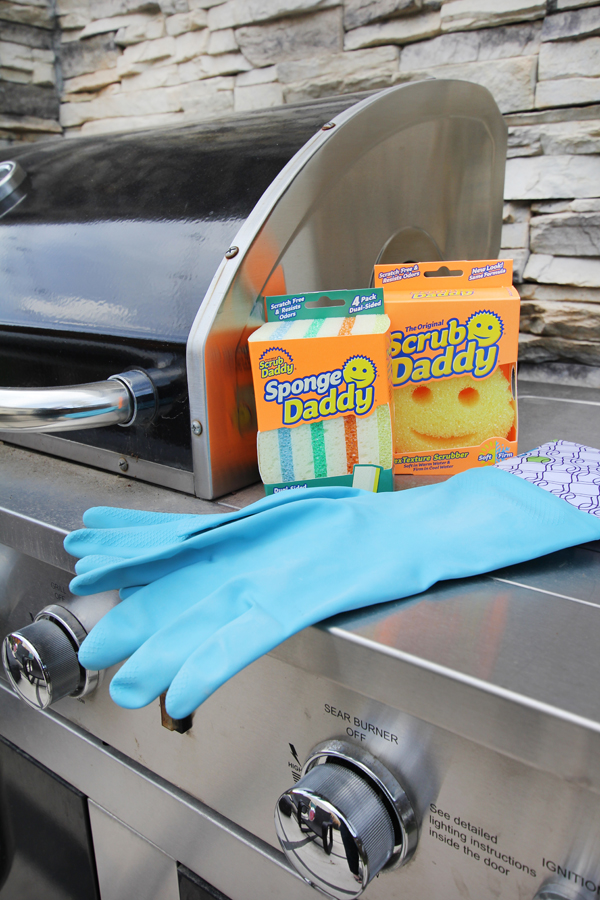
The Original Scrub Daddy scrubber is made from a scratch-free FlexTexture® material that adjusts with your water temperature. In cold water, the texture is firm with lots of scrubbing power {perfect for cleaning the burnt on mess on the grill grates and burner box}, and in warm water he becomes soft {making it easier to get to those hard to reach places}.
The product line also includes a variety of other scrubbers, as well as sponges and erasers. The double-sided Sponge Daddy proved perfect for cleaning the outside of the grill, but first let’s start on the inside…
Every make and model of BBQ will be different, but I’ll walk you through how I deep cleaned my bbq grill inside and out. Before starting to clean, I made sure that it was disconnected from our gas line.
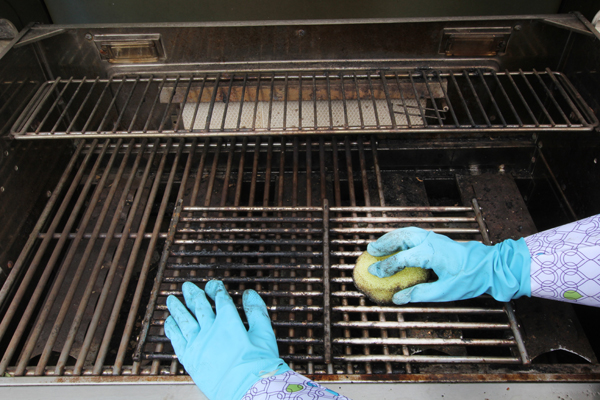
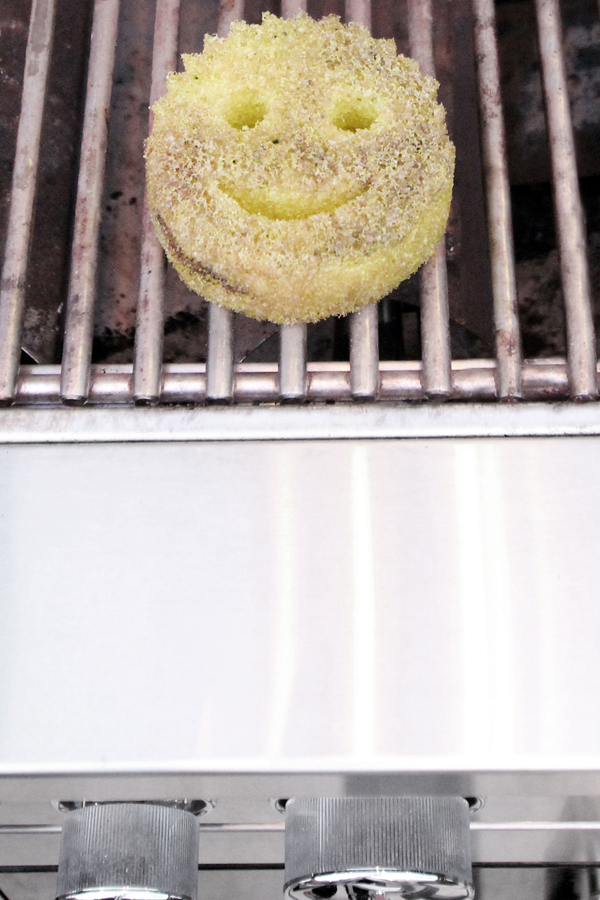
I dampened the Scrub Daddy with cold water, and went to work on the grill grates first. It made pretty easy work of removing burnt on particles from the top of the grates, but I was a bit nervous when I flipped the grates over and realized how much more charred they were on the underside. After just a couple of minutes of light scrubbing, however, I was able to uncover the stainless steel beneath.
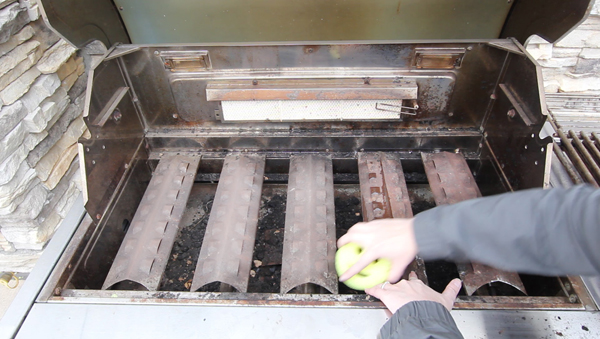
Once the grates were as clean as I could get them, I removed the grates and started on the next layer – the heat plates that cover the burners. There was quite a bit of loose debris on some of these plates {and it’s easy to see which spot on the grill we cook on most frequently}.
I knocked off the loose stuff, then wiped down each heat plate, scrubbing off grease and burnt on particles.
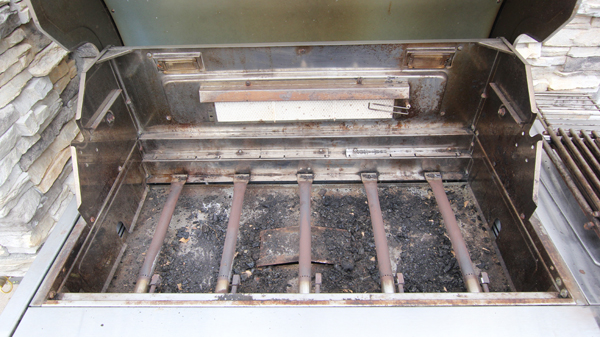
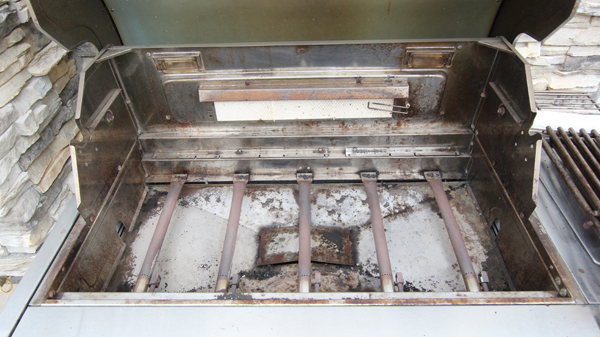
Next, I removed the heat plates to reveal the burners and give me easier access to the grease pan at the bottom of the burner box. I softened the Scrub Daddy in warm water to gently wipe down the burners and check to ensure that none of the ports {small holes where the gas flows out} were blocked by grease or food particles.
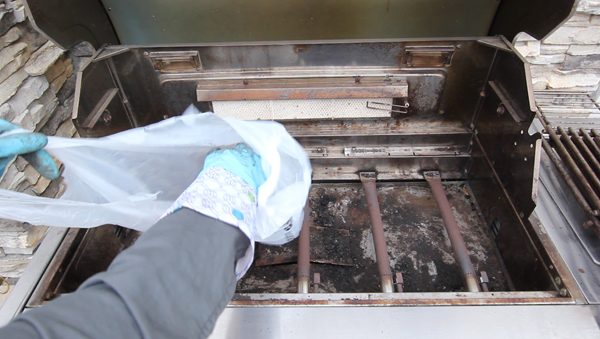
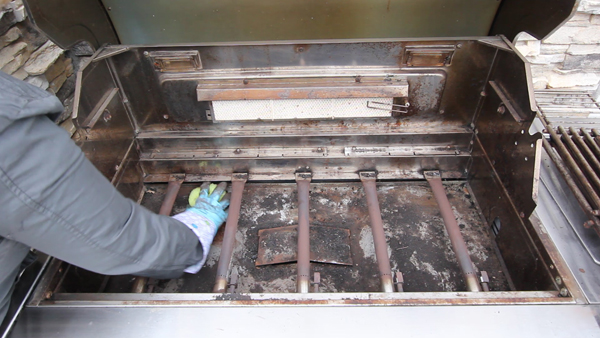
The bottom of the grease pan was covered in lots of loose debris. I scooped out as much as I could {this is where my gloves came in especially handy} and discarded it into a small trash bag.
With all of the loose bits cleared out, what was left was a lot of grease and grime. I ran the Scrub Daddy under cold water to make it firm again, and then scrubbed up as much as I could.
Keep in mind that you’ll never get your BBQ looking brand new again after years of use, but I think you’ll agree that it looks a heck of a lot better. And when it comes to a BBQ, cleaner not only looks better, it’s also safer. If your BBQ has a drip tray {generally accessible from the back}, be sure to clean that out as well.
Once I had given everything a good scrubbing, I put all the parts back in place and admired my work. I feel so much better knowing we have a nice, clean grill to cook on this summer, and now that I know how easy it can be to clean, I won’t put it off so long next time!
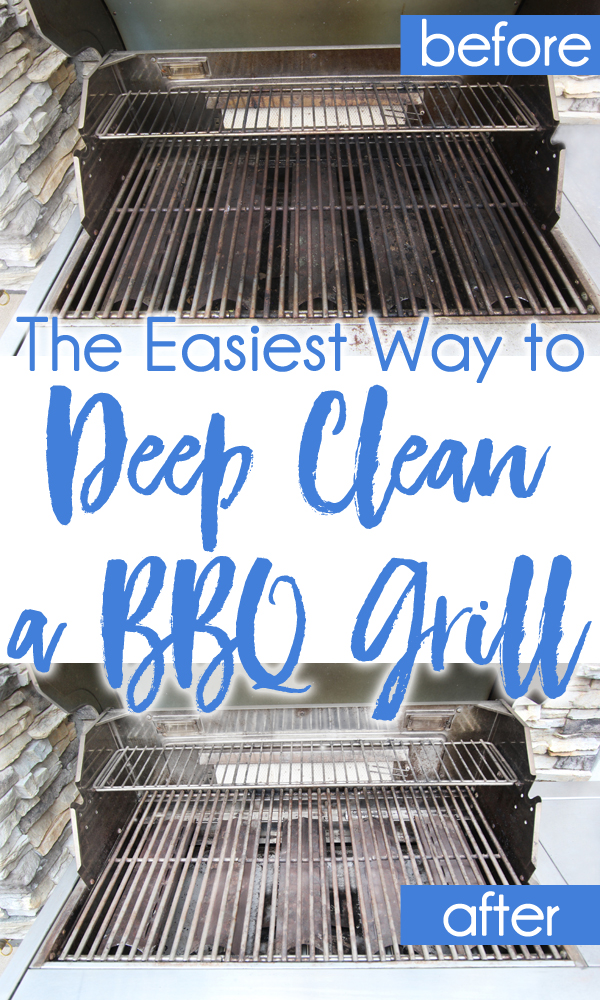
You probably need to see the before and afters side-by-side to really appreciate the difference, so here you have it {you might also want to Pin this image to find you way back to this post the next time your grill needs a deep cleaning}:
Before cooking on the grill the first time post-cleaning, be sure to pre-heat the BBQ for about 15 minutes. This will help to kill any germs and will burn off any residual grease and dirt that may remain on the cooking surfaces.
So how did my Scrub Daddy fare after all the grease and scrubbing? When I finished he was looking pretty black and charred, but he was still smiling! If this was any other scrubber, I would have just thrown it away immediately, but I had read about Scrub Daddy’s ability to rinse clean, so I decided to see if he still had some life left in him. I rinsed him as much as I could in the sink, and while I couldn’t quite get him looking like new again, he came much cleaner than I expected after all he’d been through. I plan to run him through a dishwasher cycle as well, and suspect that he’ll come out even cleaner.
I definitely won’t be using this particular Scrub Daddy to clean inside the house, but he certainly has a lot of life left in him for future grill cleanings, and he’ll be great for other outdoor projects like cleaning up the patio furniture and the boys outdoor toys.
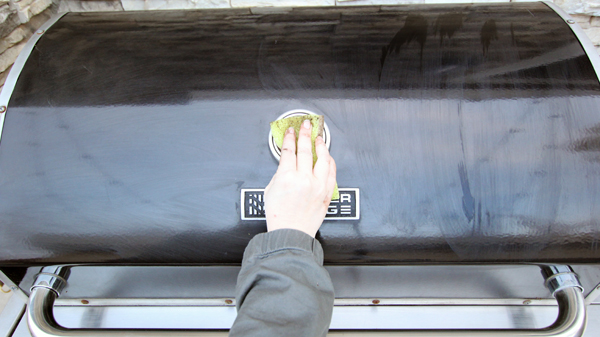
I was finally ready to get the outside of the grill cleaned up as well. For this job, I decided to use a Sponge Daddy. I used the scratch-free FlexTexture® side to wipe scrub away the tougher spots, and then flipped it over and used the sponge side to wipe down the entire exterior.
Now we are ready to get cooking!
I know we’re going to enjoy a lot of time out on the patio again this summer, grilling up delicious meals and making family memories.
I had been dreading deep cleaning the grill, but the Scrub Daddy method made it much faster and easier than I thought possible. It was so great being able to use one simple product to remove the debris and cut through the grease, and all I had to do was add water and a little muscle.
