It’s been months since I shared with you the mood boards for three different room designs we were considering for Beckett’s big boy room. It was a tough choice, but we ended up deciding on the Vintage Preppy Little Man’s Lounge design concept, which will include lots of details inspired by menswear. But even though we didn’t end up choosing the Planes, Trains & Automobiles themed room concept, I do plan to incorporate a lot of details of that design plan into his Vintage Preppy room. Just in the last few weeks we have FINALLY started making some progress on Beckett’s new room, and today I am excited to share with you a project that we completed this weekend!
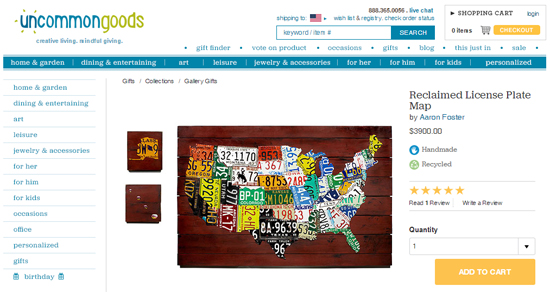
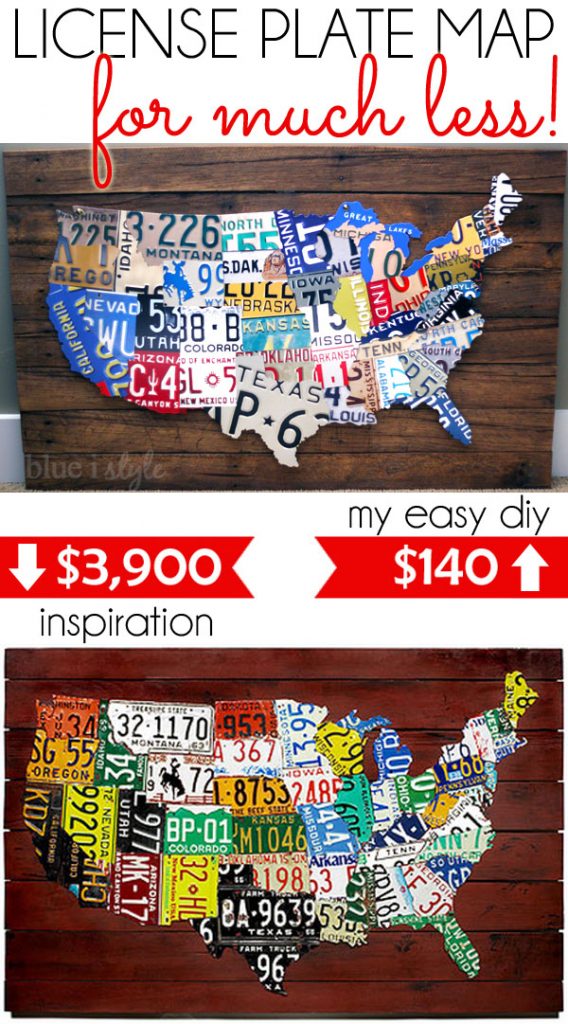
For years, I have been obsessed with the Reclaimed License Plate Map from Uncommon Goods. It is a one-of-a-kind, handmade work of art, with each state being cut from an authentic license plate and mounted on cedar background. But at $3,900, this amazing license plate map will never be within my budget.
I’ve seen a lot of less expensive versions of the license plate map, most of which have simply been printed on a stretched canvas (like this one from The Land of Nod) or on a poster (like this one from Zazzle). Neither of these would give me the look I am going for in Beckett’s room. I really want to create a vintage, collected feel in his space, and the textures are very important.
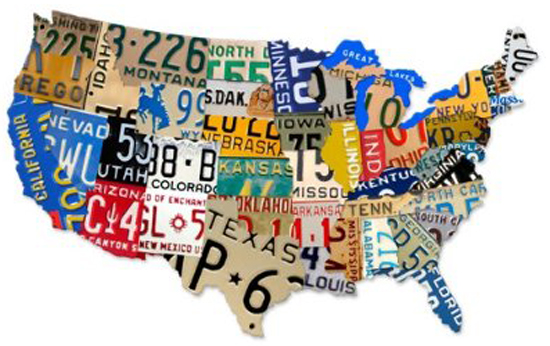
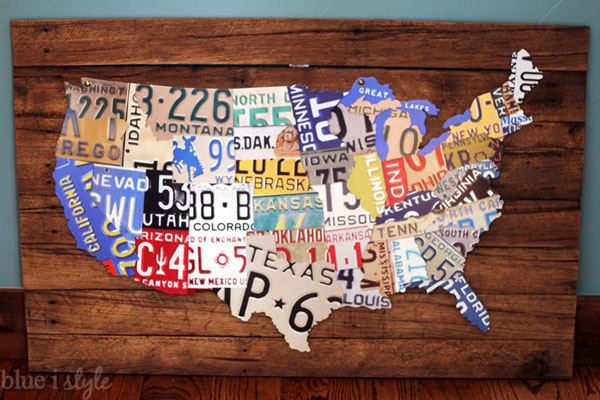
Finally I found another license plate map option that I really liked because the image is powder coated onto heavy gauge steel and cut out in the shape of the continental United States. This map comes in two sizes, and I was able to purchase the larger size (35 x 21 inches) on Amazon for $117. This was still a splurge, but since it will be the largest piece of art in Beckett’s room, I decided to go for it.
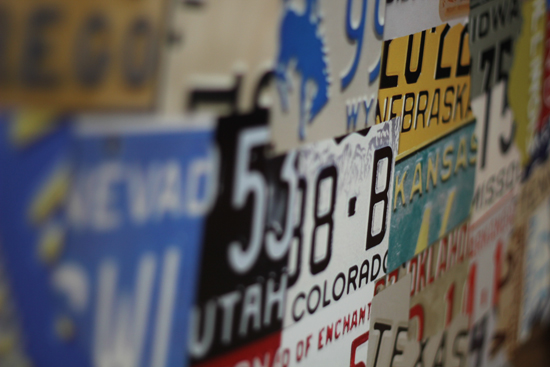
Of course, because the map is printed, it is totally flat and does not have the dimension of real license plates (although the shadows and highlights do give some appearance of dimension).
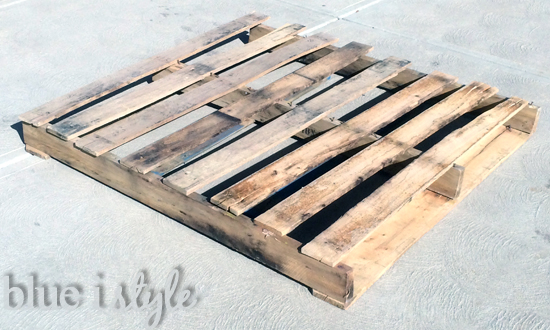
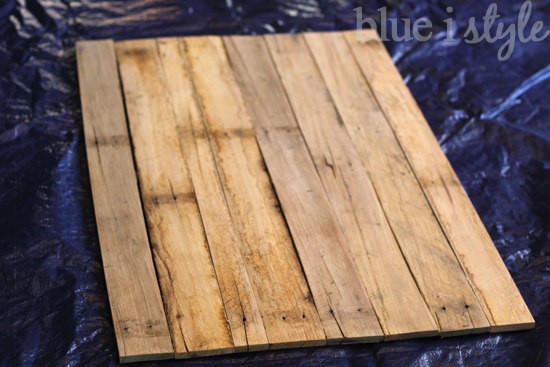
But I knew that I could add the texture I desired, and capture the look of the high end Uncommon Goods map, by mounting this metal map on a background of reclaimed wood. My parents happened to have a wood pallet in their garage from a delivery, and they were about to get rid of it when my mom called to ask if any wanted or needed it for any reason. I said YES, and was even able to enlist my dad’s help in turning the pallet into a background for the map.
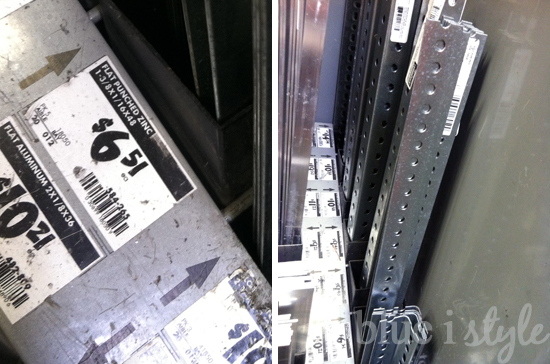
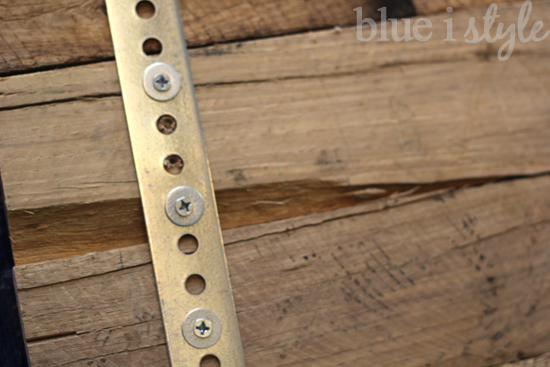
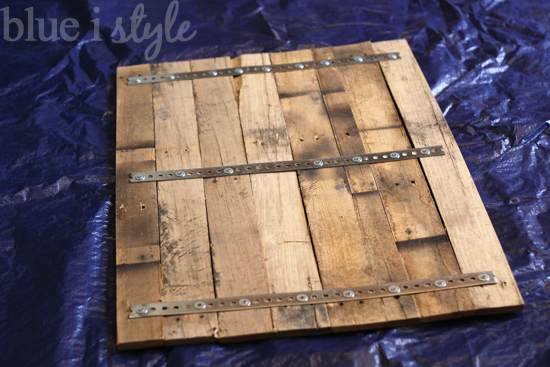
I measured the map to determine the size I wanted for the background, and my dad removed the boards from the pallet and cut them to the desired length. Our first thought was to use the extra boards to create a frame on the back to hold all of the boards together, but this would have added extra depth to the background and since the side of it will be one of the first things you see when walking into Beckett’s room, I didn’t want it to sit out further than necessary. Instead, we found some metal strapping {actually called “flat punched zinc”} at Home Depot that, combined with screws and large washers, worked perfectly!
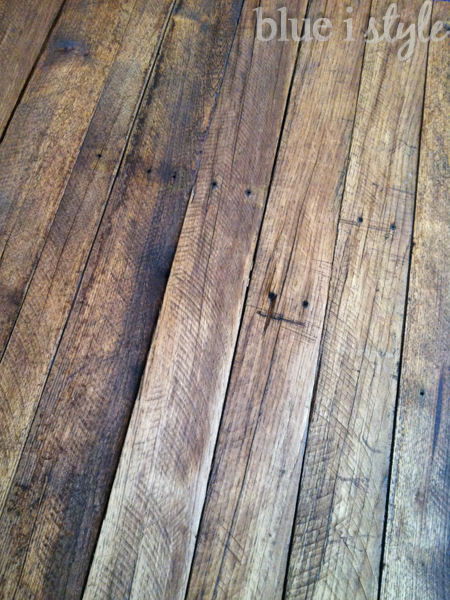
We could have made the background for the map out of new boards, but I preferred the aged look of the wood reclaimed from the pallet. Each of the boards is naturally distressed, including nail holes and cracks, but some of the boards also had large large gouges out of them, which was a little rougher than the look I was going for. As a result, the “smoother” side of each board was faced to the front, and the large nicks and gouges were placed at the back.
Fully assembled, here’s what it looked like from the back side:
I really liked the natural color variation of the boards, and I strongly considered not staining the wood at all.
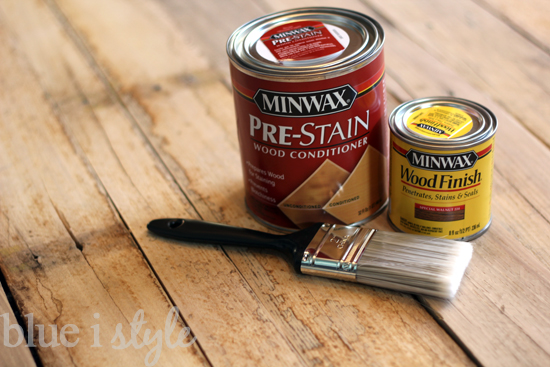
But in the end, I decided that I wanted to give the background a bit more of a finished look by adding a light coat of stain. We picked up a can of Minwax pre-stain wood conditioner (we would have bought a smaller can, but they only had one size), and a small can of Minwax stain in Special Walnut.
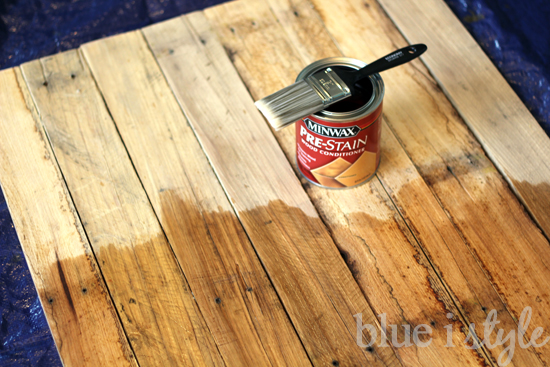
We applied one coat of the pre-stain conditioner, used a white cloth to remove the excess, and then waited the required amount of time (following the instructions on the can).
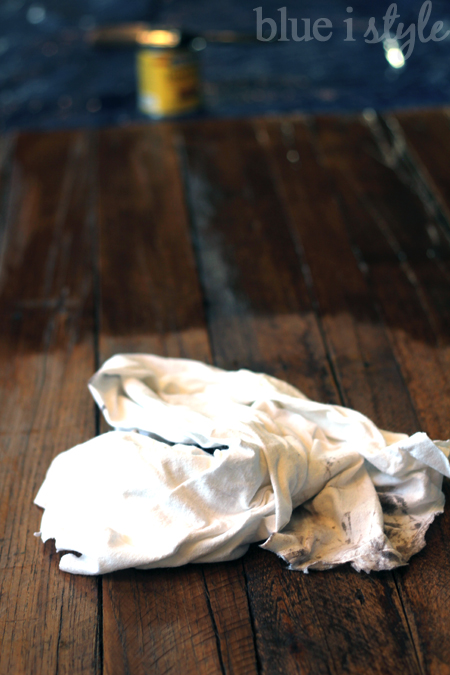
After the wood conditioner had time to dry, we applied one thin coat of the stain. I didn’t want it to be too dark, so I only waited about a minute before starting to wipe of the excess stain (rather than waiting the suggested five minutes). In fact, I started wiping off excess stain on the first half while Scott continued to apply stain to the second half.
I love the way it turned out! I really like the color of stain we chose, and I love that the original, weathered character of the wood still shows through.
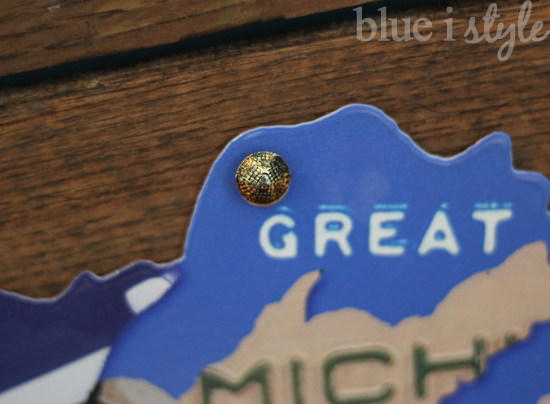
After allowing the stain to dry overnight, I was ready to mount the map on the wood background. The map came pre-drilled with holes for hanging, making it quick and easy. The rivets around the holes are gold, so I selected some decorative upholstery nails with an aged gold finish.
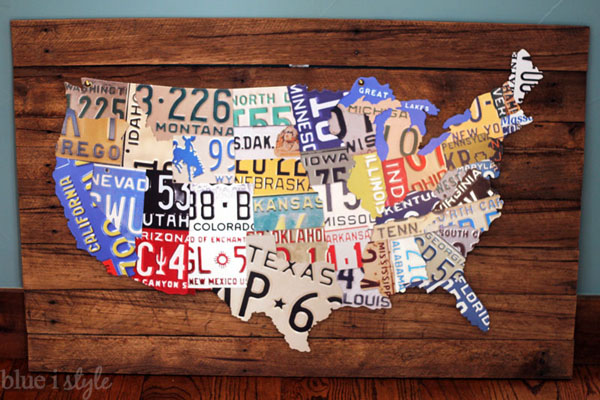
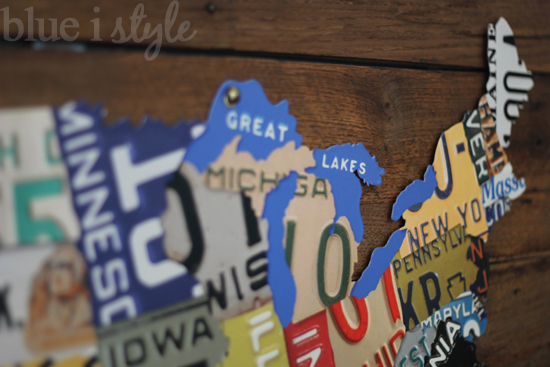
Just as I had hoped, the metal map hung on the reclaimed wood background provides the texture necessary to give the final product a very high end look.
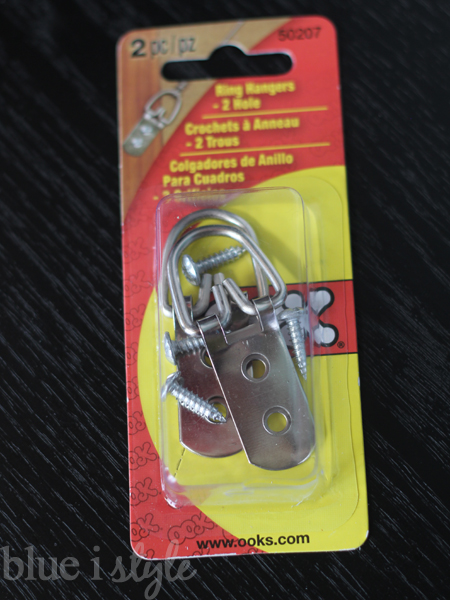
We will be painting Beckett’s room in the coming weeks, and then placing the furniture. After that, we’ll finally be ready to hang up all of the artwork, including this awesome map! In order to hang the map, we will attach these D Ring hooks to the back.
Until we are ready to hang the map, I have it leaning against a wall where we can admire the finished product!
I always love a good high low project! It gives me a thrill to find a way to create a high end look, without the high price, and think this map is the perfect example of how that can be accomplished. Even though the metal map was not inexpensive, the wood was free and construction costs were minimal. The entire project came in under $140, just $10 more than the canvas print version from the Land of Nod, but with a look much closer to that of the original. And compared to the $3,900 price tag of the one-of-a-kind piece from Uncommon Goods, I can confidently say that this project was worth every penny.
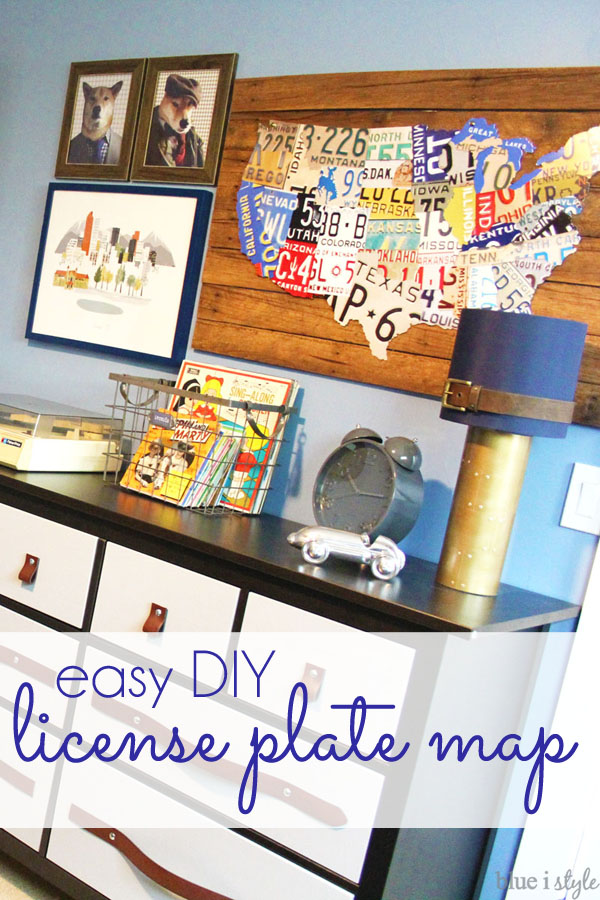
UPDATE! Want to see how the map looks now that it’s hanging in Beckett’s finished room?!
The links below include all of the other projects that went into the creation of Beckett’s Vintage Preppy Little Gentleman’s Lounge:
