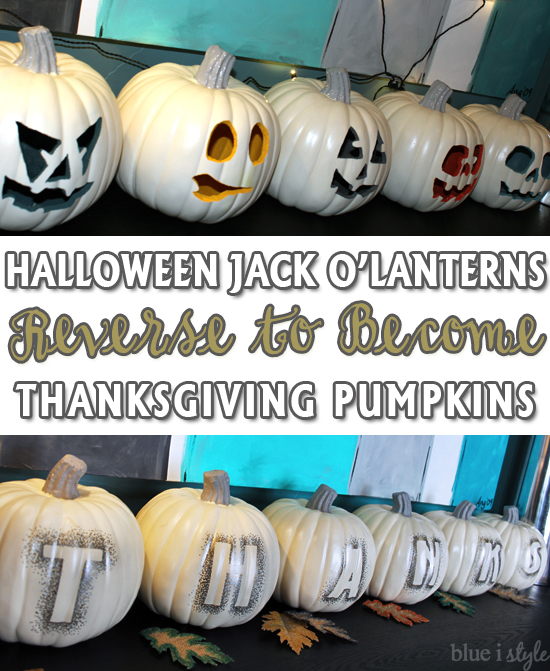
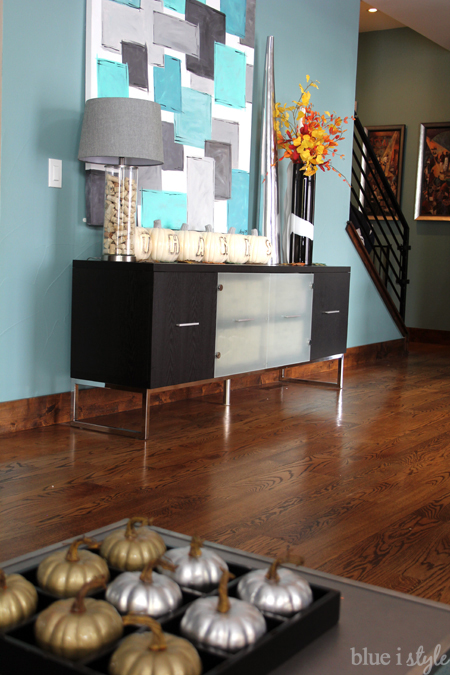
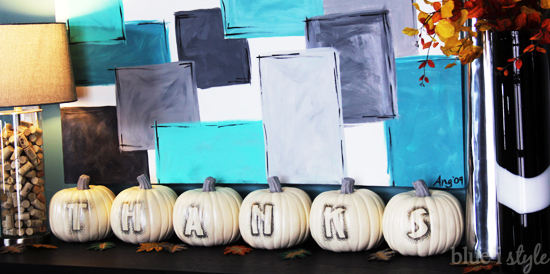
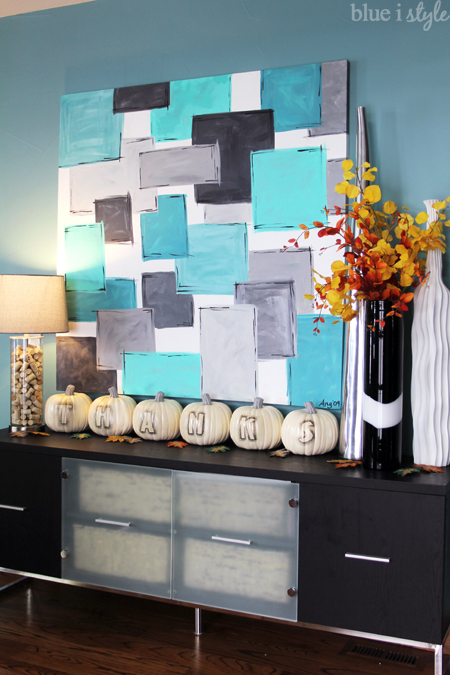
I always enjoy finding ways to repurpose things, but if there’s one thing even better than repurposing – it’s finding a way to make one item do double duty! And that’s the story of my Peek-A-Boo Jack O’Lanterns, which are now also a part of my Thanksgiving decor!
Last year I really wanted to buy some craft pumpkins, but I just couldn’t bring myself to pay the high prices at the craft stores. I mentioned my frustration with the $25+ price tags to my mom, and earlier this fall she called to let me know that she had spotted craft pumpkins at Walmart for just $7. At that price, I was finally able to justify purchasing some, especially knowing that I would be able to use them again year after year.
I had a lot of fun carving these faux pumpkins and painting them on the inside. I loved how they looked lined up on my entry table, and when Halloween ended, I really didn’t want to pack them away! Then I realized I didn’t have to! I simply turned them around, and decorated the other side for Thanksgiving. Bam! Halloween Jack O’Lanterns that reverse for some Thanksgiving glam!
I originally created five Jack O’Lanterns, but to spell out “THANKS” on the other side, I needed to add a sixth pumpkin, so I carved one additional face to add to next year’s Halloween decor, then flipped it around to put a letter on the other side.
I debated a long time before deciding how I wanted to write the word THANKS on the pumpkins. I thought about using decorative thumbtacks to spell it out, but I didn’t want the thumbtacks to poke through and be visible on the Jack O’Lantern side. Then I thought about simply painting the letters on, but I wanted something a bit more interesting. Finally I decided to use a simple Sharpie silhouette technique similar.
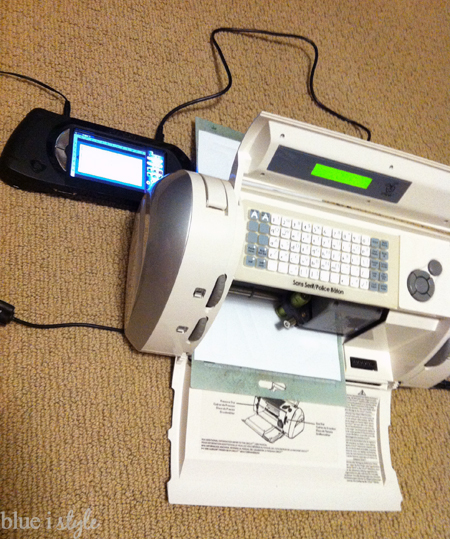
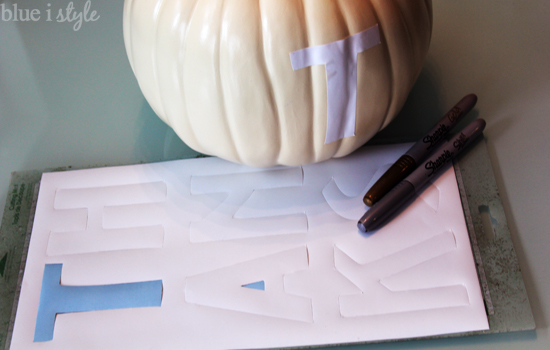
I determined the size of letters I wanted, and cut them out of some white adhesive backed vinyl using my Cricut electronic cutter.
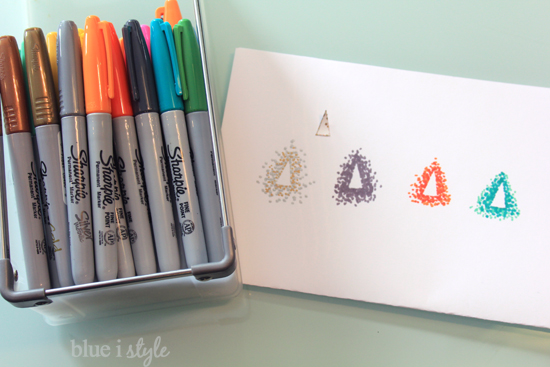
More indecisiveness ensued when it came to picking a colors for my letter silhouettes. I own Sharpies in just about every color – so I decided to test out a few options. I peeled up the center of the “A” and stuck it to a piece of paper and tried out some variations, including teal, orange, grey, and finally, the winner – gold and silver.
Earlier this fall, I created a fun, fall Tic Tac Toe game for my boys by spray painting some plastic pumpkins silver and gold, so I like the idea of coordinating my THANKS pumpkins with the Tic Tac Toe game on our coffee table.
With my colors selected, I stuck each letter on the pumpkins on the opposite side as the Jack O’Lantern faces. The letters didn’t lay perfectly smooth on the curves of the pumpkins, but I was able to smooth them down with my fingers as I worked.
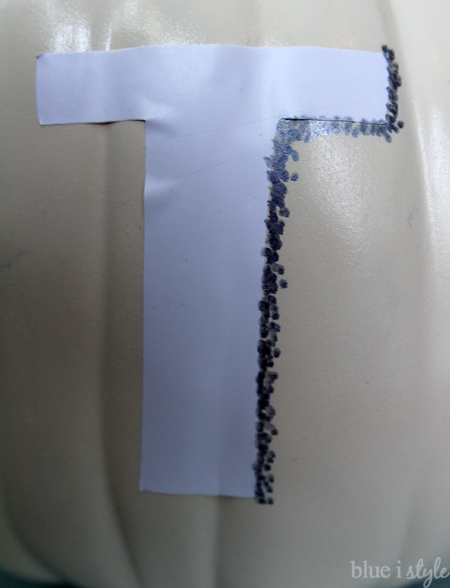
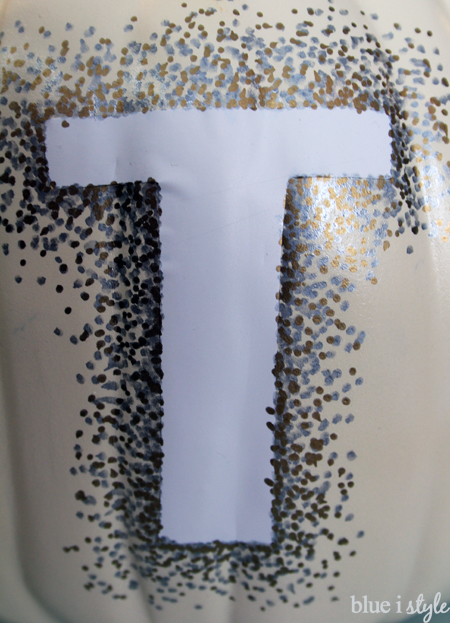
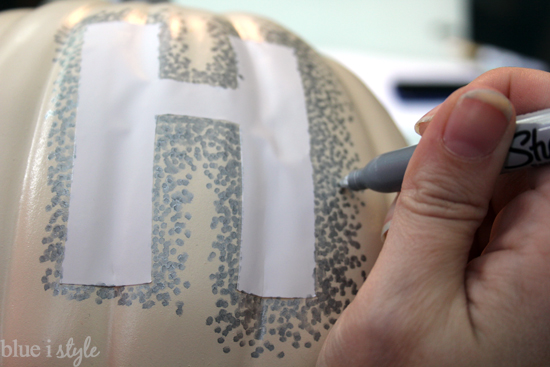
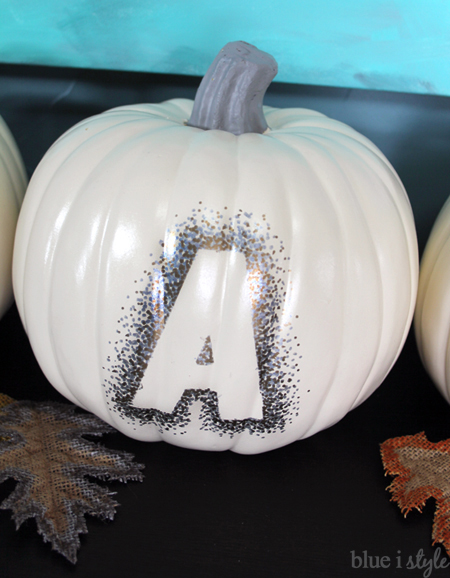
Then I simply used my silver Sharpie marker to make dots around the entire outline of the first letter.
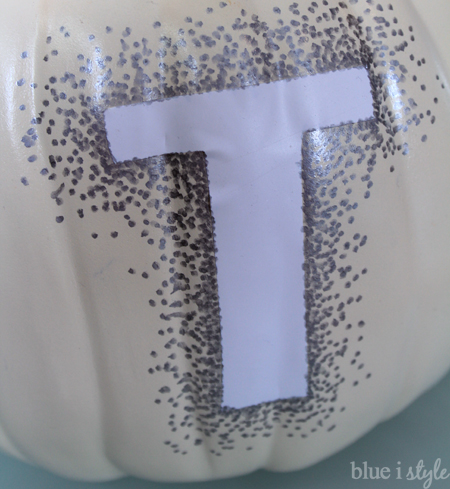
Once I had the letter outlined, I continued to make more and more dots working my way out around the letter.
After creating all of my silver dots, I went back and added gold dots.
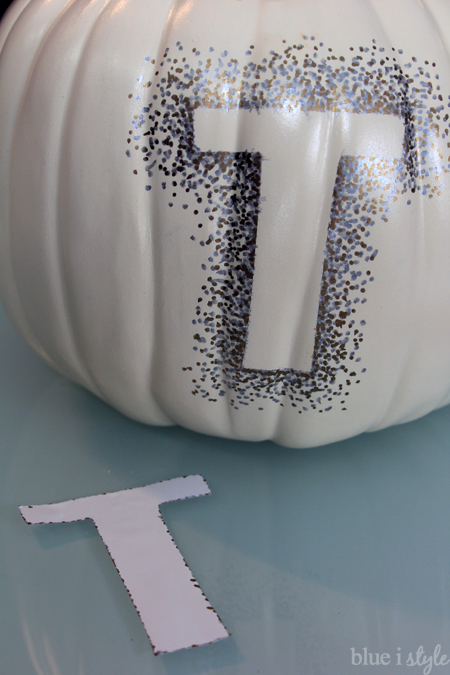
When I was done with all the dots around the letter T, I peeled off the vinyl sticker. You can see that I had a little bit of bleed through here and there, but it’s not noticeable except up very close.
I used the same process for the rest of the letters. It was actually really fun making all those dots, and each letter took me only about 5 minutes to complete.
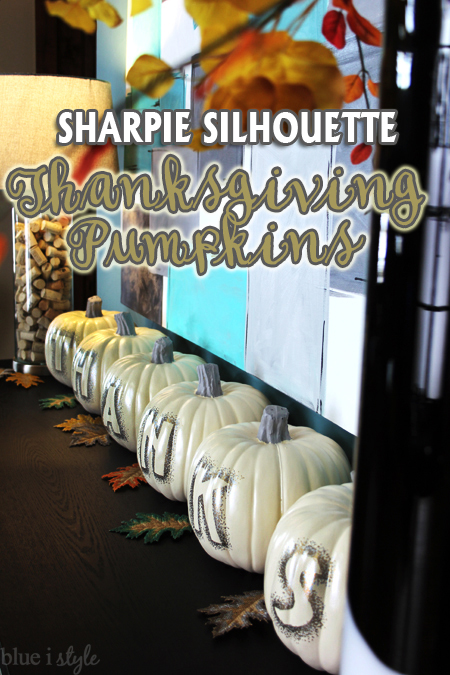
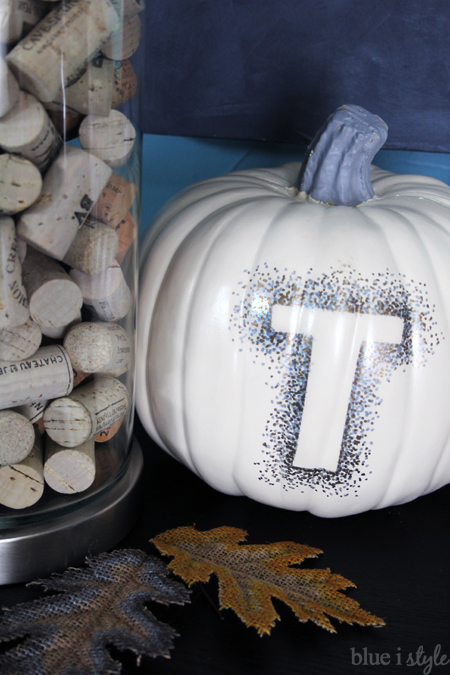
I really love the way the metallic Sharpie dots catch the light and add a touch of glam to my new Thanksgiving pumpkins.
When they are all lined up on my entry table, you would never guess that there are Jack O’Lanterns on the other side!
Not only did I get a great deal on these craft pumpkins, but now I can use them for two holidays instead of just one. Talk about a win/win!
If you are looking for more fall inspiration, or want to pin some Halloween ideas for next year, you might be interested in these posts:
