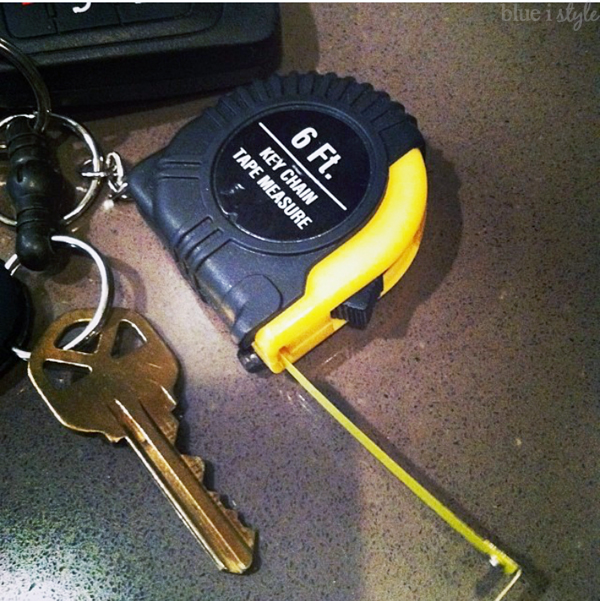
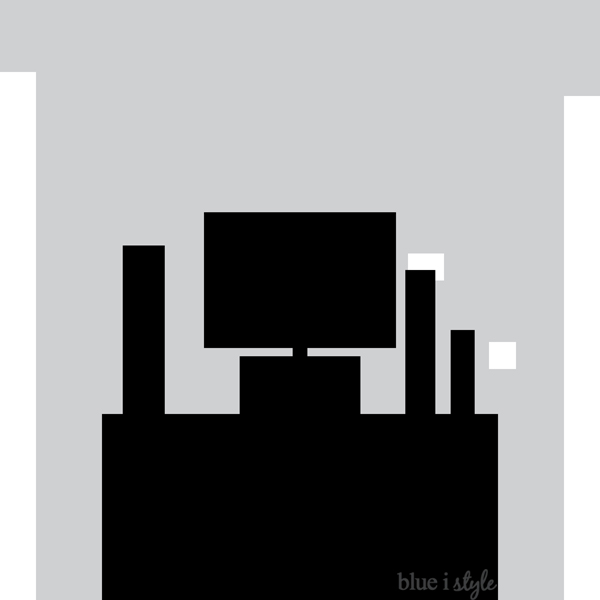
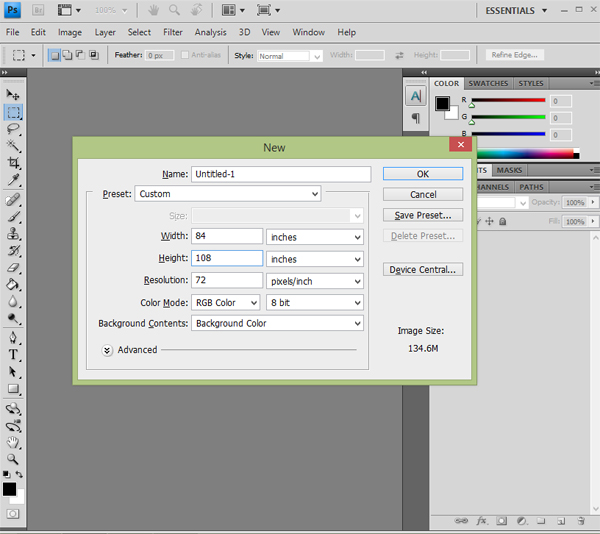
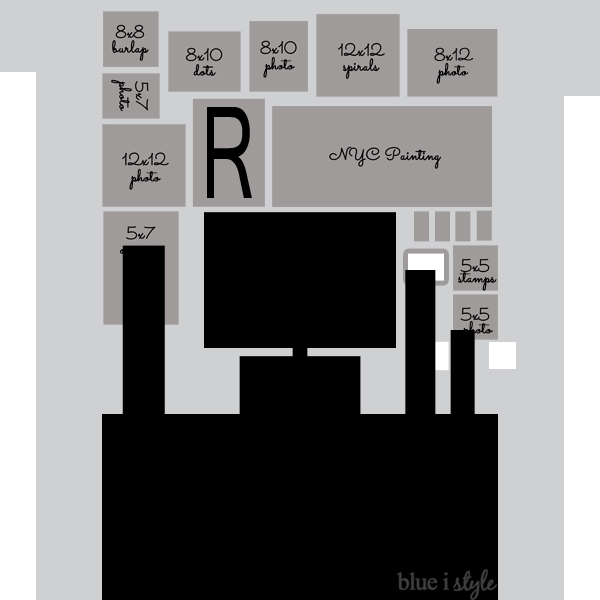
- Measure the width and height of your wall {in inches}, and create a new Photoshop document {CTR+N} with those dimensions. This will make it a very large image, but it’s the easiest way to make your drawing to scale without lots of conversions, and if you need to print it later, you can always reduce the image size.
- Make the background color similar to your wall color
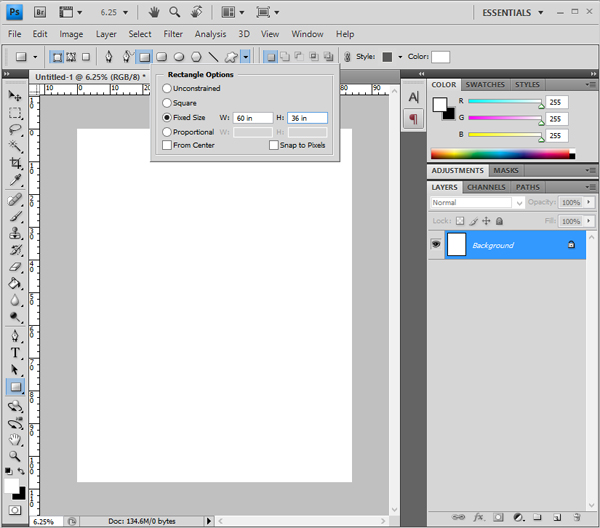
- Use the Draw Rectangle tool to draw in the silhouette of the furniture that your gallery wall needs to work around. To get the furniture to scale, choose “Fixed Size” from the “Rectangle Options”, and input the dimensions of the furniture.
- Make sure to create a new layer for each separate piece of furniture that you draw in – this will allow you to move them around individually to get the positioning right {otherwise, they will all move as a group}
- Once you have your drawn in your furniture pieces and other items {like light switches}, save the image!
- Now you are ready to start adding in frames and coming up with different gallery wall layout options.
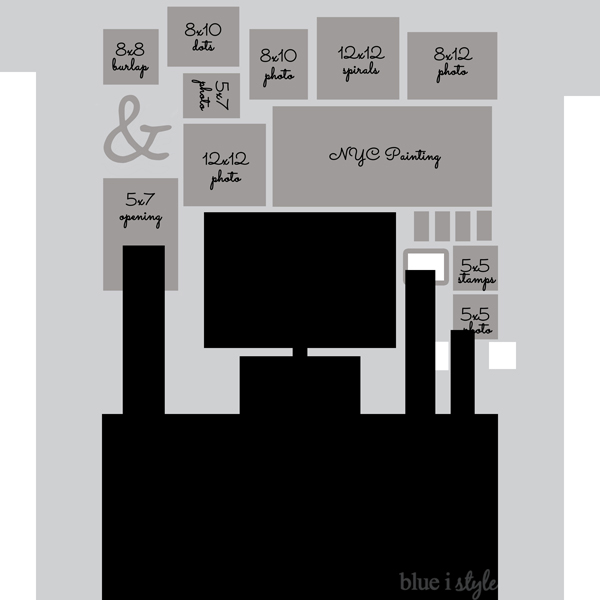
- Using the same draw rectangle tool, draw rectangles for each size of frame you might want to use – being sure to use the measurement for the outer dimension of the frames}.
- Again make sure that each new frame you draw in is a separate layer so that you can move them around independently.
- Also draw in rectangles {or other shapes} to represent other pieces of art that you might include in the gallery wall.
- I added text labels to my rectangles to remind me what size of photo it would hold, or what piece of art it is.
- Drag the various sizes of frames around to different positions until you come up with a layout that you are happy with.
- Save each different layout option that you like so that you can later compare them side by side.
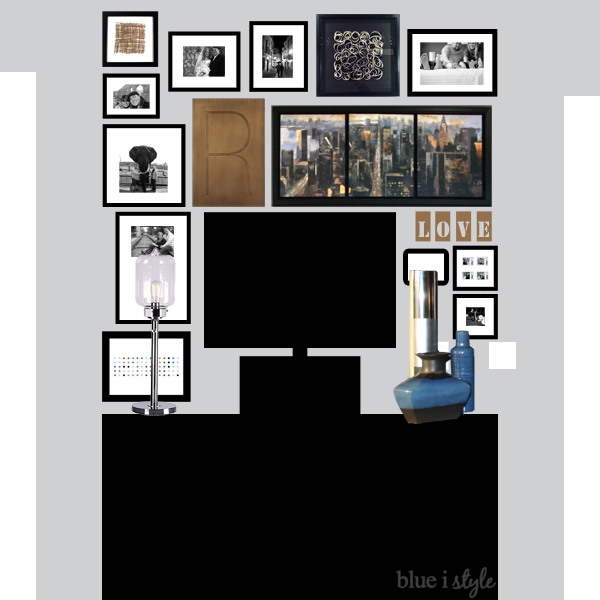
I then replaced my grey rectangles representing the various frame sizes with black rectangles, overlaid white rectangles to represent the mats, and then added black and white photos to help me decide which photos I wanted to frame in which frames. I simply opened the photos in Photoshop, converted them to black and white, then reduced their sizes to fit the frames (4×6, 5×7, etc), and copied and pasted them on top of the frames/mats in my renderings. I was then able to drag the photos around until I came up with a layout I liked.
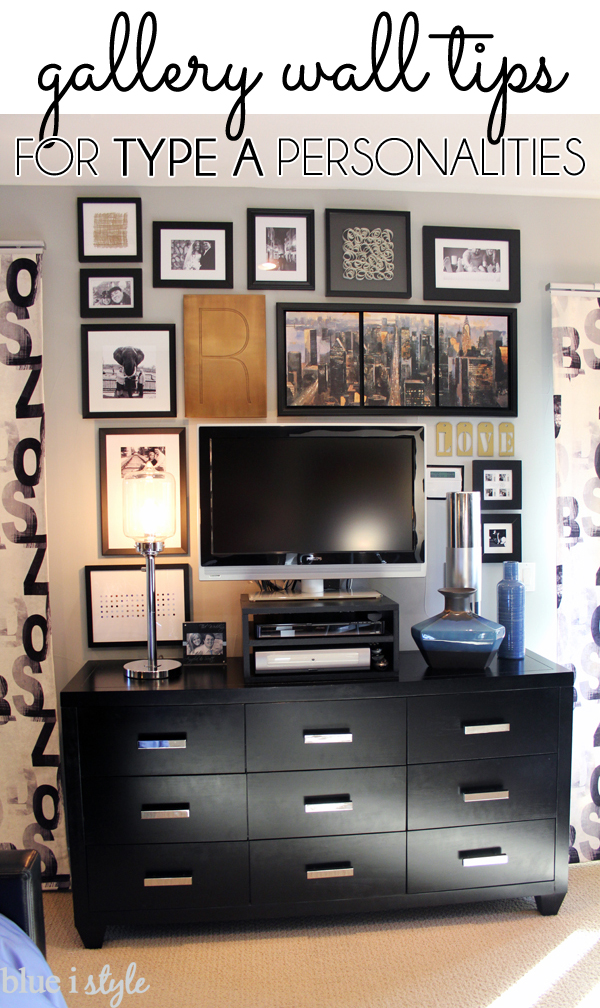
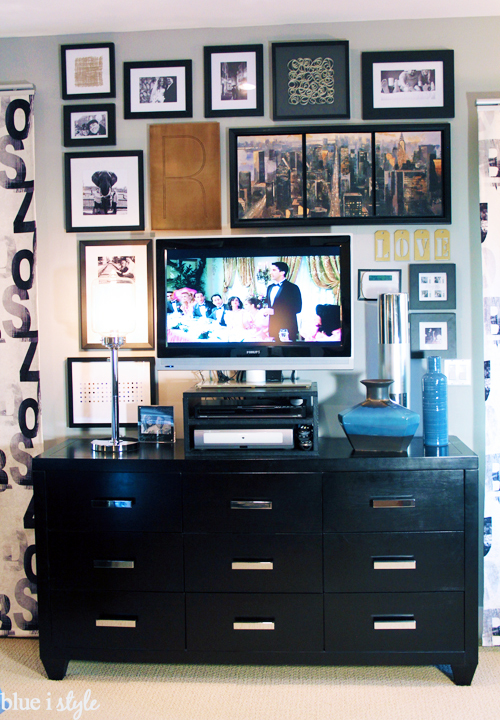
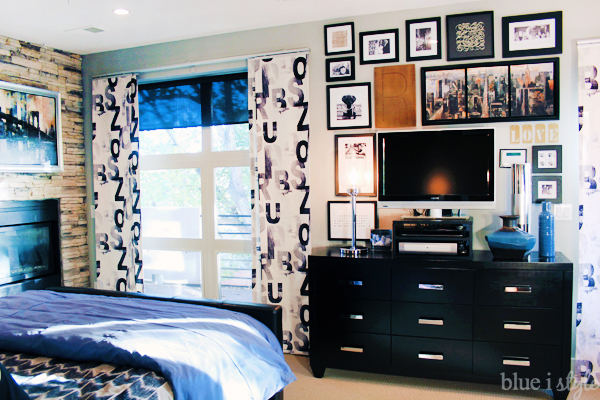
Here’s the final rendering I ended up with… it looks pretty darn close to the finished wall in my master bedroom, which allowed me to be sure I was happy with it before putting a single nail in the wall.
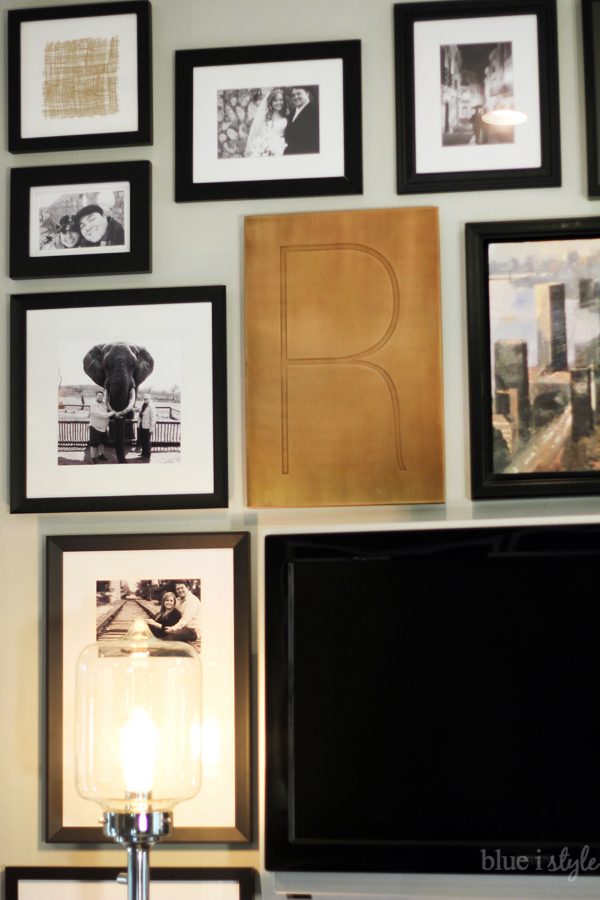
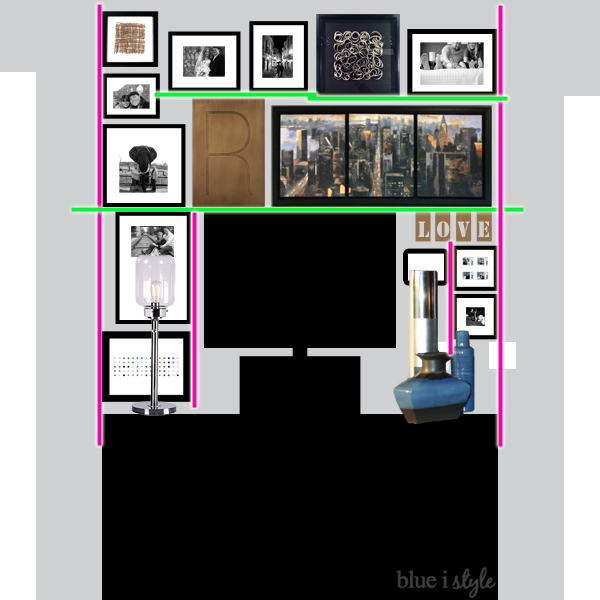
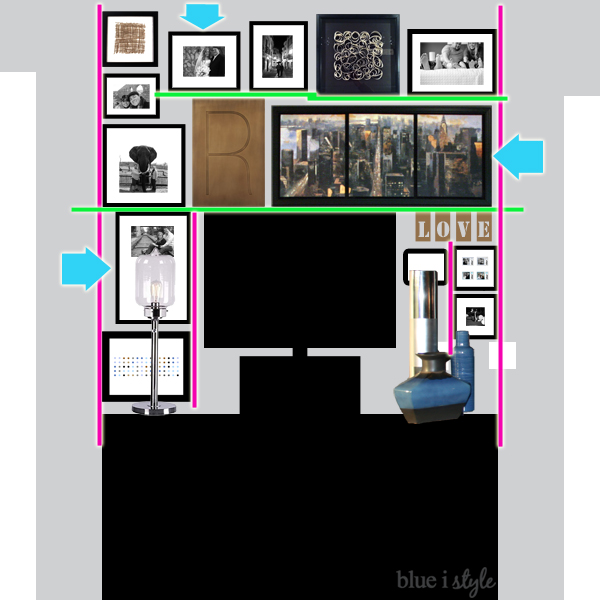
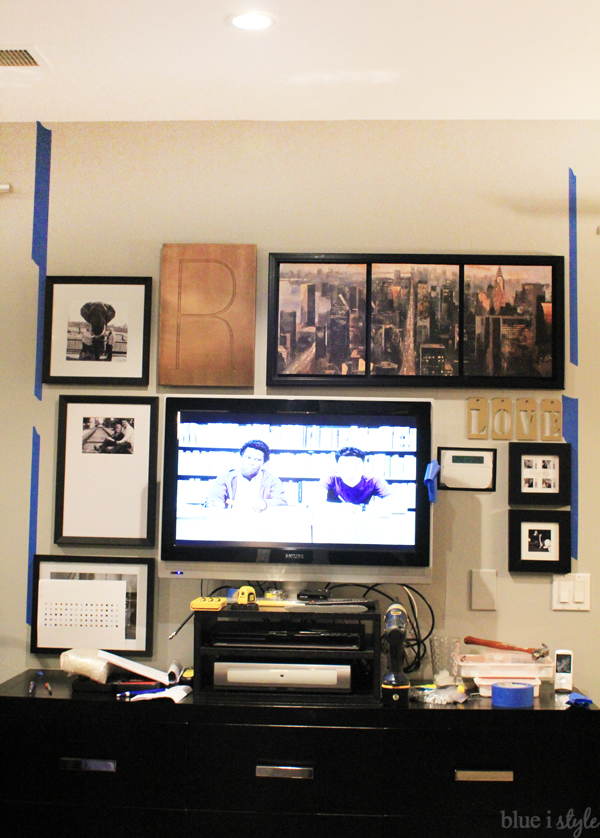
You’ll notice that none of the straight lines carry all the way through the entire gallery wall layout, except for the one directly above the top of the television.. To keep the wall from feeling too formulaic, I made sure to inset or offset frames to prevent the outer boundaries of the gallery wall from looking too rigid.
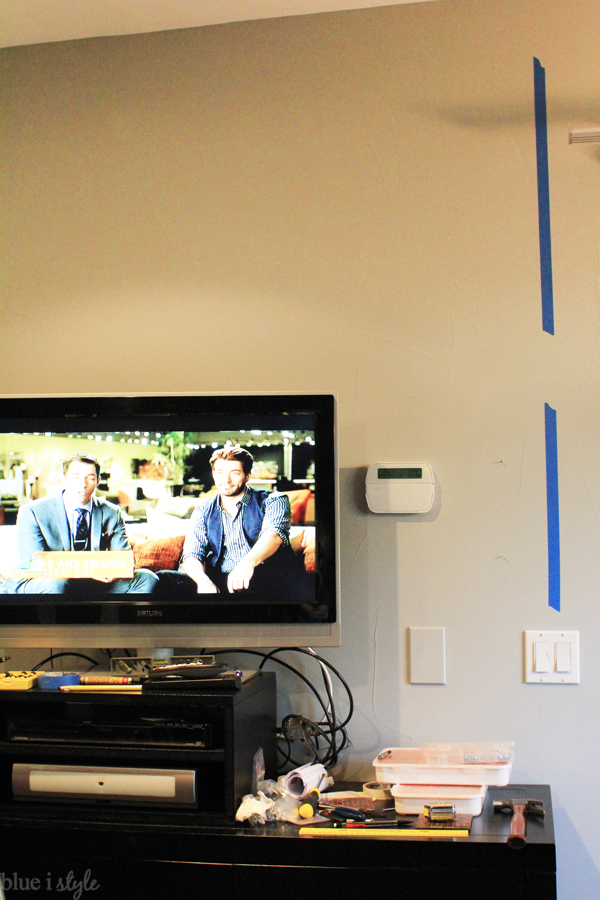
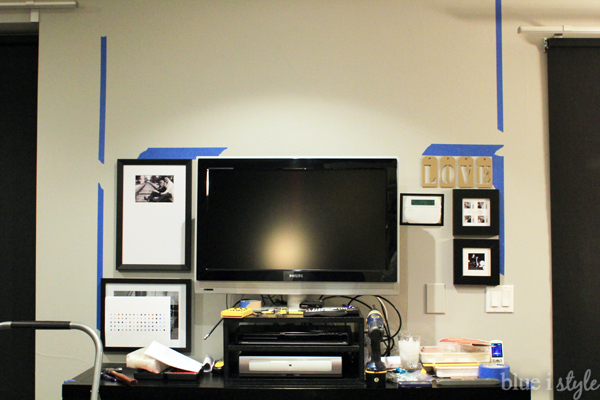
I began hanging the lowest frames first, and as I worked my way up, I added more blue painters tape to identify the line above the television.
I continued working my way up until the wall in this same manner until all the frames were hung.
Now go forth and plan that gallery wall – because you know you love a detailed plan!

Linked up with Remodelaholic
