This post contains affiliate links. If you buy something that I recommend, you pay the same price, but I may receive a small commission.
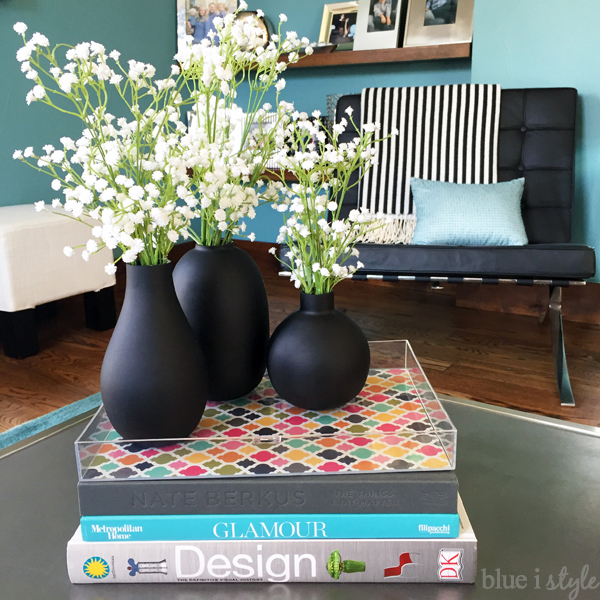
Acrylic trays are HOT right now. I see them in just about every catalog I get in the mail, like these from West Elm and CB2. They are all gorgeous, but with price tags between $30-50, I just couldn’t bring myself to spend the money.
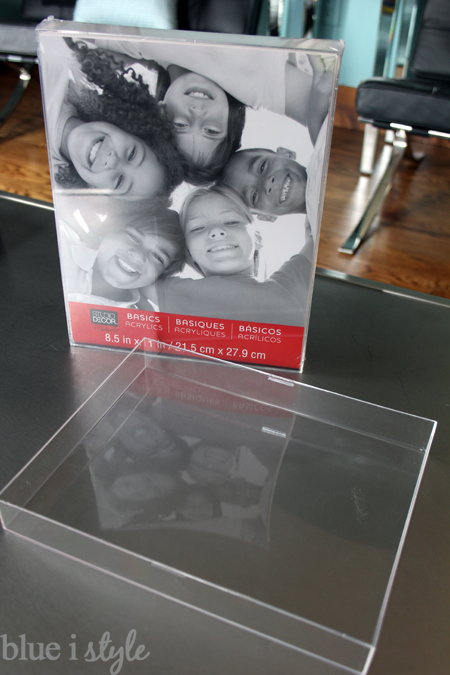
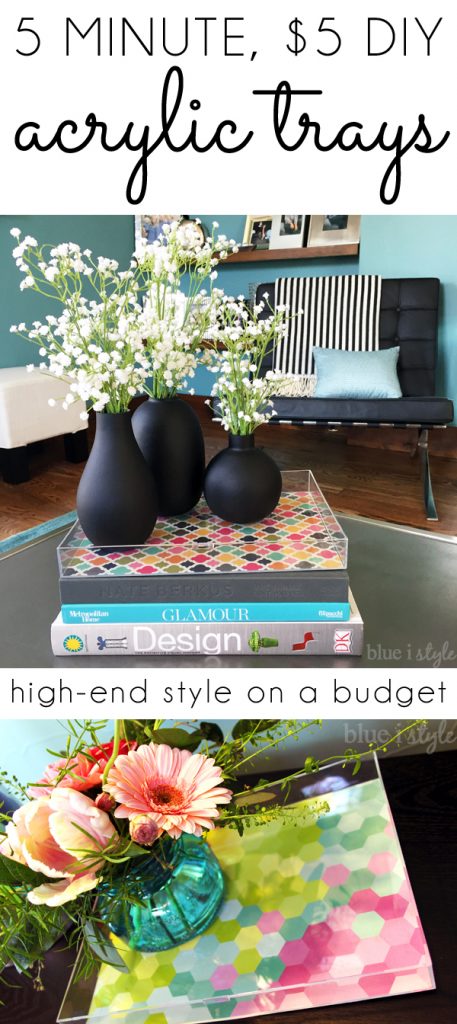
But then, last spring, I bought an acrylic box frame to frame a photo, and as I laid it down to insert he photo, I realized that it looked exactly like an acrylic tray. So, on my next trip to Michaels, I picked up two more acrylic box frames – an 8×10 for $3.99 and an 8.5×11 for $4.99 {you can also find lots of other sizes of acrylic box frames on Amazon}.
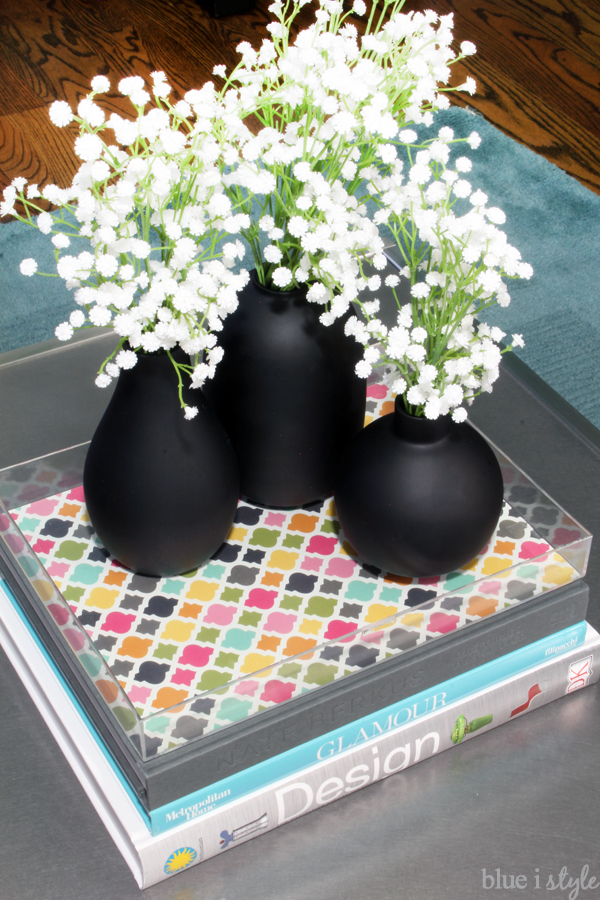
The acrylic box frames are intended to stand up right with a photo inside, but with the photo removed, laying down, the frame becomes a great knock-off for a high dollar acrylic tray.
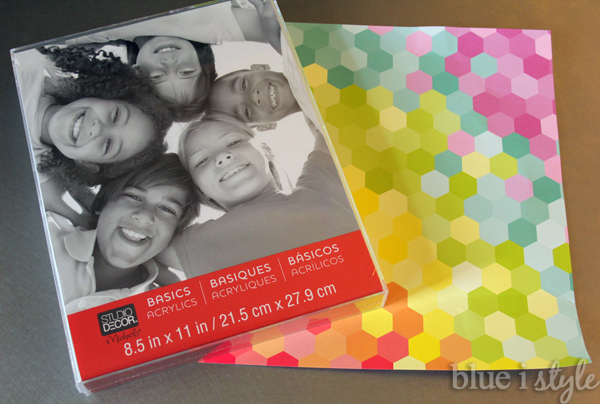
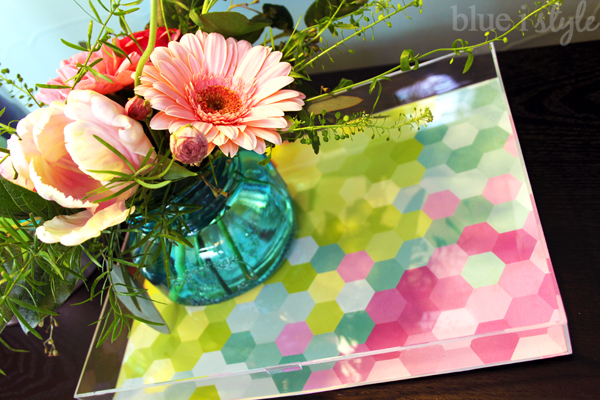
I wanted my tray to have some personality, but I also wanted to be able to update and reimagine it for each holiday or season. I picked a brightly colored piece of 12×12 scrapbook paper from my craft stash.
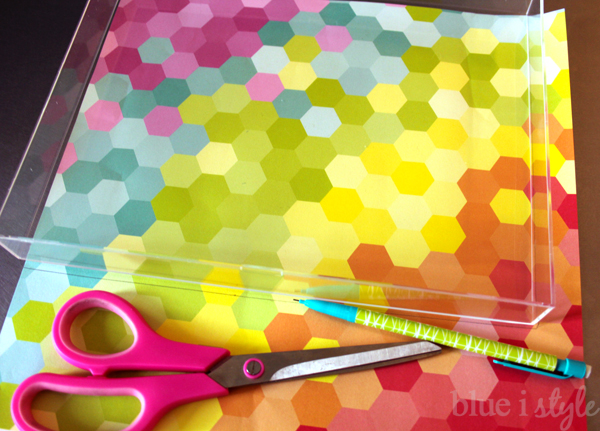
Since the paper was larger than the 8.5×11″ frame, I needed to cut the paper to size. I laid the tray on top of the paper so that I could decide what portion of the design I wanted to use, then used a pencil to trace the outside of the tray on to the paper and cut it out. {Note that if you want to place paper inside the tray, you should instead trace the cardboard insert that comes with the frame, rather than the tracing the outside of the tray, in order make the paper fit in correctly.}
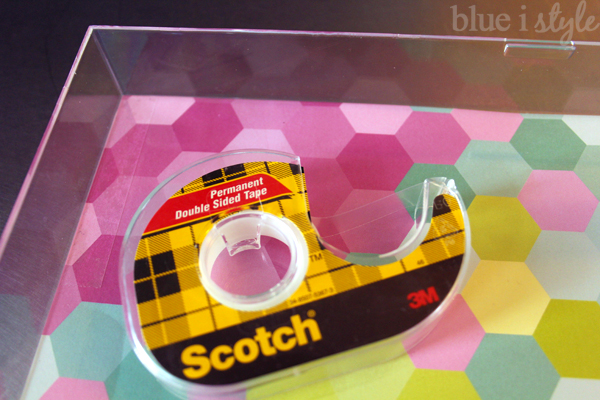
Because I want to be able to frequently restyle this tray, I simply affixed the paper to the bottom of the tray using a few strips of double sided Scotch tape {one in each corner}.
By placing the paper on the underside of the tray, the paper is protected and will stay looking nice no matter what I put inside the tray.
Of course, scrapbook paper is just one way you can style a DIY acrylic frame. The options endless!
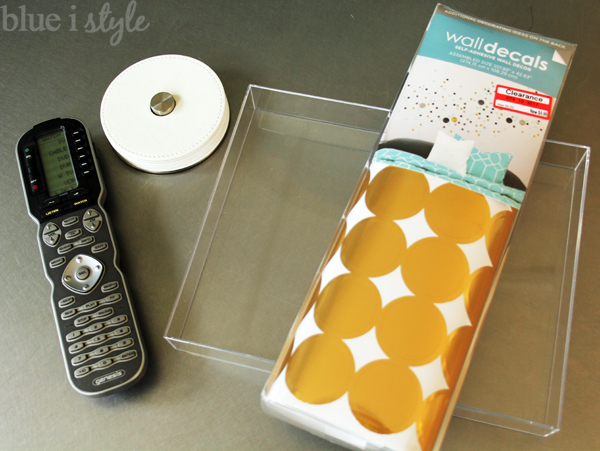
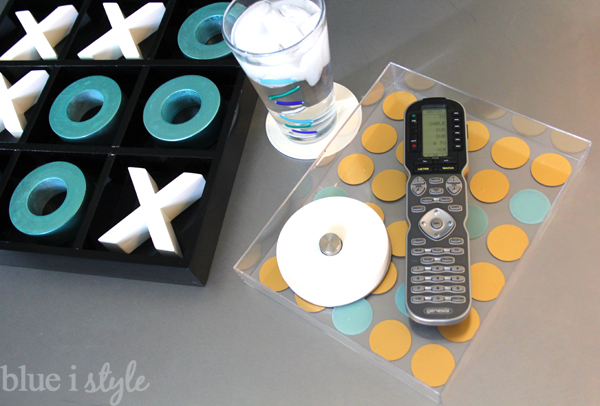
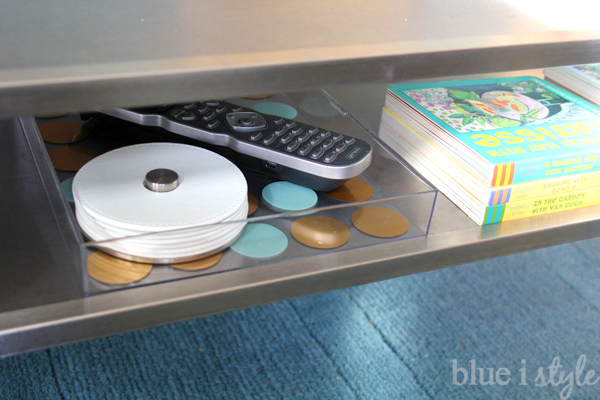
Last spring, I also created a tray to hold our tv remote and coasters on the coffee table shelf in our living room, and an 8×10 frame was just the right size. I added some gold and teal polka dot stickers.
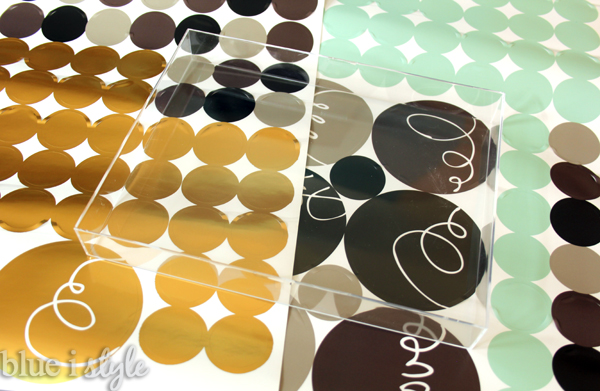
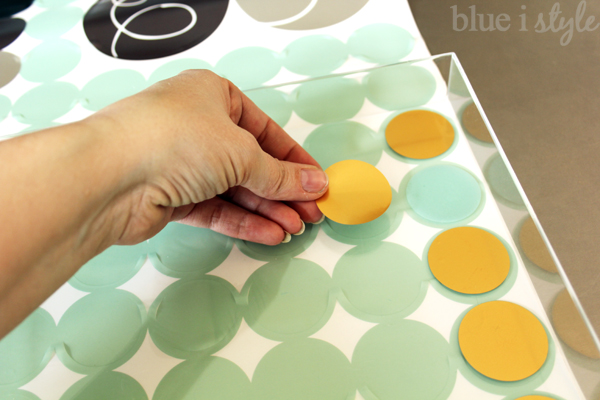
When I spread out the sheets of polka dots to get an idea of how many would fit on the tray, I realized that the sheet of polka dots worked great as a template for perfectly spacing the dots on the tray.
I laid the tray on top of the teal polka dots and placed the gold polka dots on the tray in line with the dots below.
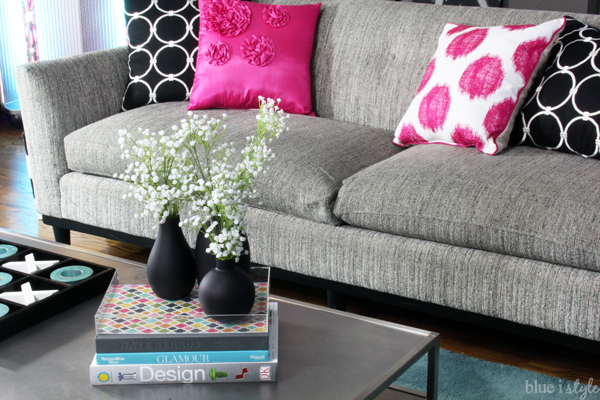
It tray tucks neatly on the shelf of the coffee table, in between our stacks of art books. {My real art books, collected from museums around the world, have been temporarily replaced with kid-friendly board books about famous artists}.
Less than minutes, less than $5, and the style can be updated anytime. That’s my kind of project!!
How would you style your acrylic tray?
