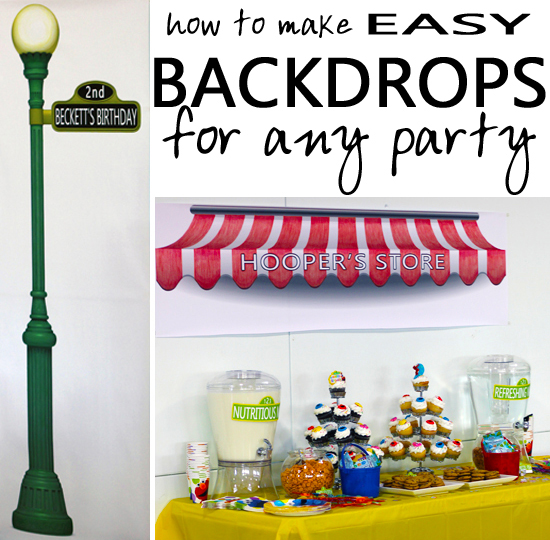
We held Beckett’s Sesame Street themed birthday party at our local rec center rather than at our house, which was great for hosting a large group of toddlers, but it also meant that we had only a limited amount of time to set up. As a result, I needed to keep the decorations simple. As you saw in yesterday’s post with all the party details, the decorations were limited to the brightly colored table cloths, the Sesame Street inspired “street” signs on the craft and food tables, and the two DIY backdrops. At the party, I received a lot of questions about those backdrops, so today I am back to show you how easy they were to create and how similar backdrops could be made to fit any party theme.
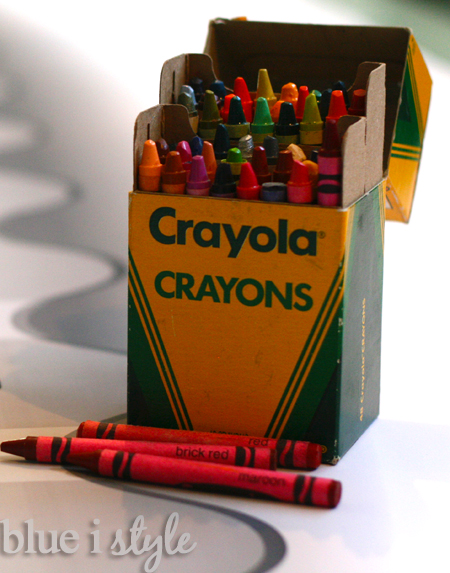
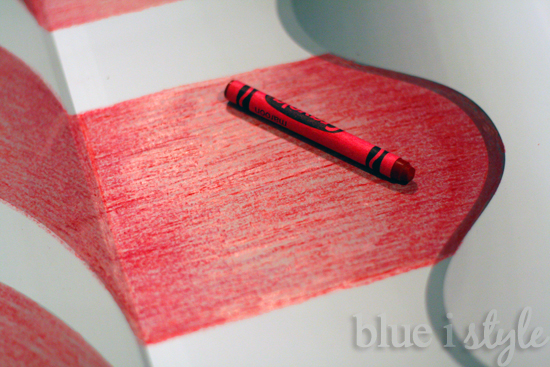
Basically, these backdrops are nothing more than giant coloring pages – black and white images printed on a large-format printer (for very little cost), and which I colored in with my trusty box of Crayolas.
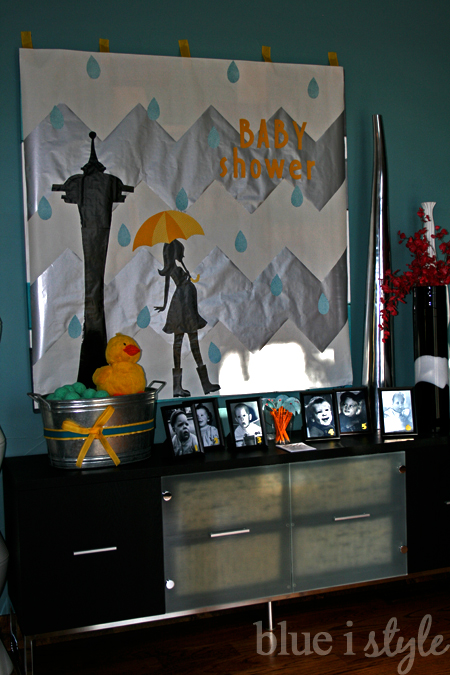
In the past, I have created large signs for parties using wrapping paper, like this lovely chevron striped number that I made for my dear friend’s rain shower themed baby shower.
For Beckett’s party, I knew that I wanted to create a large awning to hang above the food table like the one that graces Hooper’s Store on Sesame Street. My first thought was to once again use wrapping paper for the red and white stripes. But I also wanted to create a large Sesame Street-inspired lamp post with a street sign, which didn’t lend itself as well to my wrapping paper method. Then, as I was printing coloring pages from the Sesame Street website for the kids to color at the party, it occurred to me that a coloring page on an exaggerated scale would be a perfect way to make the party backdrops.
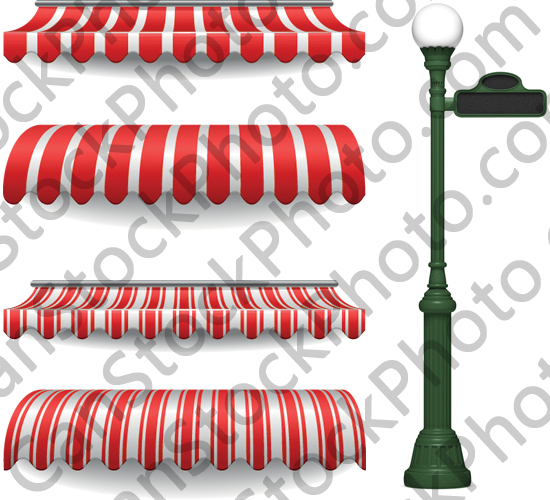
A quick search of one of my go to websites for purchasing stock photos and images – CanStockPhoto.com – turned up exactly what I needed. I found a set of awnings as well as lamp post with street sign that looked remarkably like the Sesame Street sign.
CanStockPhoto provides numerous download options, from pixel based images of various dimensions, to vector graphics (which can be scaled larger without any loss of image quality). Because I wanted to print each image at a very large scale (each about 6 feet x 2 feet), I purchased the images in vector format. After downloading the images, I opened them in Photoshop and changed the dimensions to my desired sizes, then converted each image to black and white. Finally I added text to the images – the words “Hooper’s Store” across the awning, and “Beckett’s Birthday” on the street sign.
Now, you might be wondering why I would bother converting the images to black and white, and then coloring them with crayons, when the digital images started out in the exact colors I needed. The answer is about $174. That’s how much I saved by printing the images in black and white! To print both the awning and lamp post images in color at Kinko’s (FedEx Office), the cost would have been $7.99 per square foot. At the size I was printing, this means the total price for both color prints would have been nearly $192. On the other hand, the cost for large format black and white prints is only $.79 per square foot at Kinko’s, bringing the total cost for both prints to only $18. The math made it an easy choice!
After converting the images to black and white, I used the tools in Photoshop to lighten the images, so that none of the gray tones would be too dark. I saved the two images to a USB storage drive, then headed off to Kinko’s to get them printed. Once I returned home, the only thing left to do was to color the images with my crayons. Even after lightening the gray tones on the images, I was still concerned about whether the crayons would cover well – and fortunately the answer was yes!
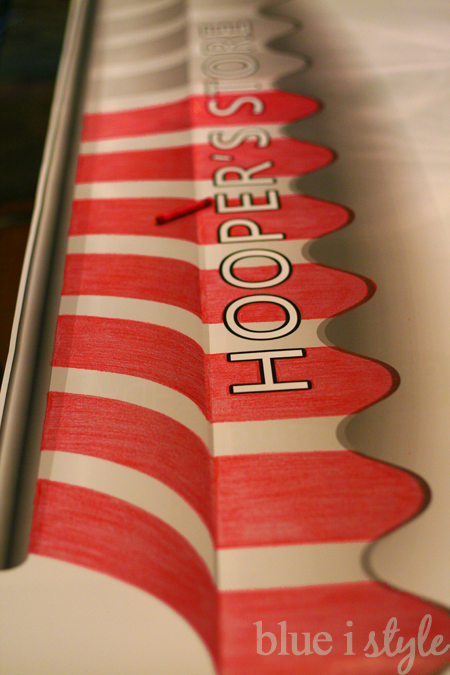
I started by coloring red over each of the awning’s gray stripes.
I then used a darker shade of red (maroon, to be specific) to add shading to the stripes, using the darker shades of gray as a guide.
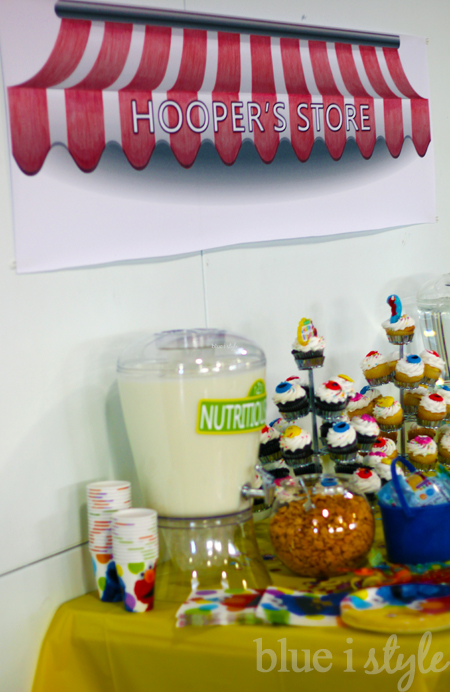
Adding shading to the awning stripes really contributed to the overall dimensional appearance of the completed backdrop. At the party, this awning hung directly above the food table. Without the awning, the food table would have just been floating on a giant white wall, and wouldn’t have had nearly the same presence in the room. However, by simply using 3M Command Strips to attach the awning backdrop to the wall above the table, it became an important design element and helped to solidify the Sesame Street theme.
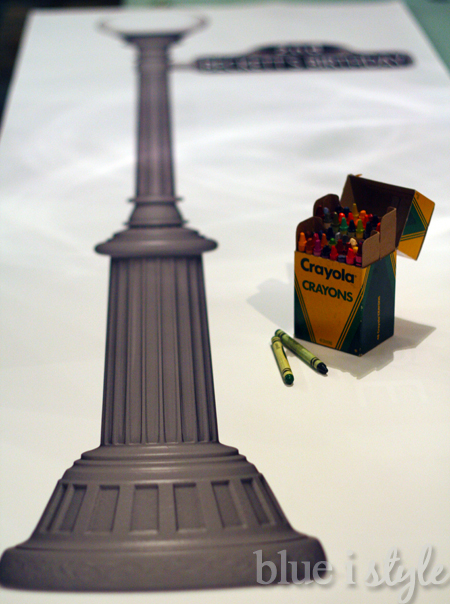
I also colored the lamp post in the exact same manner, using green and yellow crayons to color over the gray tones.
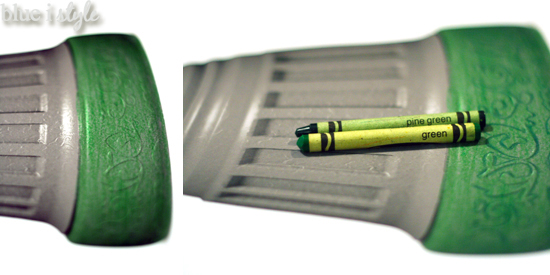
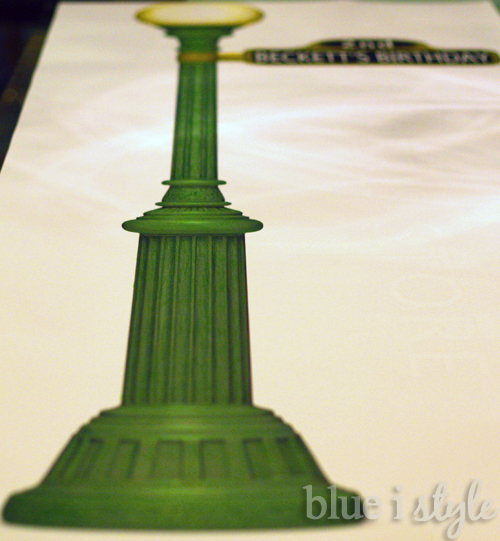
The lamp post had a lot of intricate details, including the scrolly design around the base. I started by coloring the post with a bright green crayon, and then traced over the details with a darker shade of green (pine green).
I continued this way all the way up the lamp post, using the pine green crayon to add definition and shading everywhere that the appeared darker grey on the print.
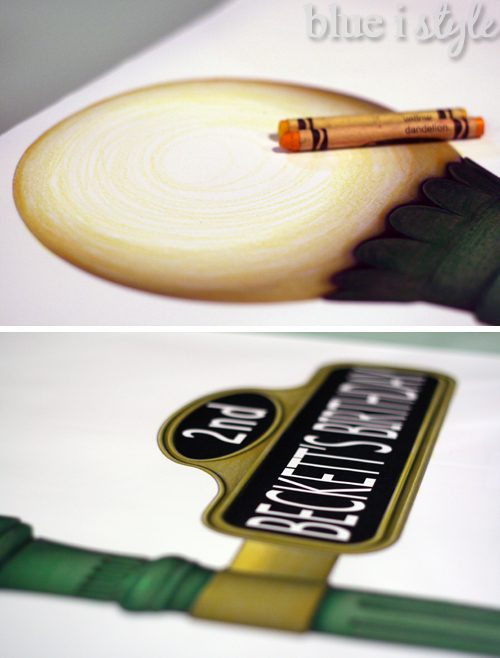
For the lamp bulb itself, I used two different yellow crayons to color around the edges where there was grey shading, and then added more yellow in a circular motion working my way into the bulb, leaving just the very center uncolored.
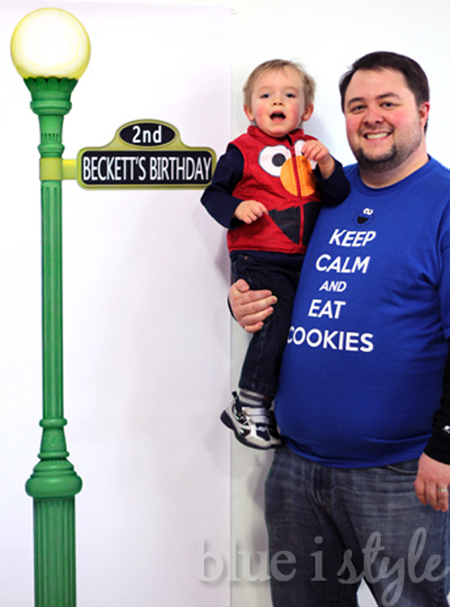
The completed lamp post, resembling the iconic Sesame Street version, made a perfect addition to the decor, greeting guests at the party’s entrance and serving as a photo op spot.
I could have easily cut out both the awning and the lamp post, removing the excess white paper from around each image – and I would have, but for the fact that the signs were to hang on the rec center’s stark white walls. In retrospect, even against the white walls, the awning in particular probably would have looked better had I cut it out (that would have avoided the shadow where the bottom of the paper sat away from the wall a bit), but even so, I think both backdrops still looked great and they made a big impact in the space.

