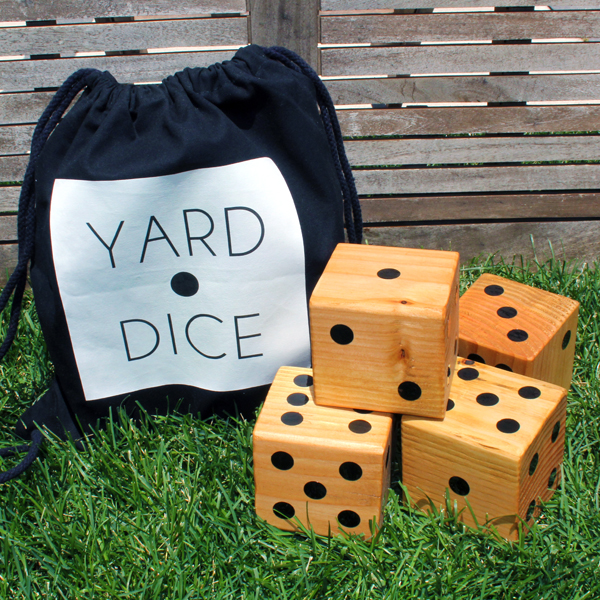
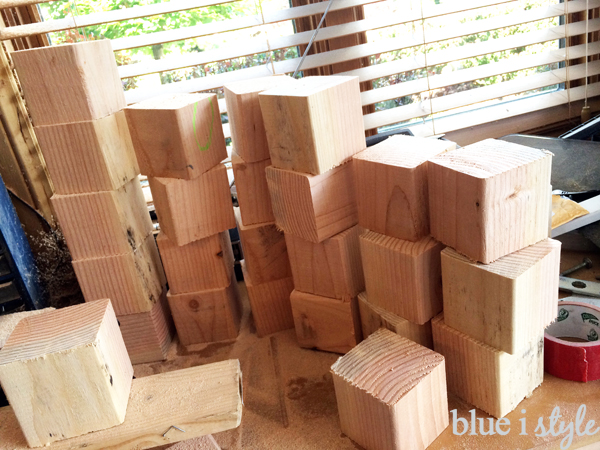
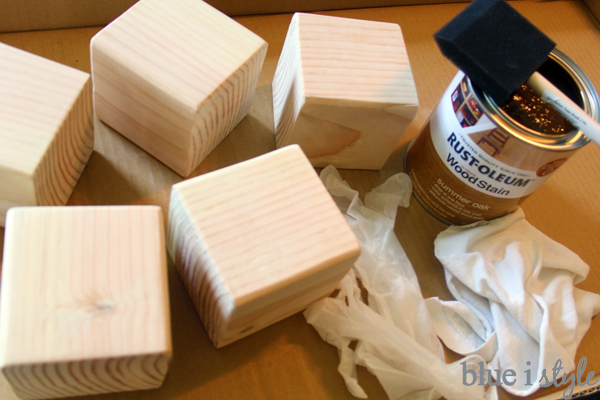
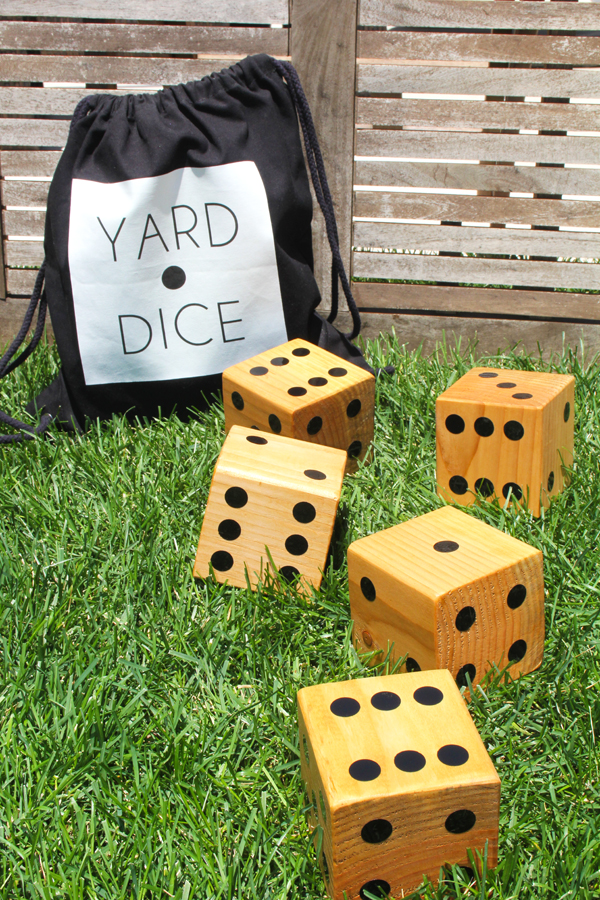
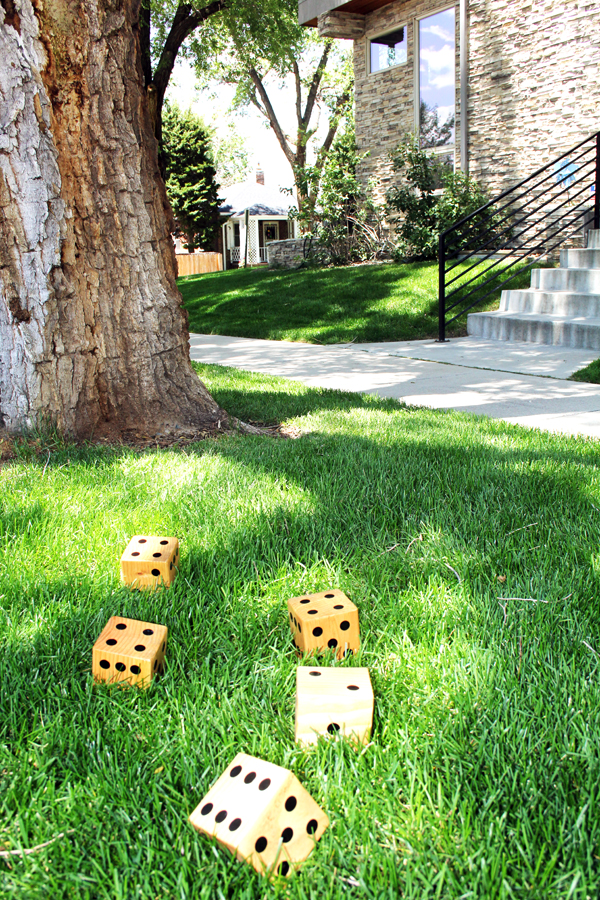
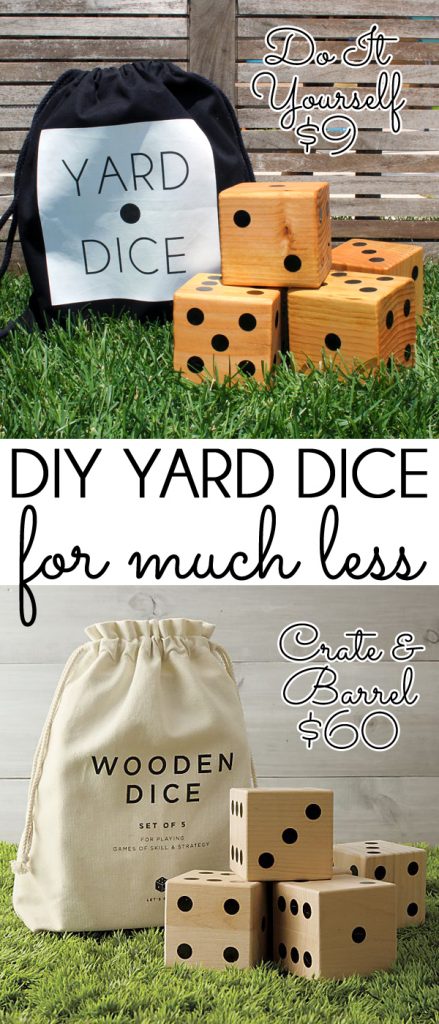
The dice from Crate & Barrel are 3.5 inch cubes, so I knew that a 4×4 piece of lumber from a hardware store would be perfect {because despite the name, a 4×4 is actually closer to 3.5×3.5 in dimension}. After looking at all of the 4×4 options, we selected a 10 foot length of Douglas Fir because the boards were in better shape than most of the others types of wood we looked at – with fewer cracks and large knot holes. From this one board, we were able to cut more than 30 3.5 inch cubes – enough for 6 sets of 5 dice.
- 4×4 Douglas Fir Lumber {10 ft length is enough for 6 sets of dice} – $12.84
- Chop Saw {I used my dad’s} or have them cut at your hardware store for a small fee per cut
- Hand Held Electric Sander – already owned
- Sand Paper – Coarse Grit & Fine Grit – already owned
- Rust-Oleum Wood Stain {color: Summer Oak} – $5.48
- Foam Brush {for applying stain} – $.98
- Rag {for removing excess stain} – already owned
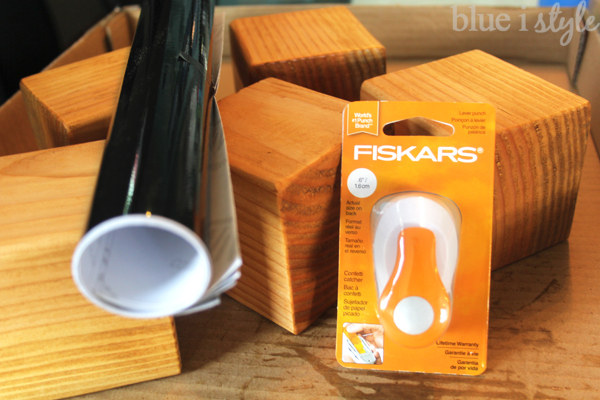
- Expressions Vinyl Black Outdoor Permanent Adhesive – $7.45
- Fiskars .6″ Circle Punch – $5.99 {on sale at JoAnn}
- Black Canvas Drawstring Bag – $2.50/each from JoAnn {on sale}
- Iron-On Transfer Paper for Dark Fabric – $.70/sheet {1 sheet per bag}
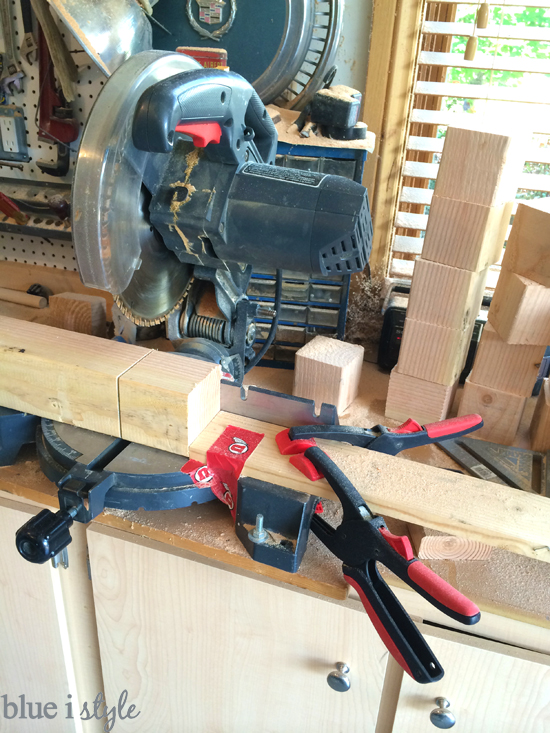
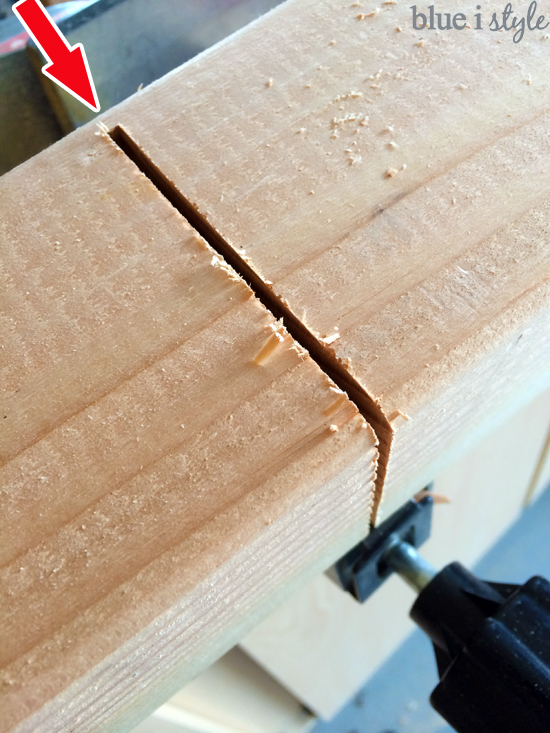
We quickly discovered the chop saw, which has a 10 inch blade, is just slightly too small to cut all the way through the 4×4. With each cube we cut, we were left with one uncut corner.
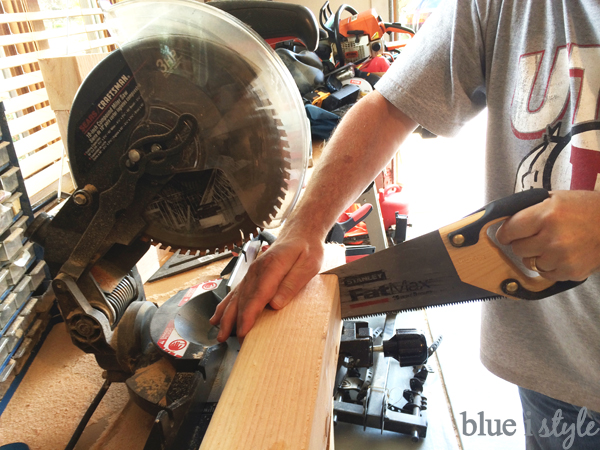
We were able remedy this situation by simply using a hand saw to cut through the final corner of each cube, but if you are able to use a chop saw with a 12 inch blade, rather than a 10 inch blade, you could avoid this extra step and speed up the process.
We were able to cut a total of 32 cubes from the 10 foot long board, but two of them we discarded because of knot holes. This left us with 30 good cubes, perfect for 6 sets of 5 dice.
STEP 2: Sanding the Dice
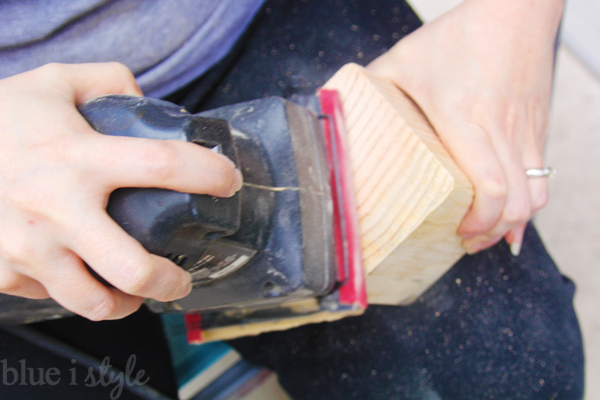
Once all the cubes were cut, I sanded all six sides of each die with a hand-held electric sander. I began with a coarse grit sandpaper, then repeated the process with a fine grit sandpaper to achieve a nice, smooth finish on each die.
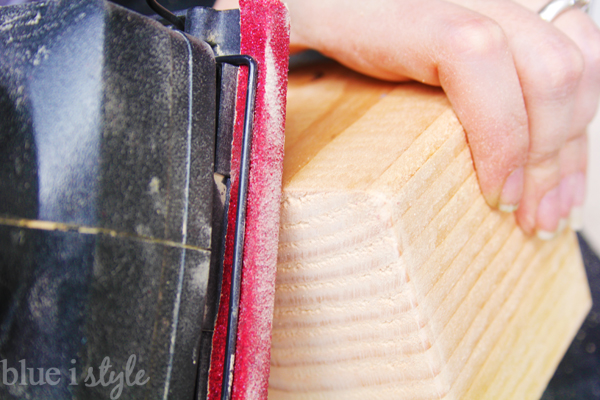
The 4×4 had slightly rounded edges, but the cuts we made with the chop saw created, crisp 90 degree cuts. As a result, each die had 4 rounded edges and eight square edges. I wanted each edge of the dice to look the same, so I used the sander to round the square edges, which turned out to be much easier than I expected.
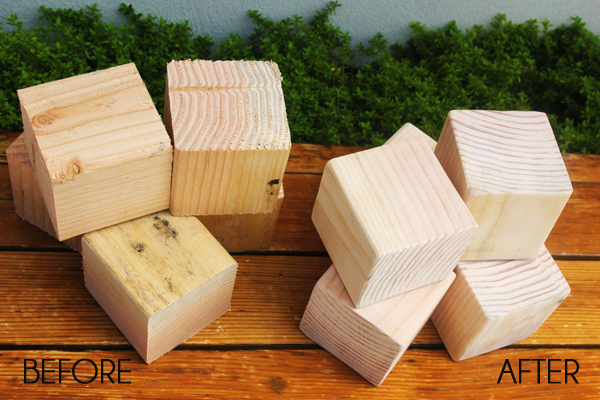
As you can see in the side by side comparison, the wood grain on the cut sides of the dice was pretty rough when I started, but, after a little sanding, each die was a nice smooth cube, ready for stain.
STEP 3: Staining the Dice
I typically prefer darker stain colors, but when choosing a stain color for my DIY yard dice, I decided to stick with a fairly light color to ensure that the black dots would easily show up, even from a distance. I chose Rust-Oleum’s wood stain in Summer Oak.
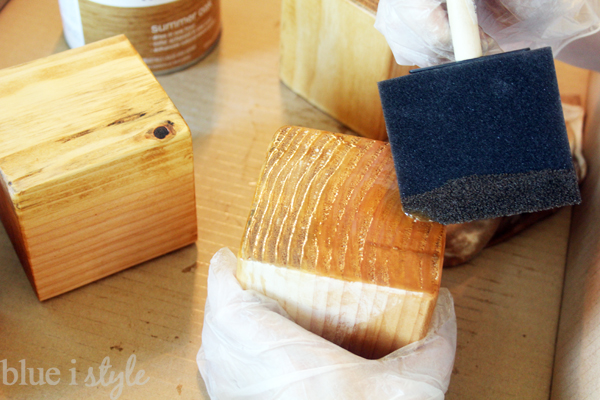
I applied the stain with a foam brush…
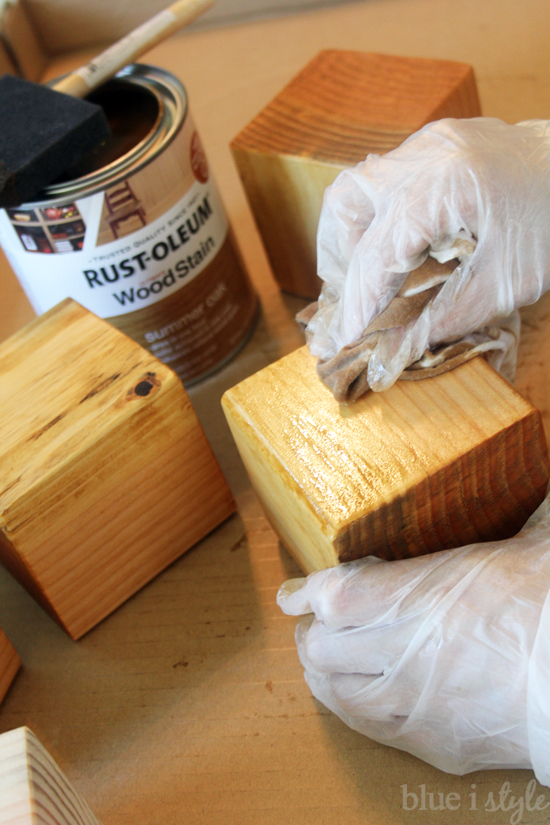
…then used a white rag to wipe off the excess stain.
STEP 4: Adding Pips to the Dice
I love DIY projects because you always learn something new in the process, and in this project, I learned that the dots on dice are called “PIPS.” Rather than trying to paint the pips on the dice, I decided to take the easier route by creating stickers from an outdoor rated, permanent adhesive vinyl.
I had used this same adhesive vinyl for several past projects, including my LOVE scrabble tile coasters, so I knew it would hold up well even if exposed to moisture in the grass.
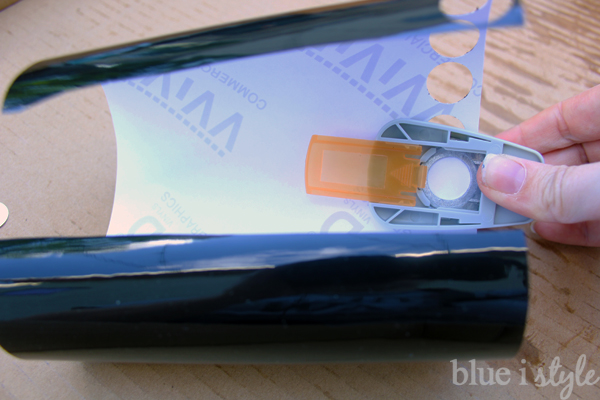
To cut the pips, I purchased a .6″ inch circle punch at JoAnn. After testing the punch on the vinyl, I determine that in order to get a nice, smooth cut I needed the punch to cut through the vinyl first, and then the backing {punching from the backside of the vinyl first resulted in chewed up edges rather than a nice, smooth circle}.
Each die requires 21 pips, for a total of 105 pips per set of 5 dice. Fortunately, cutting the pips is super quick and easy using the punch. I just punched all the circles into a small kitchen bowl to
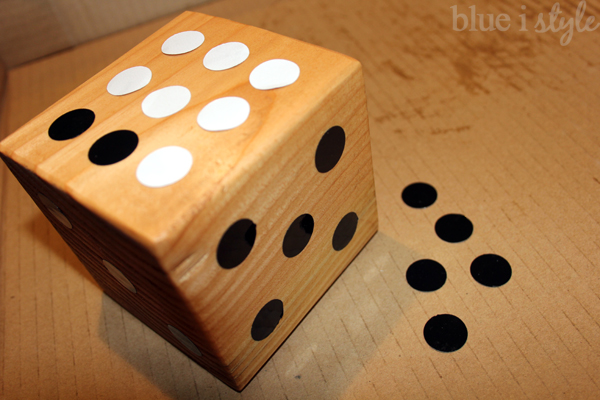
Before applying the pips, I did a quick Google search to determine the correct placement of the numbers of each side of a die. I learned that the 1 and 6 are on opposite sides, the 2 and 5 on opposite sides, and the 3 and 4 on opposite sides.
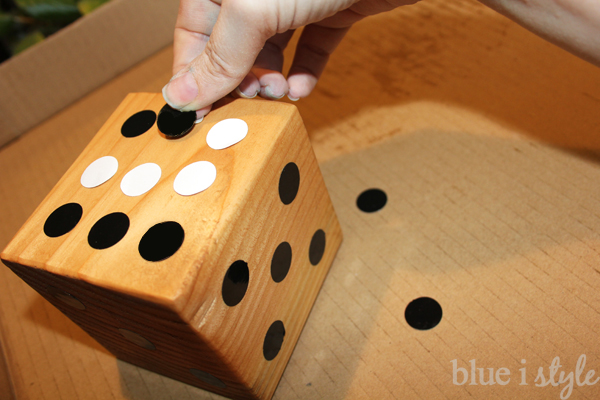
To apply each pip, I simply peeled the backing off of the vinyl {which comes off really easily} and stuck the dots on to the dice. In order to get the spacing of the pips right, I used the removed backing from prior pips to layout a 3×3 grid on each side – then removed them one by one and replaced them with the black vinyl stickers in the appropriate places.
After sticking on each pip, I pressed it down to make sure there was a good seal around the edges.
STEP 5: Creating a Carry Bag for the Dice
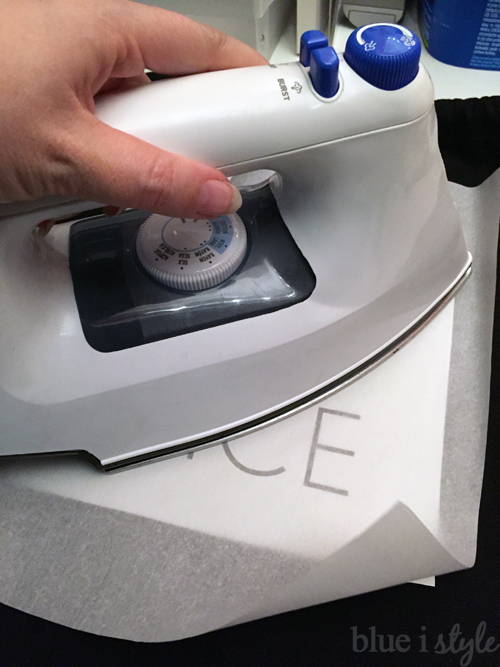
The Crate & Barrel dice come in a nice, drawstring carry bag, so I decide to create the same for my dice. I picked up some black, canvas drawstring bags from JoAnn {on sale for half price}. I designed a simple label for the bags which I printed onto dark color iron-on transfer paper, and then I ironed the labels onto the bags.

