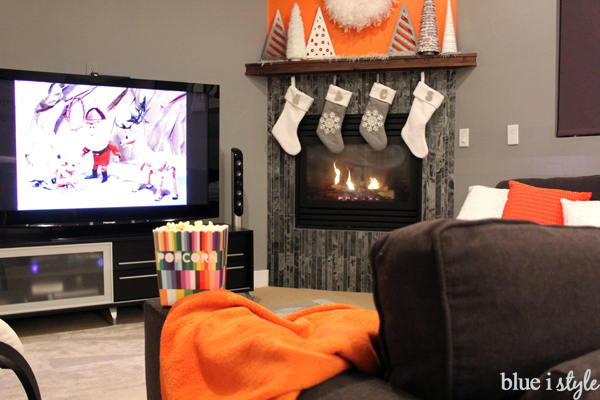
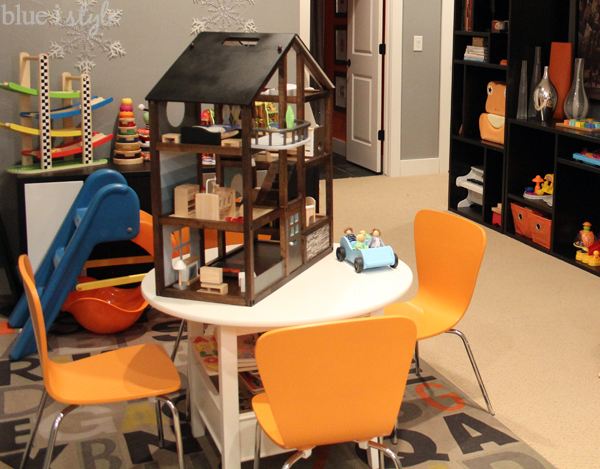
When we were little, my mom created several dollhouses for my sister and me. She bought them unfinished, and then meticulously decorated and furnished them, using real carpet, tile, and linoleum remnants on the floors, and using fabric to create wallpaper for the walls. Those dollhouses were our prized possessions and I always envisioned creating a similar dollhouse for my own daughter someday.
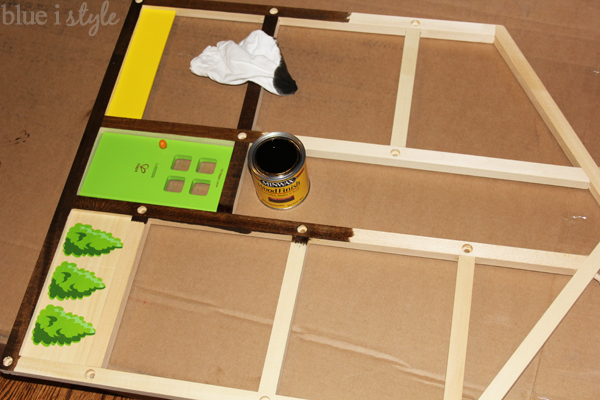
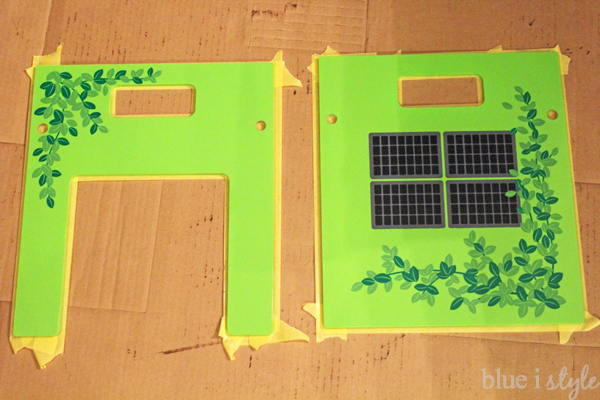
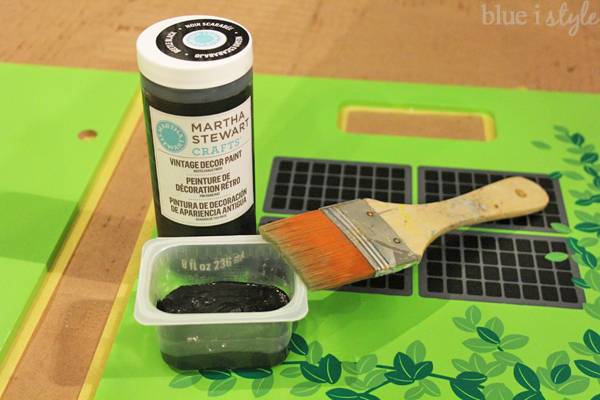
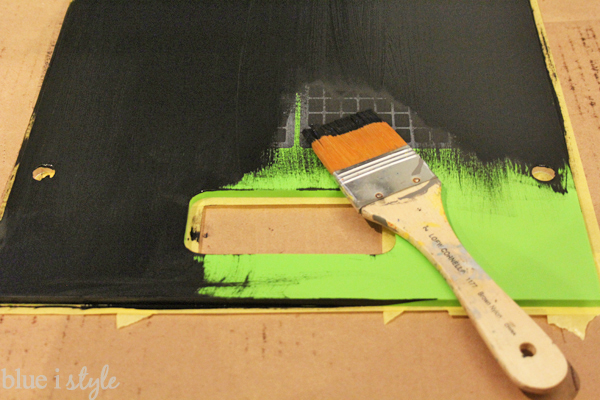
I used some left over black acrylic paint and a wide paint brush to make the roof’s paint job quick and easy.
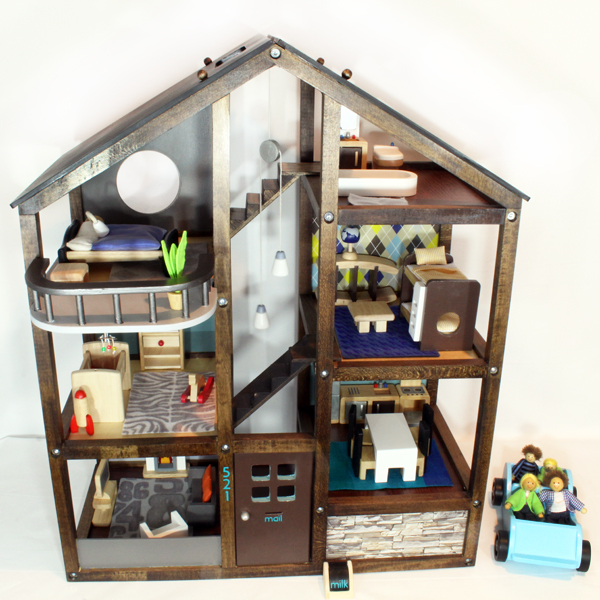
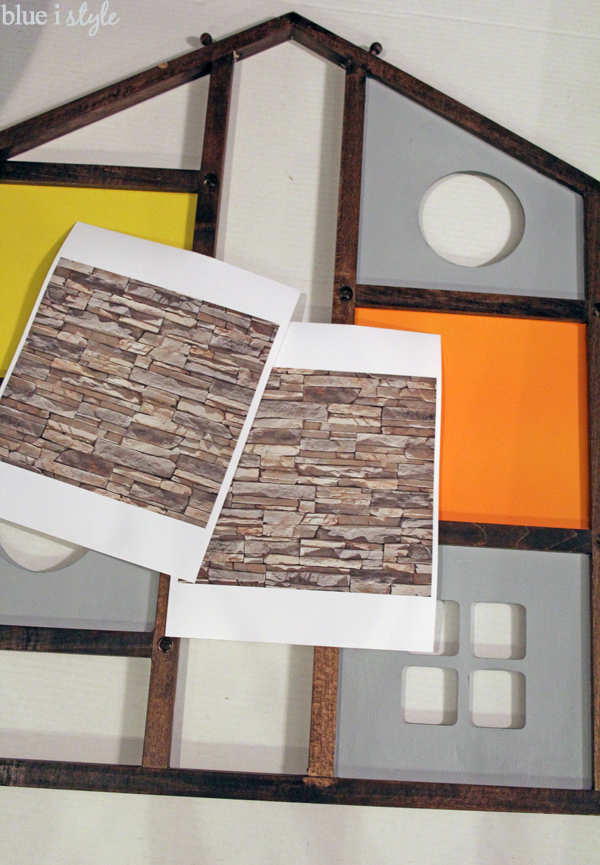
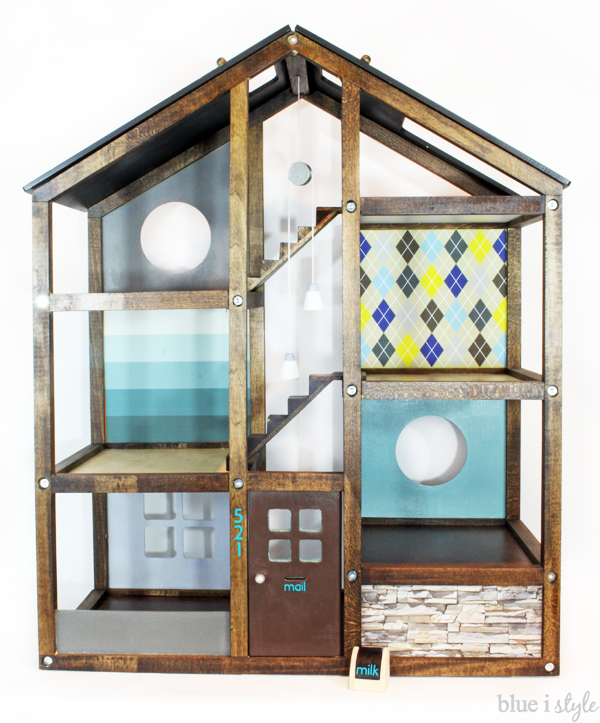
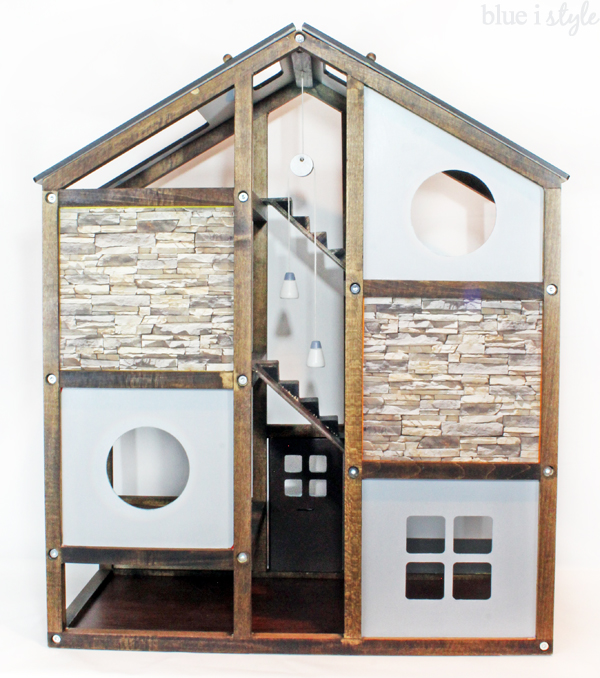
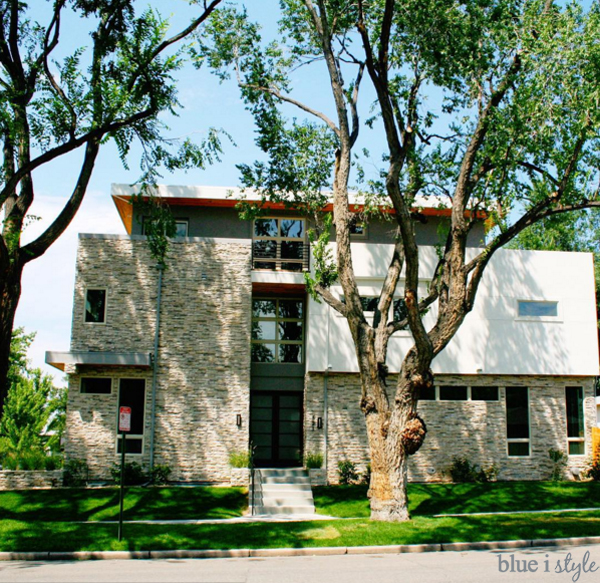
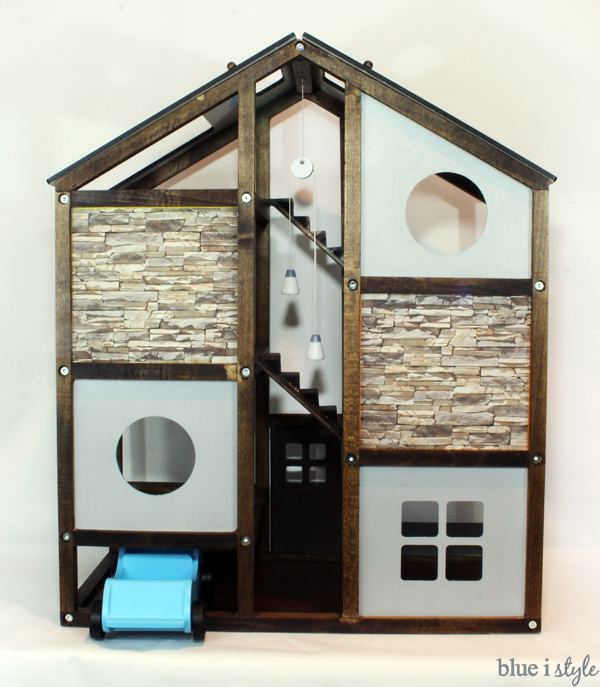
To complete the look of the exterior of the house, I downloaded an image of the stacked stone on our home from the manufacturers website, and I printed the image onto more sheets of inkjet printable adhesive vinyl. In addition to covering the two non-window sections of the back of the house in stone, I also covered the bright green bushes next to the front door with stone as well.
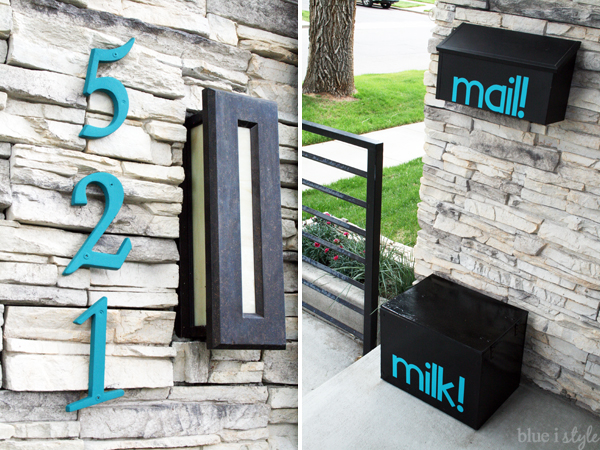
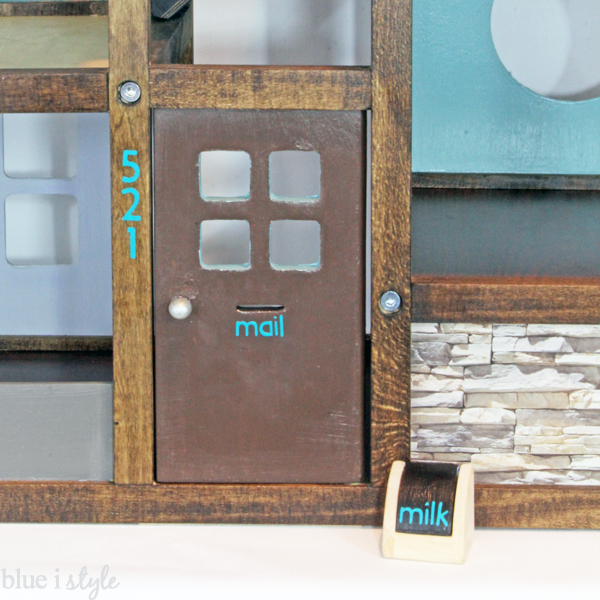
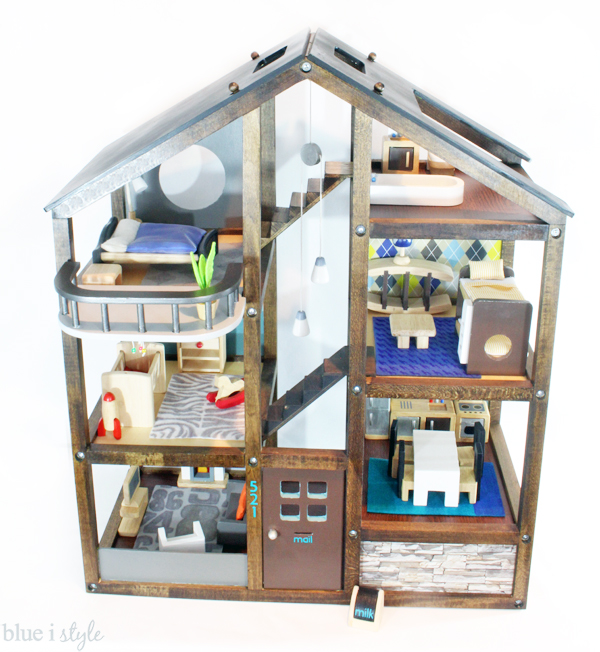
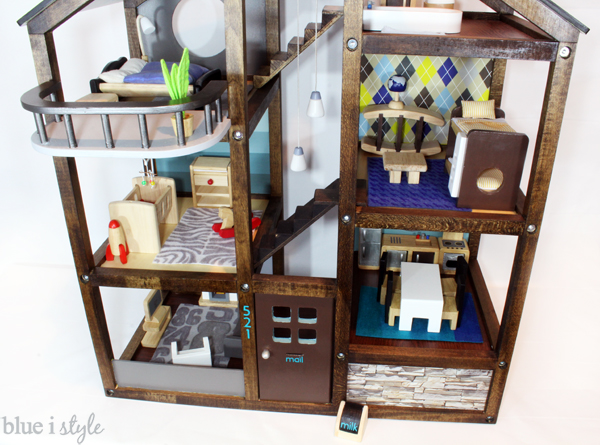
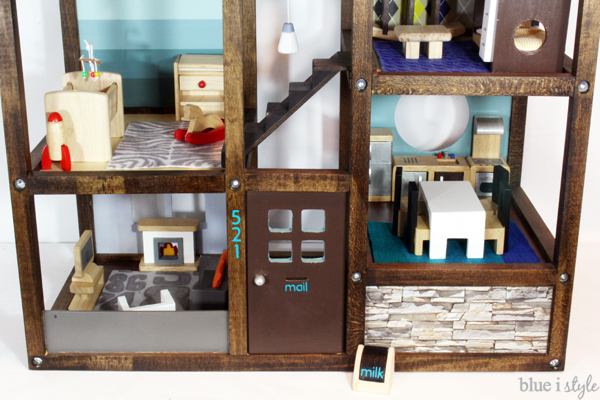
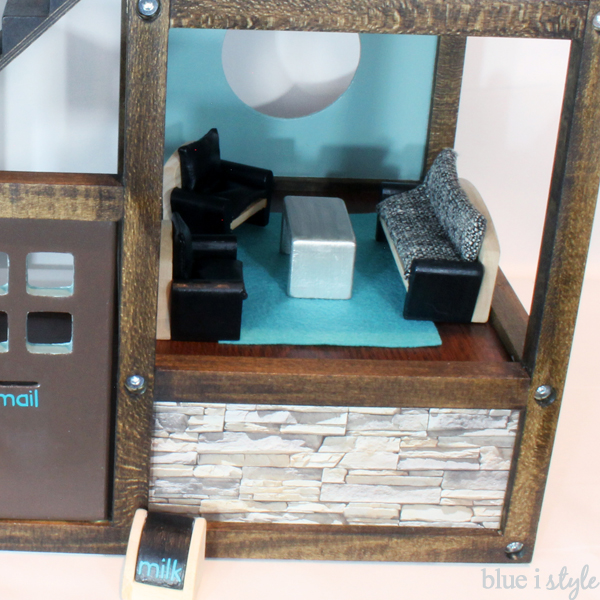
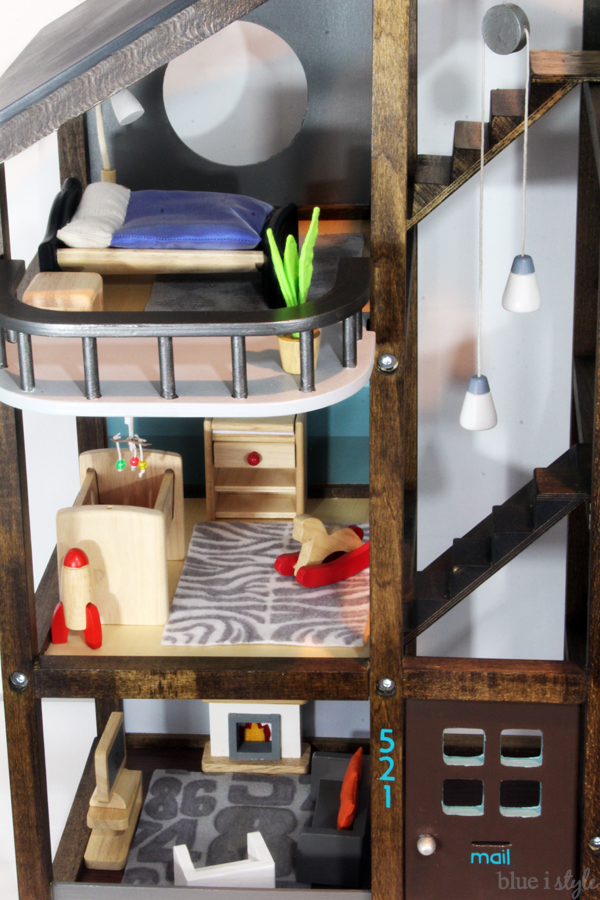
After seeing the dollhouse put together, my husband suggested that I add the house number, and label the mail slot in the door similar to our mailbox. I used a scrap of teal vinyl and cut the numbers and letters on my Cricut electronic cutting machine. Then I decided to take it one step further by painting the “toy box” that came with one of the furniture sets black and labeling it like the milk box on our front porch.
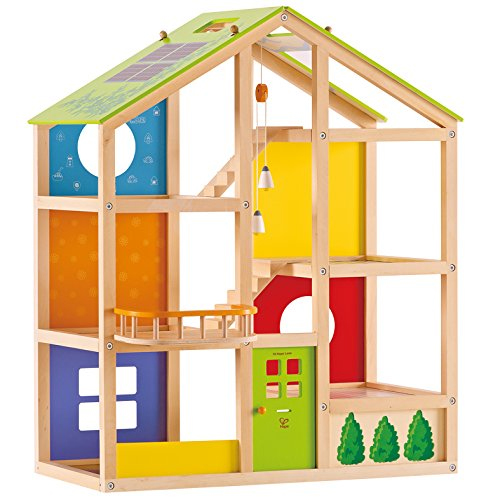
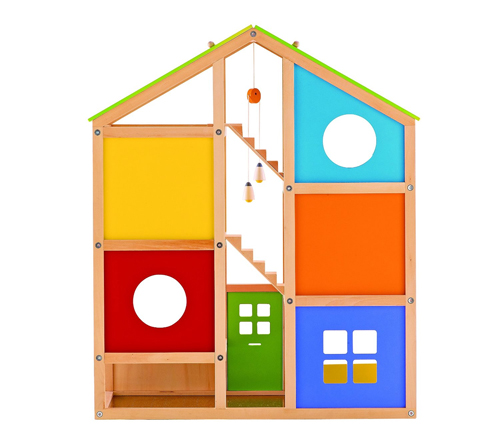
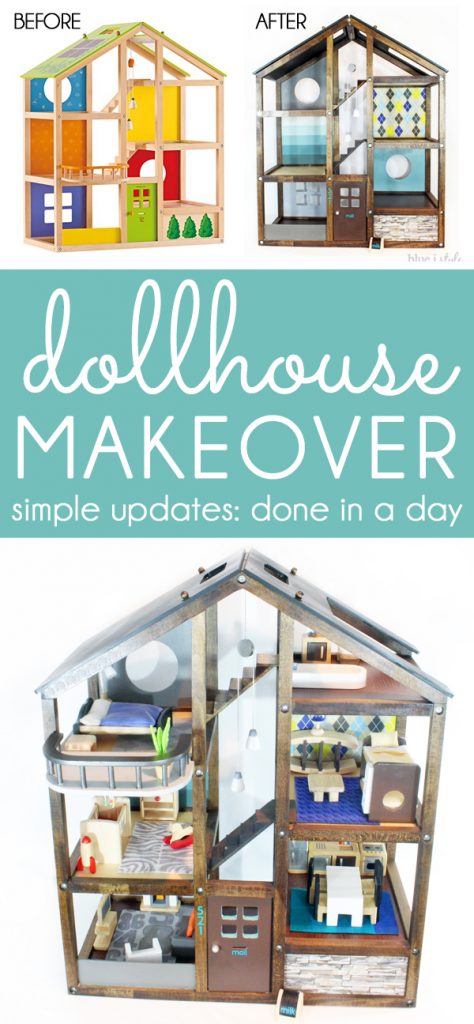
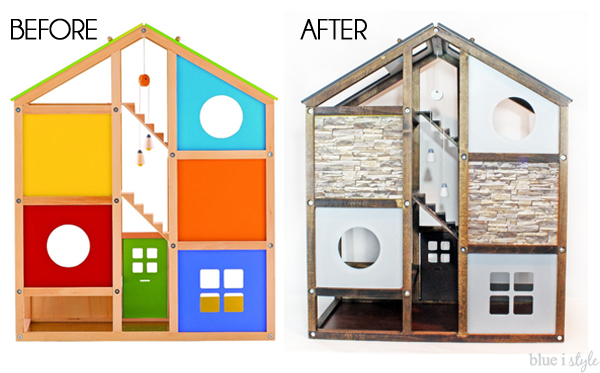
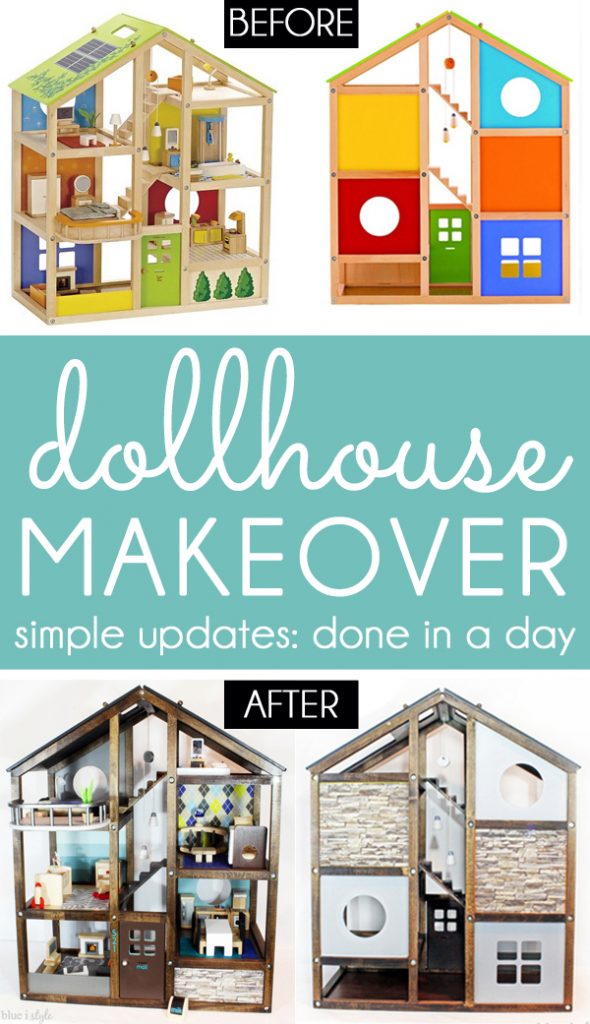
I was so thrilled with how the dollhouse makeover turned out, and the side by side before and after is pretty drastic – especially considering that it only took me a few hours to make all the changes! The original was very fun and colorful, but the after… well, now it looks like home!
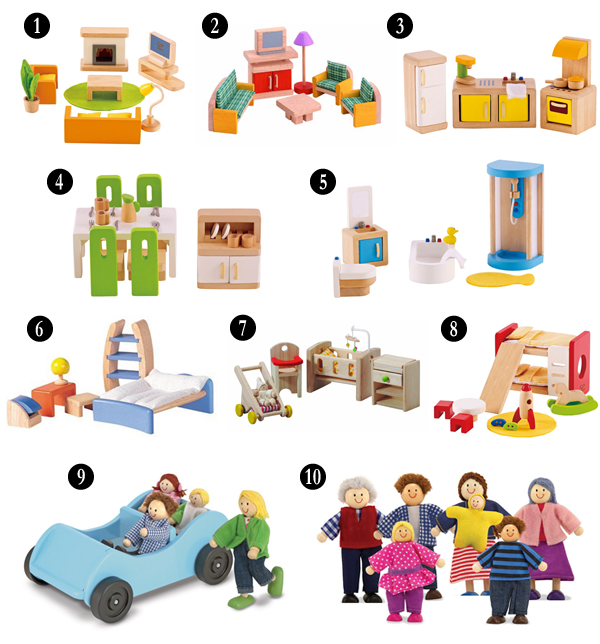
Once the house was complete, I was ready to focus on the furniture. From watching my boys play with the dollhouse at the toy store, I knew that moving the furniture around would be one of their favorite parts, so I wanted to give them plenty of furniture options. After doing my research, I learned that the furniture and dolls from Hape, Plan Toys and Melissa & Doug are all very close in size, making them interchangeable. I picked my favorites from among all three furniture lines and ordered the following:
Ready for a closer look inside?! Come on in!
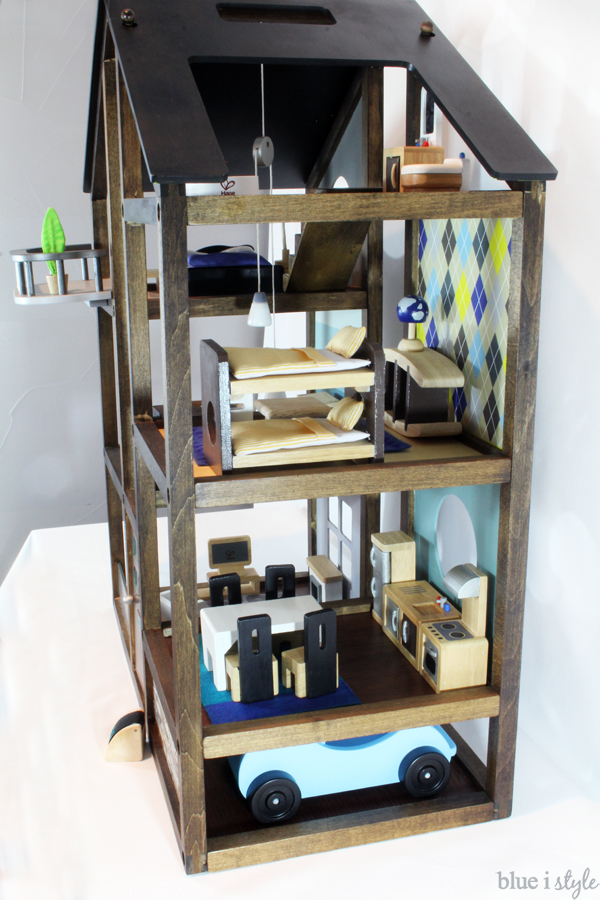
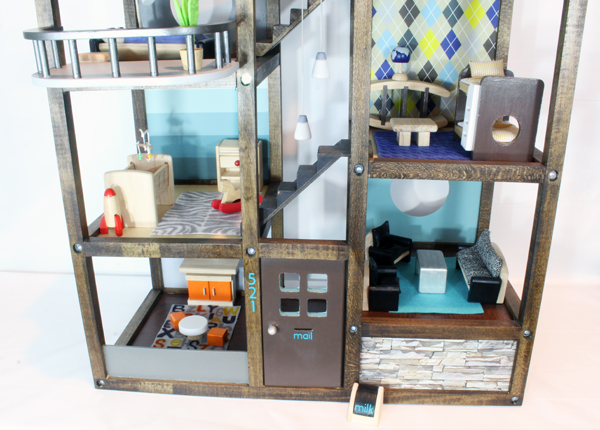
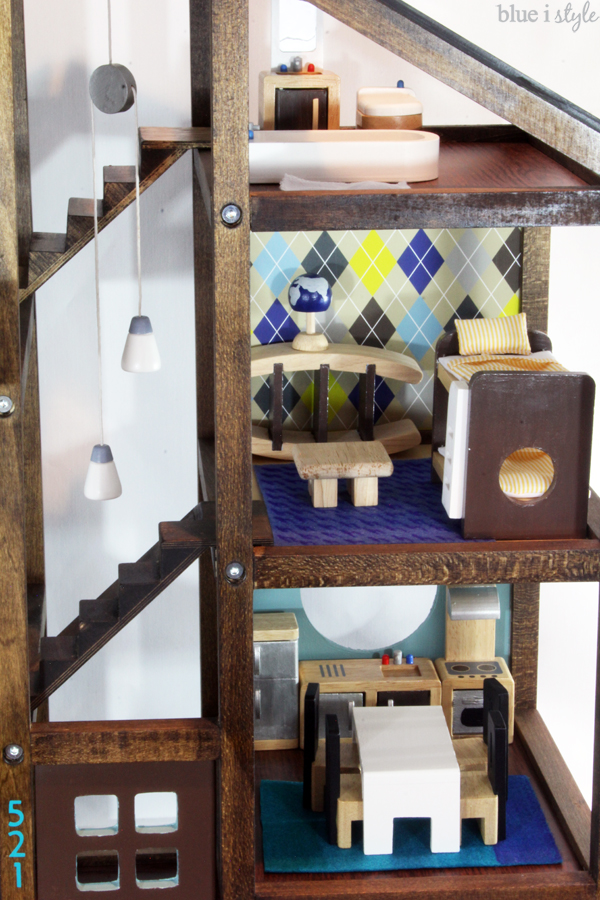
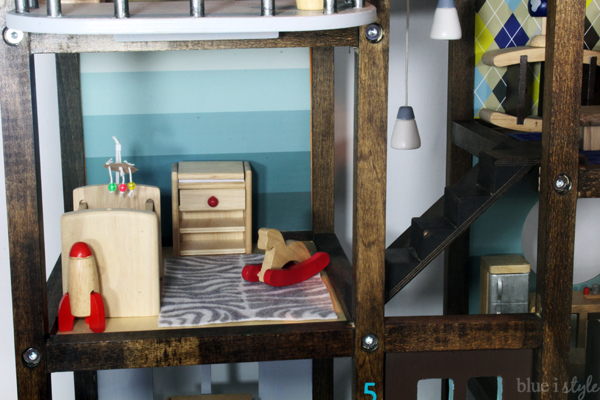
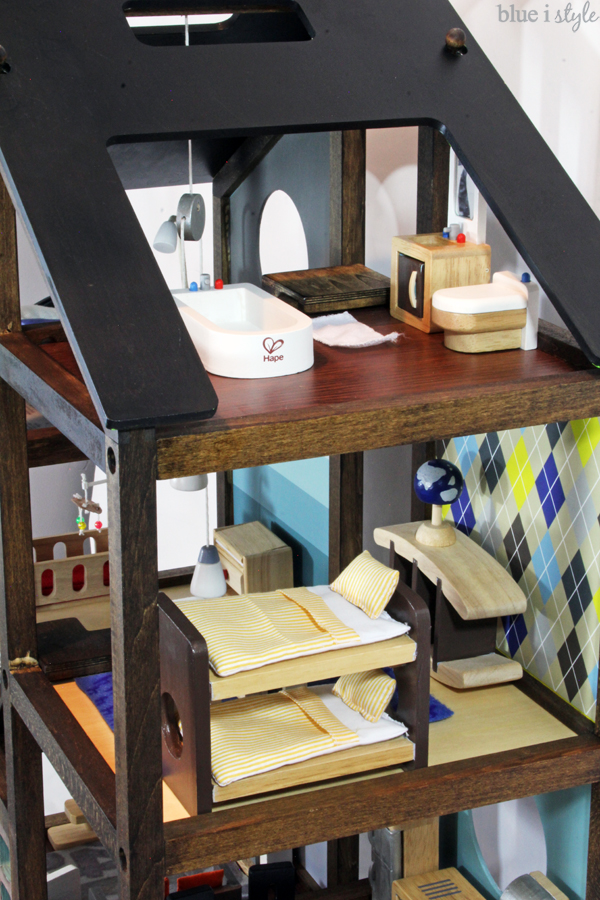
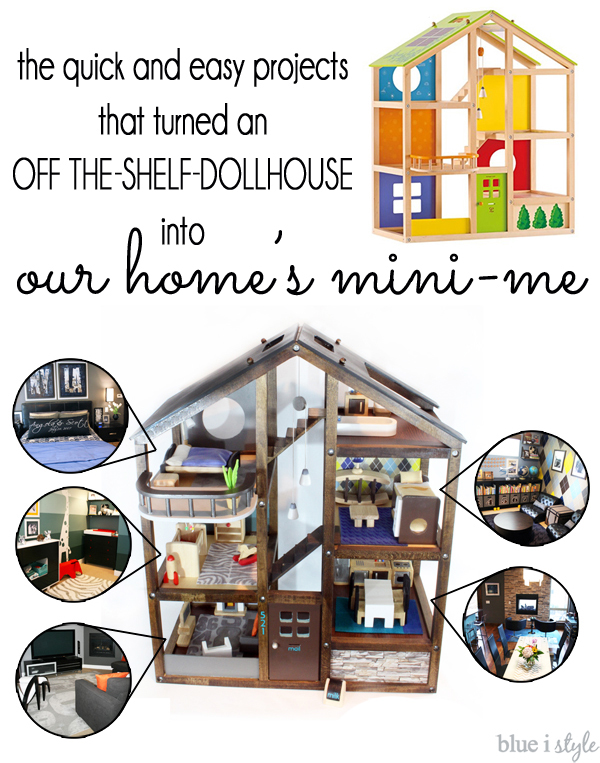
Just like our home, the lowest level of the dollhouse is the “basement,” the kitchen is to the right of the front door, the kids rooms are on the next level up, and the master bedroom and bathroom are on the third floor.
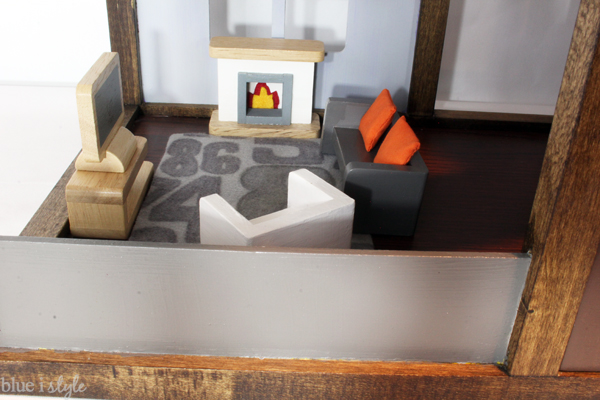
Since I wanted the kids to have lots of options, I made two sets of furniture for each of the lower level rooms. The basement can be set up as our family room, or as the kids play area, the kitchen can be swapped out to become our living room. Of course, the kids don’t really set the rooms up like this on their own – you’re more likely to find the toilet next to the kitchen table, and the couch on top of the bed! But the kids to recognize that the walls, rugs, furniture look like things in our home, and they love talking about it!
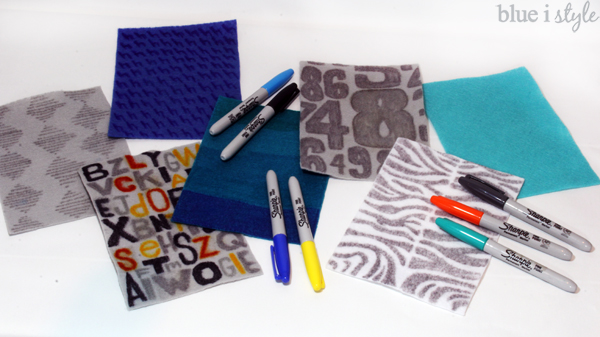
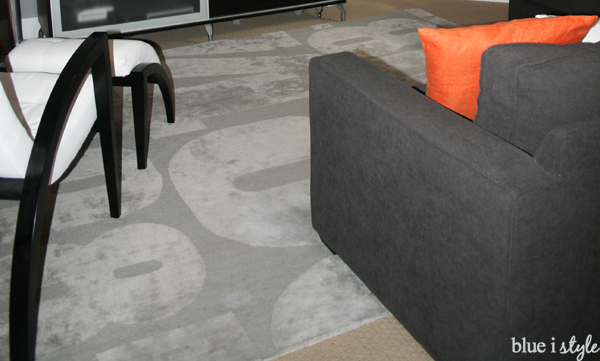
The basement family room has a grey couch, orange pillows, white chair, grey number rug, and fireplace…
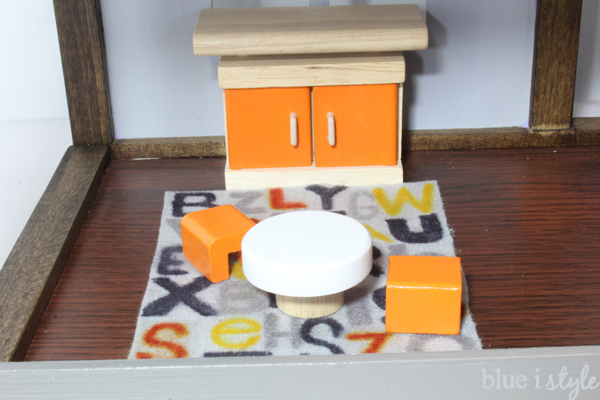
The other end of our basement is the kids play area with a fun letter rug and a white play table with orange chairs.
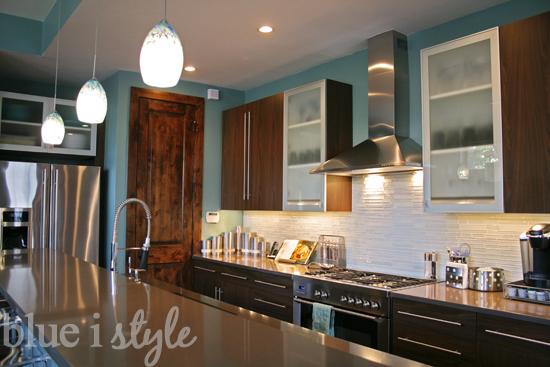
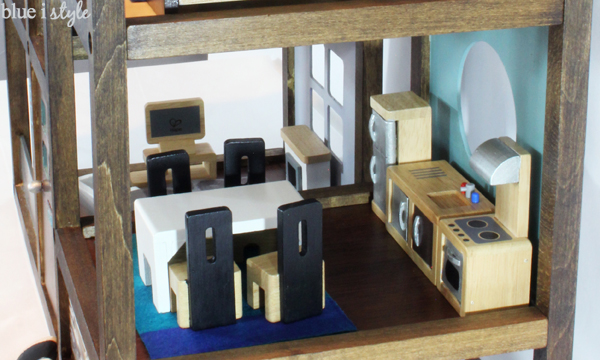
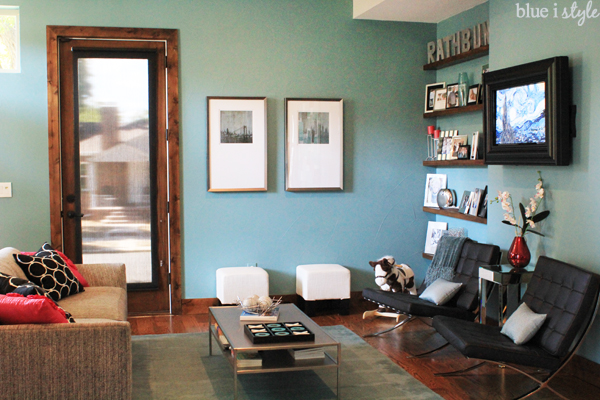
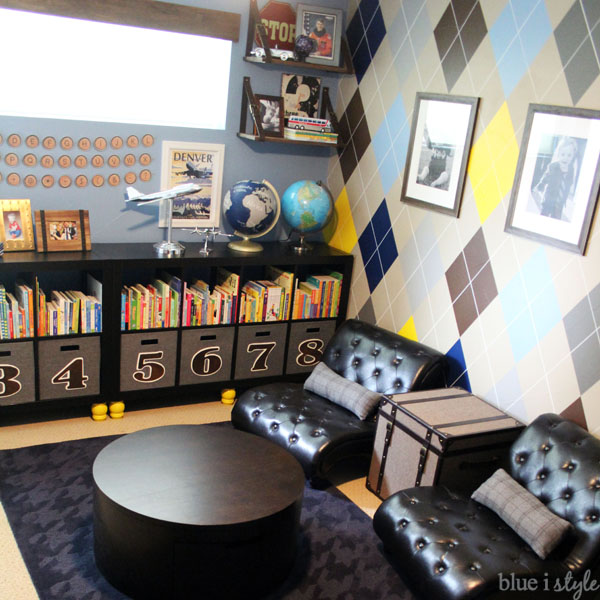
On the other side of the dollhouse, the room with the teal wall doubles as our kitchen and our living room. Like our kitchen, the dollhouse has stainless appliances, black chairs, and an ombre rug in shades of teal and blue.
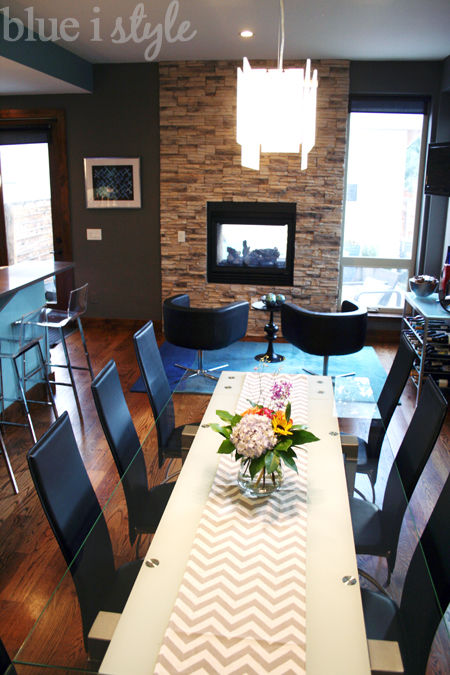
As the living room, the the dollhouse has a teal rug, and black and white tweed couch, black chairs, and a silver table.
Now let’s head upstairs…
Finally, at the top of the house is the bathroom, complete with a toilet with a lid that lifts – one of the boys’ very favorite parts!
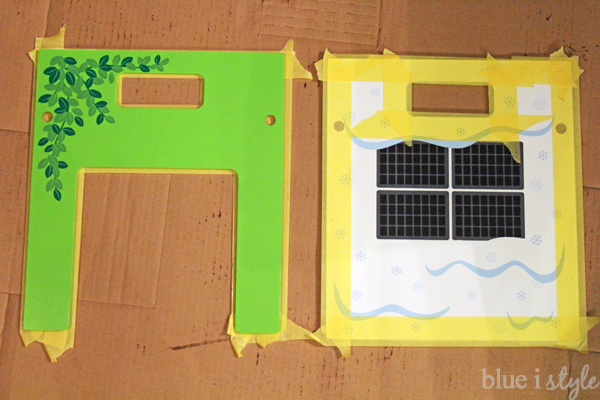
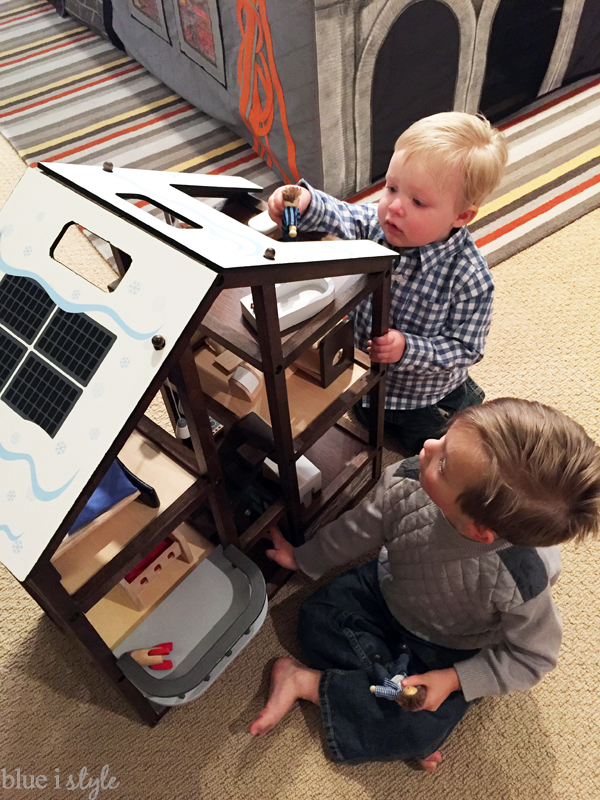
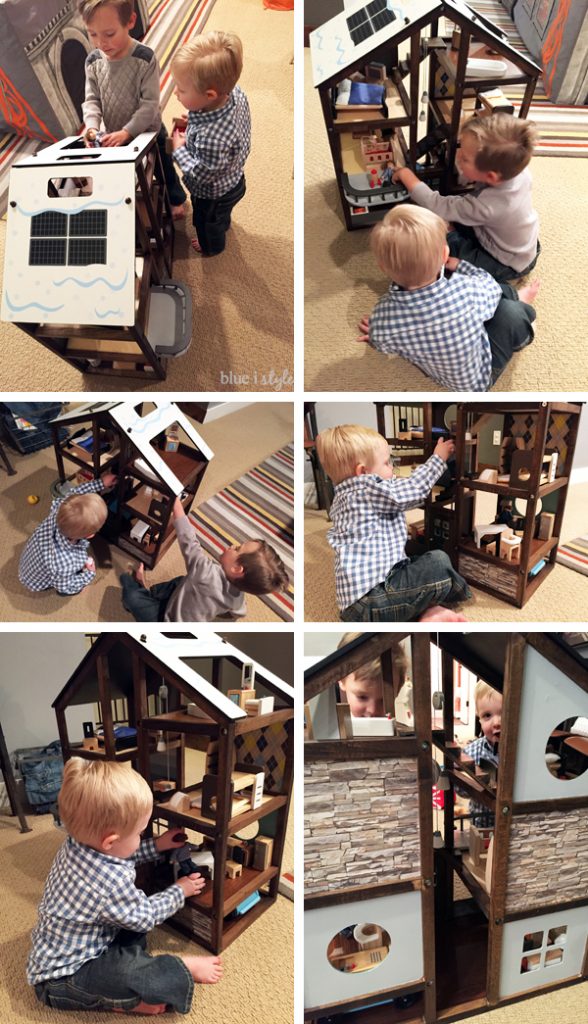
I had so much fun putting this dollhouse together for the boys, and I’m thrilled that a year later they are still enjoying it just as much as they did the very first day! Here are some photos I snapped of them playing with the house just last week! It was snowing out that day, so of course they flipped the roof around to the snowy side!
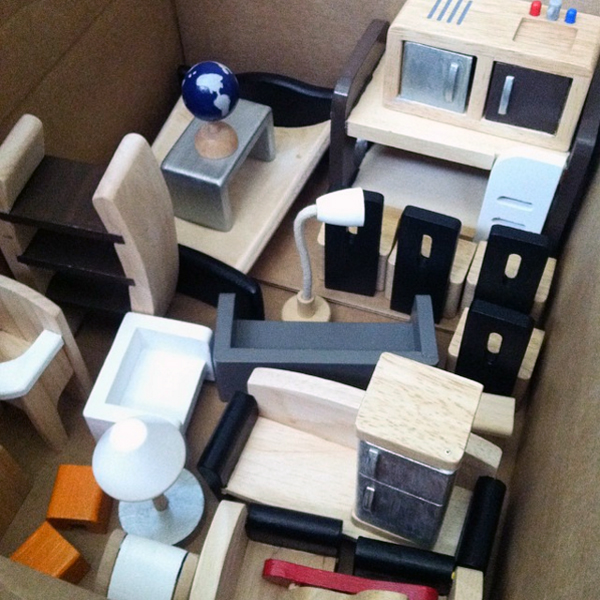
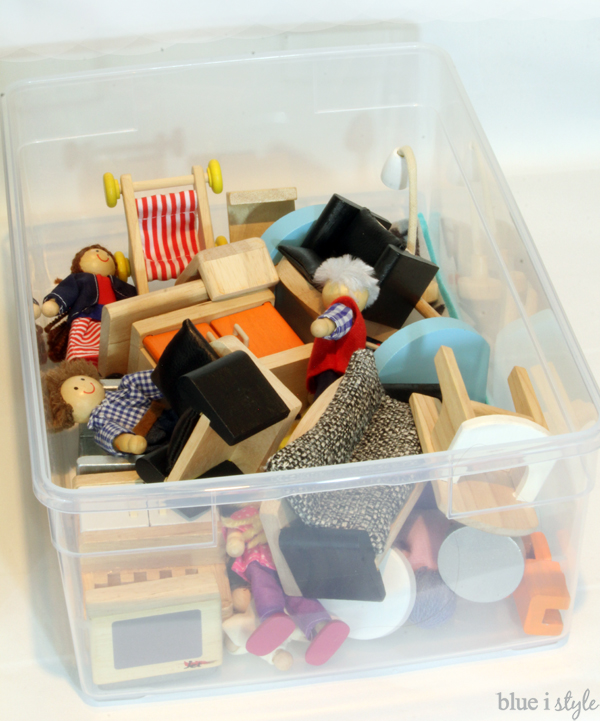
Since not all of the furniture can fit in the house at one, I put all the extra pieces in a plastic lidded bin that we keep in the toy cabinet. The boys love having options and spend a lot of time sorting through the furniture to find just the right pieces.
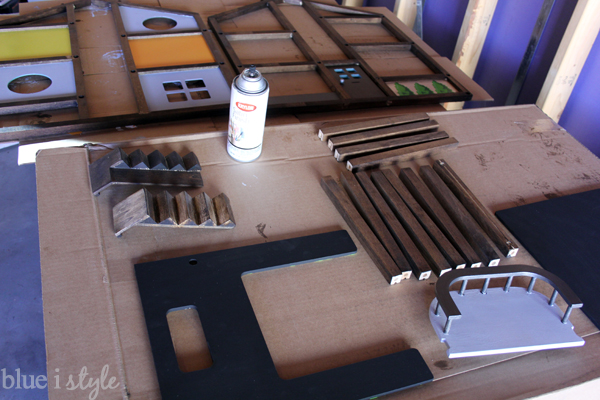
- Stained dollhouse frame using left over stain
- Painted the green side of the roof black using acrylic paint
- Painted the windowed walls {interior and exterior} using paint left over from our walls
- Painted the front door and deck
- Sprayed a sealer over all the painted and stained areas to protect them
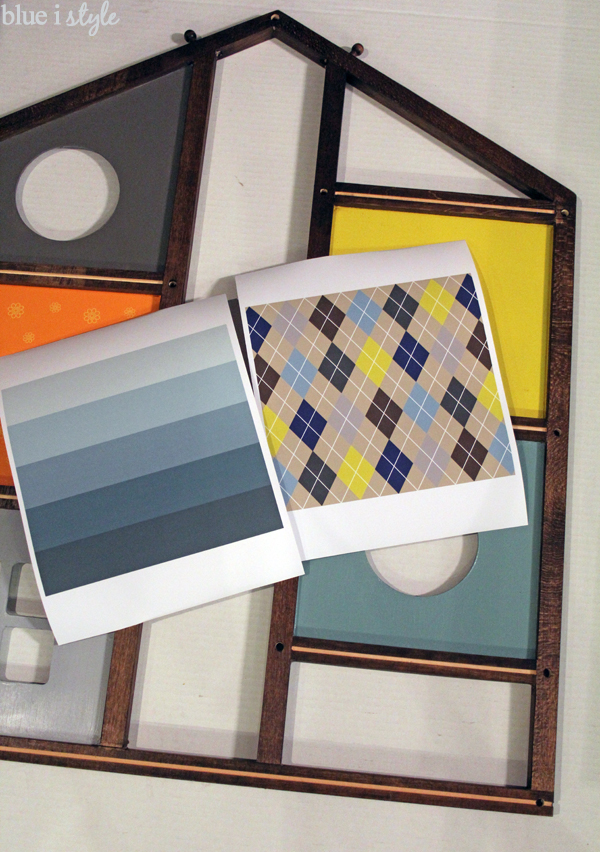
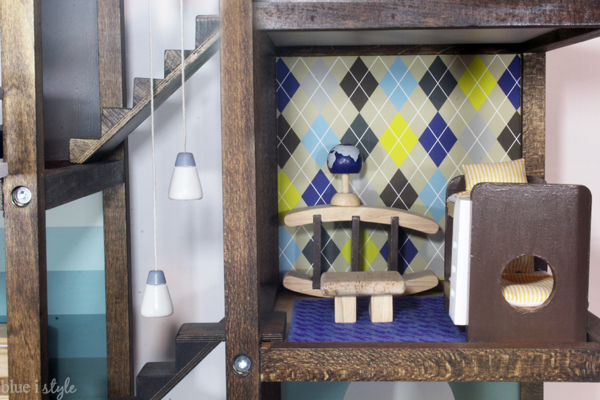
- Printed “wallpaper” and stone onto printable adhesive vinyl
- Cut the printed wallpaper and stone to fit the non-windowed walls and stuck them in place
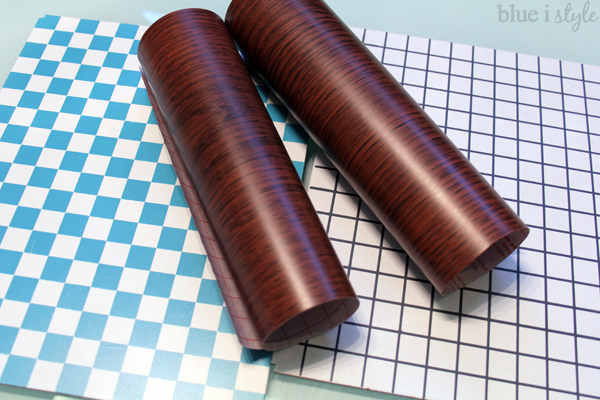
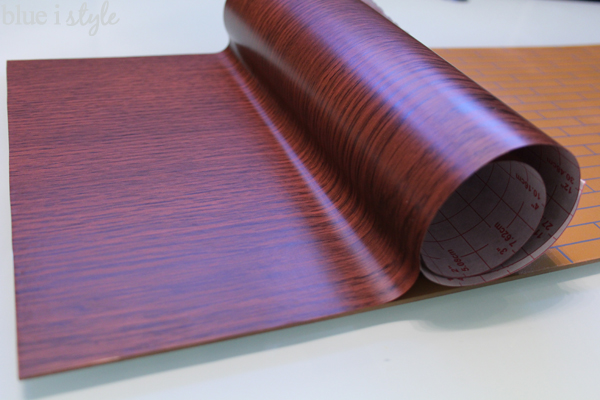
- Covered some of the floors in wood-grain contact paper
- Assembled the dollhouse
- Added house numbers and labeled the mail slot and milk box using adhesive vinyl
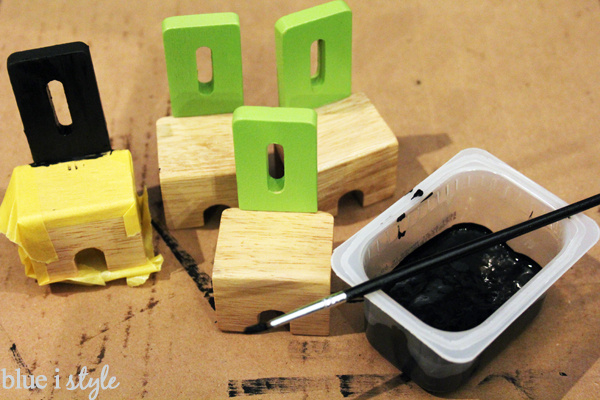
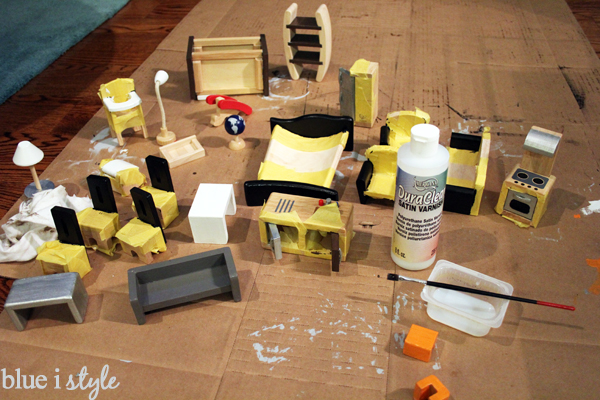
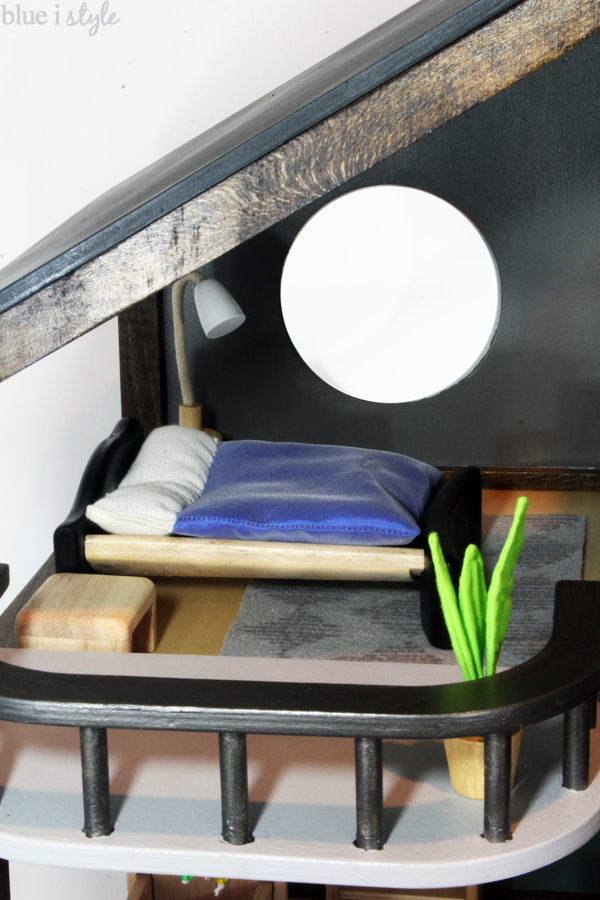
- Painted and sealed select portions of the furniture to coordinate with furniture in our house
- Recovered the cushions, pillows, and bedspread using fabric swatches and scraps
- Created rugs using felt and Sharpie markers
