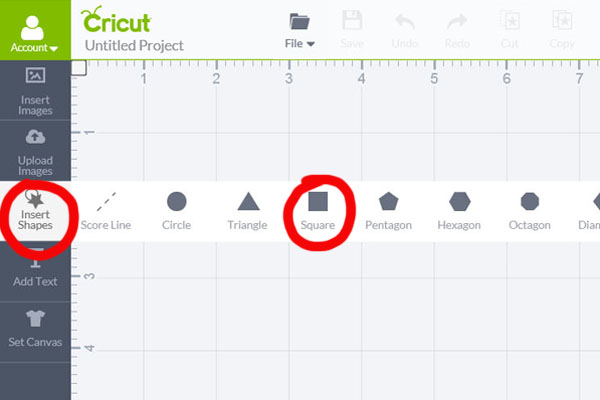
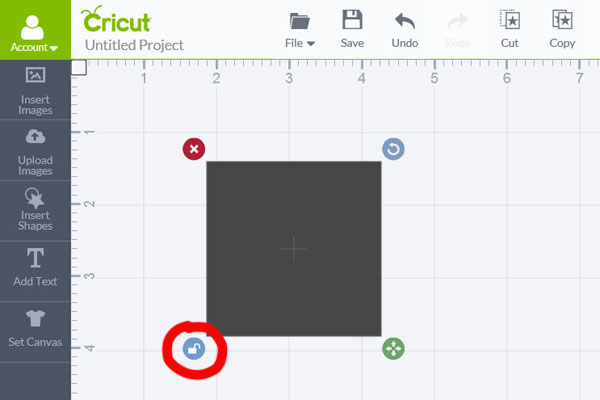
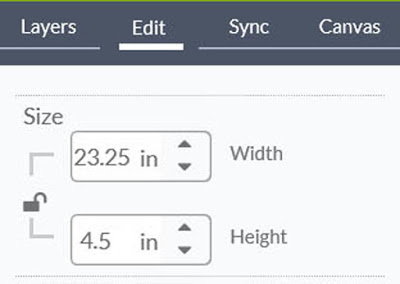
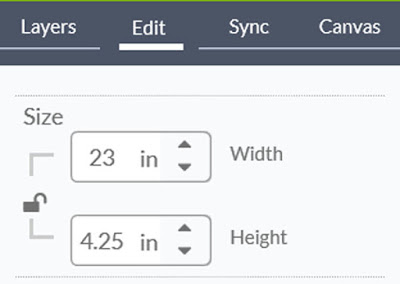
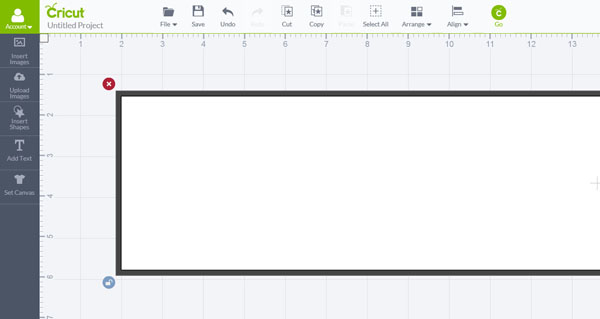
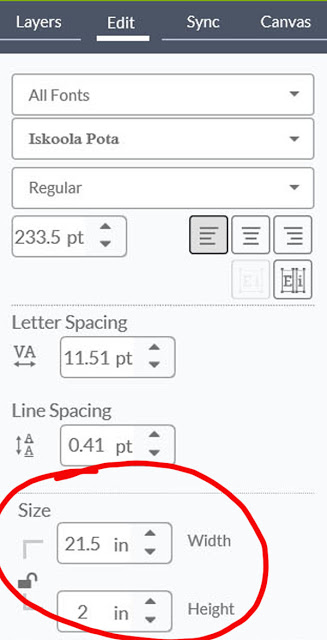
Since I knew exactly the size I wanted, I used the Edit tab on the far right of the screen to set the exact dimensions.
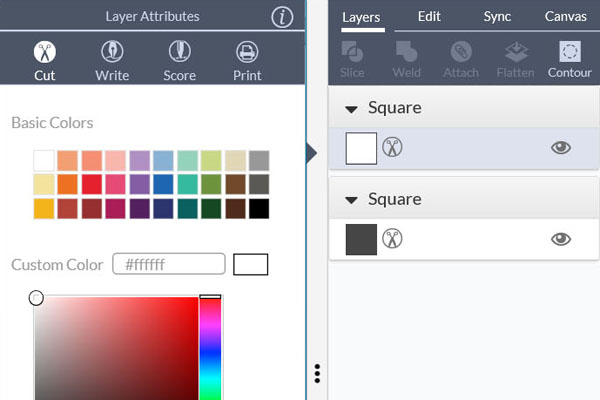
I then changed the color of the second rectangle to white, to make the two easy to tell apart.
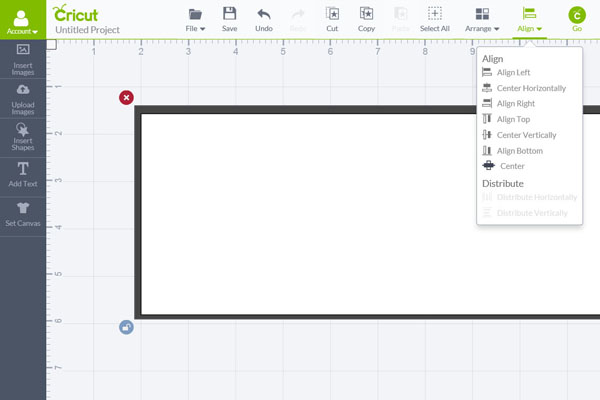
I dragged the smaller, white rectangle on top of the original, larger black rectangle.
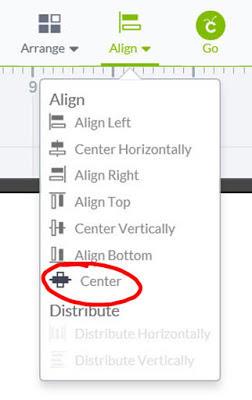
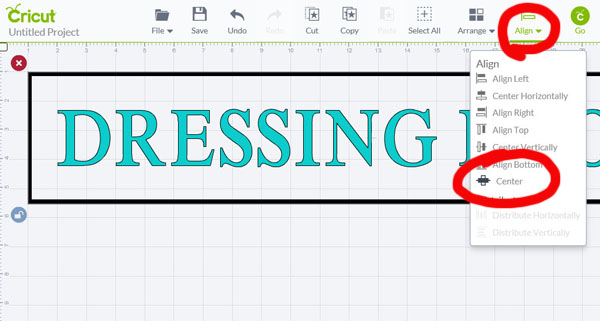
I selected “Center” from the “Align” menu.
This perfectly centered the white rectangle on top of the black, creating an even border all the way around.
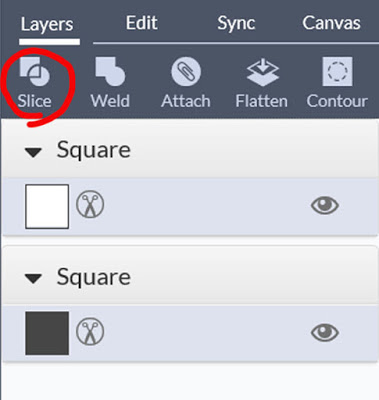
Next, I clicked on the “Slice” tool on the Layers tab.
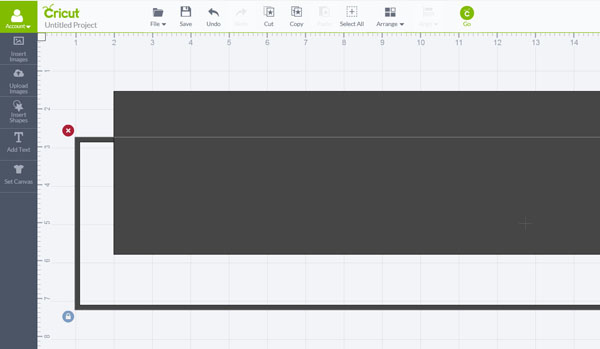
This had the effect of separating the black board showing around the white rectangle from the remainder of the black rectangle, allowing me to drag them apart.
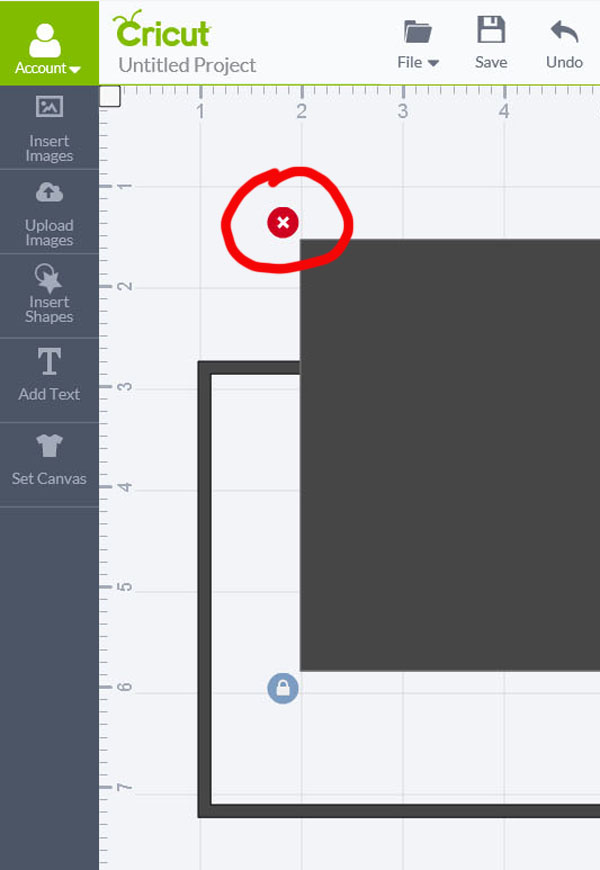
I used the red X in the top left corner to delete the center of the black rectangle, leaving just the border that I wanted.
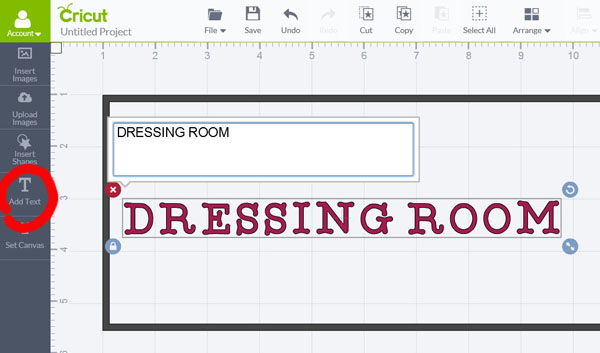
Now I was ready to add the text inside the border. I began by clicking “Add Text” on the left menu bar, and then typed in “Dressing Room.”
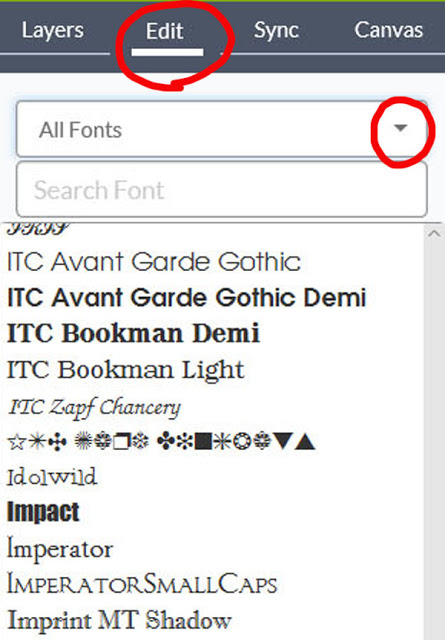
I wanted to use a different font than the default on, so I click on the “Edit” tab on the far right side of the screen, and then clicked on the Font drop down menu. I scrolled down and tried out a few fonts until I found one that I liked.
Once I’d picked a font, I adjusted the size several times until I liked the way the text fit inside the border.
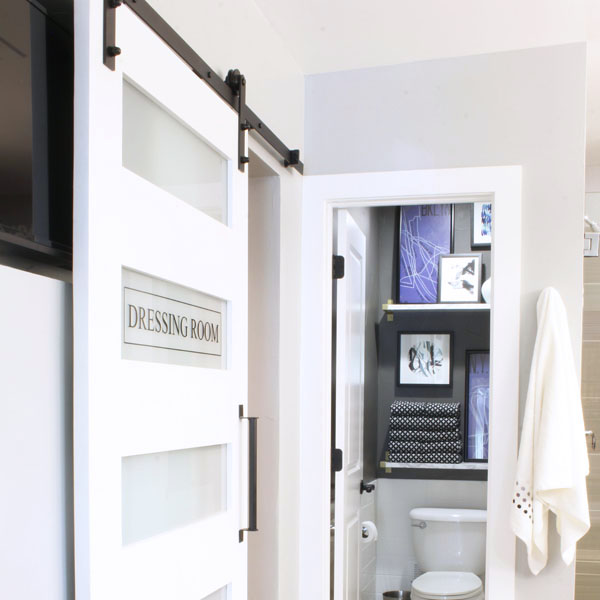
Now I was ready to cut this custom door label. I clicked on the “GO” button in the Cricut Design Space software, connected by computer to my Circut Explore Air, and cut the label from black vinyl.
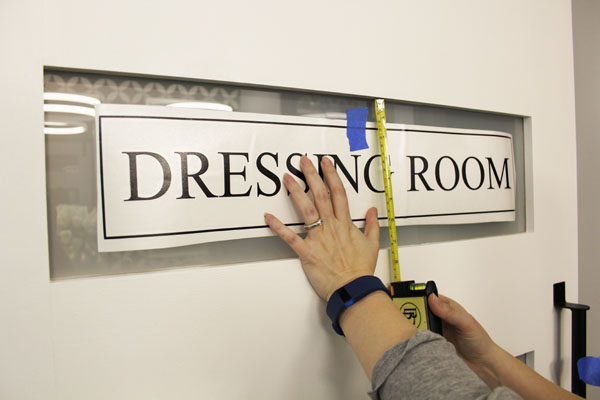
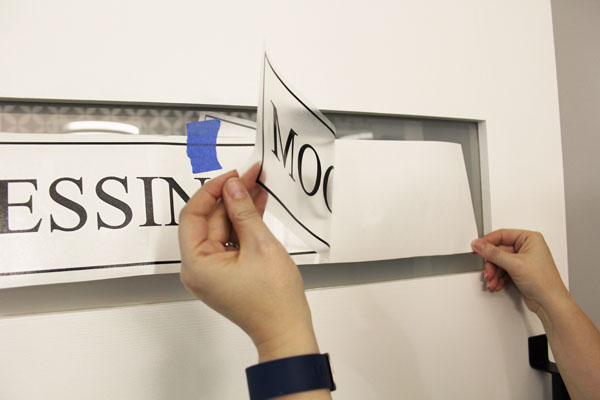
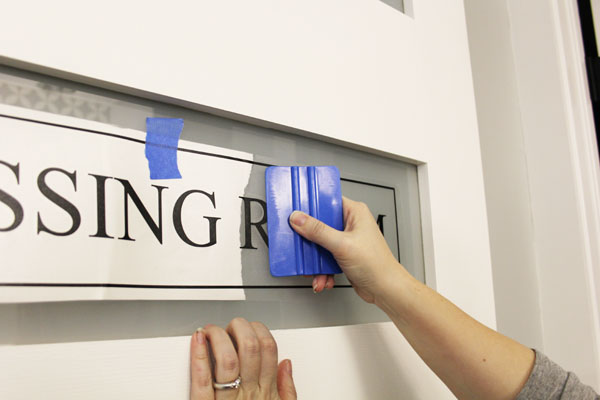
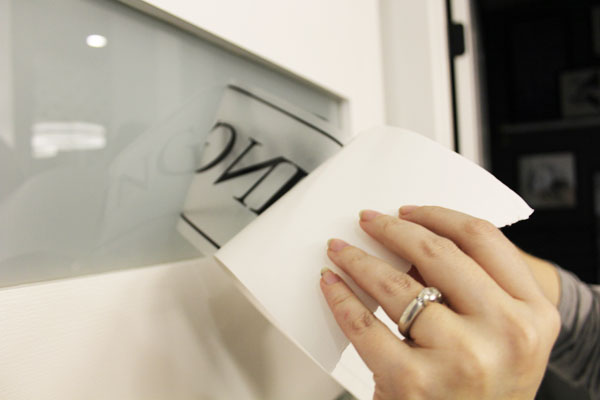
Once I had the positioning about right, I began peeling the transfer tape and label away from the backing.
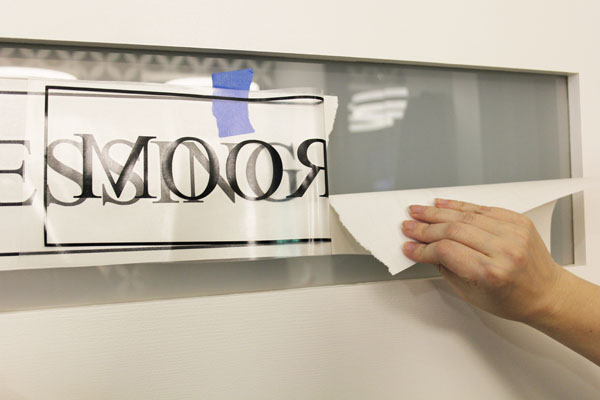
I tore away about 1/3 of the backing, being careful that the transfer tape didn’t yet stick to the door.
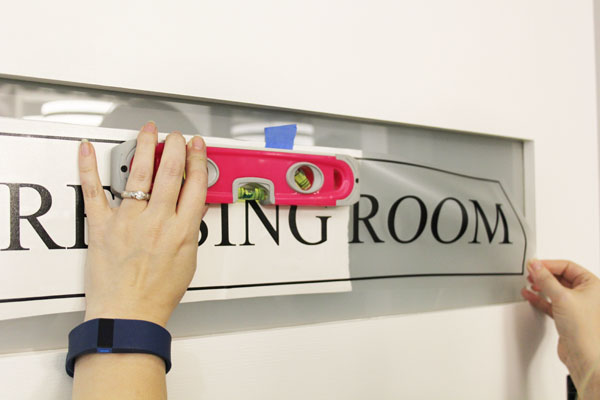
Holding the transfer tape away from the glass, I used a level to ensure that the border was still perfectly straight.
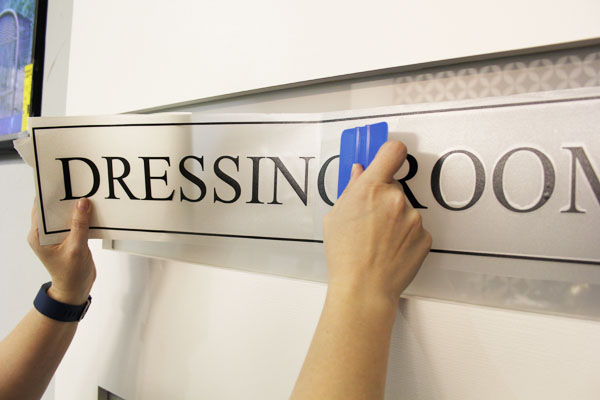
I then placed the left end of the label against the glass, and used a scraper tool to burnish (rub) that portion of the label onto the glass.
I then removed the painter’s tape and carefully began removed the remainder of the backing.
I continued using the scraper tool to smooth the rest of the label down moving from the center to the left side, removing the backing little by little.
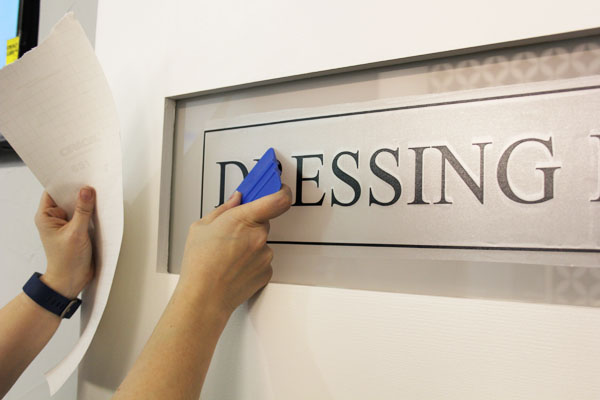
Once the entire backing was removed, I went back over the entire label again, pressing it down firmly to ensure that none of the letters would peel off when I removed the clear transfer tape.
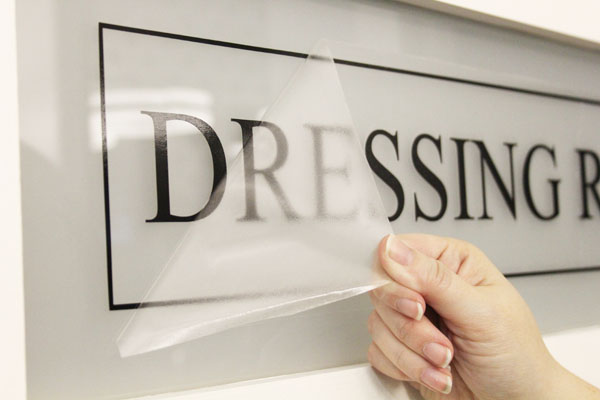
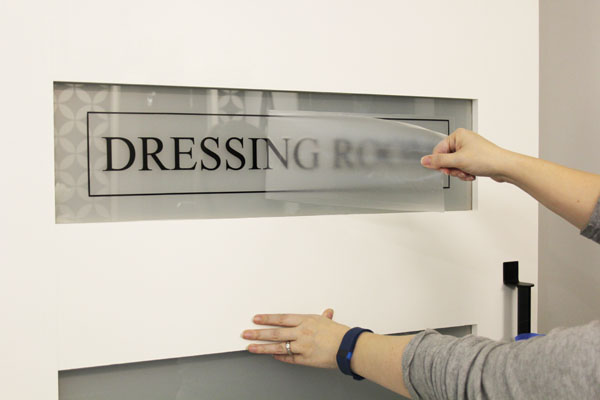
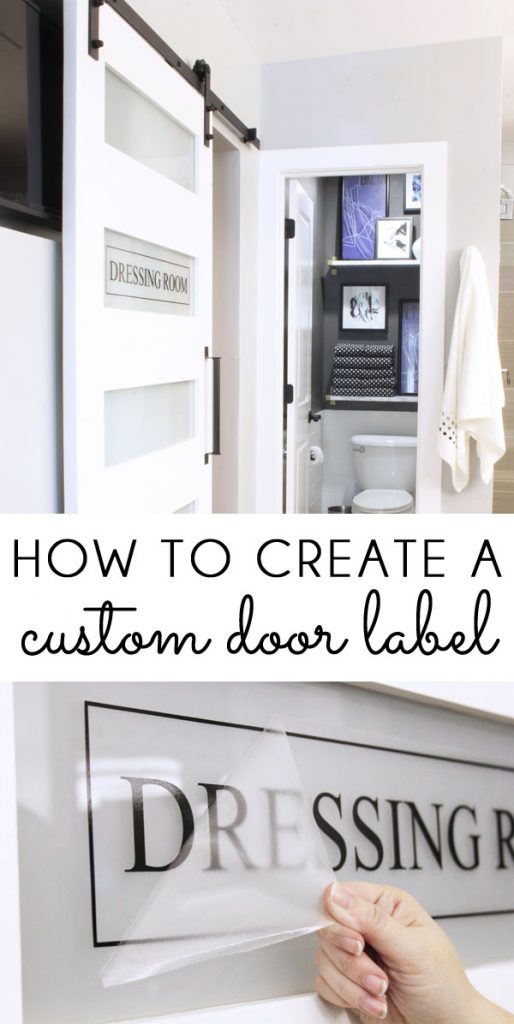
I began slowly removing the transfer tape. If the border or letters begin peeling up when you start to remove the tape, stop and burnish again with your scraper tool before continuing.
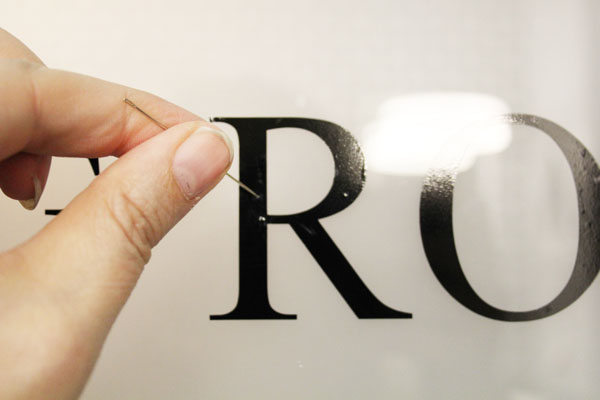
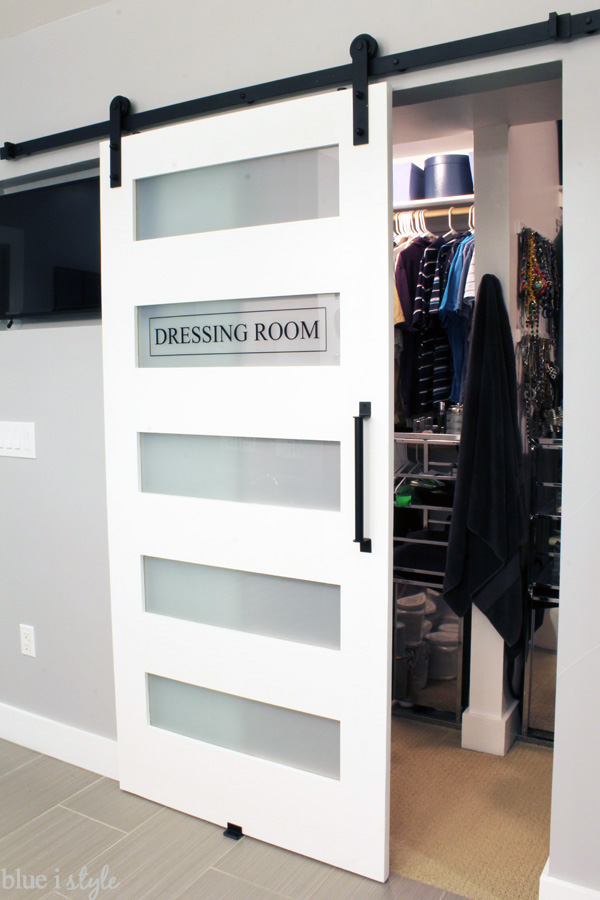
Once the transfer tape was all removed, I had a few small bubbles in the vinyl on the letter R.
After smoothing out as many bubbles as I could using the vinyl applicator tool, I then used a thin needle to poke a tiny hole in the remaining bubbles to release the air underneath, and again smoothed down the vinyl.
This is a sponsored conversation written by me on behalf of Cricut. As always, all opinions are my own.
