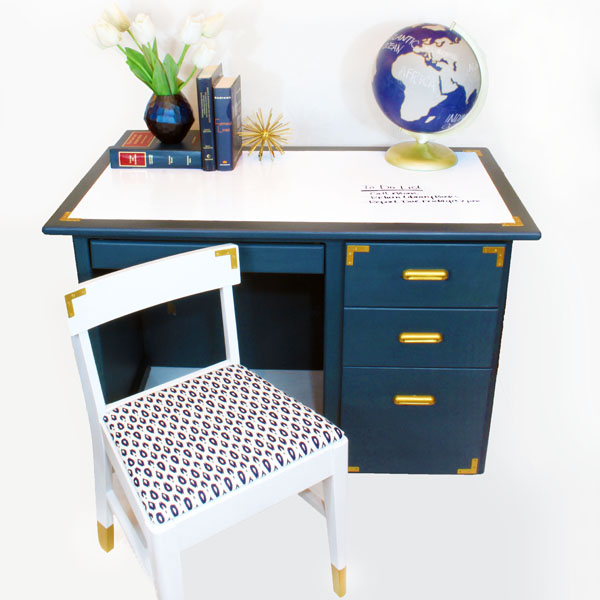
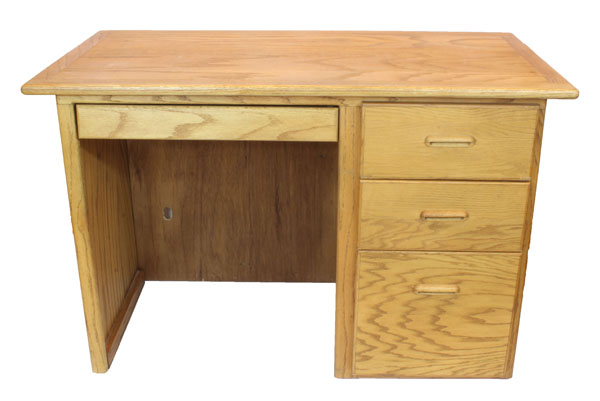
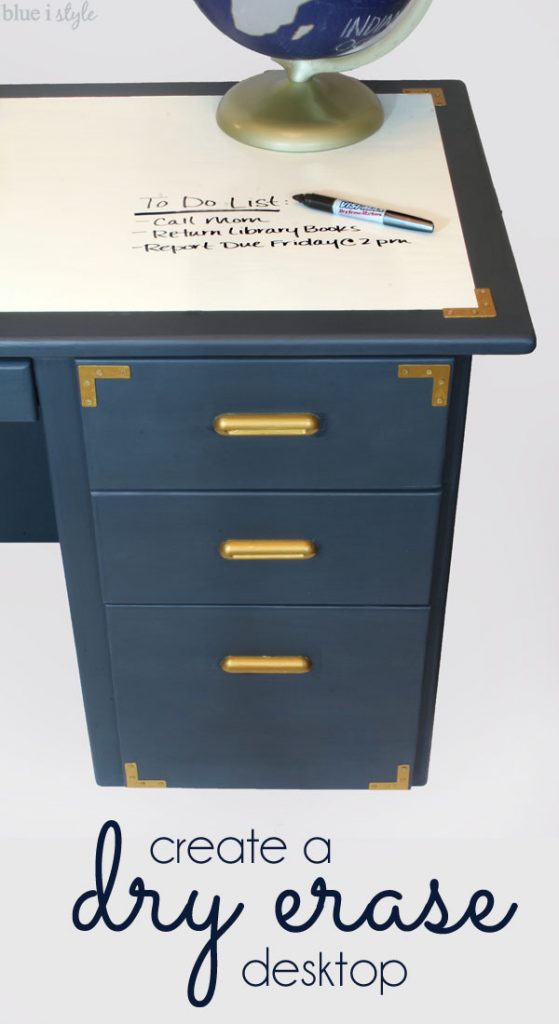
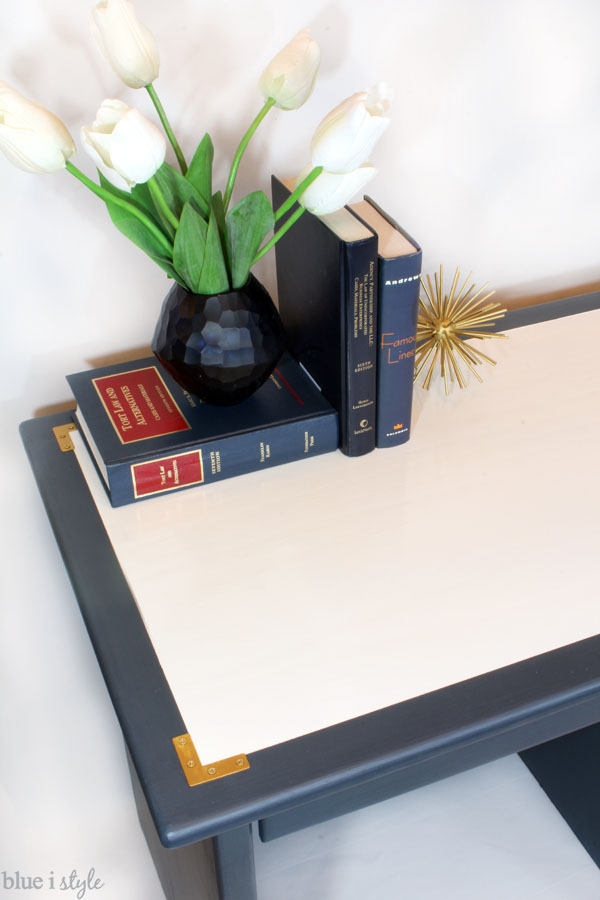
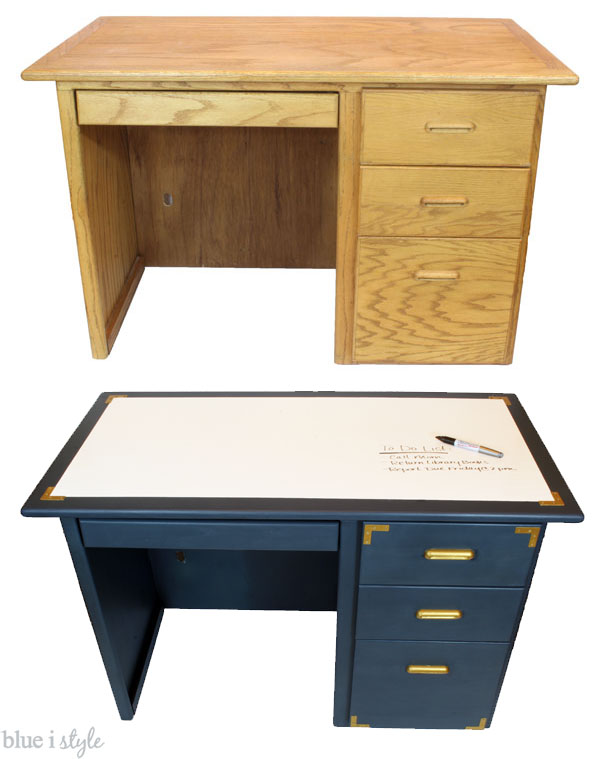
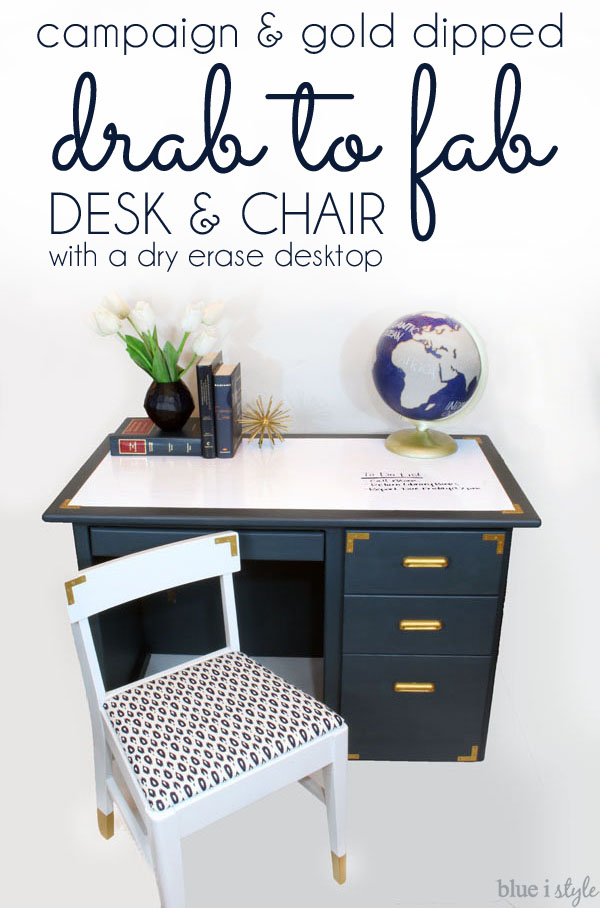
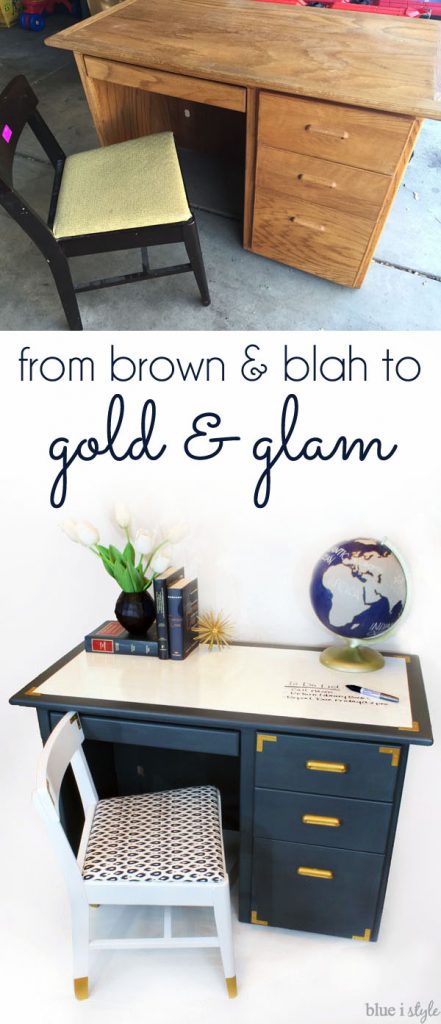
Pretty fab, right?! I shared all the details of the DIY chair makeover yesterday, and today I’m going to walk you through the 4 steps that transformed the desk from brown and blah to gold and glam!
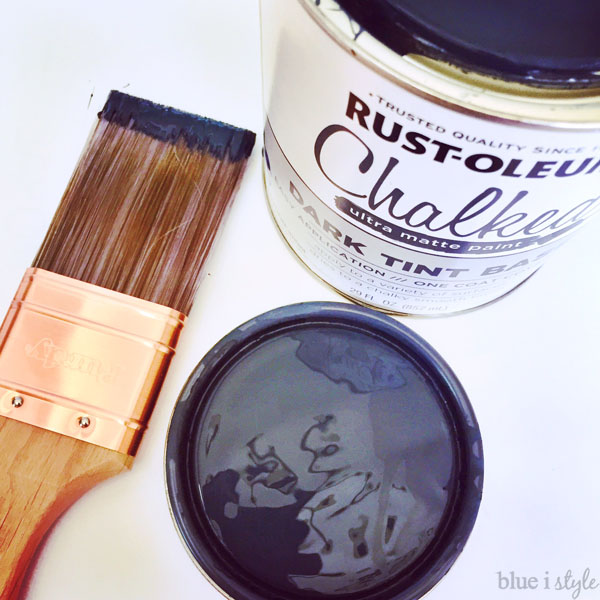
- Rust-Oleum Chalked Paint in Deep Navy
- Rust-Oleum Chalked Protective Topcoat, Matte Clear
- Rust-Oleum Metallic Accents Gold Flake {2 oz size}
- Rust-Oleum Metallic Accents Satin Clear protective top coat
- Zinsser Bulls Eye 123 Primer
- Rust-Oleum Dry Erase Paint
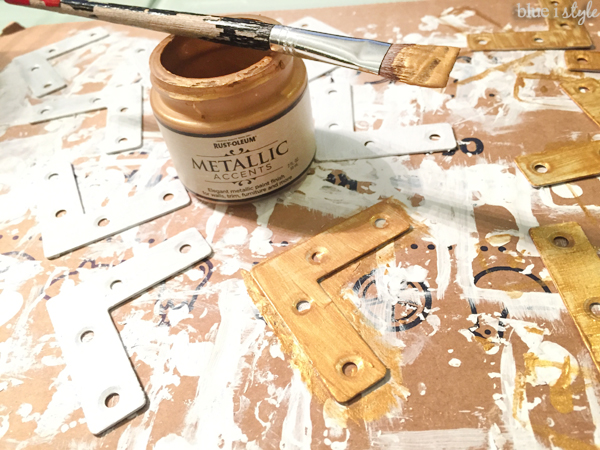
- 8 Stainless Steel Flat Corner Angle Brackets
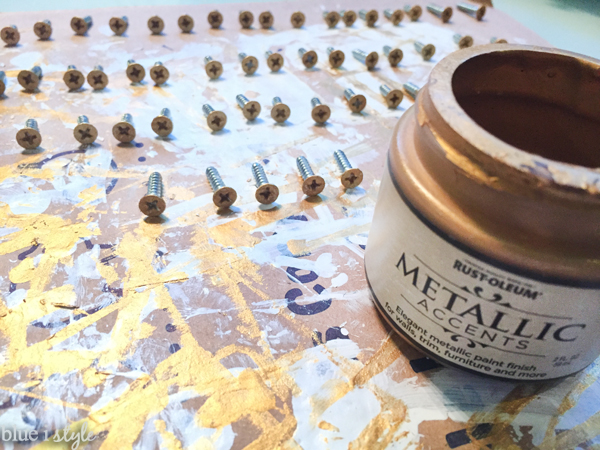
- 32 #5 1/2″ flat head screws
- Paint Brush
- Painter’s Tape
- Stir Sticks
- 2 small, dense foam rollers
- Small, soft art paint brush
- Drill
- Screwdriver
STEP 1: CHALK PAINT & PROTECTIVE TOP COAT
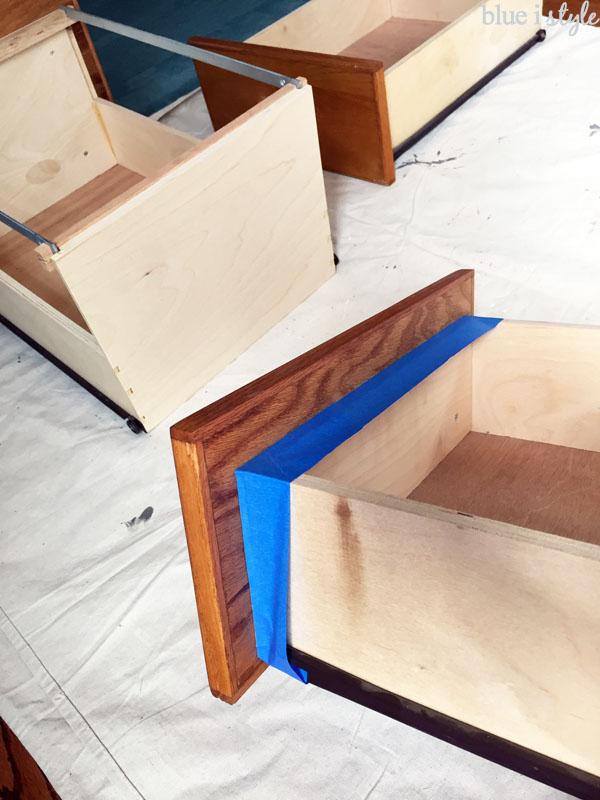
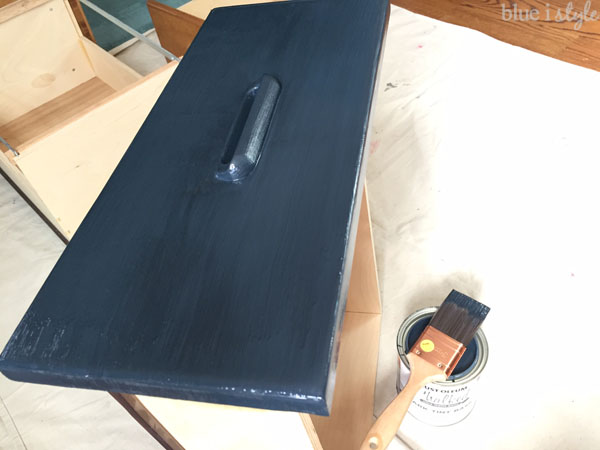
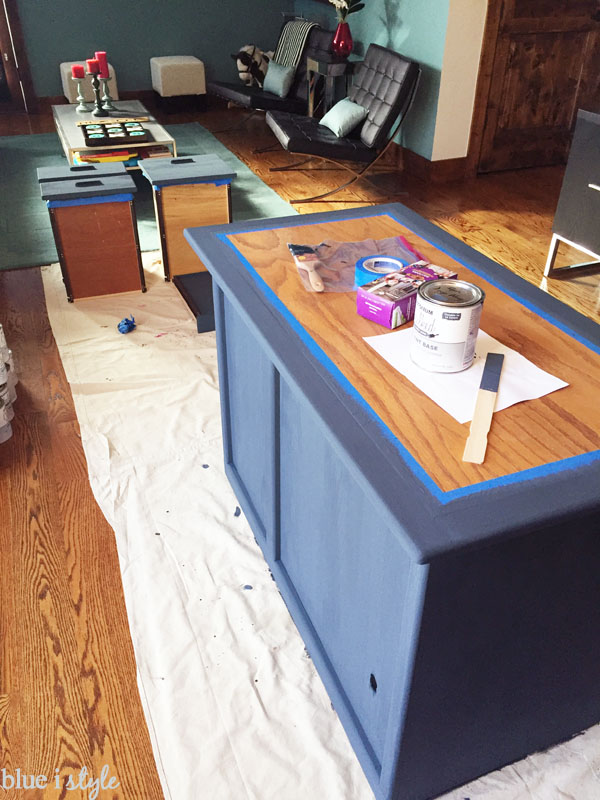
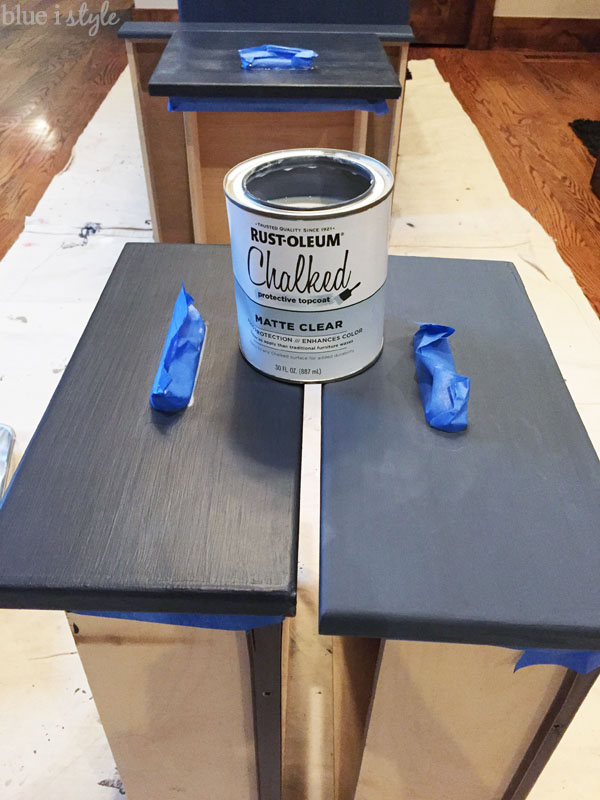
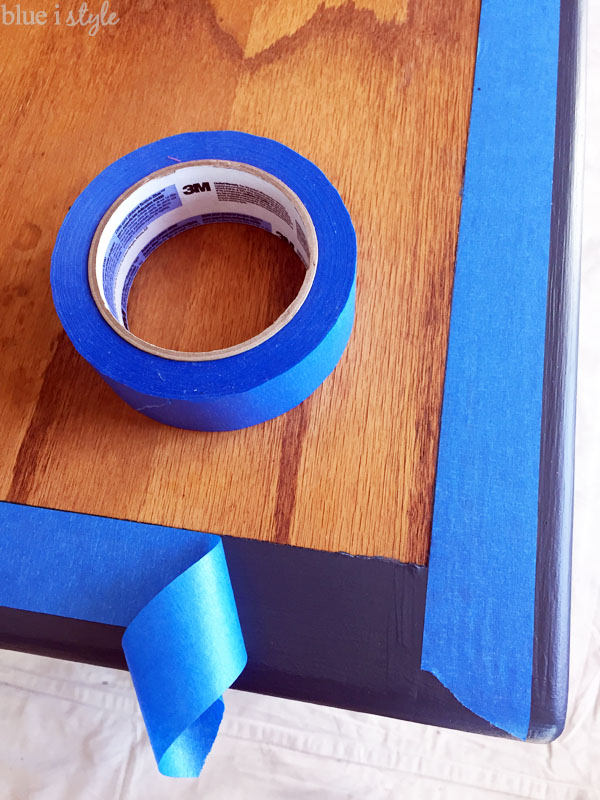
The desk was totally functional and didn’t require any repairs, but it was just begging for a new look. And since I decided to use Rust-Oleum’s Chalked paint, it didn’t even require any prep work, other than a little bit of painter’s tape. I removed the three desk drawers and taped off the drawer fronts.
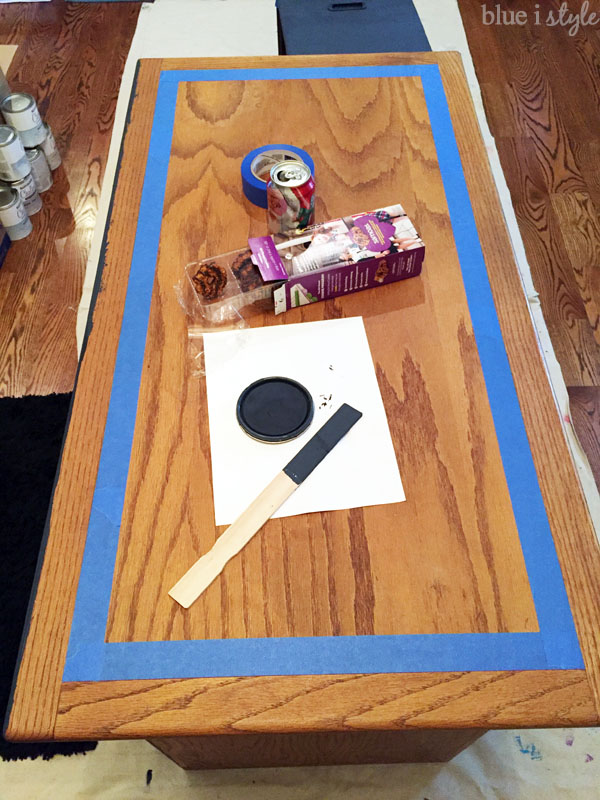
I also taped off a rectangle on the desktop – since the center of the desktop would later get a few coats of dry erase paint.
Then I was ready to paint. I popped open the can, oohed and aahed at the gorgeous shade of Deep Navy, and got to work.
I had worked with a different brand of chalk paint once before, and had a lot of trouble with too many visible brush strokes. I was so happy to see right away how nicely the Rust-Oleum Chalked paint went on. Nice and thick, with great coverage, and the brushstrokes seem to disappear as the paint dries!
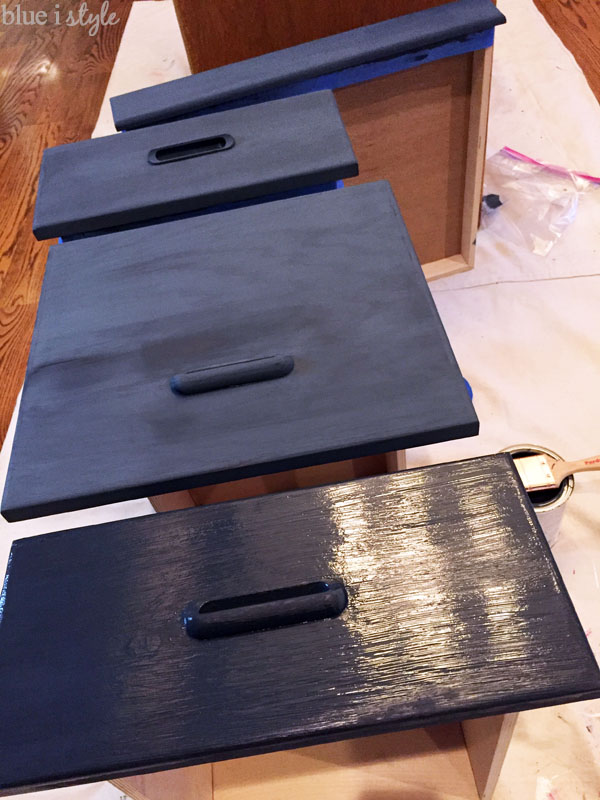
I definitely recommend working in long strokes, and keeping all your brush strokes in the same direction. But that’s really all you need to know to get great coverage with this Chalked paint. As the paint starts to dry, you may worry that it looks streaky, but that’s because some areas have dried faster than others. Just be patient and let the paint dry completely. When dry, the paint will be a bit lighter in color, and has a very dry appearance.
In the photo below the back drawer is dry, the middle drawers are about half way dry, and the front drawer is freshly painted. {Ignore the grainy-ness, that’s just because it’s a poor iPhone photo, not the paint.}
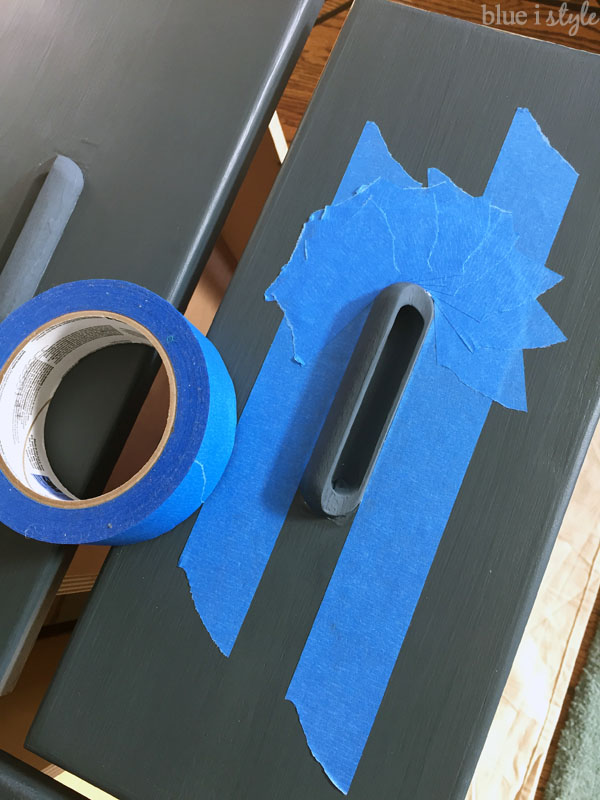
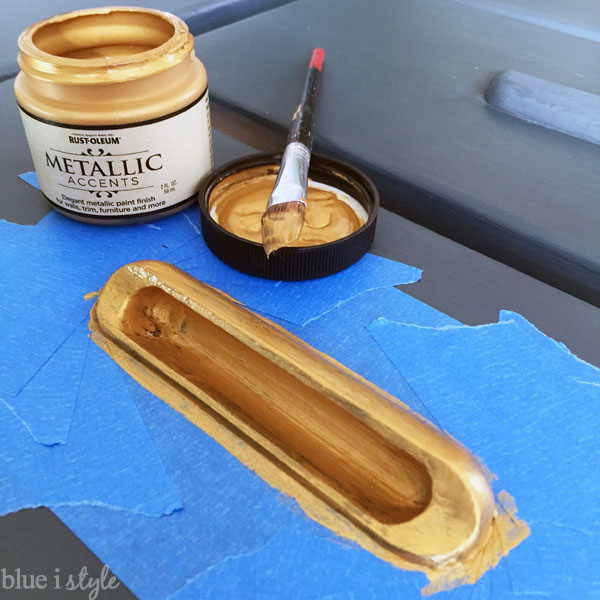
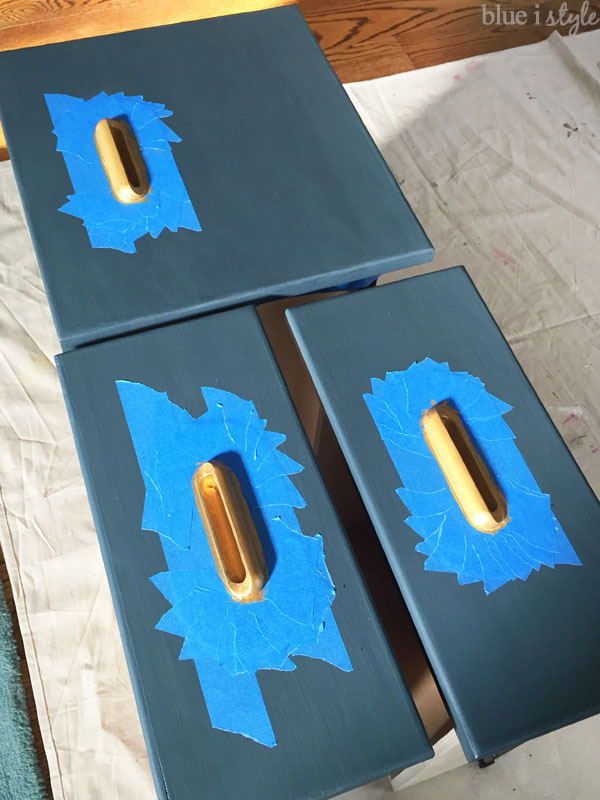
I used Rust-Oleum’s Metallic Accents paint in Gold Flake and a soft art brush to paint the desk handles. I already raved about this paint in yesterday’s post – where I used it for the gold dipped chair legs, but I’ll rave a little more. This paint is so much fun to work with, gives great coverage, and best of all, it really looks like gold!
I did three thin coats of the gold paint, and then, to make the handles durable, I applied the recommended Rust-Oleum Satin Clear protective top coat {although I failed to snap a photo of this step}.
STEP 3: DRY ERASE PAINT
For quite a while, I’ve been trying to come up with the perfect project to try Rust-Oleum’s dry erase paint, and what could be cooler than a desktop that also serves as a memo board or calendar?!
I used painter’s tape to tape off the center of the desk. Then I applied a very thin line of the Chalked clear protective topcoat along the edge of the tape where it met the unpainted wood. This created a seal ensuring that none of the dry erase paint could bleed under the tape and onto the navy border.
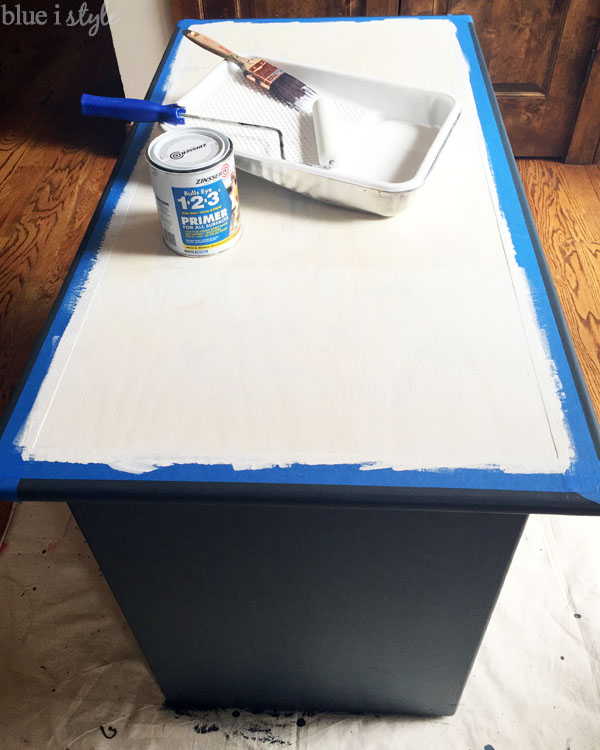
Be sure to carefully read all the instructions on the dry erase paint kit. Before applying dry erase paint to a wood surface {or over dark colored paint} it is recommended that you prime the surface to ensure good adhesion and coverage.I used Kinsser Bulls Eye 123 Primer and applied two coats with a small, dense foam roller.
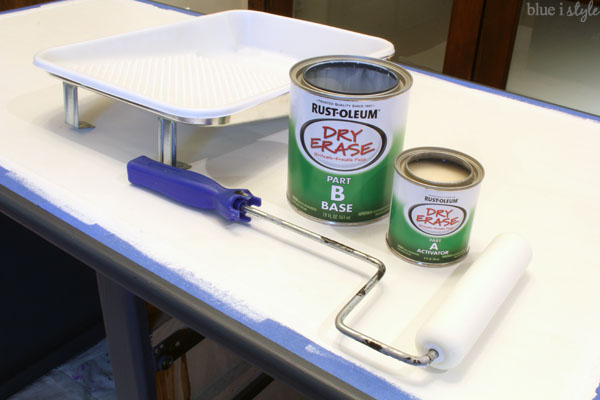
Once the primer was dry, I was ready to start on the dry erase paint. This is unlike any paint product I’ve ever worked with before, so be sure to read the directions carefully! The kit includes a small can of “activator,” and a large can of “base.” After stirring each individually, you combine the two and mix thoroughly with a stir stick. Once they are mixed, the paint must be used within one hour. I applied three coats with a dense foam roller, each about 20 minutes apart.
The only downside to the dry erase paint is that you can’t keep the left overs for another project. One dry erase paint kit is enough to cover about a 7 foot by 7 foot area {with multiple coats}, and since my desktop was much smaller than that, quite a bit went unused. But after an hour, the paint is no longer good. I wish that I’d had planned ahead and had another project or two lined up to paint at the same time so that I could have taken advantage of this awesome paint rather than wasting the remainder.
Be sure to wait a full three days to let the dry erase paint cure before writing on it with dry erase markers for the first time! Once the paint is properly cured, you’ll be able to write on it and then wipe it away with a soft cloth… over, and over, and over again.
You all know I love finding ways to combine style and function, and what could be more functional than a desktop that you can make notes on. I can’t tell you how many times I’ve been on a phone call and scrambled for a piece of paper to write a note on. And as a constant list maker, this is such an upgrade from the sticky notes I normally have all over my desk.
STEP 4: CAMPAIGN HARDWARE
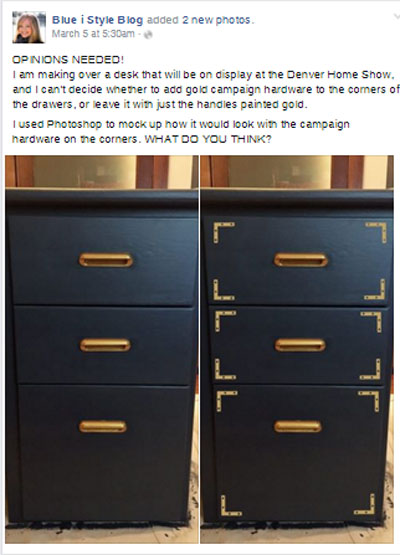
With the desk totally painted, I debated on whether to call it finished, or to add some gold campaign hardware for a little more bling. I was really torn, so I took to my Facebook page and asked for your opinions. {Don’t follow me on Facebook?! Why not?!}
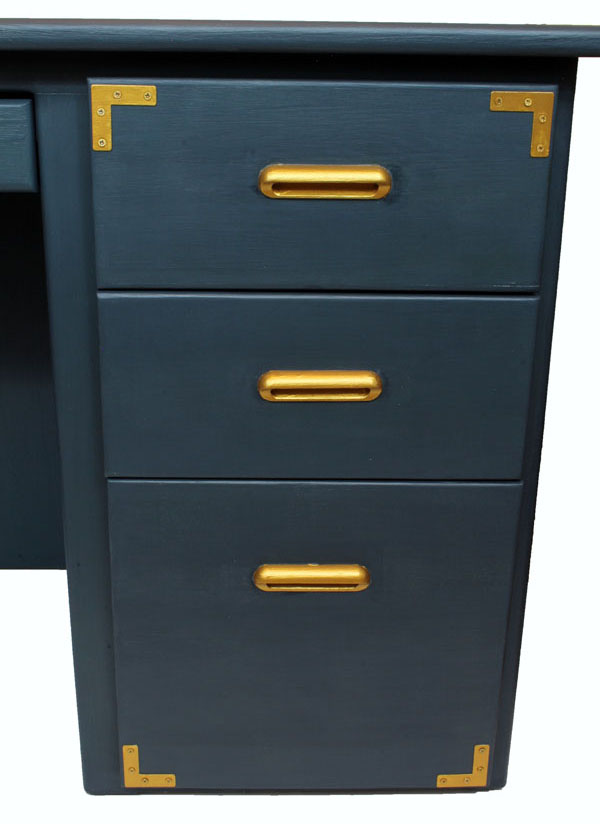
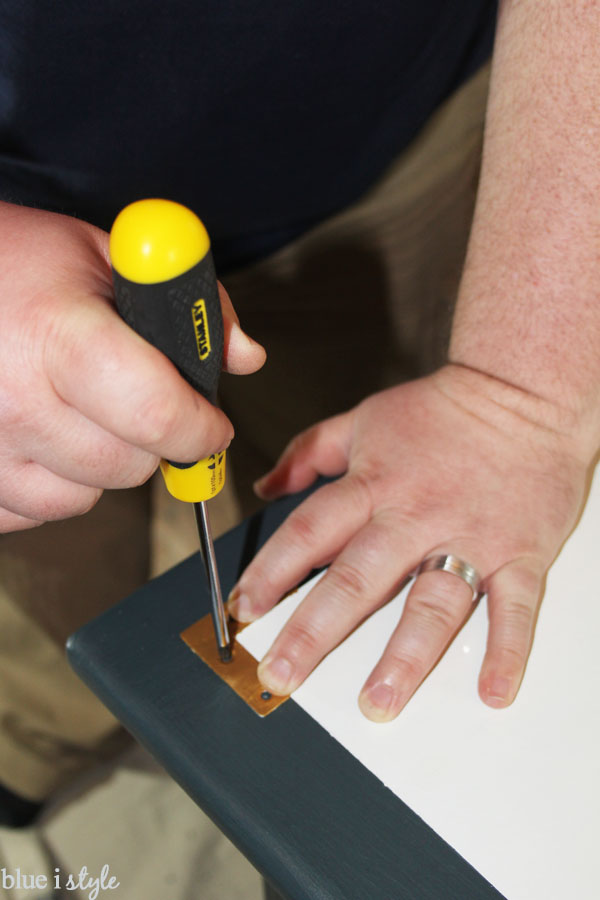
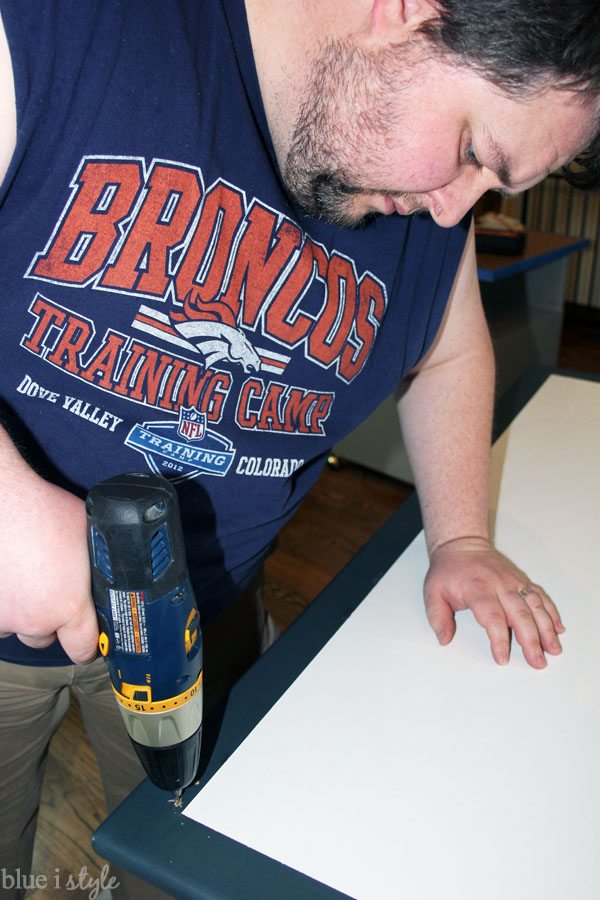
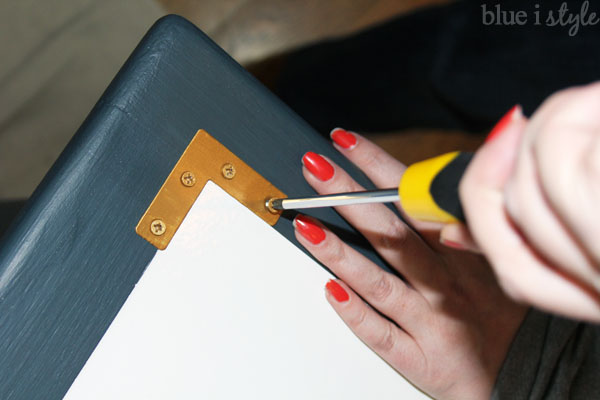
I was hoping you guys would give me a clear yay or nay on the campaign hardware, but it was about a 50-50 split. But we came up with a great compromise! Rather than installing four corner braces on each drawer – which some of you thought would be too busy, we installed only four total corner braces, framing out the bank of drawers.
Of course, this meant I also had to paint the screw heads to match, but that was quick and easy.
