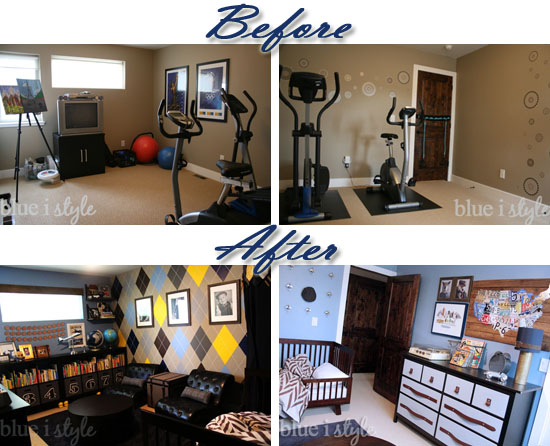
TODAY IS THE DAY! The day that I get to reveal Beckett’s new big boy room!
I said back in Week 1 that I work best under a deadline, and is that ever true. There is no way that this room would have gotten done in six weeks time if it weren’t for all of your encouragement, A LOT of hard work and late nights from my uber supportive husband, and some very special help from my talented mother. If you are interested in the weekly update posts to see how it all got done, you can find those here.
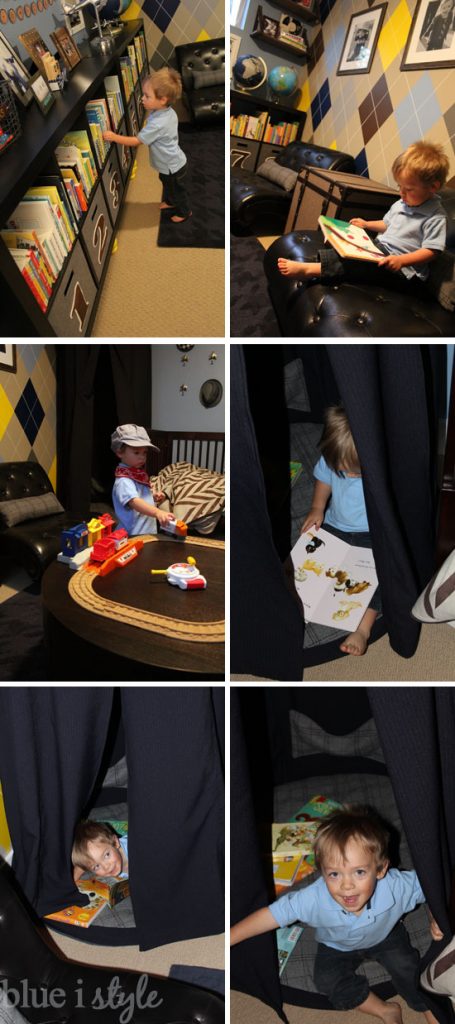
Never have I tackled so many DIY projects in one space, and more than a few times I reviewed my list wondering what I’d have to eliminate, but in the end it ALL got done, and I couldn’t be happier. And more importantly, I have one VERY excited toddler who can’t wait to sleep in his new room for the first time.
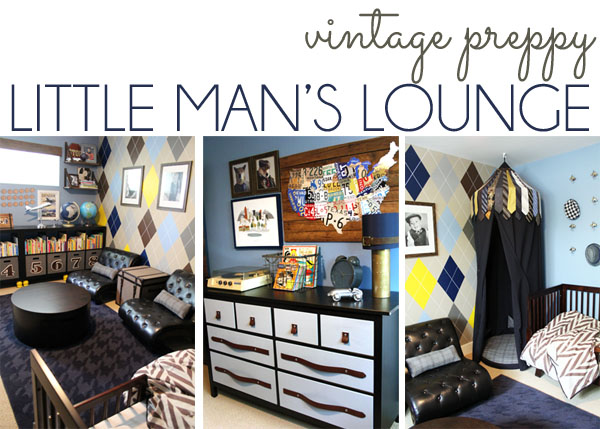
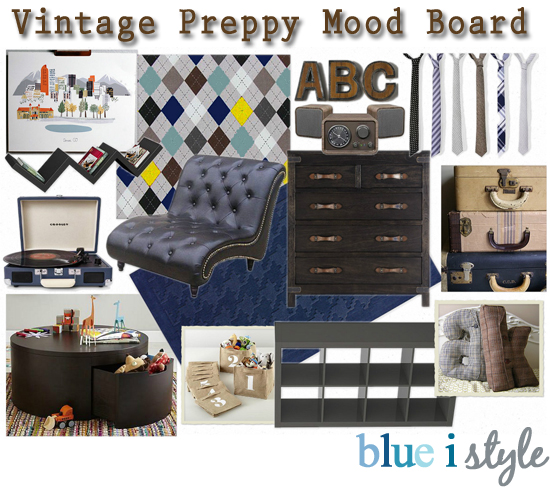
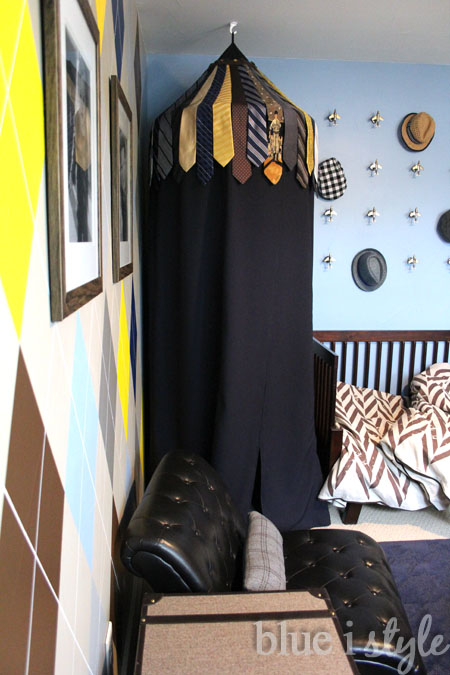
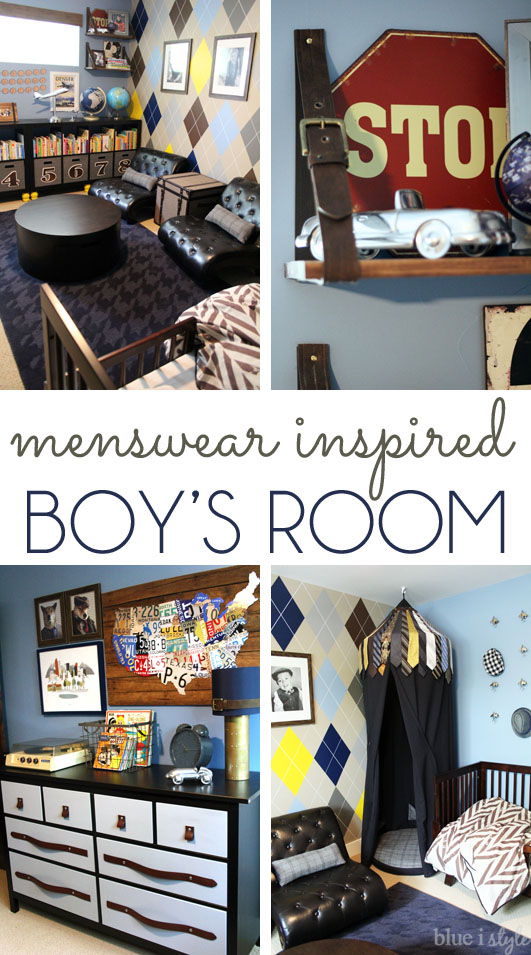
Ok, enough with the chit chat, I know that what you really want are the photos, so without further ado, a menswear inspired Vintage Preppy Little Man’s Lounge…
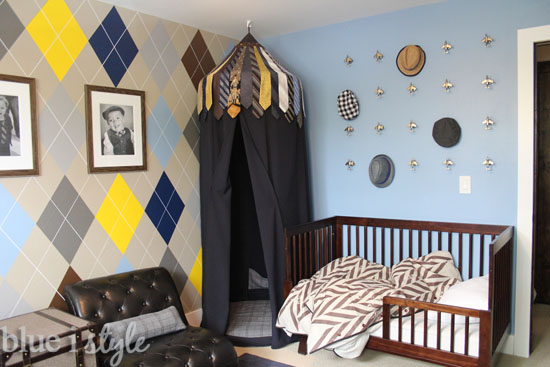
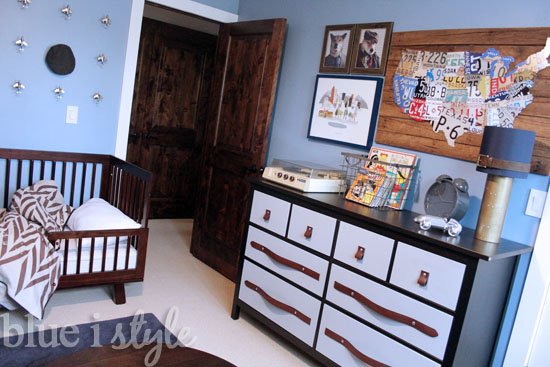
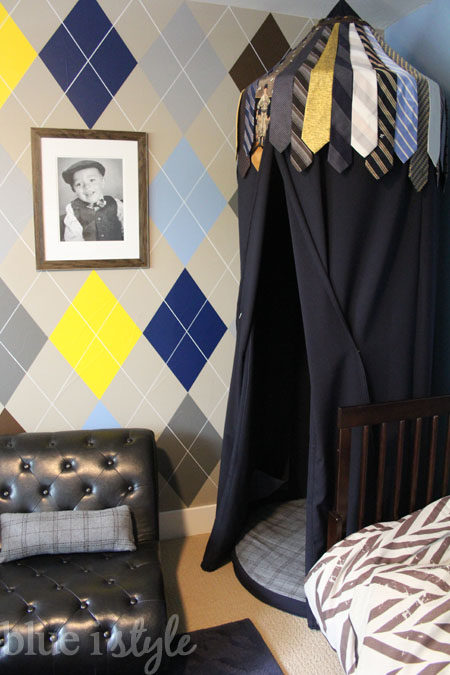
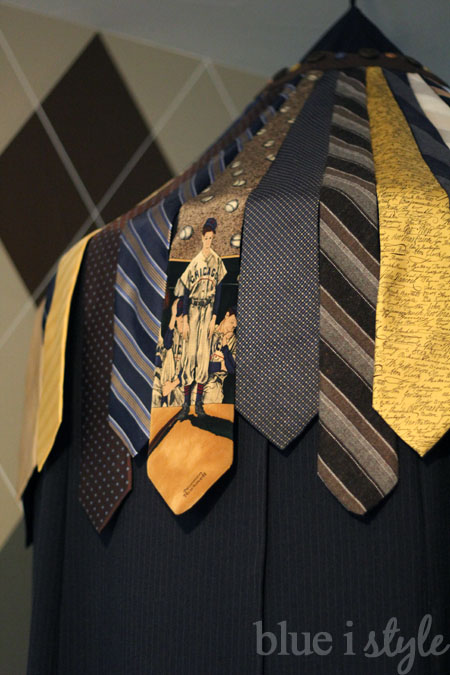
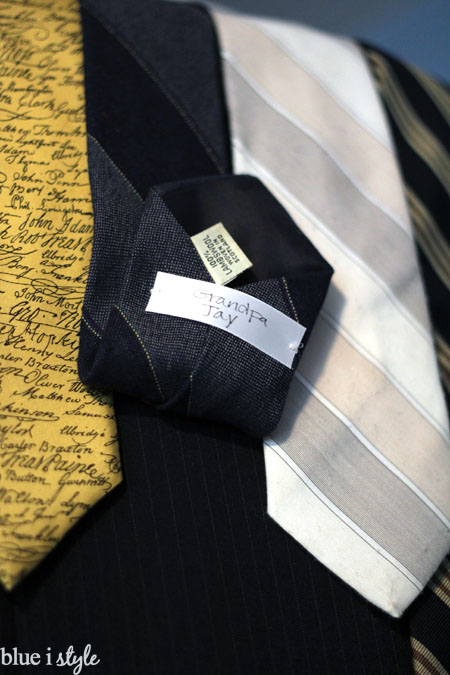
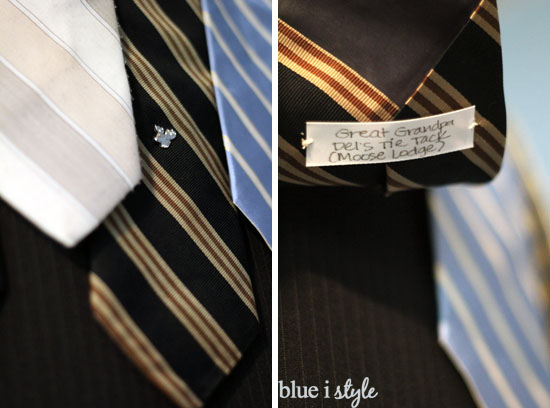
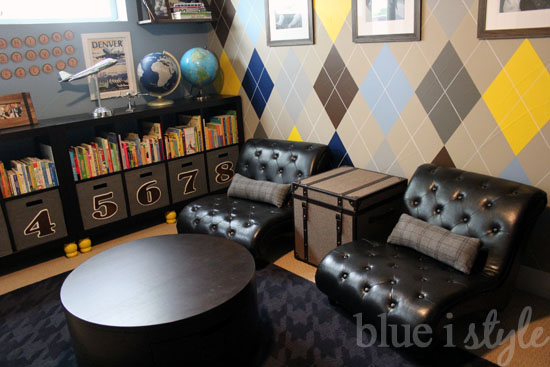
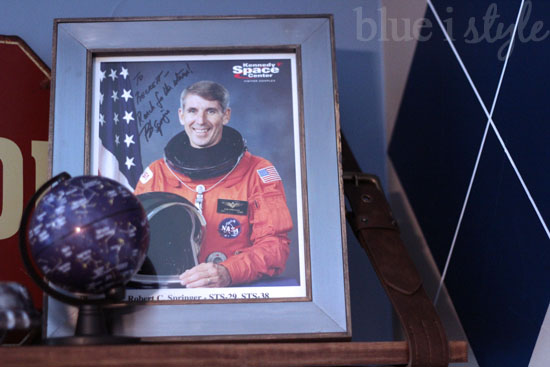
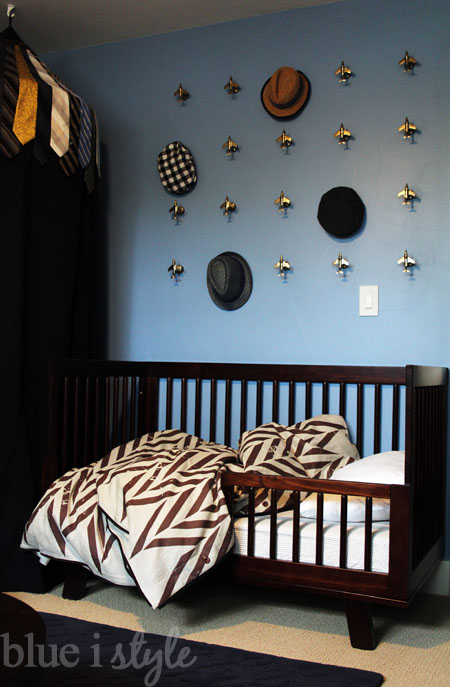
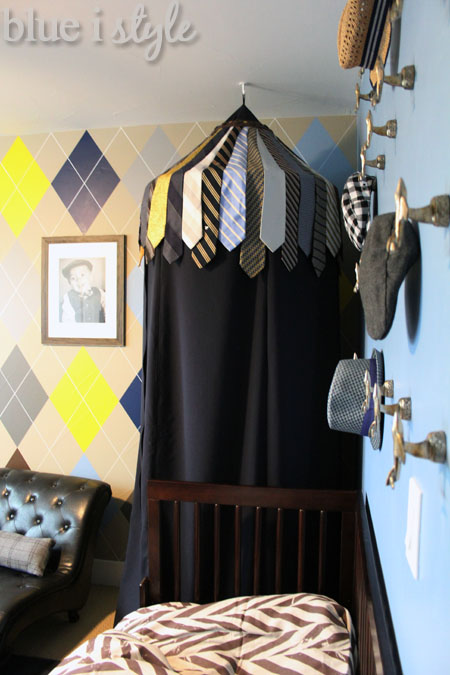
Because it’s a kid’s room, there’s a lot going on, but I’ll walk you through it and point out the details… Details which include lots of repurposed menswear, as well as items of special meaning from the men in our family!
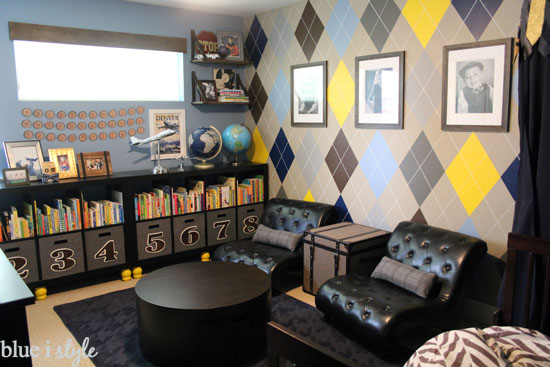
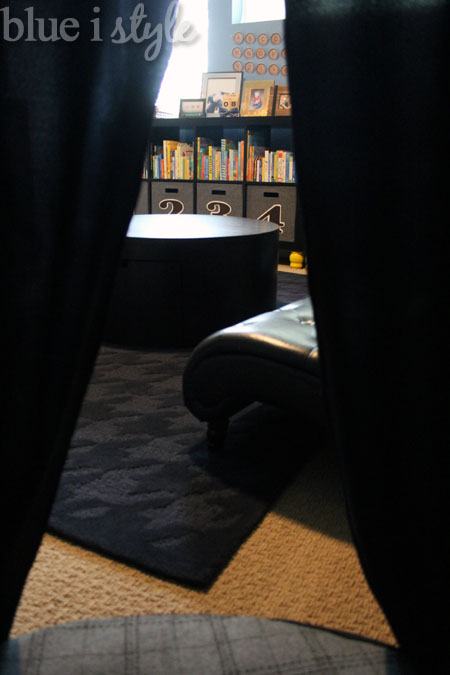
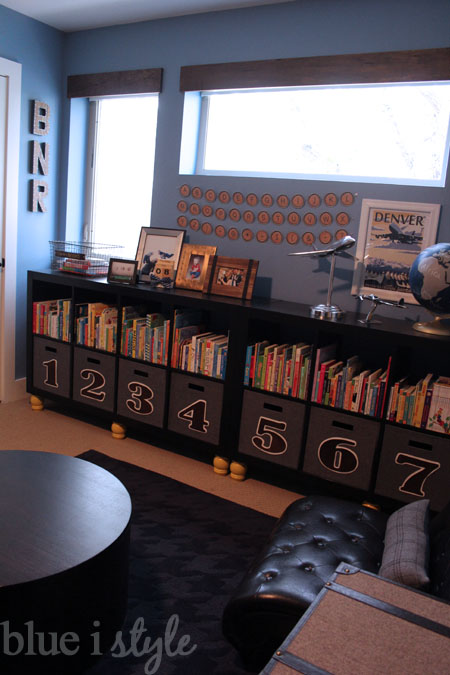
Ok, NOW let me show you have the room turned out! Let’s start with the view from the door…
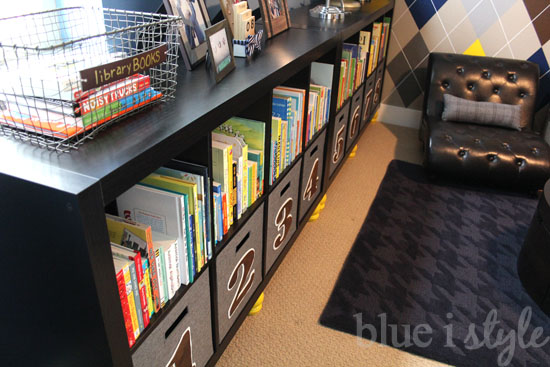
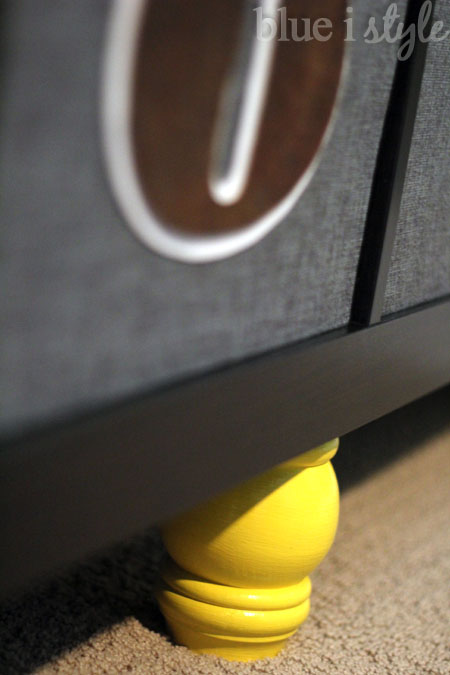
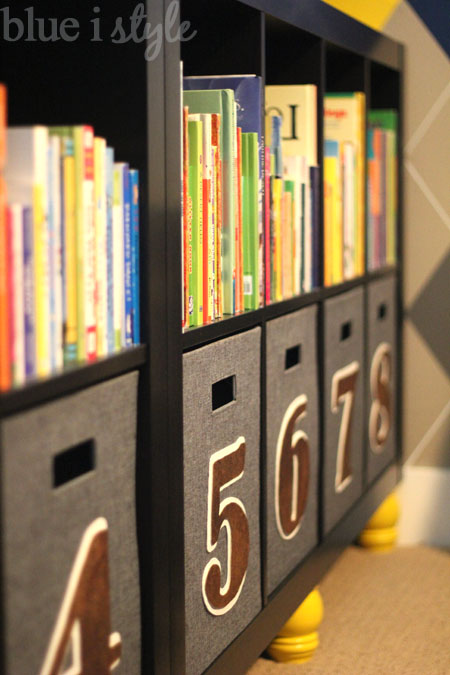
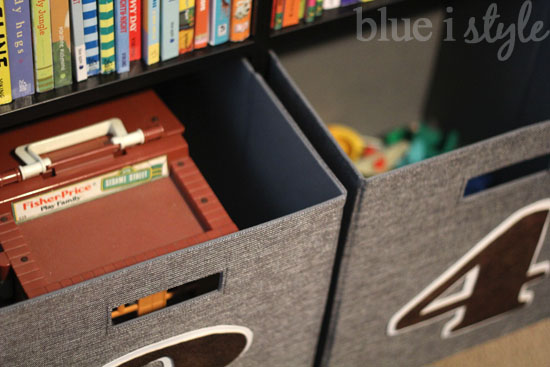
The bins provide tons of toy storage!
Of course, a little gentleman’s lounge would not be complete without a coffee table, right? Ok, maybe that’s a stretch, but this room design did give me the perfect excuse to by the coffee/play table that I’d been coveting from the Land of Nod!
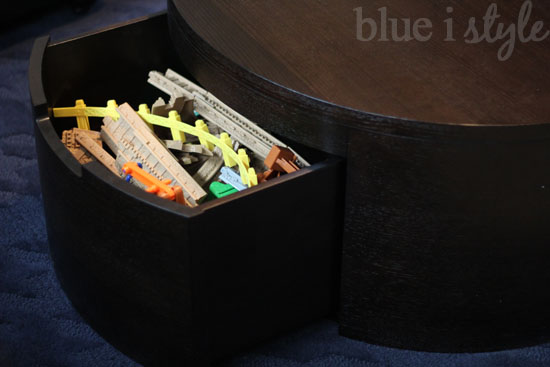
This table provides play space at just the right height, has no sharp corners, and hides two huge drawers for even more toy storage – one on each side of the table.
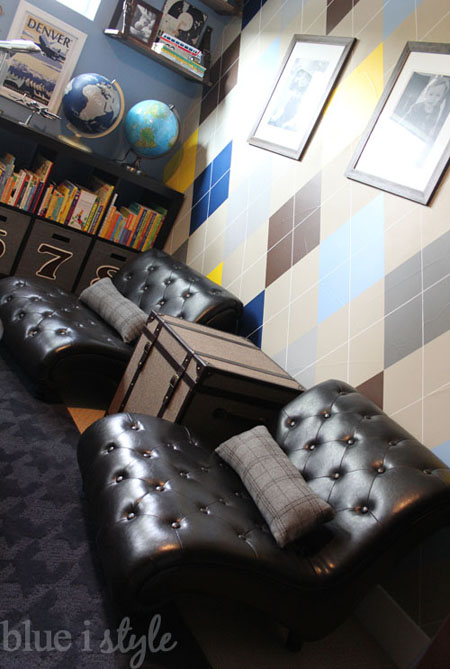
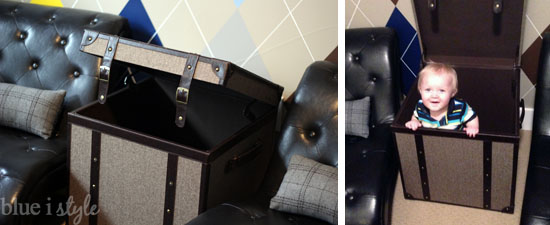
And if that weren’t enough storage for one little boy’s toys {and really, how can you ever have enough storage?!}, I found this fantastic trunk on clearance that serves as a nice little table between the chairs, and the lid lifts up to reveal tons of additional space for toys, blankets… or little brothers! Best of, the hinges hold the lip open, ensuring that no little fingers will get pinched.
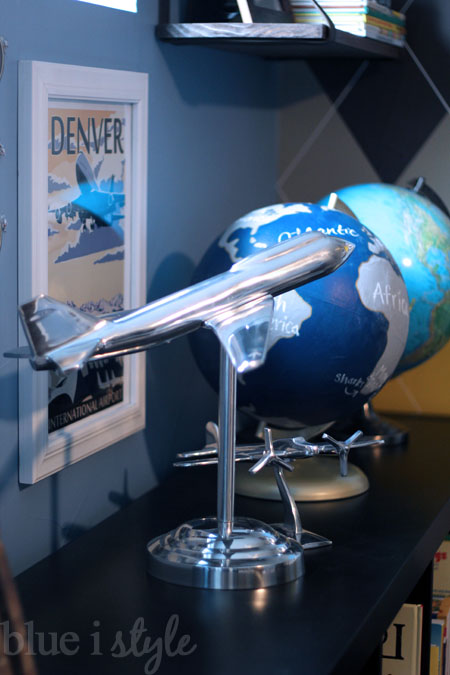
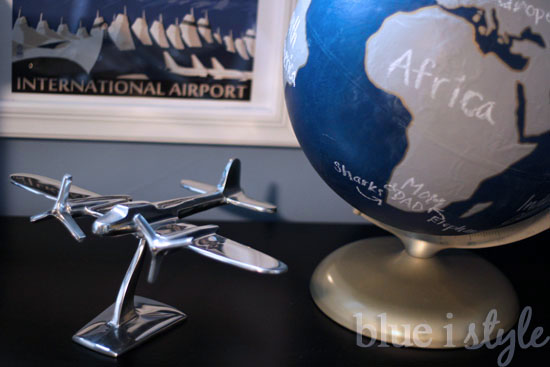
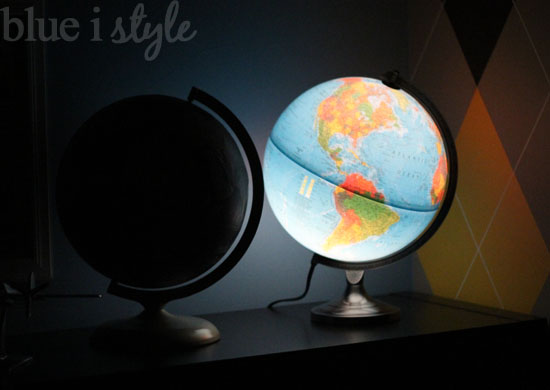
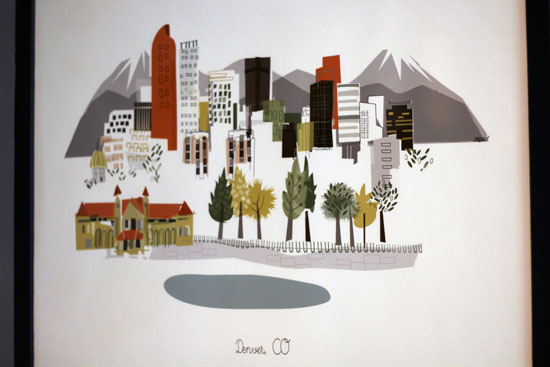
On the top of the bookshelves, you’ll spot the DIY chalkboard globe that I created a couple of weeks ago, as well as a lighted globe. The globes are paired with a poster of Denver International Airport, where one of Beckett’s grandpas works as a computer engineer.
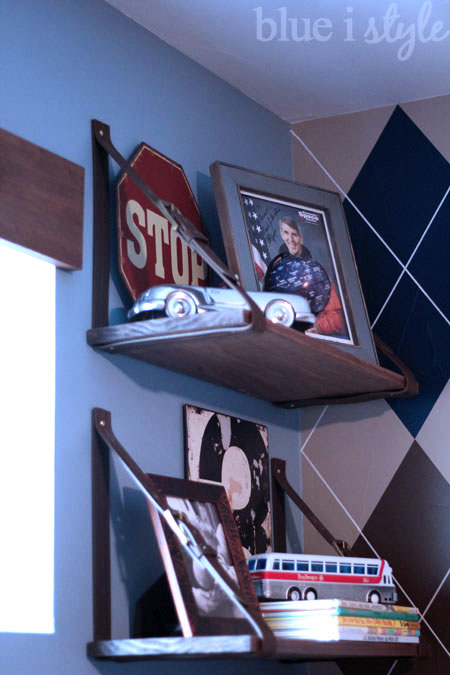
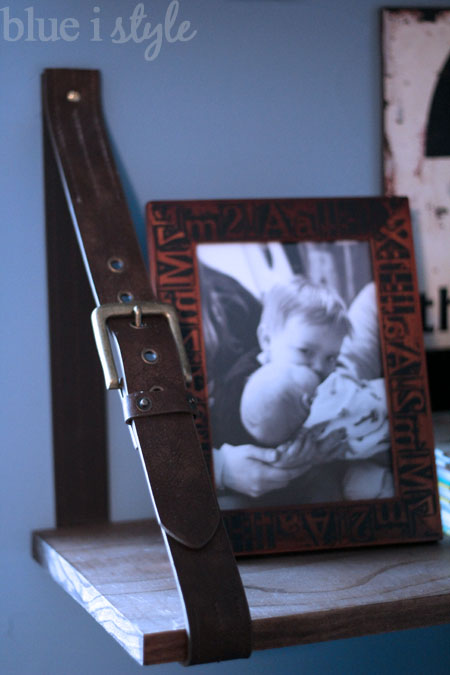
Now we are getting to another of my favorite parts of the room. Remember my teaser last week about our plans to use belts in the decor of the room? Well, here is the first of four belt projects. How cool are these shelves? Don’t worry – I’ll be posting a tutorial in the next week or two.
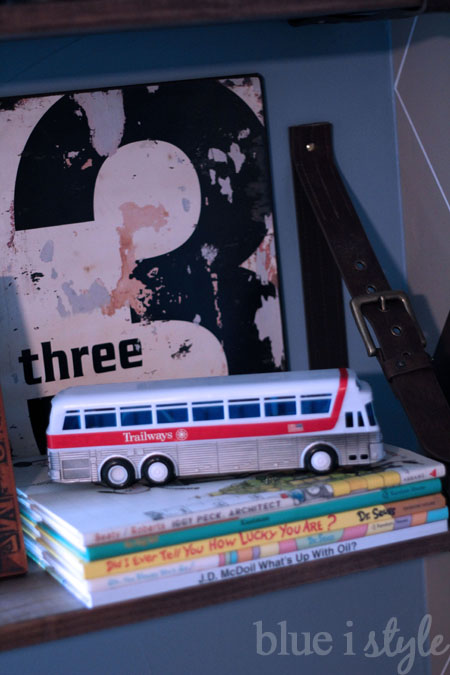
Beckett’s great grandfather (my grandpa) was a long-distance Trailways bus driver for many years. I have fond memories of getting to ride on his bus when I was little, and each grandchild in the family was given a toy Trailways bus. Since that time, these buses have become collector’s items, and when my boys were born my grandpa gave each of them their very own buses. Since this is such a special item, we are displaying it on the shelf where it can be enjoyed, but not damaged.
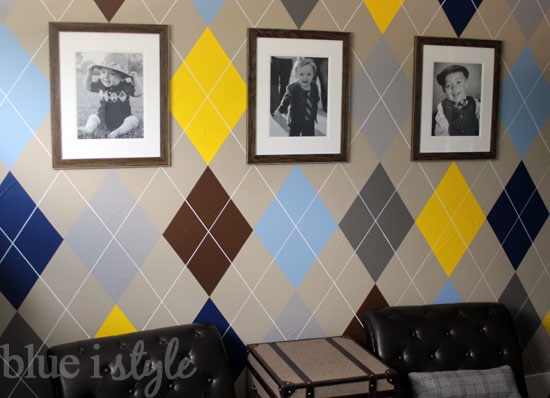
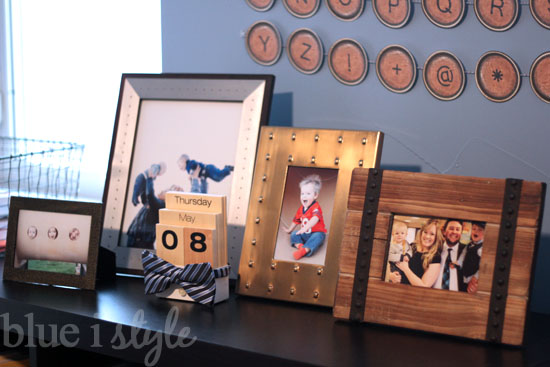
Looking down toward the other end of the bookshelves, I framed some of my favorite photos of Beckett.
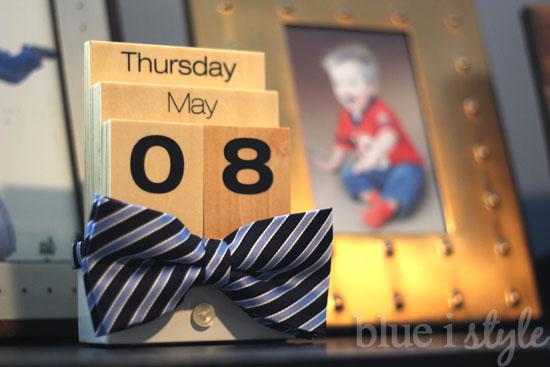
And, yep, that’s a bow tie you spotted! I bought this great desktop calendar that will help Beckett learn about the months and days of the week, but the plain white metal case left something to be desired. To dress it up a bit {pun intended} I added a bow tie, and a shirt button of course.
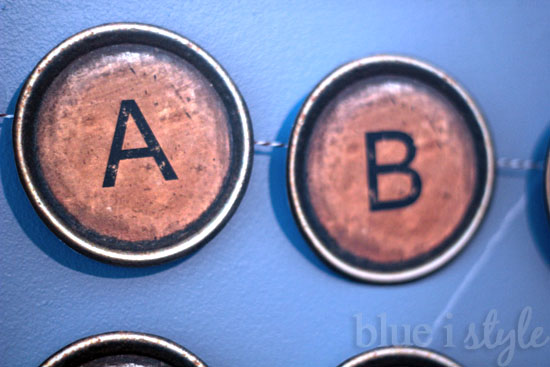
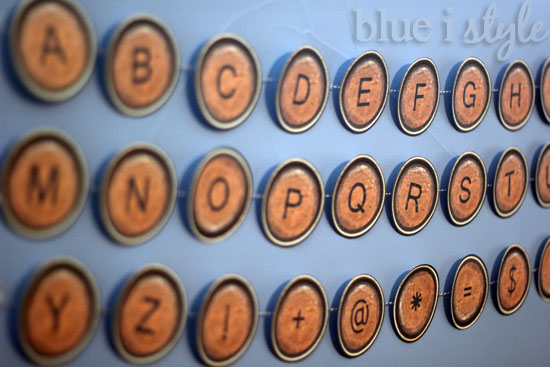
Our nursery has a fun alphabet poster that Beckett looks at all the time, so I knew that we needed to incorporate the alphabet into his new room somehow, and typewriter keys seemed like a good fit for the space. I printed these, cut them, and strung them on baker’s twine.
 |
| Me on Christmas, 1986 |
We’ve also added a few new items to this room that you might be interested in:
