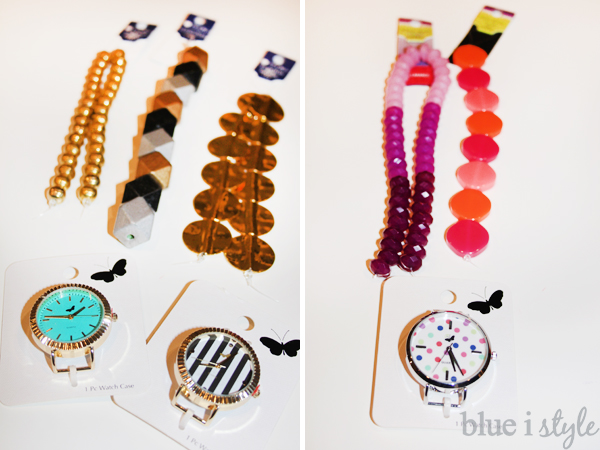
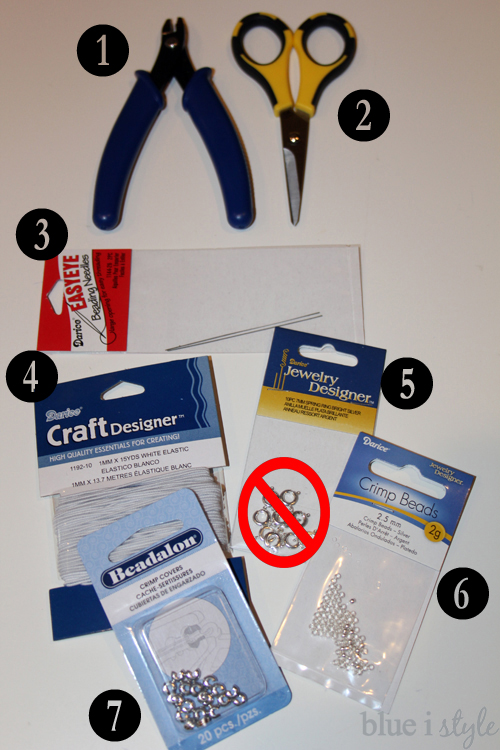
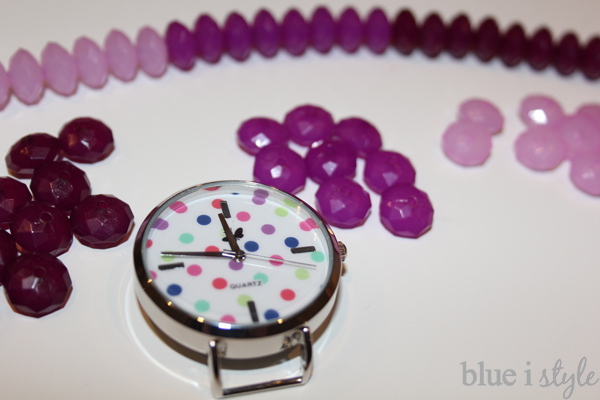
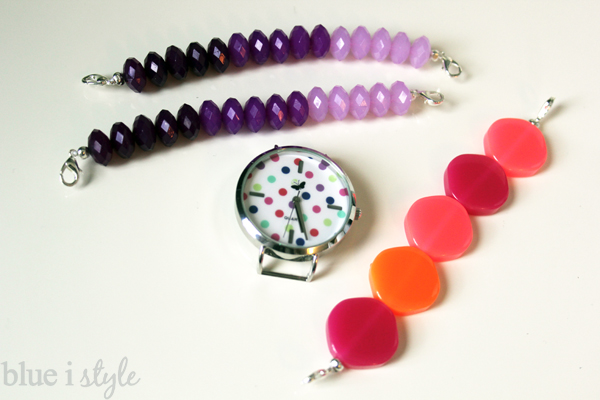
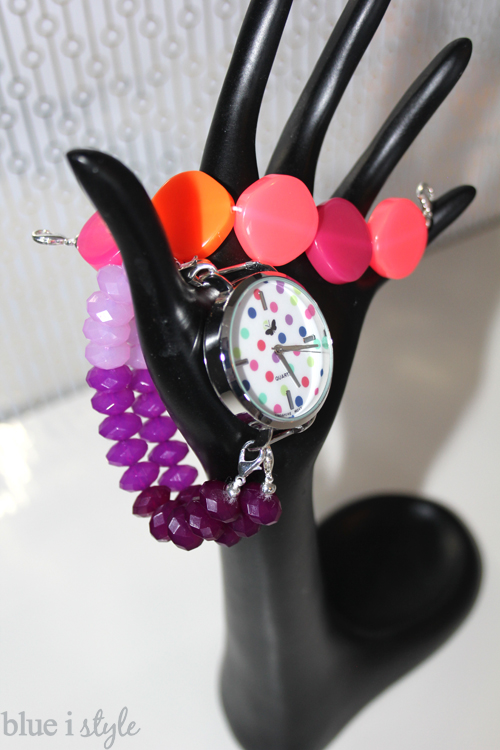
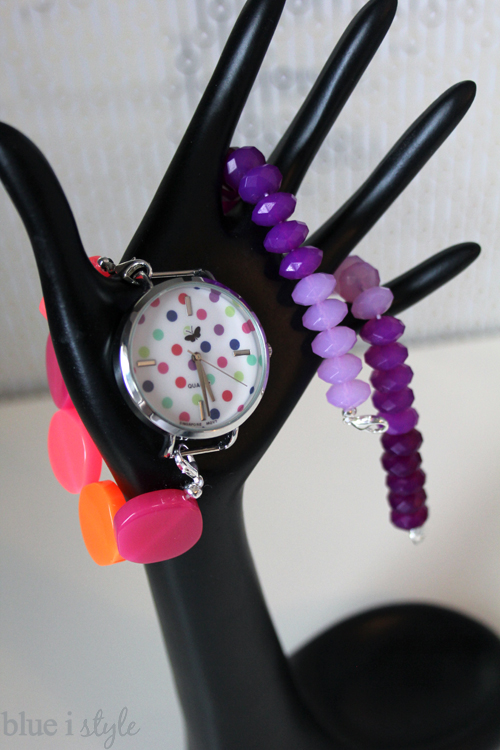
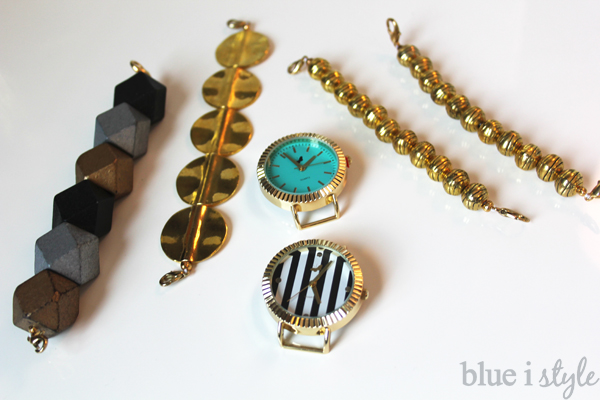
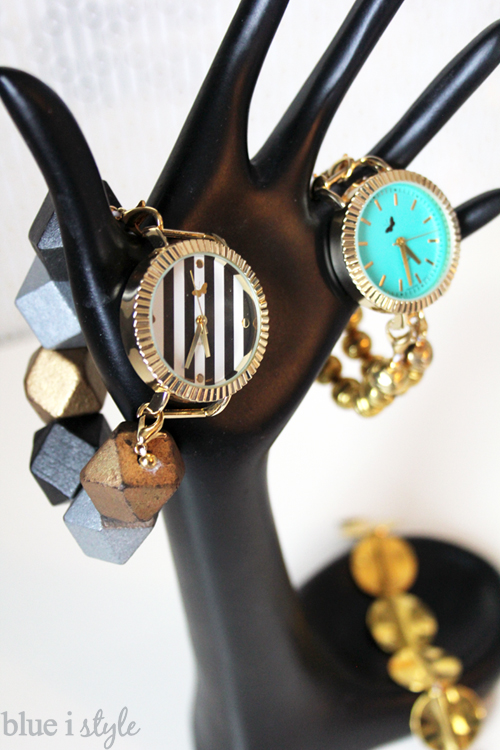
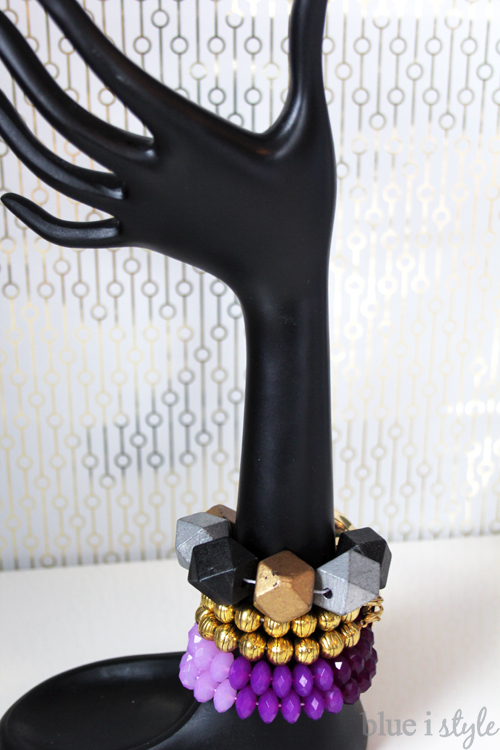
In addition to purchasing your choice of watch faces and beads, you will need the following supplies to make your own custom, interchangeable watch bands.
- (1) Crimping Pliers
- (2) Scissors
- (3) Beading Needles
- (4) White Elastic Beading Cord
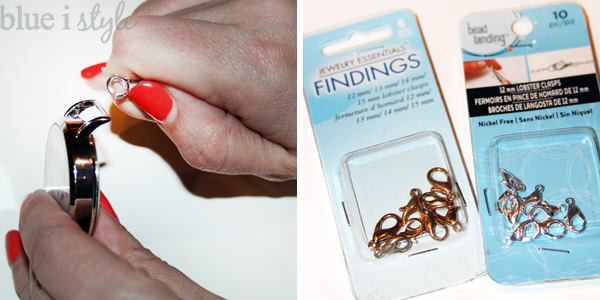
- (5) 12 mm Lobster Clasps in your choice of gold or silver
- I originally purchased standard spring ring clasps, but they didn’t work. See below…
- (6) Crimp Beads in your choice of gold or silver
- (7) Crimp Covers (optional, but recommended)
After beading my first watch band I discovered that the spring ring clasps I had originally purchased did not have a large enough opening to fit over the bar of the watch face. OOPS! I ended up back at the store purchasing 12 mm lobster clasp replacements that I worked perfectly!
Once you have chosen your watch face and beads, and gathered all of your beading supplies, you are ready to begin.
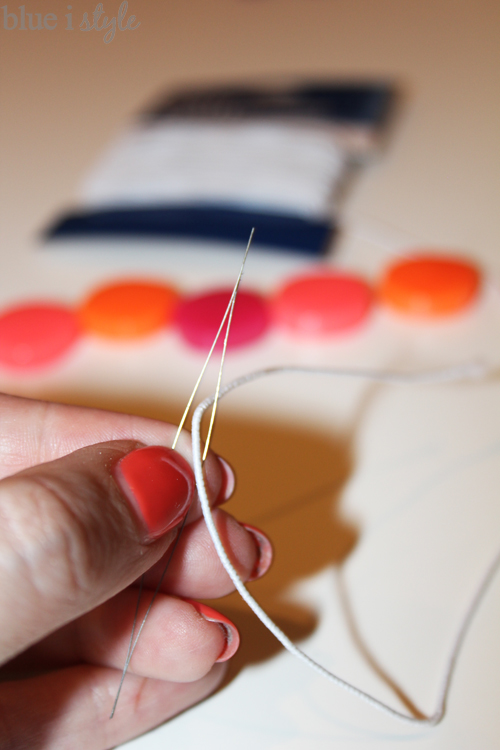
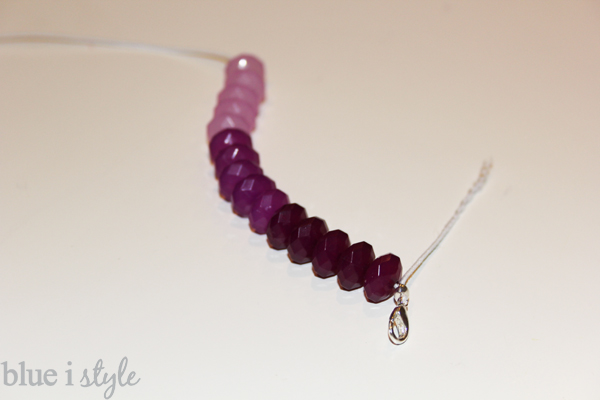
Cut a long length of white elastic cord {probably four times as long as necessary to go around your wrist to give you enough excess to work with}. Thread the elastic cord through your beading needle.
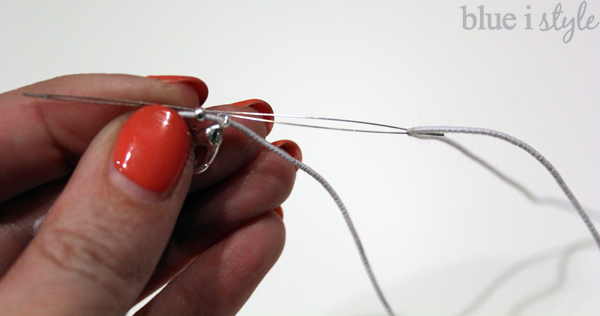
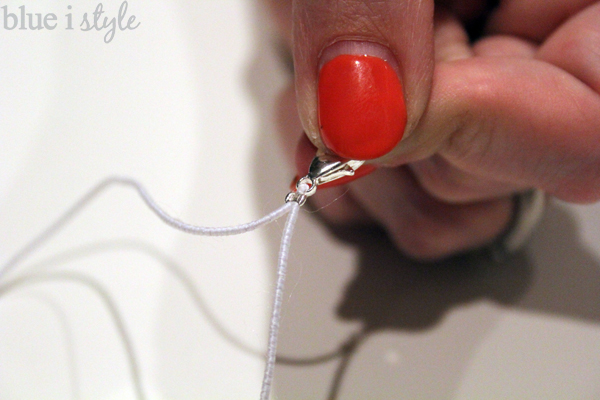
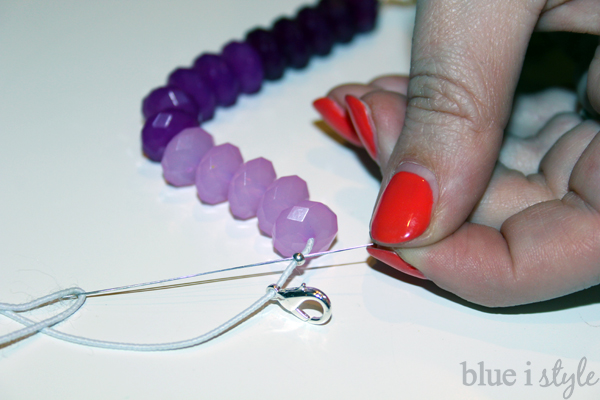
Begin by pulling the needle and cord through on crimp bead followed by one lobster clasp. Then loop the cord around the lobster clasp and pull the needle and cord back through the lobster clasp. It will fit very tightly, but the length of the needle will allow you the leverage necessary to pull it through.
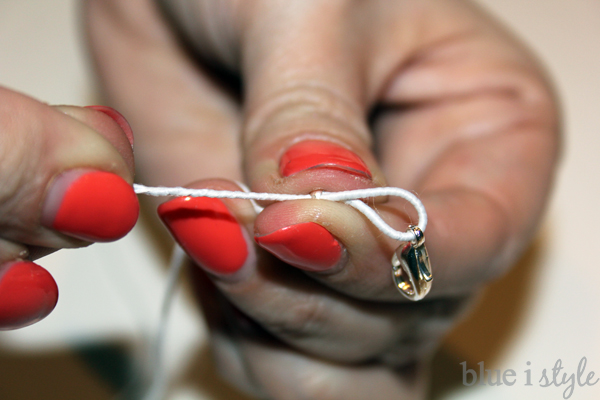
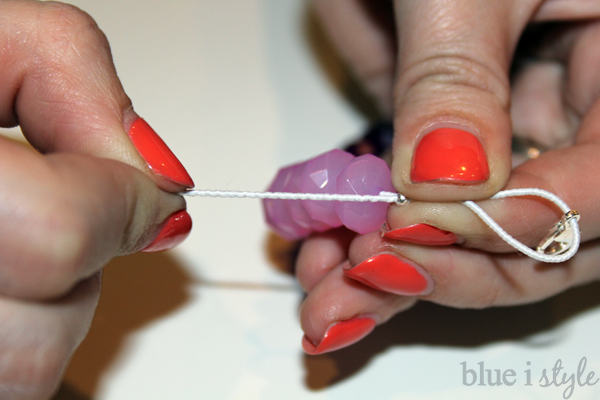
Once you have the cording pulled back through the crimp bead, grip the crimp bead between your fingers and pull on the one end of the cord to slide the crimp bead up to the clasp.
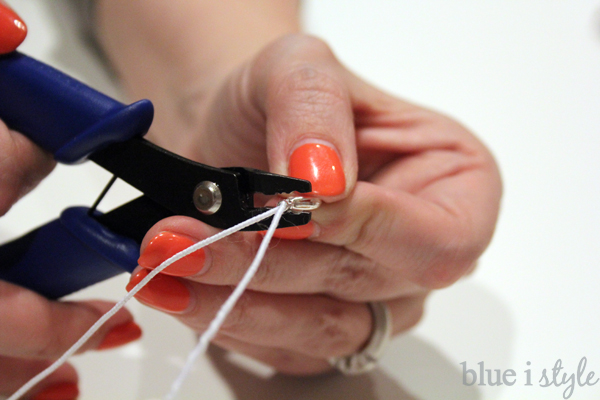
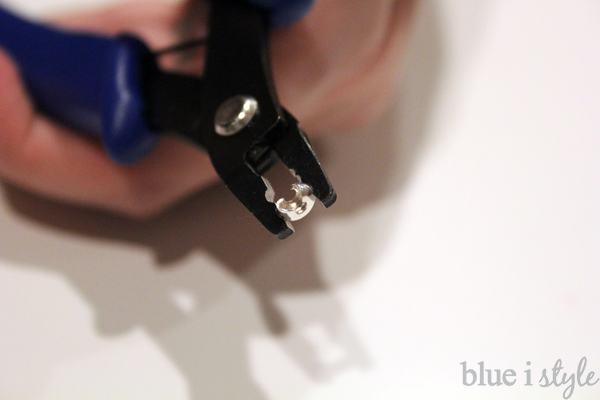
With the crimp bead as close to the lobster clasp as possible, use your crimping pliers to squeeze the crimp bead until it is flattened.
The crimping pliers have two sets of notches. To “crimp” the crimp bead, you want to place it in the notch furthest from the tip, and then squeeze down with the pliers. Apply firm pressure, but don’t squeeze too hard or you could break the crimp bead.
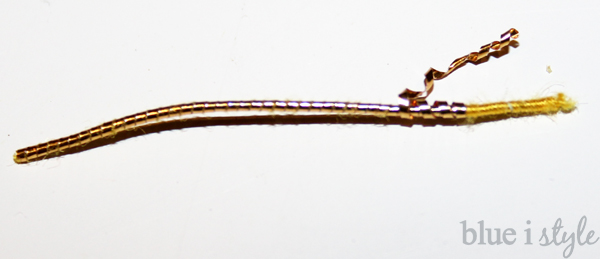
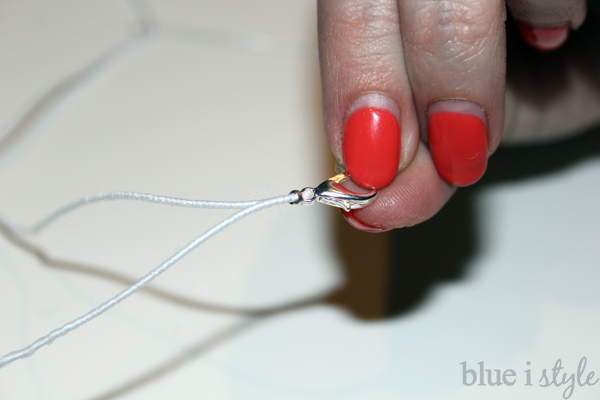
Once the bead is crimped, it will look like this:
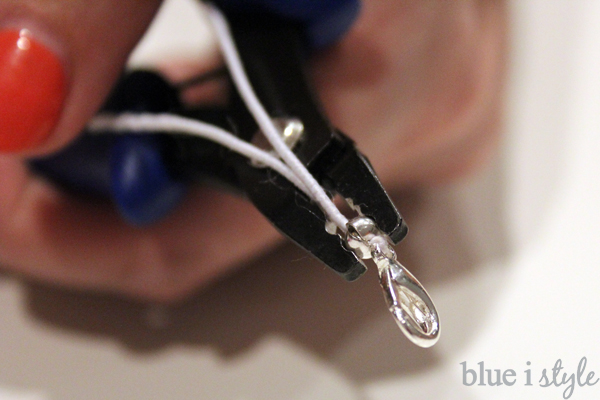
Using a crimp cover is optional, but it will give your finished watch band a nice, more professional look. Grip the crimp cover in the front notch of the pliers, and then slide the crimp cover over the crimped bead.
Gently squeeze the crimp cover {using the front notch of the pliers} to close the crimp cover around the crimp bead. If you apply too much pressure, the crimp cover will become misshapen. Consistent, gentle pressure will close the cover while maintaining it’s rounded shape.
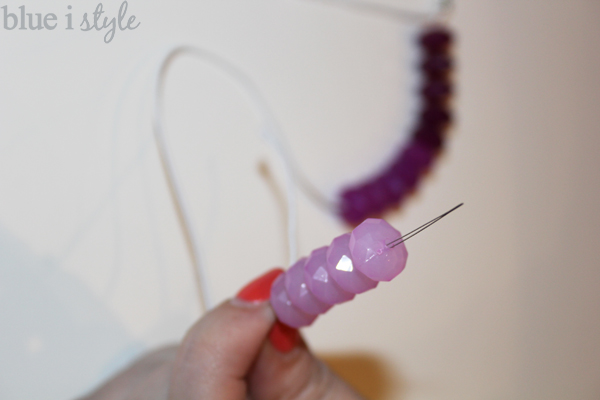
Once the crimp cover is in place, you are ready to add the beads. String the beads on to you elastic cord.
As you add your beads, check the length by wrapping the beads around your wrist. Remember the watch face will take up quite a bit of space, so the beads only need to reach about 2/3 to 3/4 of the way around your wrist.
When you are happy with the length of your beads, you are ready to add a clasp to the other end. Once again, string on a crimp bead and a claps, and then pull the elastic cord back through the crimp bead.
Grip the crimp bead between your fingers and pull on the one end of the cord to pull the excess cord through the crimp bead. Continue to pull the cord through until the crimp bead sits flush against your decorative beads, and the clasp sits flush against the crimp bead.
When the crimp bead and clasp are properly positioned, repeat the steps above for crimping the crimp bead and covering it with a crimp cover.
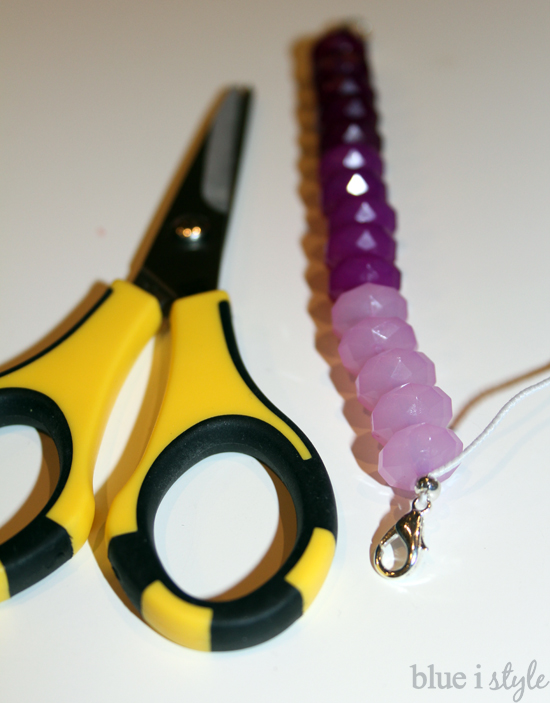
Then final step is to trim off the excess elastic cord with a pair of sharp scissors.
For a long time, I stopped wearing watches and relied on my phone for the time, but now that I have these fun new watches that look more like jewelry, I want to wear a watch every day!
Now that I know how easy it is to make my own interchangeable watch bands, I am eager to head back to JoAnn Fabric to pick up a couple more watches and some more stylish beads. I think the silver watch with the navy blue face is next on my wish list! And I’ll definitely be making some of these as gifts as well!!

