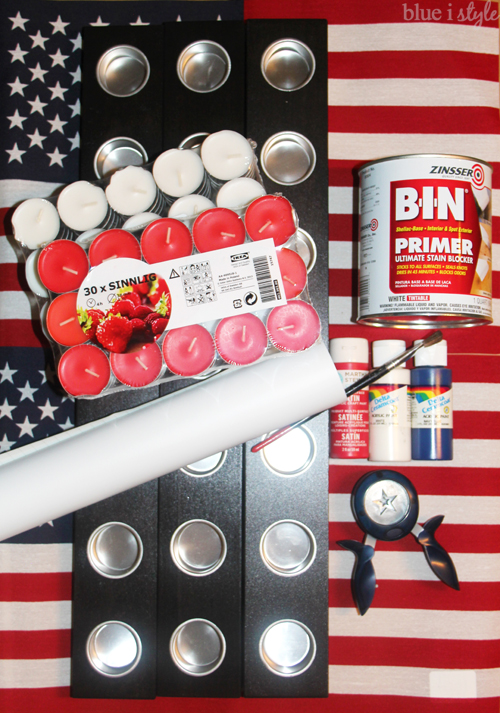
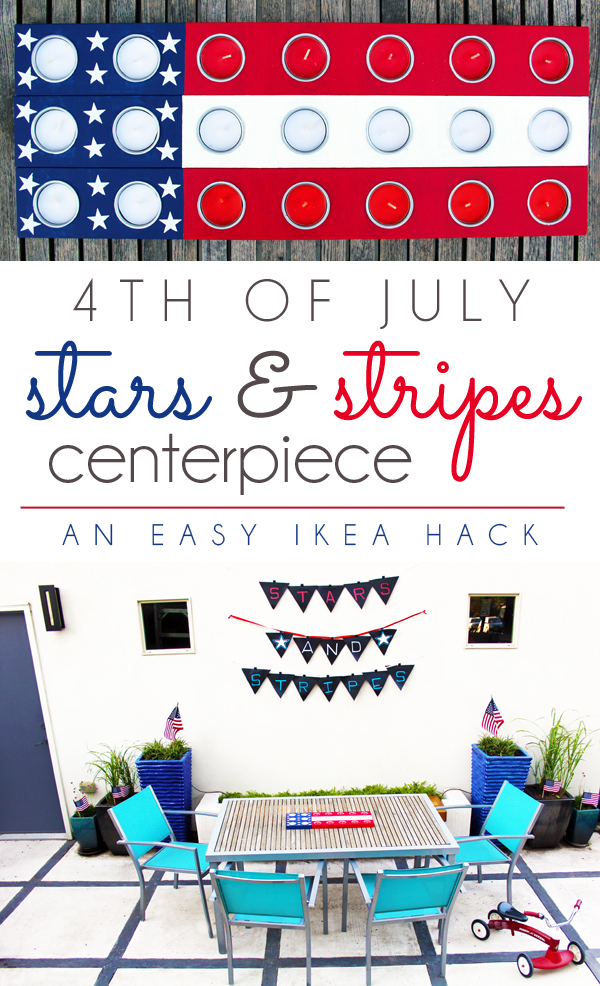
- 3 Hallare tealight holders {IKEA}
- 11 white tealight candles {I purchased mine at IKEA}
- 10 red tealight candles {I purchased mine at IKEA}
- Primer {I used Zinnser BIN that I already had on hand}
- Red, White, & Blue acrylic paint
- Paintbrush
- Painters tape
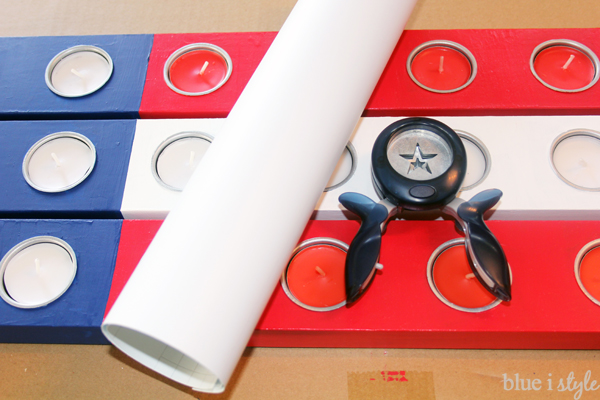
- Star shaped punch {I used the Fiskars Twinkle Twinkle squeeze punch from Joann}
- White adhesive vinyl {available from Expressions Vinyl}
STEP BY STEP INSTRUCTIONS
STEP 1: PRIMER
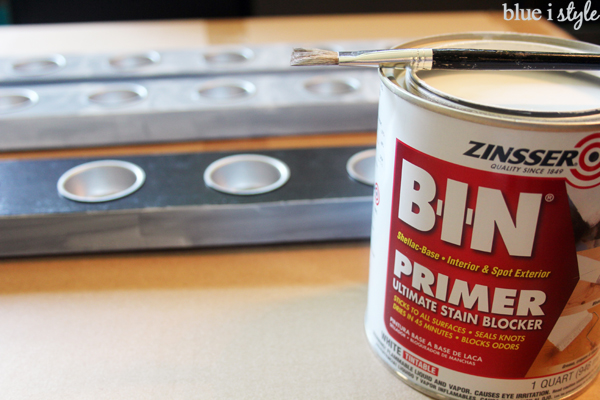
The Hallare tealight holders have a clear acrylic lacquer finish, so I was concerned that my acrylic would not stick if I painted them directly. To avoid a potential problem, I decide to quickly prime the three candle holders before painting them. I used a can of primer that I had on hand from a prior project.
STEP 2: PAINT
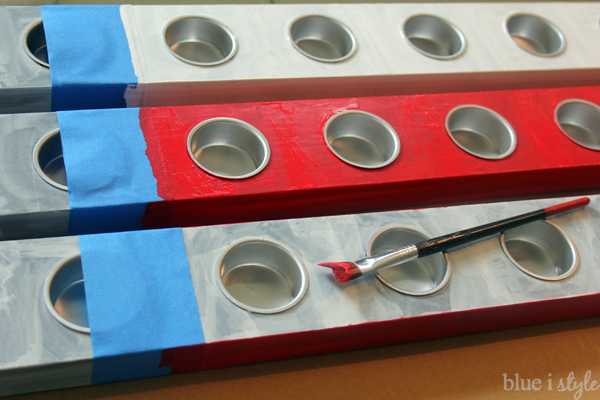
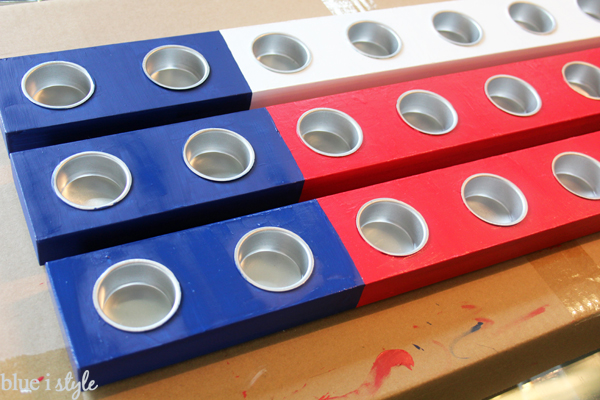
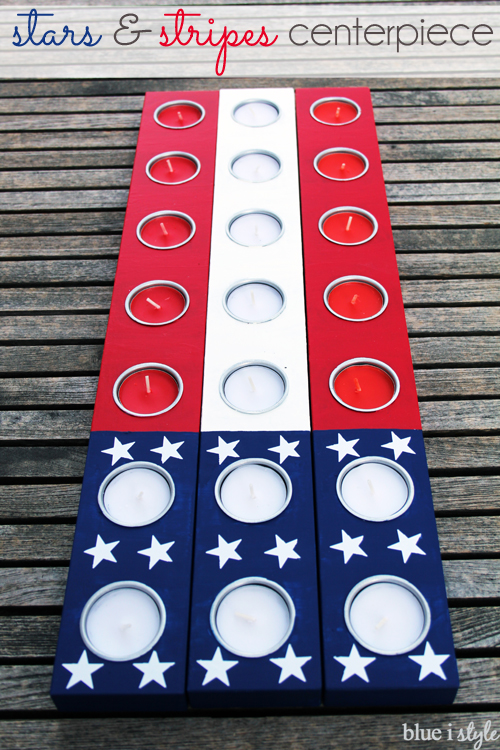
As soon as the primer coat was dry, I used painters tape to tape off a line between the second and third tea light cans. I then painted the top and sides of one candle holder white, and the other two red. It took two coats of each color to achieve solid coverage.
The aluminum tea light cans are not removable, so I simply painted around them. If you get any paint on the aluminum, it will easily scratch off with a finger nail once the paint is dry.
As soon as I was done painting the red and white, I peeled off the painters tape and painted the other end of each candle holder navy blue. Rather than applying painters tape to the fresh red and white paint, I simply used the line of the red and white paint as a guide for painting a nice straight line with the blue paint.
STEP 3: ADD STARS
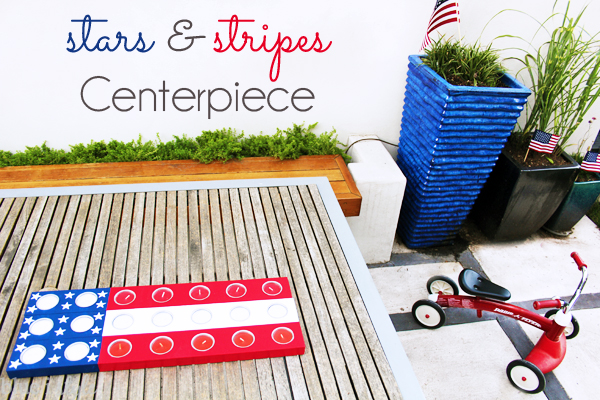
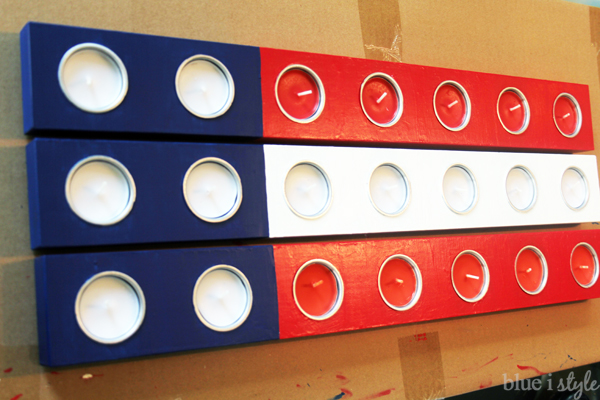
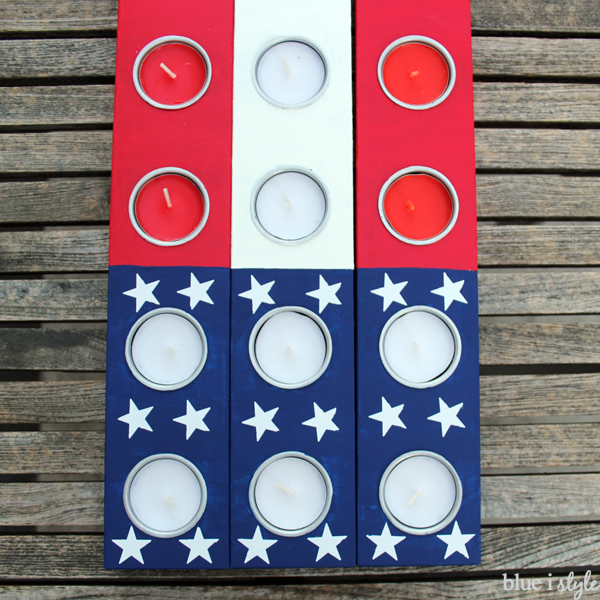
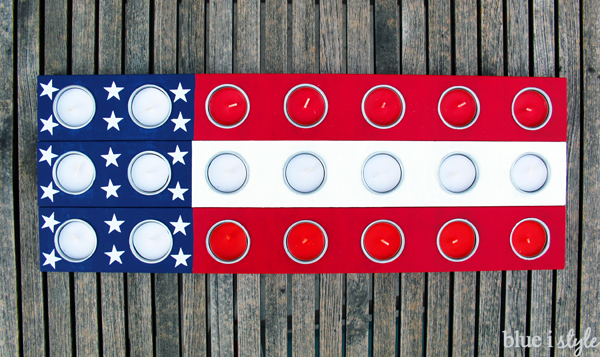
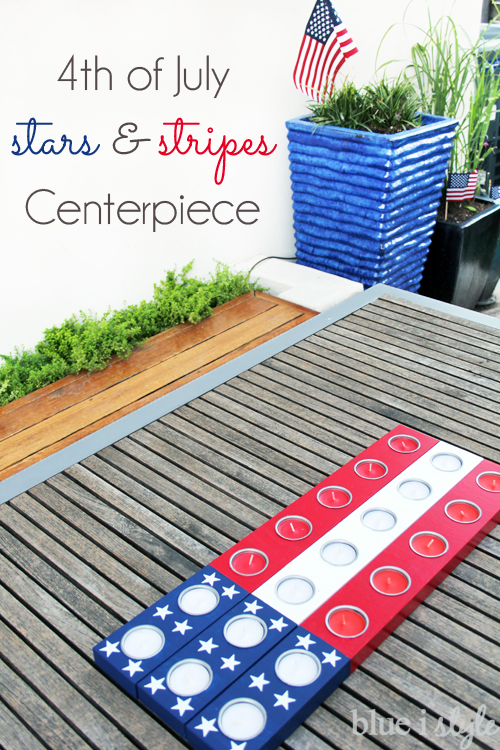
Once all three candle holders were painted, I added the tea lights to see how it looked. I used red tea lights for the red stripes, and white tea lights for the white stripe and to create the appearance of white stars on the blue end of each holder. I liked it, but I felt like it looked incomplete.
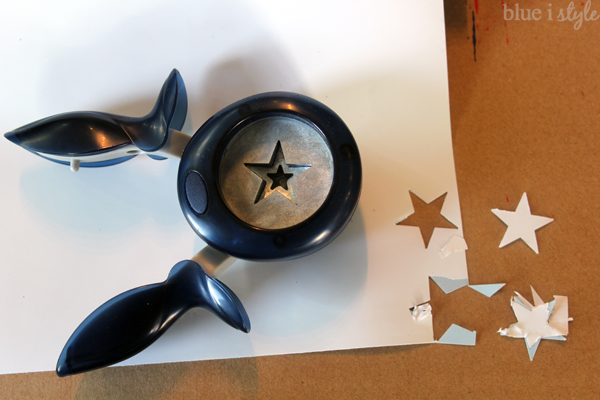
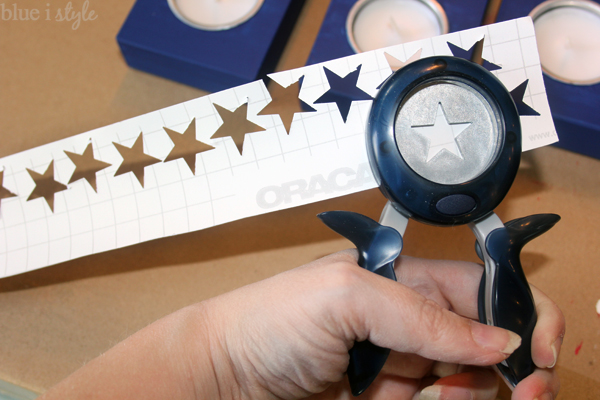
The key to cutting adhesive vinyl with a punch is to turn the vinyl sheet upside down so that you see the backing through the whole in the punch. This way, the blade of the punch cuts through the vinyl first, and then the backing, which produces a clean cut.
I then peeled the backing off of each star, and applied the stickers to the blue paint.
