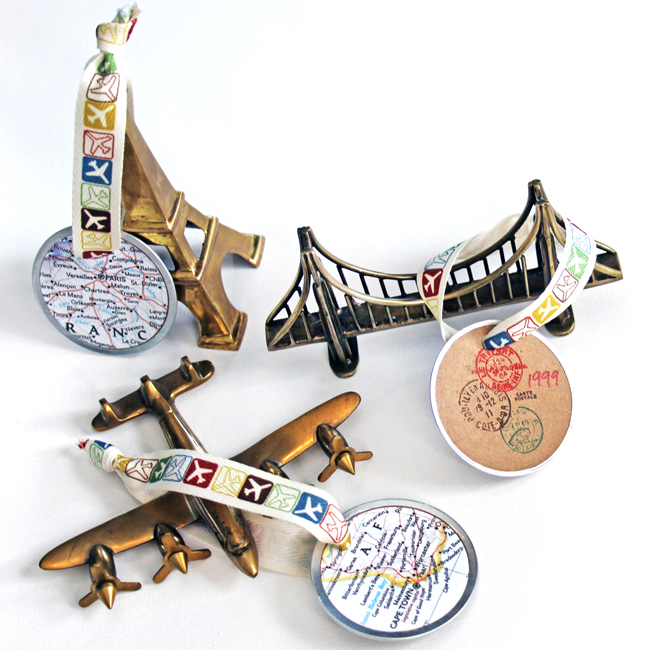
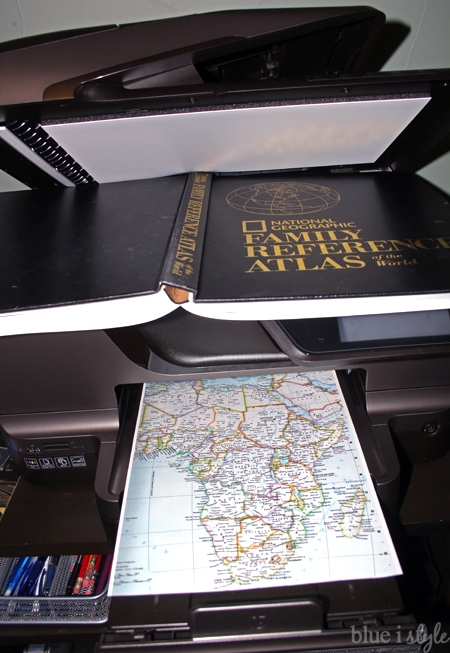
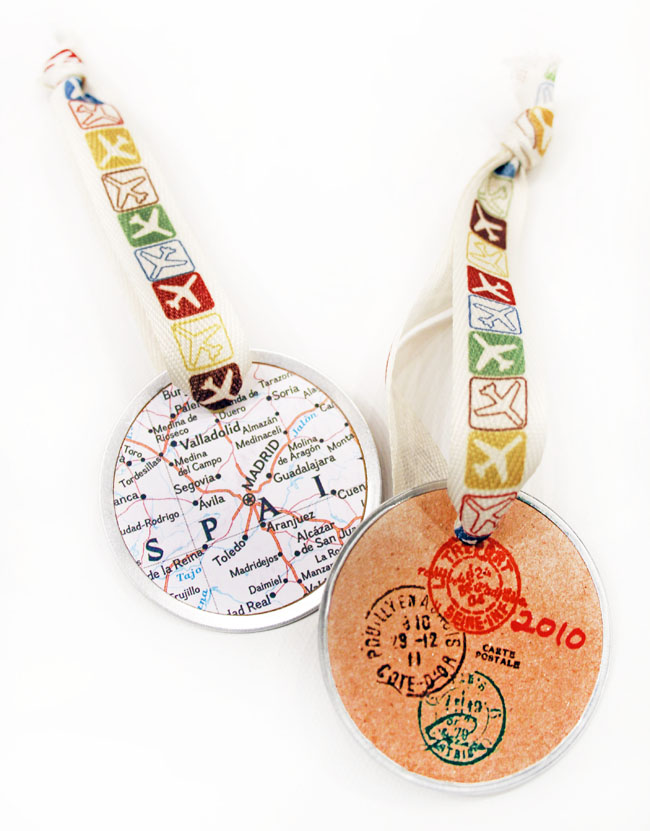
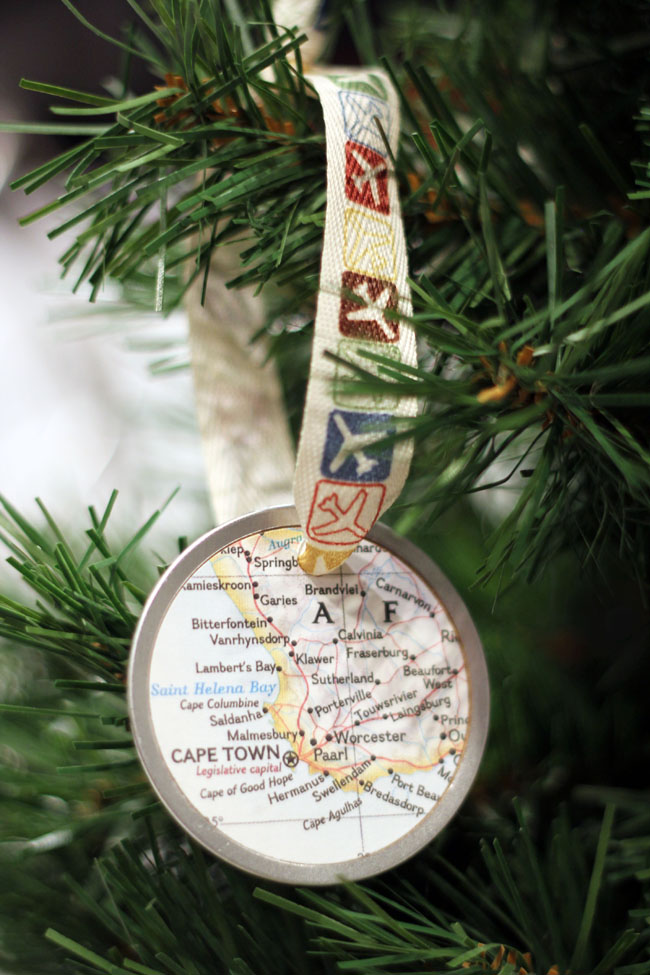
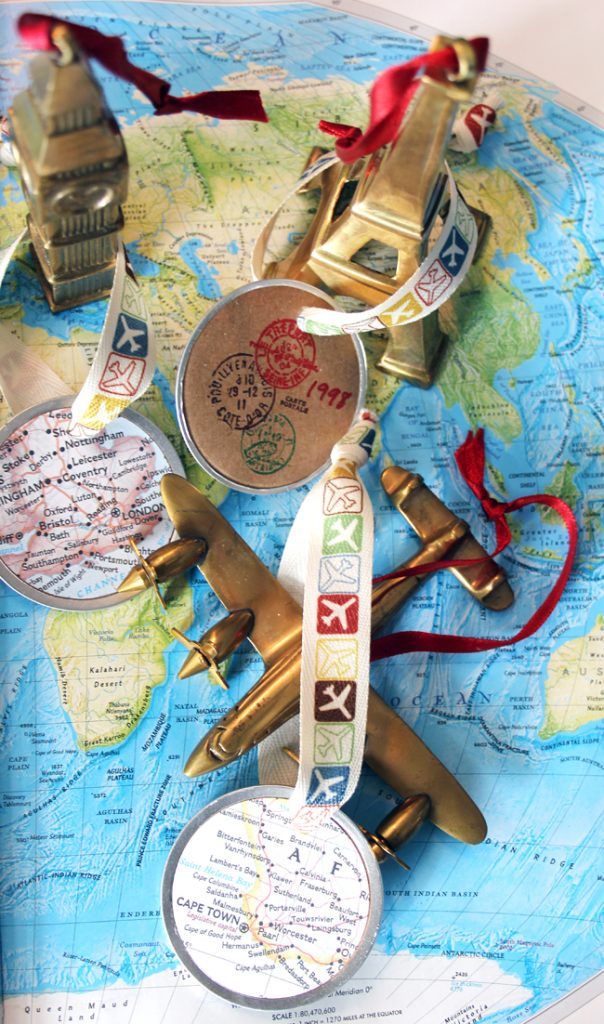
I considered a lot of different way to create my travel map ornaments, but my number one priority was making them simple enough that it will be easy to add more over the years as we check more cities and countries off of our travel bucket list.
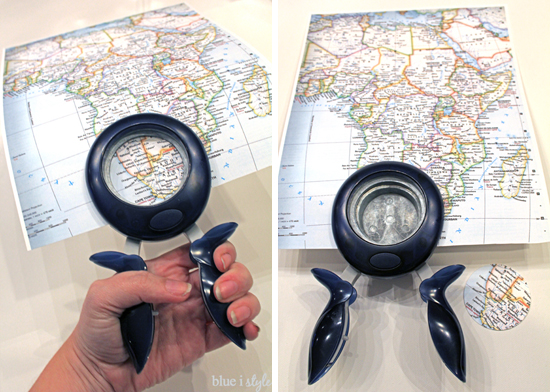
In the photo above, I was cutting a circle from the very bottom of the map to document our recent trip to Cape Town, but when I needed to cut a circle from a location not along the edge of the paper, I simply used scissors to cut the paper down until the section I wanted could fit within the frame of the squeeze punch.
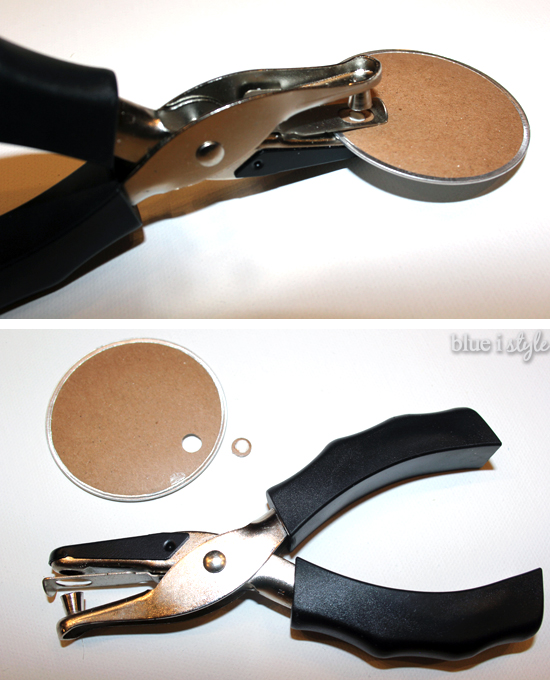
As I cut my map circles, I also kept in mind that I would be punching a hole in the top center of each to add the ribbon for hanging. With that in mind, I was careful not to position the names of important cities near the top center of the circles.
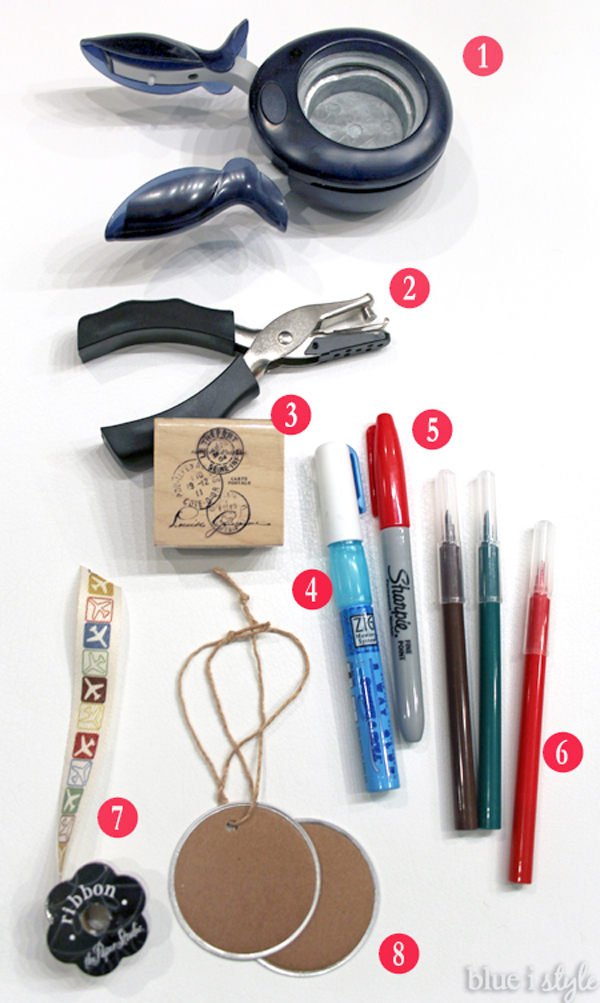
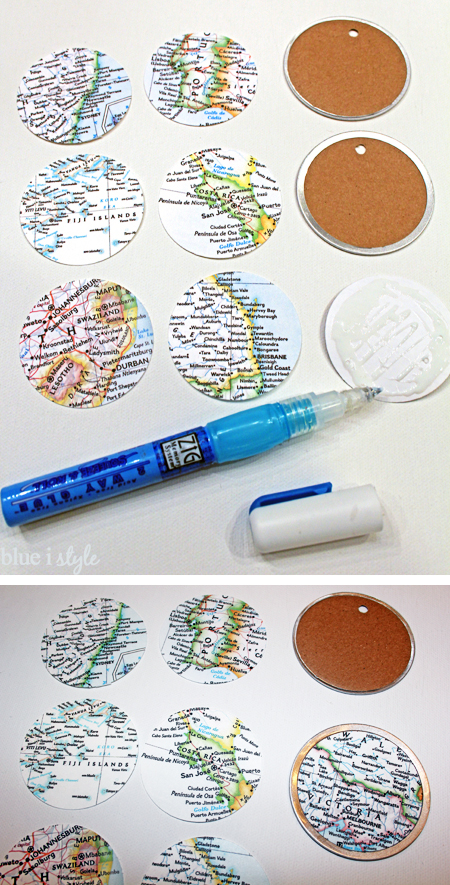
Once I finished cutting all of my maps, I began gluing them to the craft paper tags using an acid free glue pen {which won’t cause the paper to discolor over time}. Each tag has a metal rim around the edge, but the rim is wider on one side than the other {in the photo below, the side with the thinner rim is at the top, and the thicker rim below}. The maps fit perfectly inside the thicker rim, so I had to pay attention to glue them to the correct side of each tag.
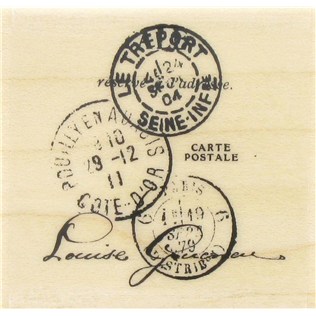
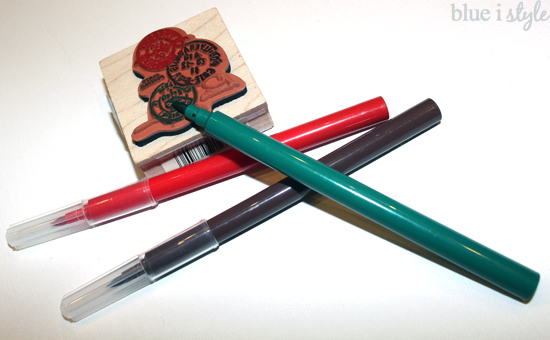
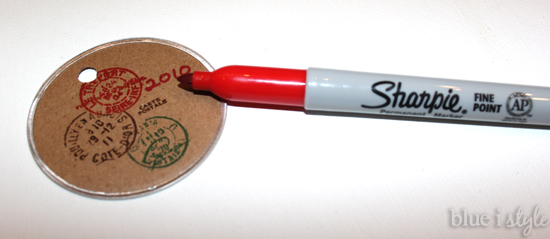
I then used a red Sharpie to write in the travel year corresponding to each map next to the red postmark stamp.
As the years go by, it will be so fun to reminisce about our adventures as we hang each of these map ornaments on a travel themed tree!
Now that you’ve seen my travel map ornaments, you might want to check out this post with 35 other handmade ideas for trimming your tree from some of your favorite bloggers!
