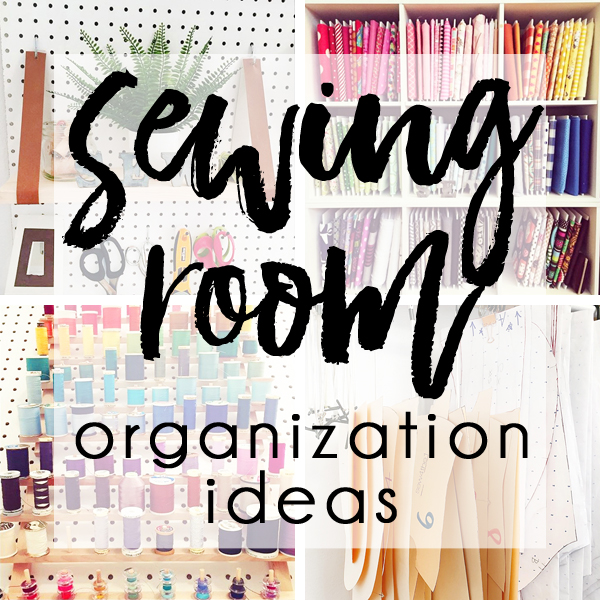
I got a sewing machine for my birthday a few years ago, and I have big plans to create my own mini “sewing room” inside an armoire. This project hasn’t made it to the top of my to do list just yet, but in the meantime, I’m excited to share the most adorable space packed with tons of smart sewing room organization ideas to inspire us all! This space proves that you truly don’t need a large space or big budget to create a stylish and organized sewing room.
I reached out to Stacie via Instagram, then met up with her at our neighborhood farmer’s market. I’ve loved getting to know her and learning more about her business. I bought one of her hoodies and it’s seriously one of my favorite pieces of clothing. Then I caught a glimpse of her adorable sewing space, I knew I had to share her budget friendly sewing room ideas with all of you!
Let me introduce you to Stacie, my neighbor and the seamstress-extraordinaire behind Sew4the1.
Stacie makes the Platt Park Hoodies from her home, and I recently interviewed her to learn more about how she created her functional and affordable sewing room. Whether you’re a hobby sewer or a professional maker, Stacie has some genius sewing room organization tips that will help you get your supplies organized on a budget.
This post contains some affiliate links. Read my full disclosure statement here.
ME: How long have you been sewing and who taught you to sew? What do you love about it?
STACIE: This question makes me laugh as it comes up in conversation around our house probably monthly. We live in a small bungalow built in 1908 here in Denver. When someone mentions the word bungalow first you think a cute brick home, but you should also be thinking smallest bedrooms and closets you’ve ever experienced. LOL!Our house is a four bedroom two bath and if you do the math we have three kids and one bedroom is solely my sewing space. I’ve justify this room for many years and I don’t know how much longer I can justify having my own sewing space, but I plan to use this room as long as possible. My husband uses the closet, but the room is mine.
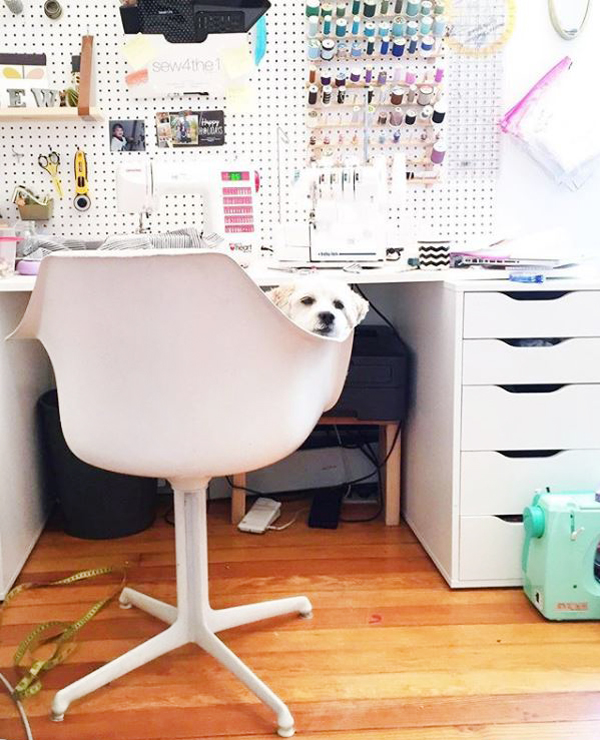
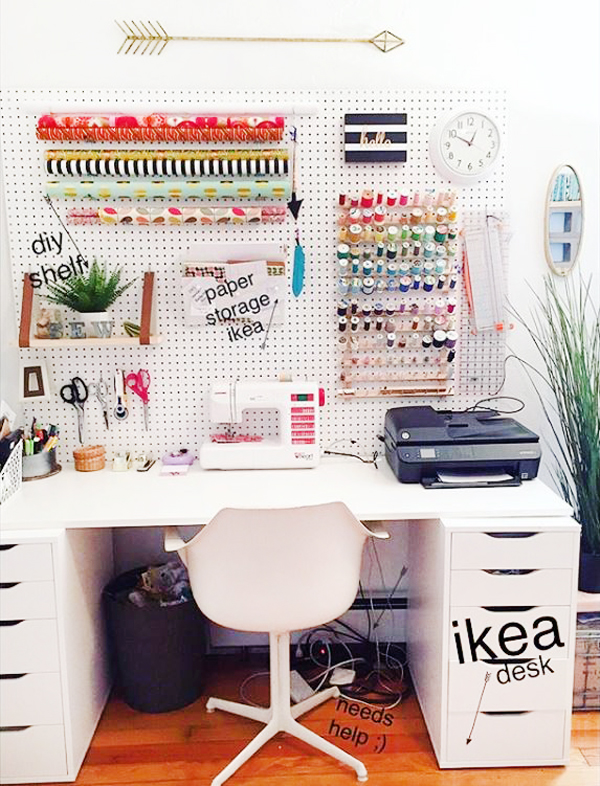
STACIE: The room has changed a lot since first buying the home. It was dark green and I painted it white soon after moving in. It’s quite small, so I am intentional about what I need and don’t need in there. Most importantly, I try to make this room functional for my business, including having all of my materials and fabrics needed for the Platt Park Hoodies accessible.
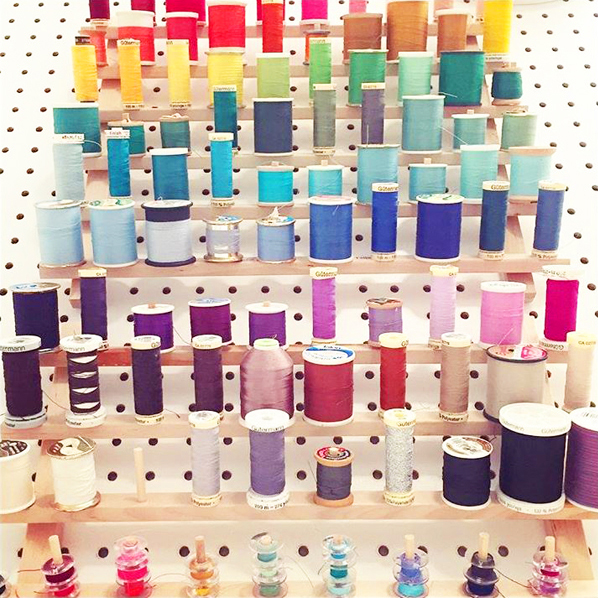
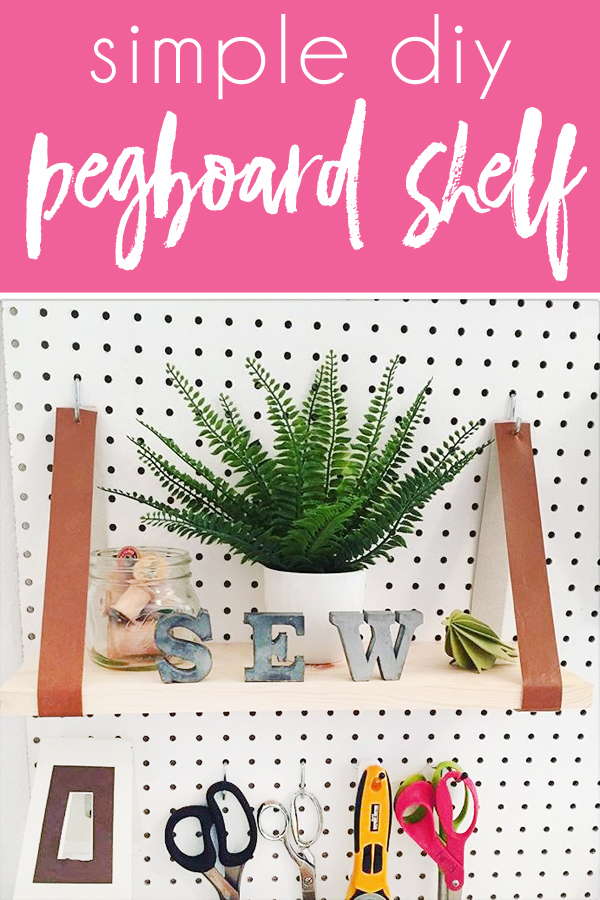
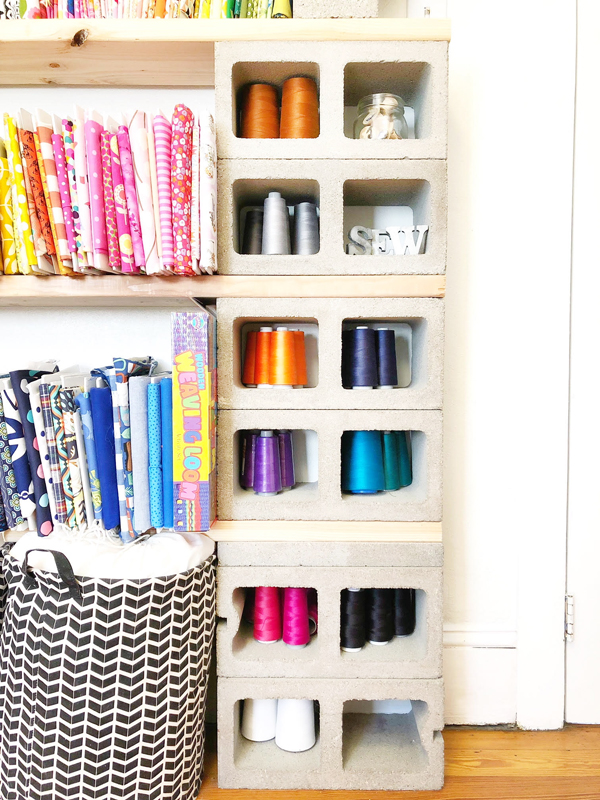
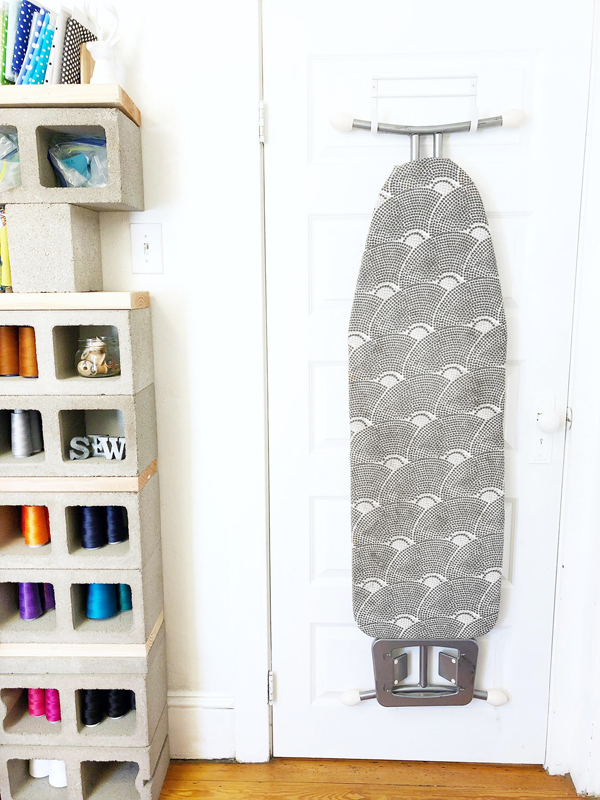
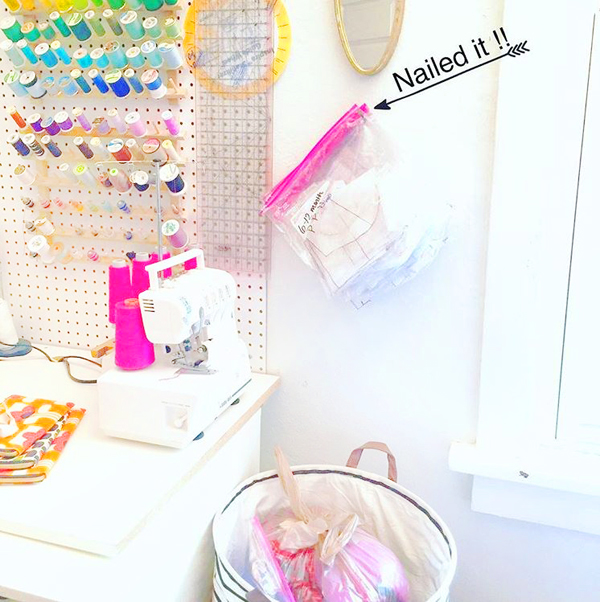
On the sewing side I have on my scissors, rotary cutters, and rulers, among other things. The Platt Park Hoodie comes in lots of different colors, so I need to have all my thread organizer here, as well. I also have a hanging file organizer to try and stay organized with paperwork.
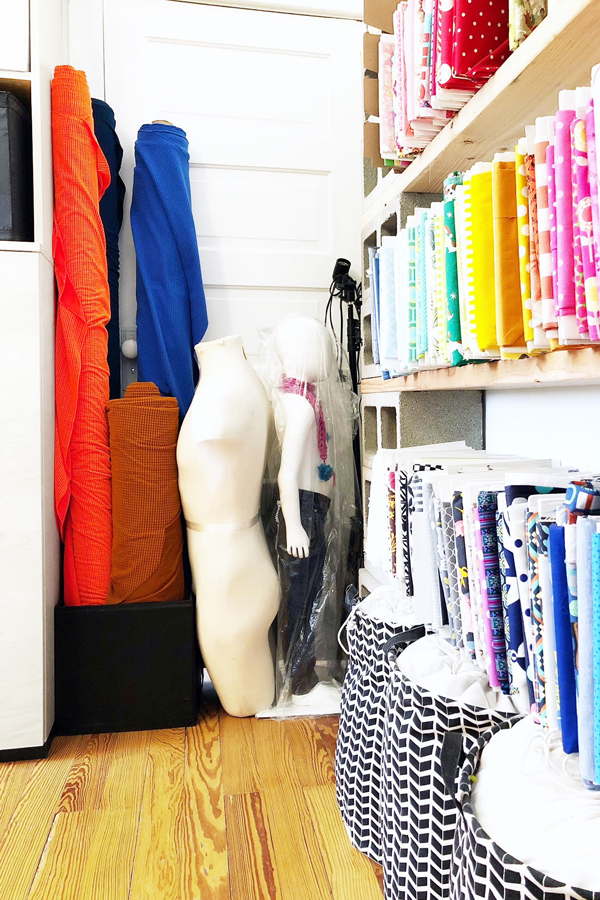
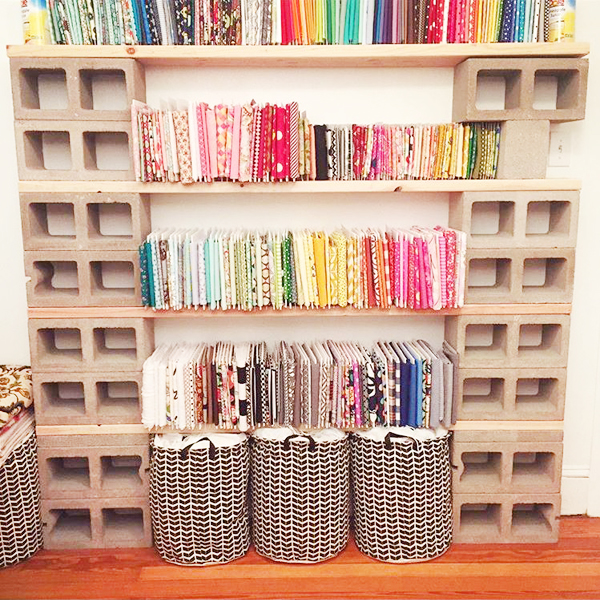
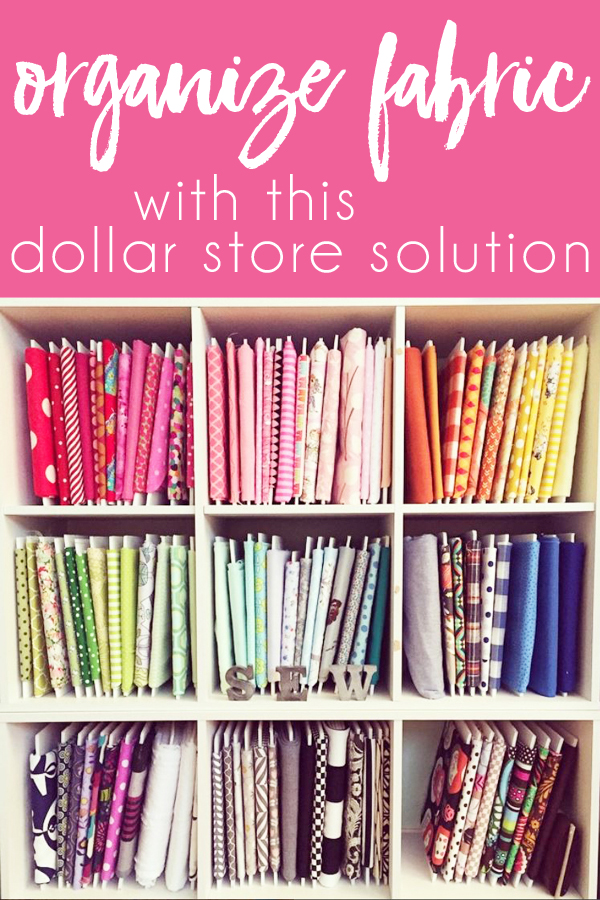
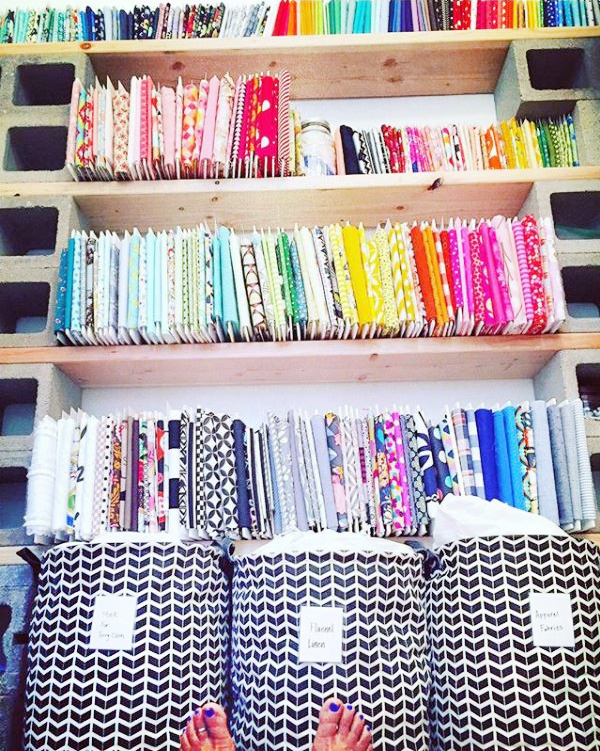
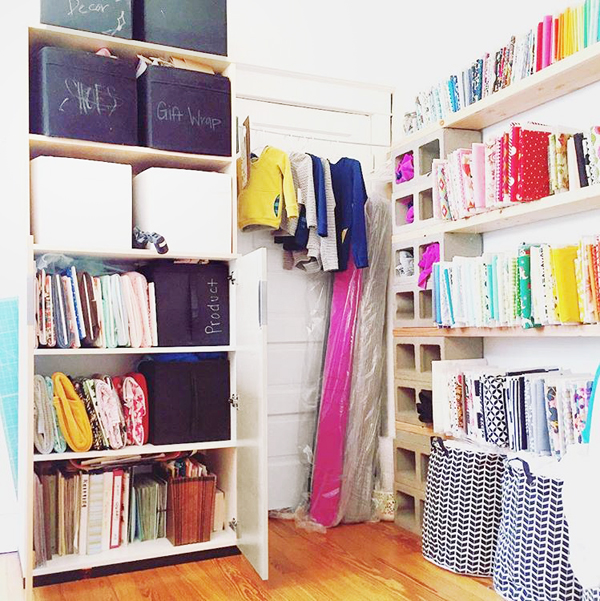
STACIE: The fabric storage idea, as you probably already guessed, is from Pinterest. I needed something that was not too deep because the room is so small, and I also did not need that much room depth wise to store the fabric.
ME: What do you keep in the black and white baskets below your fabric shelves?
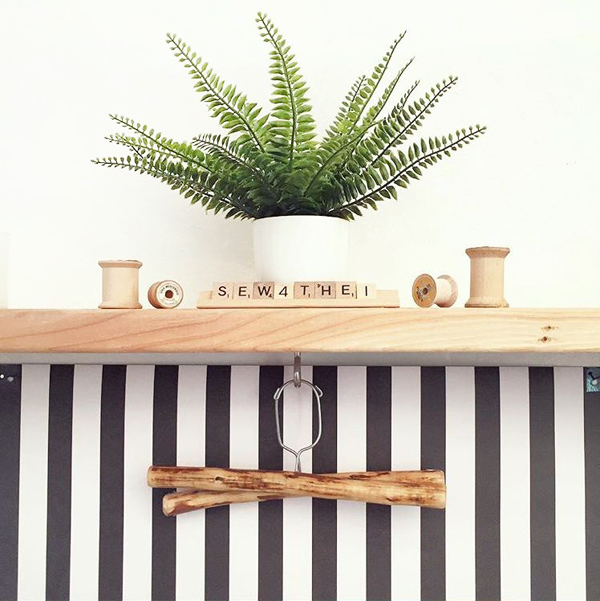
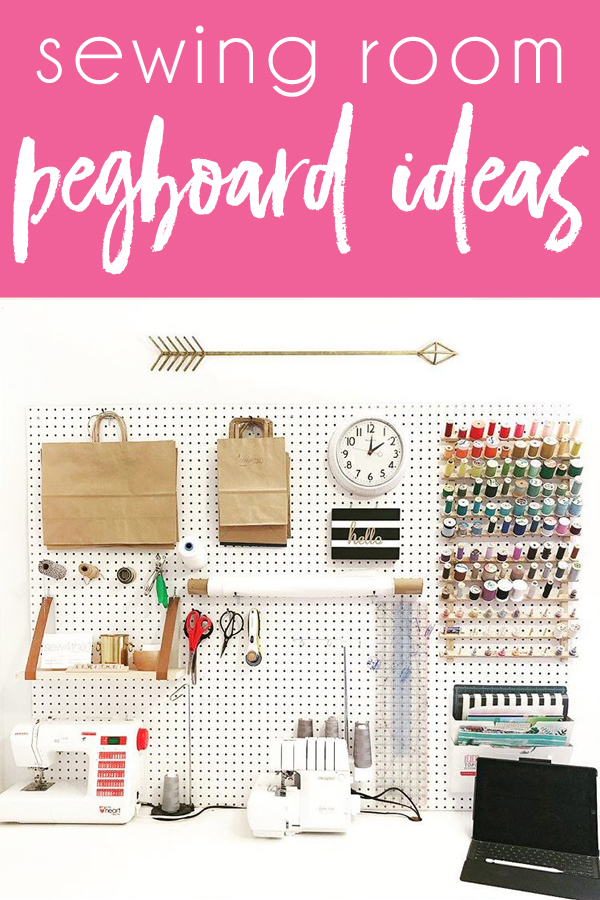
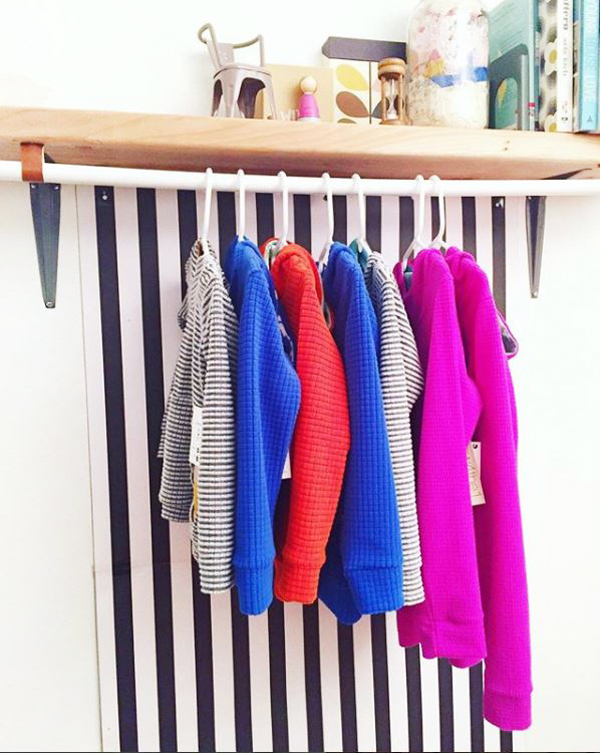
ME: I love your little shelf with the clothing rod and black and white stripes below it. Tell me about this space. Do you use it as a backdrop for photos?
STACIE: The vision for the spot was a backdrop to take my photos. I bought these large, patterned poster boards thinking it would be fun to have different backgrounds for pictures. I hole punched the top corners of the poster board and placed two nails just under the shelf to hold up the poster boards.
ME: It looks like the clothing rod is hung with leather loops. Was this another DIY? If so, how did you attach the leather loops to the shelf?
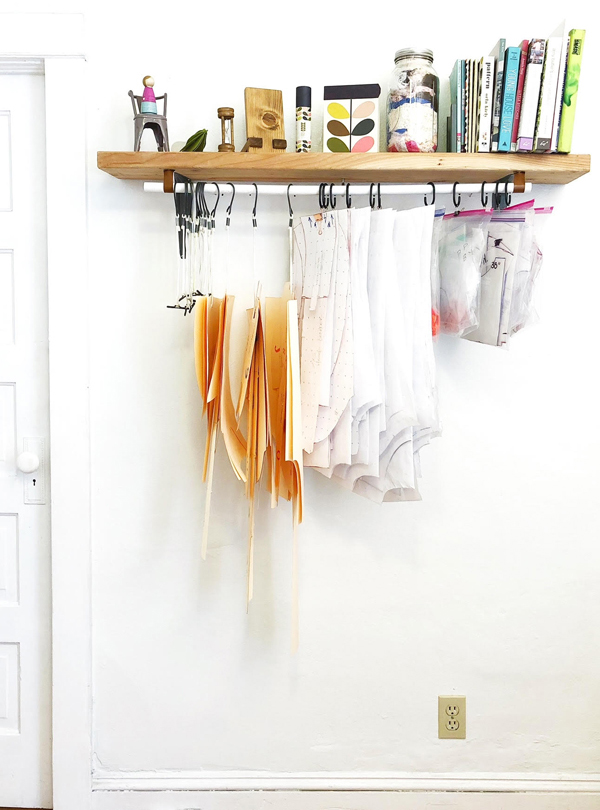
STACIE: Everything around my room is very DIY. My husband hung the industrial shelf for me with the raw wood and brackets. I loved having a place for knickknacks but needed a place to hang my finished products and patterns. I loved how the leather straps were working on on my peg board so I tried to incorporate the same look. I made the loops out of the leather {approximately 1” W x 5” L} and screwed the ends underneath the wood shelf. I had an extra piece of PVC pipe in the garage and I cut it down to be the length of the shelf and slid it in the loops of the leather straps.
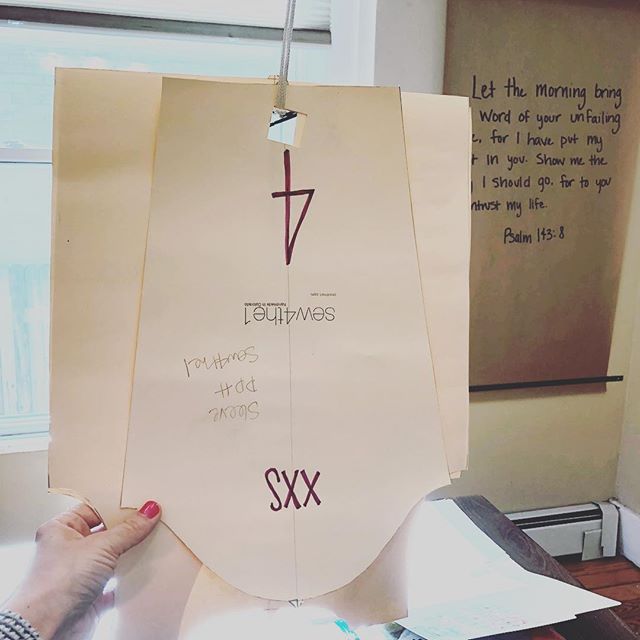
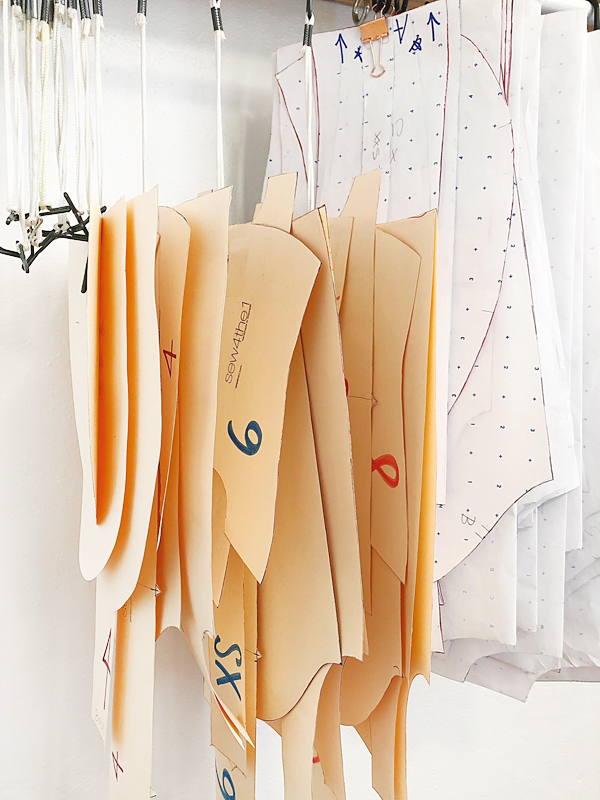
Transferring my pattern pieces to this manila pattern paper has been a very long process. It is approximately a 4-step process per piece. My hoodies have 8 pattern pieces each, and I have 12 different sizes. Eight pieces times twelves sizes is 96 pieces, times 4 for the 4-step process is 384…whew! That makes my new pattern pieces hanging from the DIY hanging rod as precious as gold!
The new pattern pieces on the manila pattern paper hang from the rod from metal durable pattern hooks. I bought all of my products locally at a sewing work space call Denver Design Incubator (DDI). I first bought my products here because I never used them before and was worried about ordering online, but now that I have used these products I feel confident purchasing them online going forward.
You can watch Stacie’s two-part Instagram video where she explains more about her new, more durable patterns and how she is organizing and storing them. She also recommends this website as a great resource for learning more about the pattern creation process.
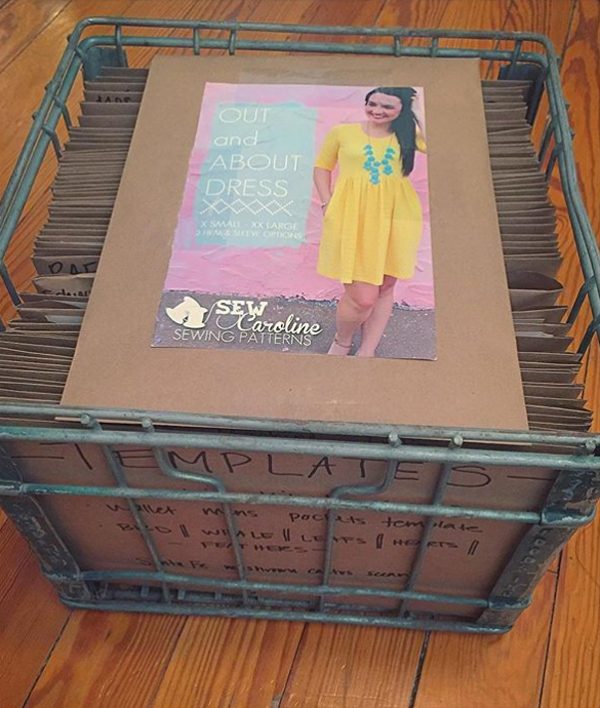
Stacie admits that her other patterns (the ones she uses to sew for herself and her kids, rather than for her business) used to be “an exploding mess” before she organized them using manila envelopes. She tapes pictures on the outside and tucks all the loose pattern pieces safely inside, pinned closed.
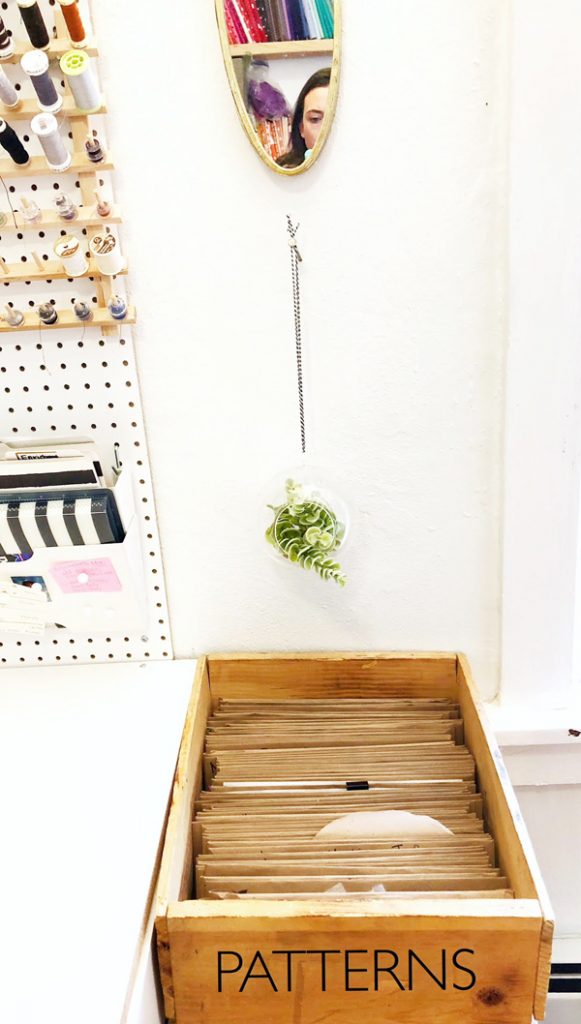
She has transferred the pattern envelopes from the metal crate to this simple wood box next to her sewing desk, but thanks to the photos on the front, she can still simply flip through to quickly find what she’s looking for.
Thank you so much, Stacie, for sharing all of your budget friendly, space-saving, sewing room organization ideas with us! Your pegboard had me at hello, but it’s your rainbow ordered thread and fabric organization that really make heart go pitter patter!
As a mom of three, Stacie’s goal was to create a design that was durable and long lasting, and the Platt Park Hoodie fits the bill perfectly. They are made from Polartec fabric, which is lightweight material that wicks away moisture, and is soft, elastic, breathable, UV protective, odor and stain resistant, and machine washable. What more could you ask for right?! As Stacie puts it, “This fabric just screams mom’s choice!” You can fold up to fit in your purse, backpack, or diaper bag where it takes up almost no space, and it comes out with no wrinkles. It’s the perfect layering piece for all seasons.
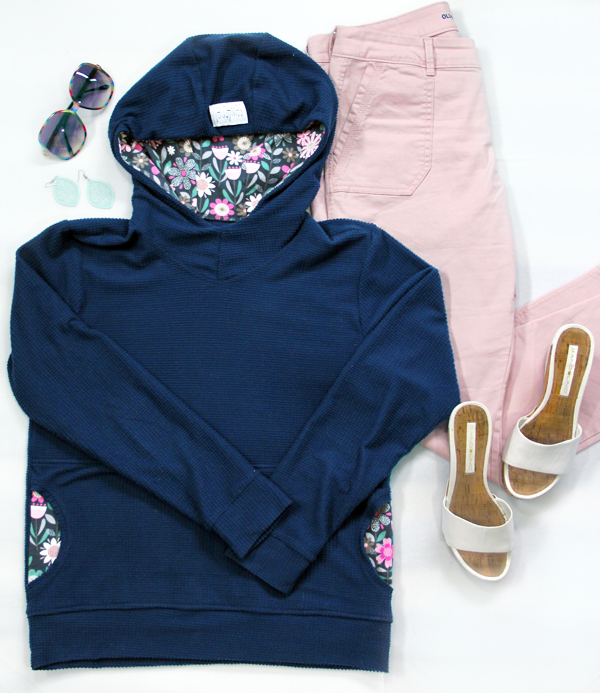
The Platt Park Hoodie started as a kids-only line, but fortunately for me, she now offers adult sizes as well. You can order online, choosing from Stacie’s recommended fabric pairings, or you can customize your own by choosing your favorite shell color and lining.It probably comes as no surprise that I picked a navy blue shell for my Platt Park Hoodie! For the lining, I chose fun floral with some teal and pink. I love that my hoodie is soft, comfy and warm, but it’s also so much more stylish than any other hoodie I own. It’s my go to for morning soccer games, weekends in the mountains, and running errands. It’s perfect with jeans, but I’ve also been dressing it up a bit this spring with my new favorite pink pants.
