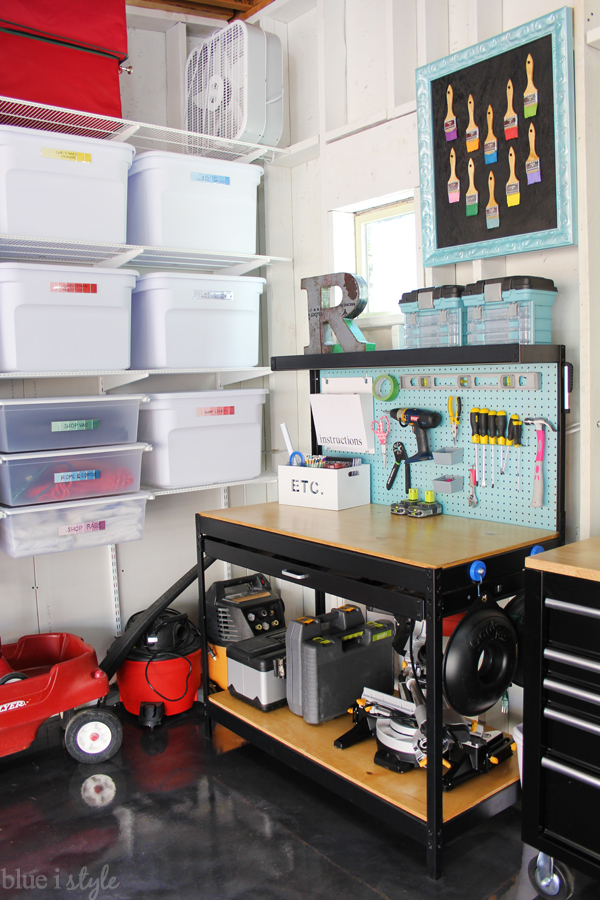
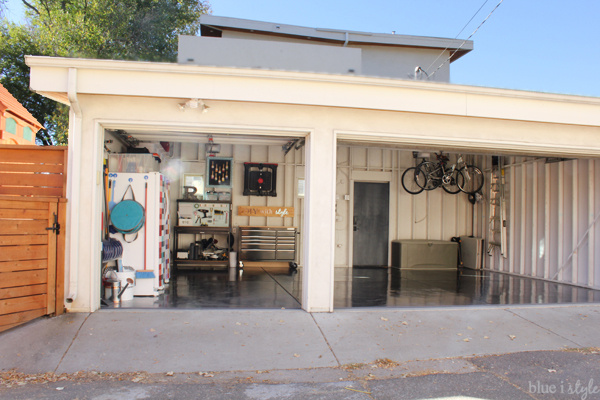
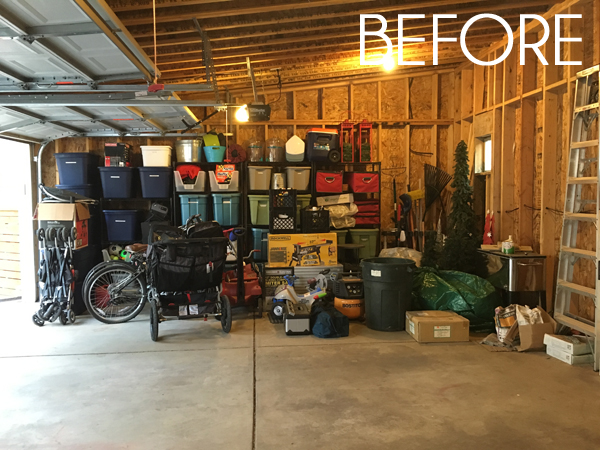
…because when I took those pretty garage photos, all of our stuff was already in there. We simply found creative ways to give everything a dedicated space, which not only makes the garage look nice, but more importantly, it makes it easy to keep it organized.
MAKE A LIST
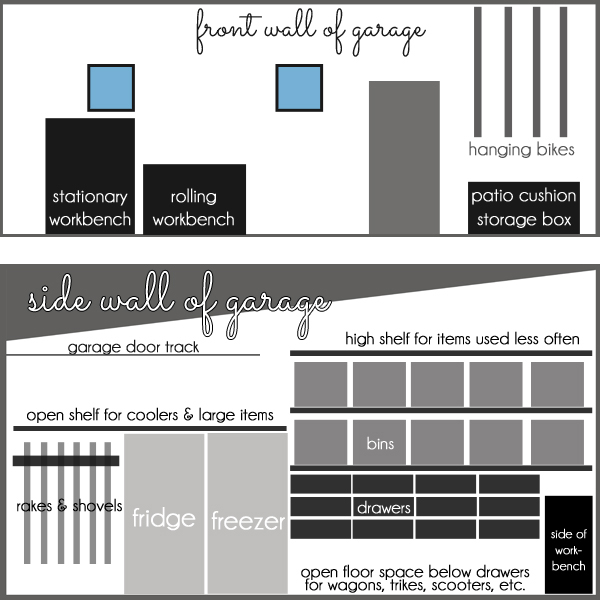
The ultimate key to my plans came down to the organizing mantra I come back to time and again – use every available space! That includes the walls, floor, and ceiling, and a few more spots you might be overlooking. Let’s break it down space by space…
& CLEAR THE FLOOR
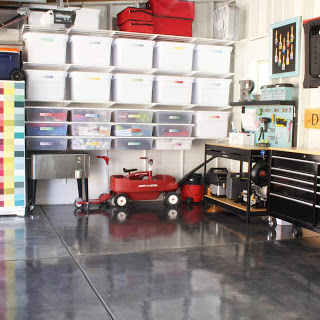
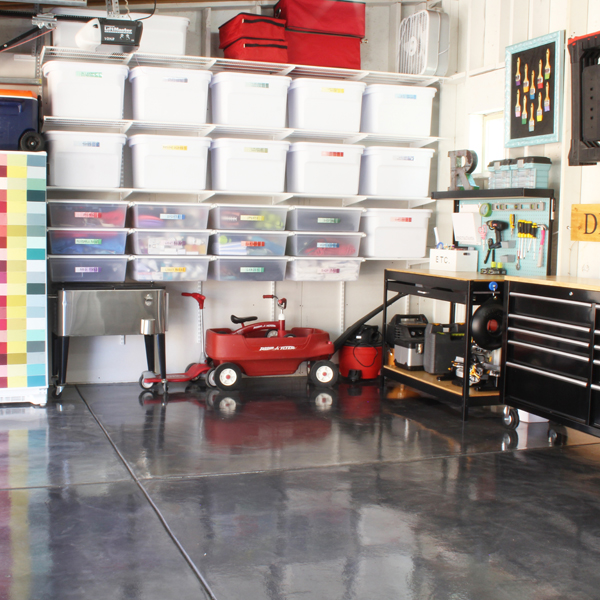
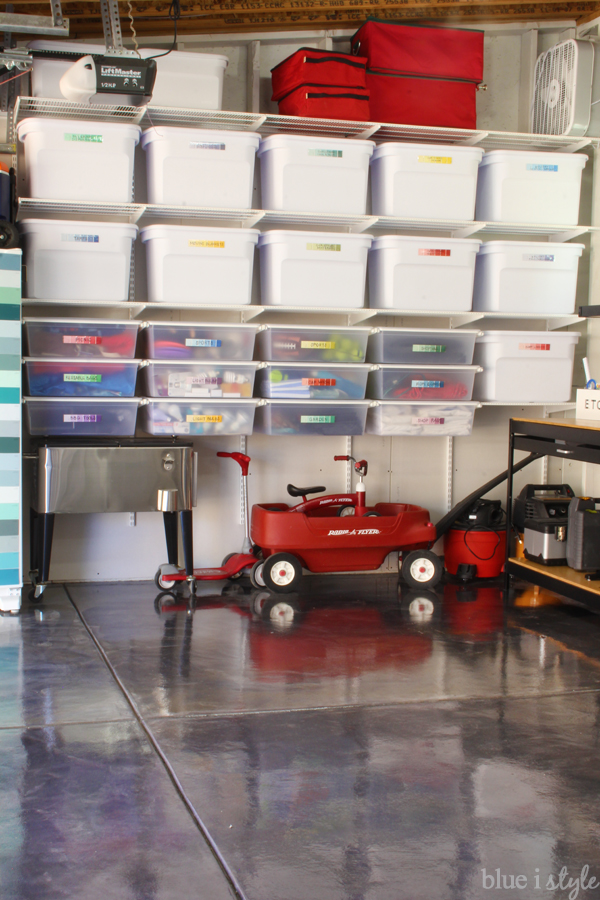
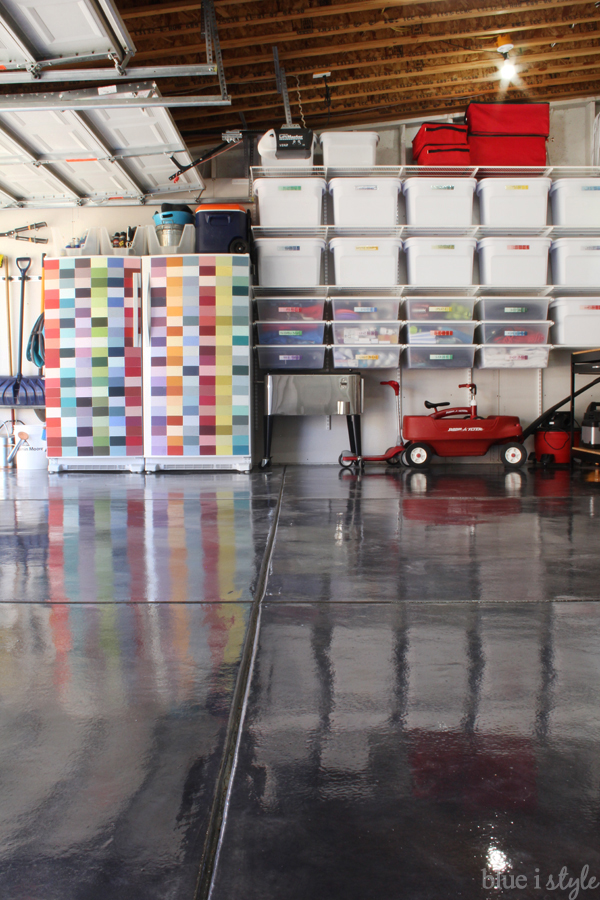
Over the years, I’ve found that bins are great for items that we use occasionally, but they become a pain to put up and down for more frequently used items. Choosing matching white plastic totes for the shelves helps keep the garage looking fresh and clean.
- UPPER SHELF BINS: Holiday and seasonal decor that’s only accessed a couple of times a year
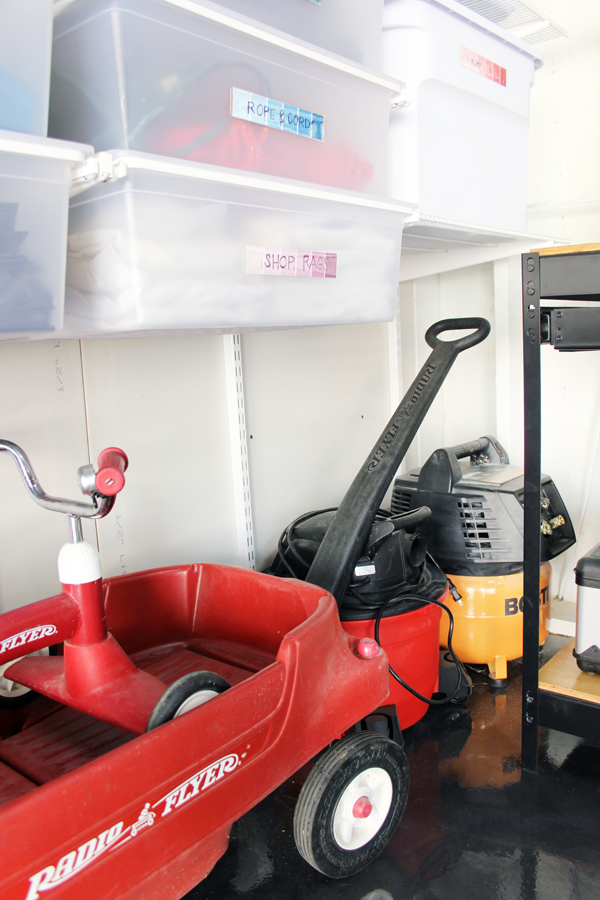
- LOWER SHELF BINS: Tarps; Moving blankets; Beverage dispensers for entertaining; Shop lights; Shop vac accessories
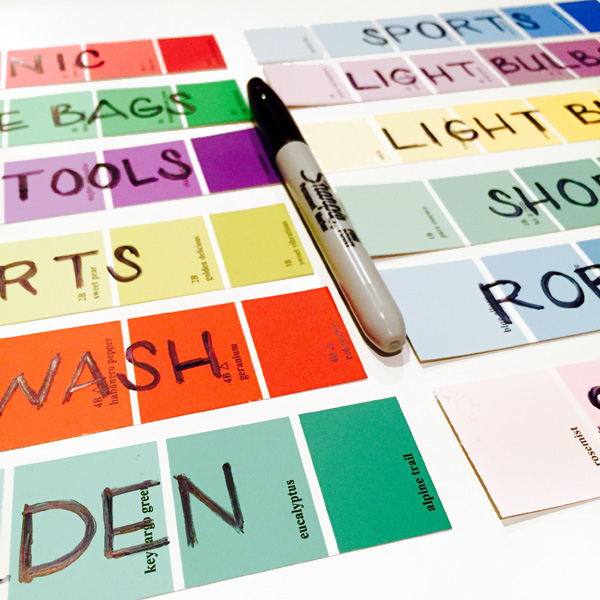
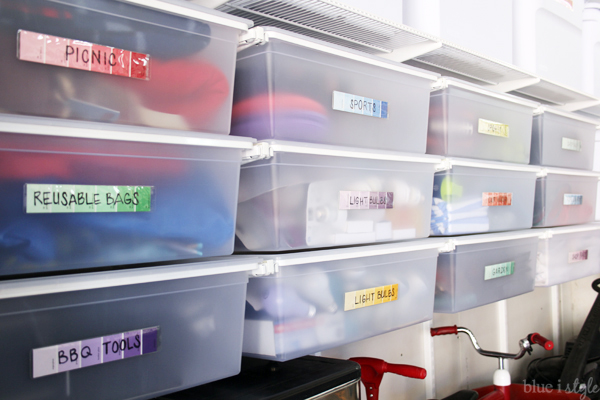
- DRAWERS: Reusable shopping bags; BBQ tools; Picnic backpack & blanket; Gardening gloves & tools; Extra trash bags; Car wash tools & towels; Ropes & cords; Shop rags; Extra light bulbs; Small balls and sporting equipment
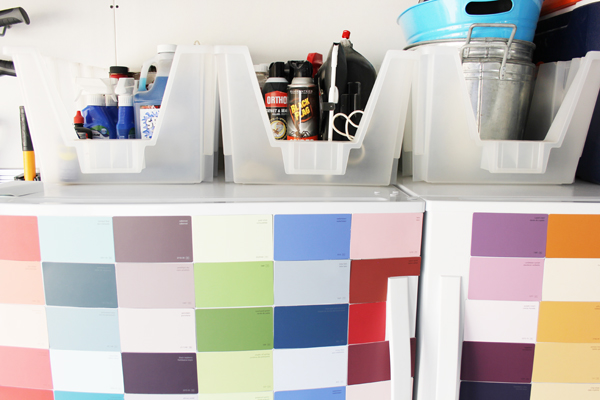
We were able to take advantage of the space on top of the fridge and freezer for additional storage, including for our cooler and beverage tubs. We also used this space for all of the liquids that need to be kept out of reach of little hands, like weed and bug sprays, antifreeze, windshield wiper fluid, and cleaners.
I used large open front storage bins {similar to these} to contain all of the bottles, and to ensure that any leaks would be contained.
Moving these three large bins out of the garage and out of site, while still keeping them out of sight has been a major game changer for us.
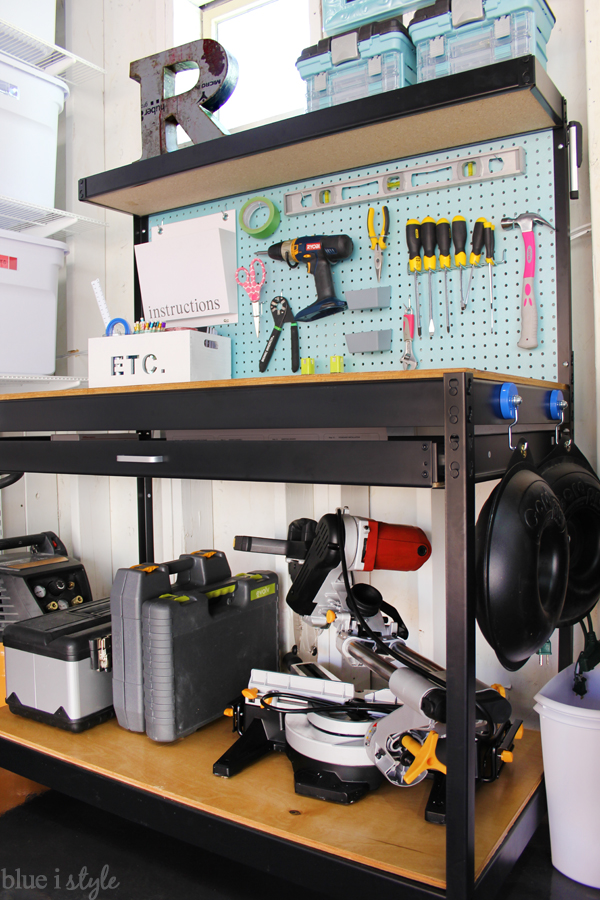
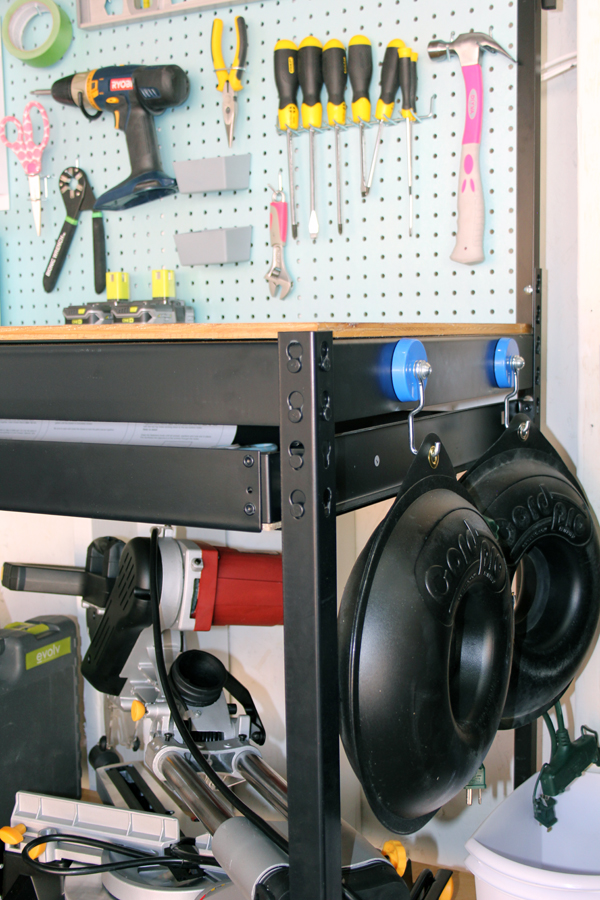
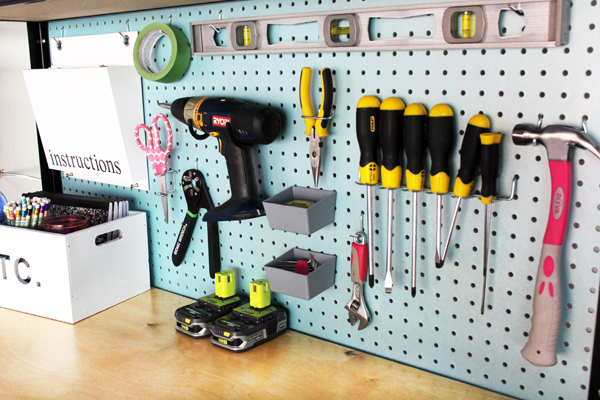
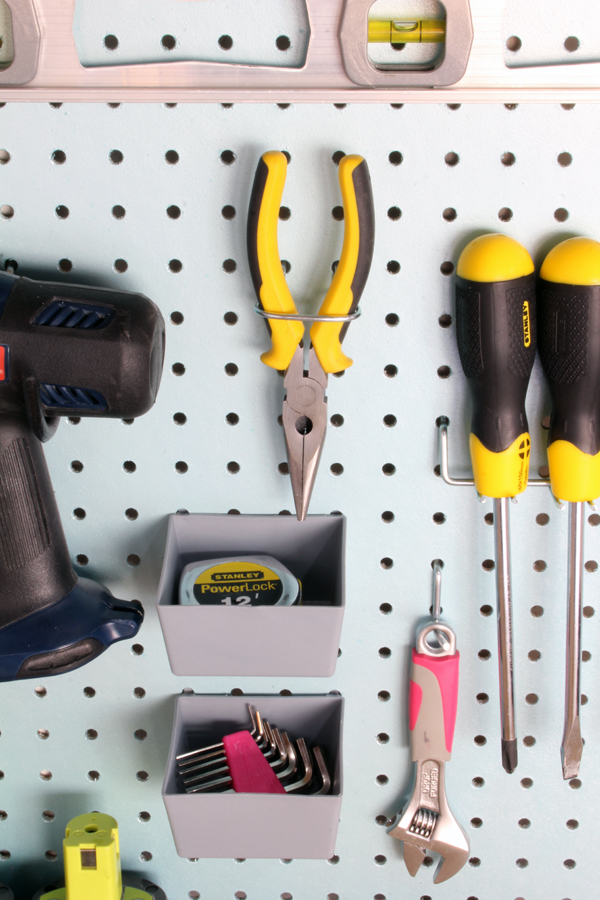
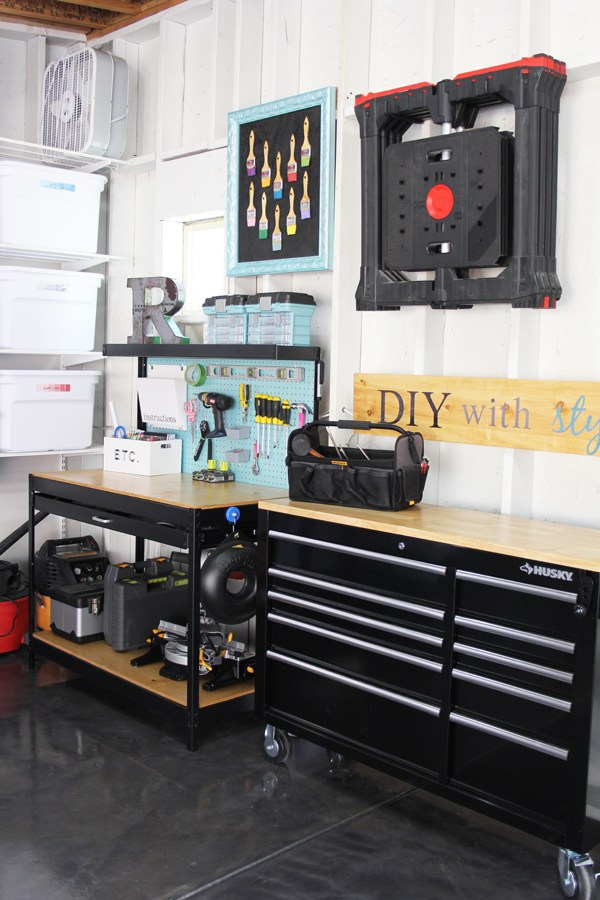
In addition to using hooks to hang tools, I added a couple of pegboard part bins for my measuring tape and allen wrenches.
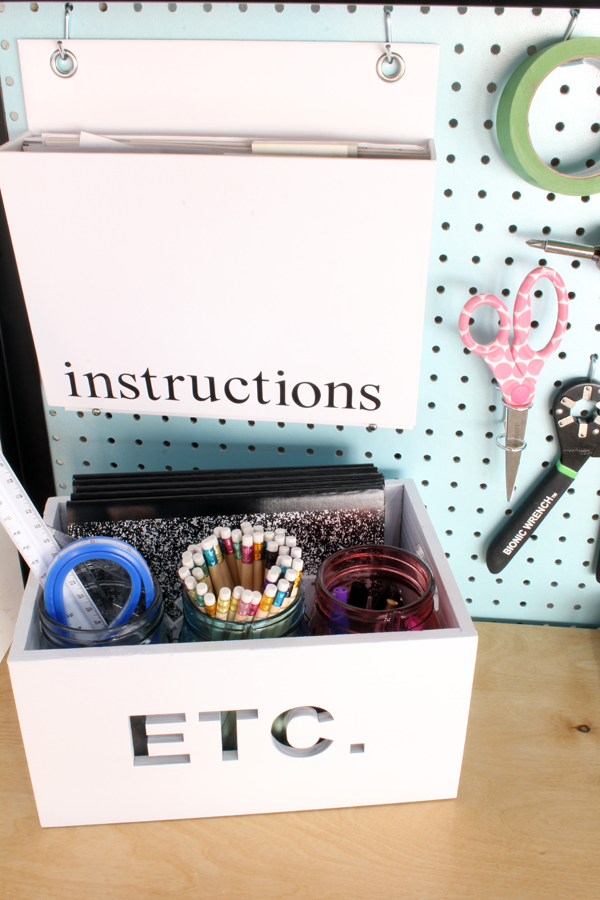
Instruction Manuals. I’ve always kept all of our instructional manuals together in the house, but I realized that it would be much easier to keep the manuals in the garage for our tools, air compressor, and the like. I hung a white file holder on the pegboard to keep all of our garage-related manuals in the same place.
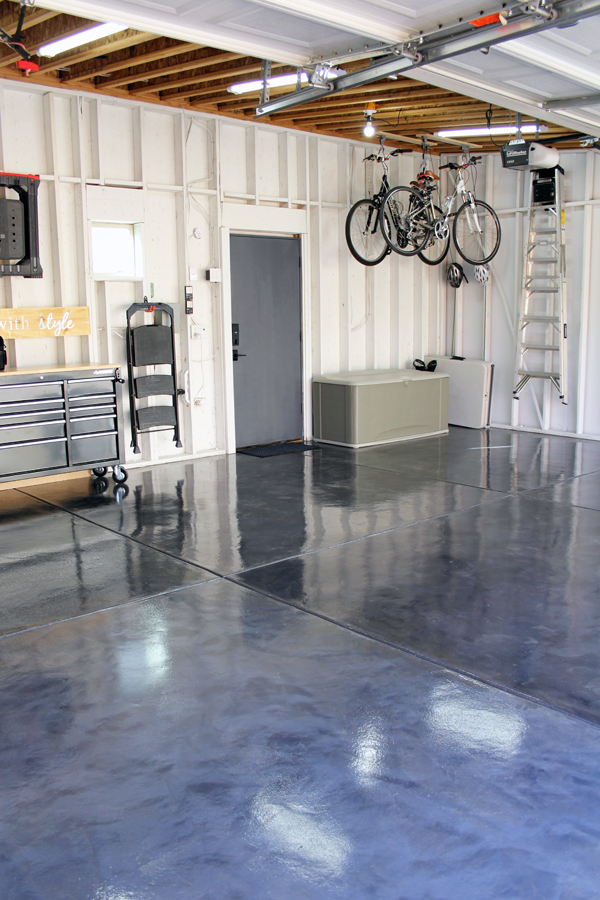 |
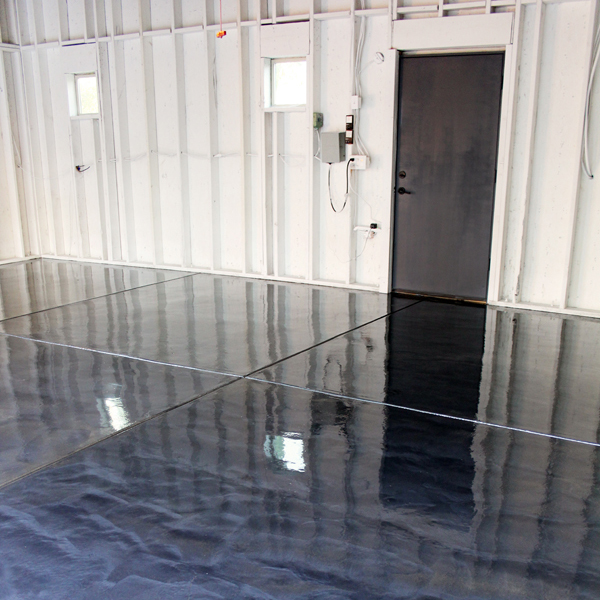
| Doesn’t that metallic floor just get you every time?! |
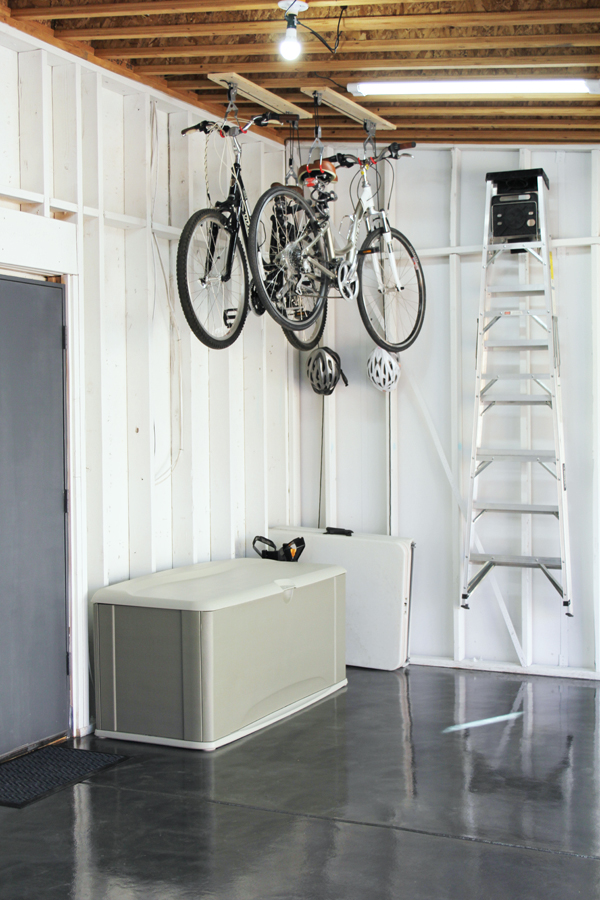
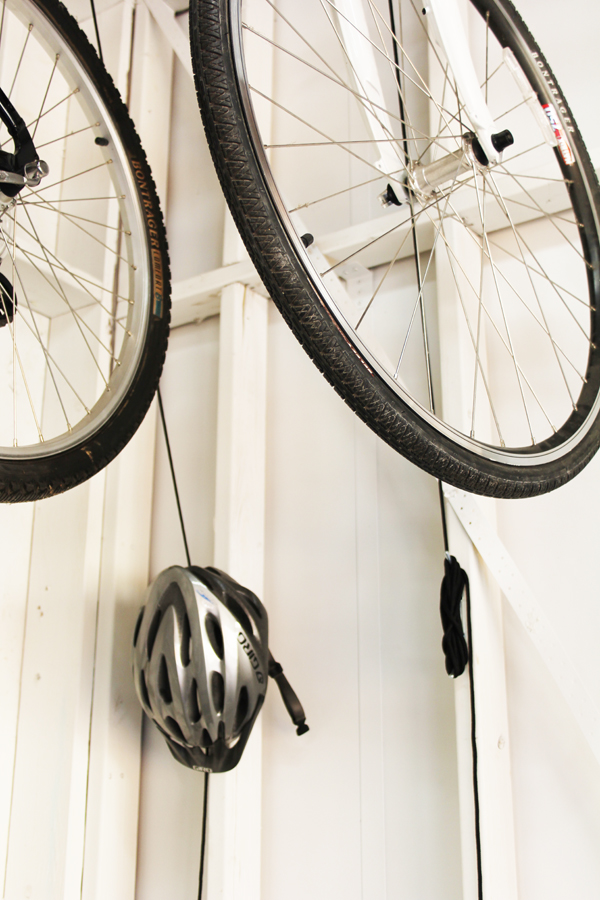
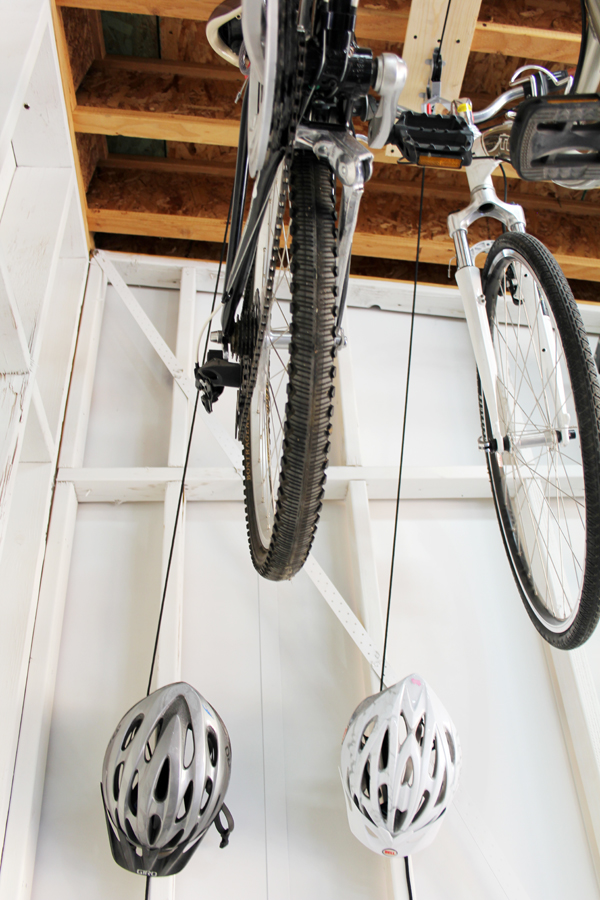
I had been concerned about my ability to lift my bike down form the ceiling, and thanks to the pulley system, I don’t have to! Instead, I simply have to unwind the excess rope, pull to release the locking mechanism, and lower my bike.
The wall hooks that we wind the excess rope around also provide a perfect spot to hang our bike helmets.
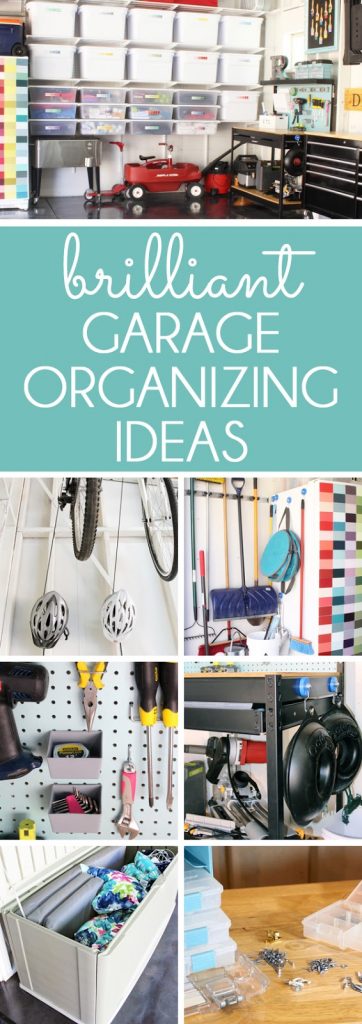
- WHERE TO START: Make a list. Divide and conquer.
- DITCH THE SHELF UNITS & CLEAR THE FLOOR. Opt for adjustable wall shelves and drawers with space below for larger items. This provides the flexibility to adjust as your storage needs change.
- OUT OF REACH OF LITTLE HANDS. Create a space up high for potentially dangerous / toxic items.
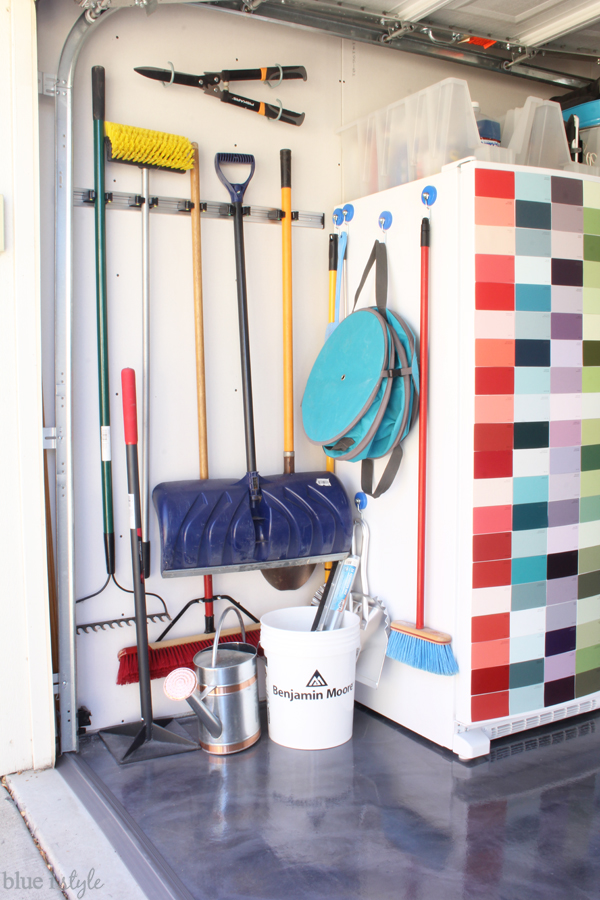
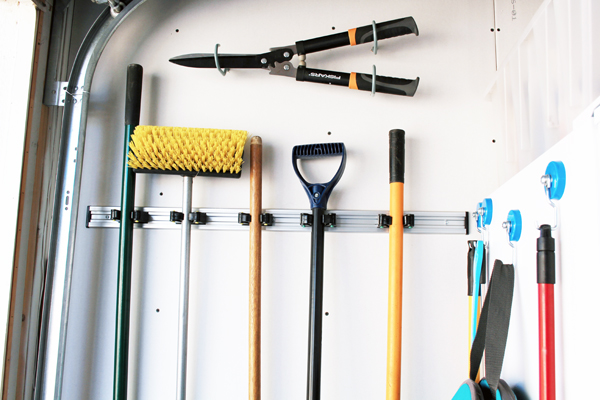
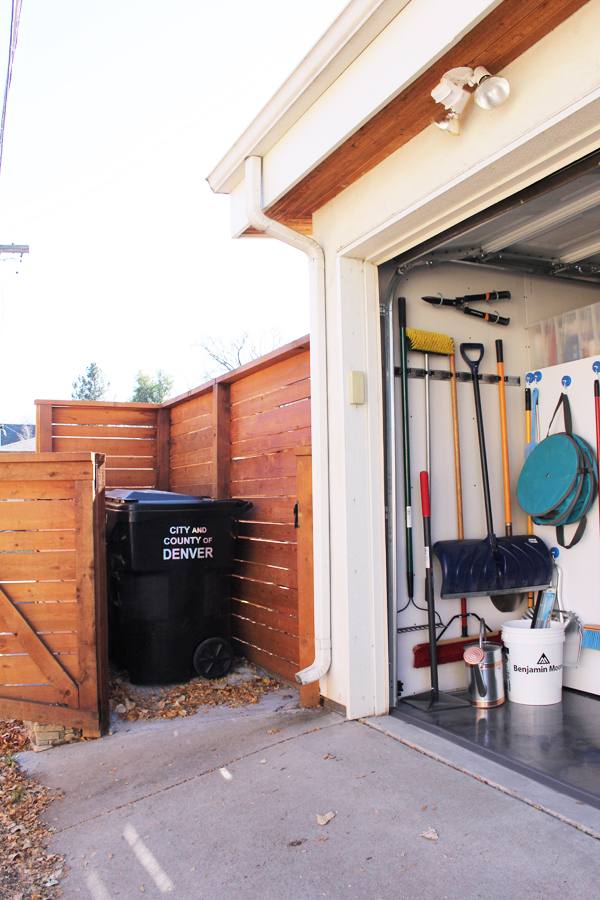
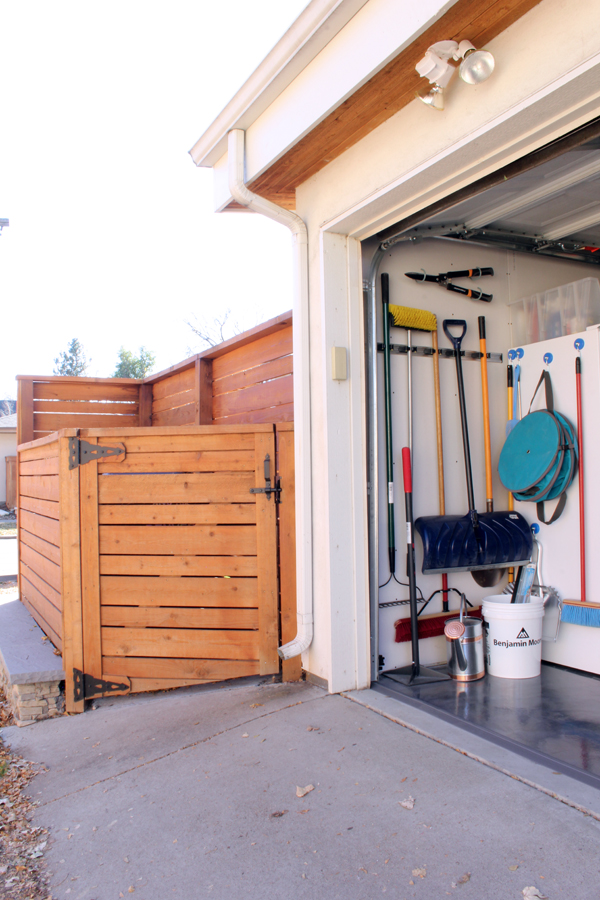
- YARD TOOLS. Make the most of vertical space using wall hooks and heavy duty magnets.
- TRASH & RECYCLING. Create an outdoor enclosure to keep these out of the garage.
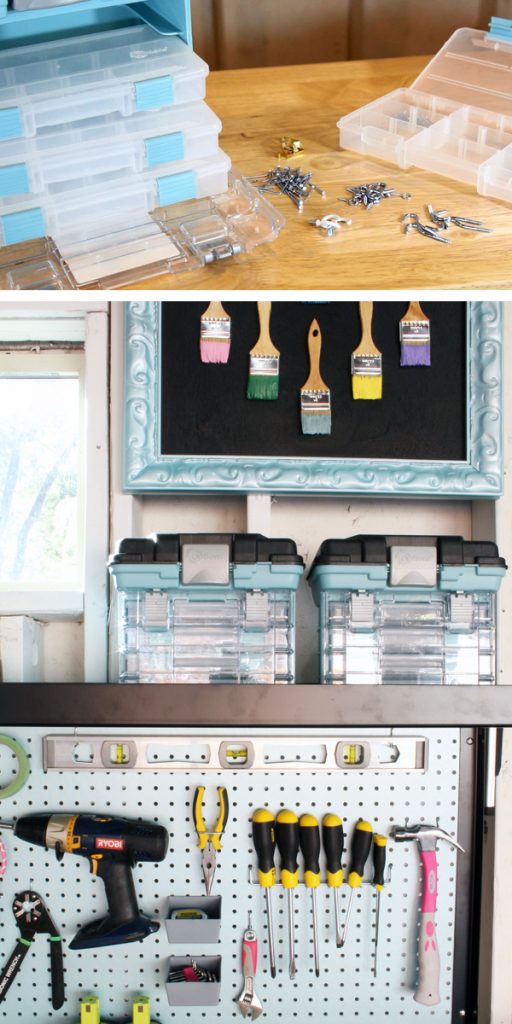
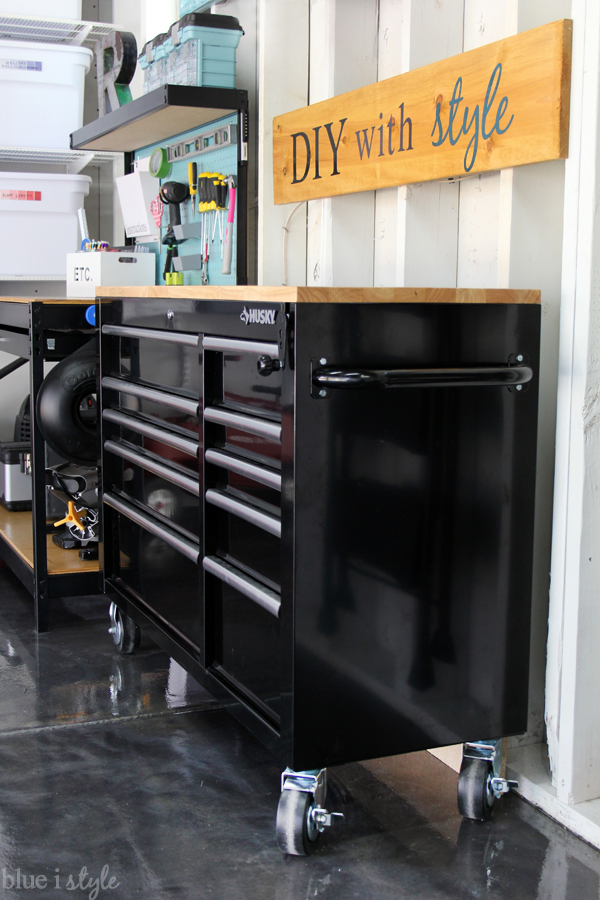
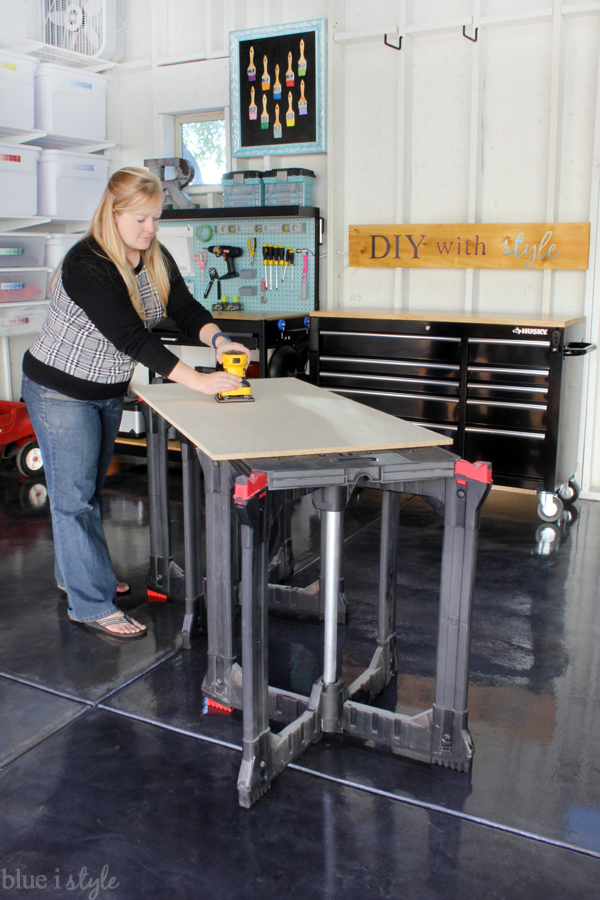
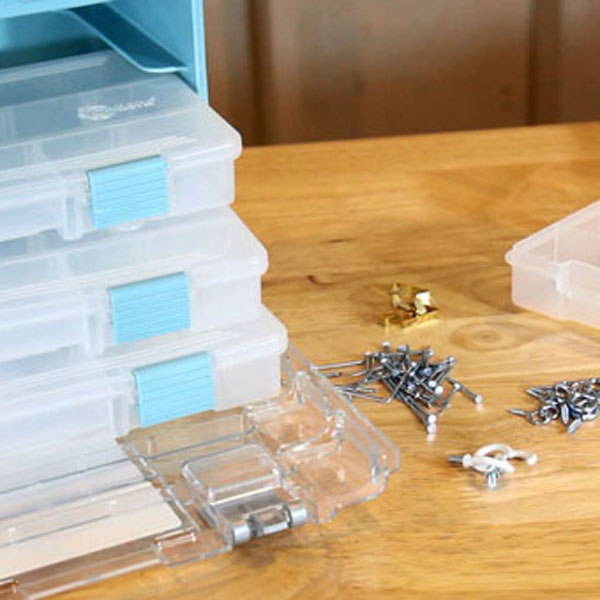
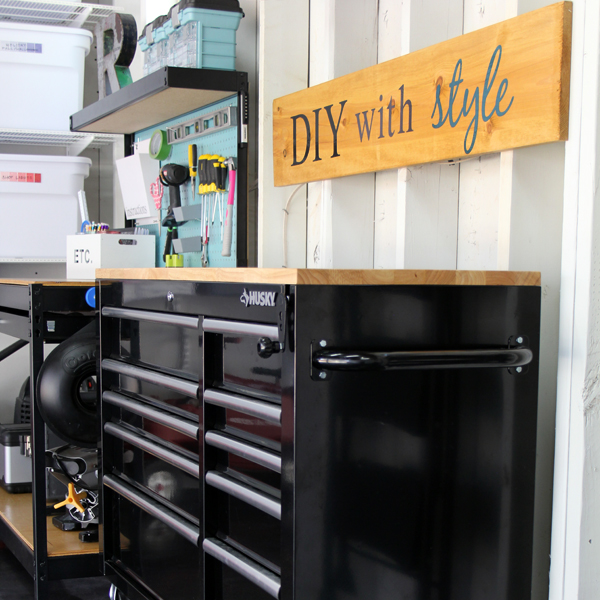
- WORKBENCH & TOOLS. Allow space for large tools without taking up your work surface; use pegboard for your most frequently used tools; dedicate a space for instruction manuals; use small divided bins to organize nails and screws; a rolling workbench provides a flexible work space.
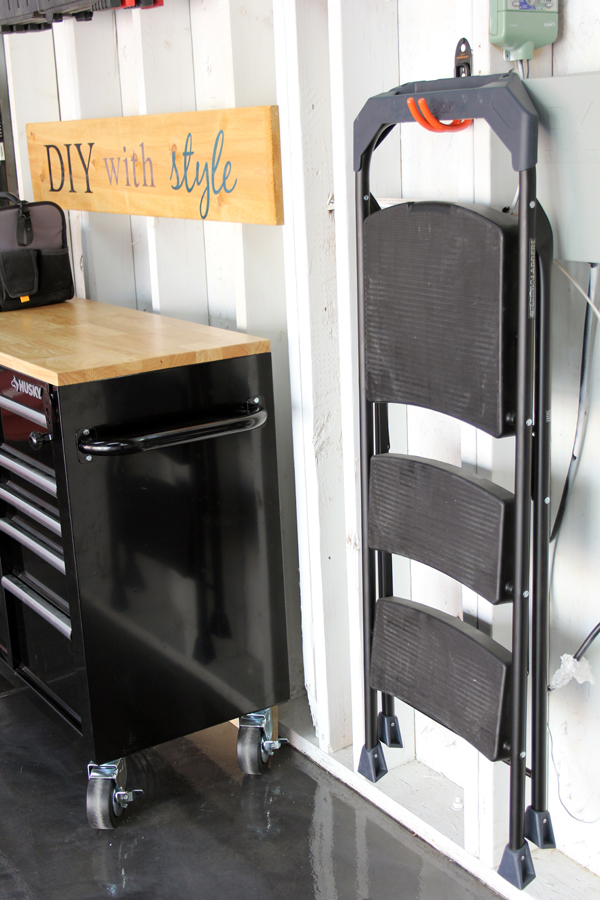
- UTILIZE WALL & CEILING SPACE. Use a variety of hooks to hang yard tools, sawhorses, ladders, and bikes. Pulley systems makes it easy to hang bikes from the ceiling without the weight of lifting them down.
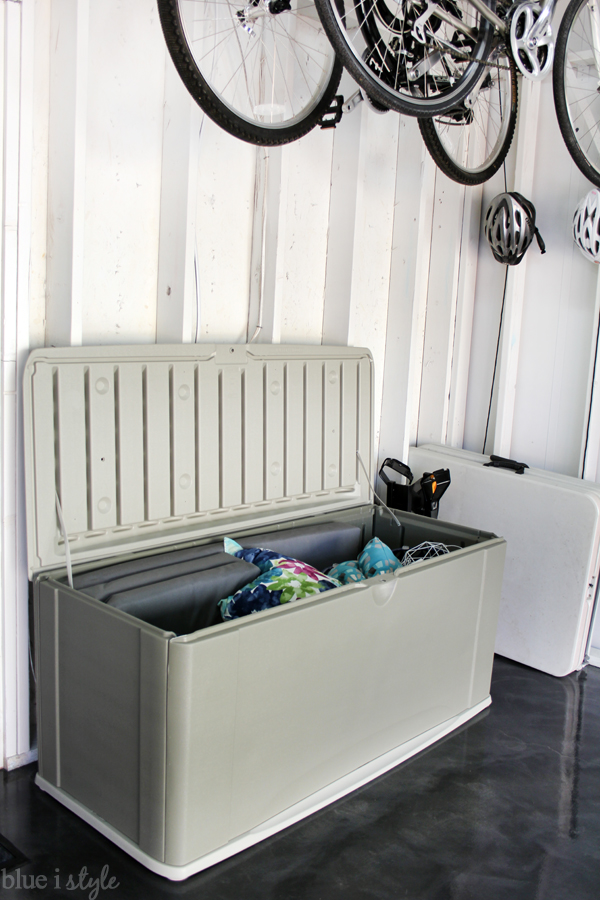
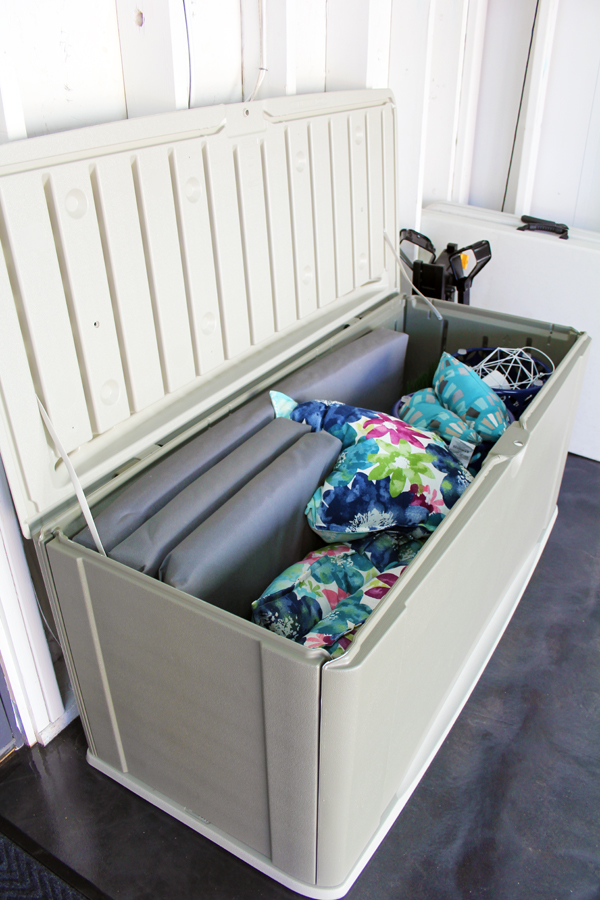
- OUTDOOR CUSHION & COVER STORAGE. Create a dedicate space to store outdoor cushions/pillows during the winter, and to store furniture covers during the summer.
 |
 |
 |
 |
 |
|
 Paint Chip Fridge – Coming Soon
|
 |
 JavaScript is currently disabled in this browser. Reactivate it to view this content.