Thank you to Cricut for sponsoring this post, and thank you for supporting the brands that make this blog possible. As always all opinions are my own. This post also contains affiliate links.
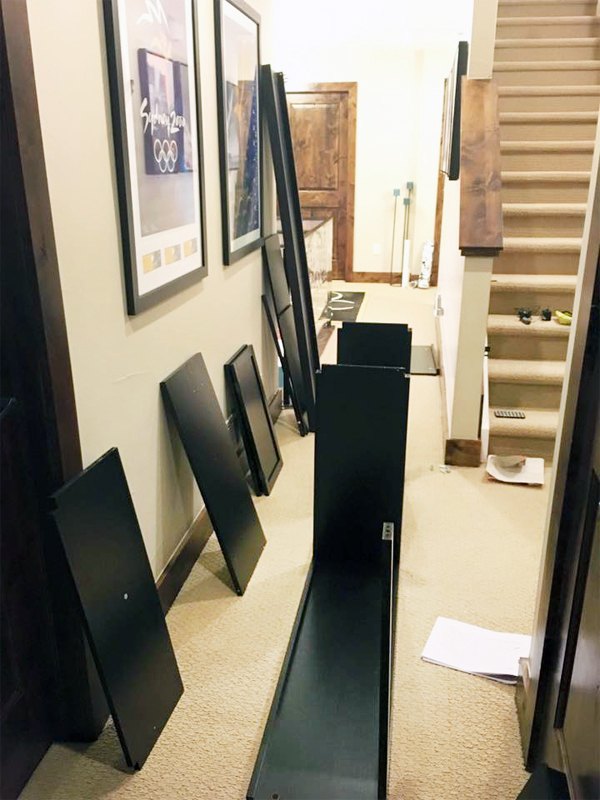
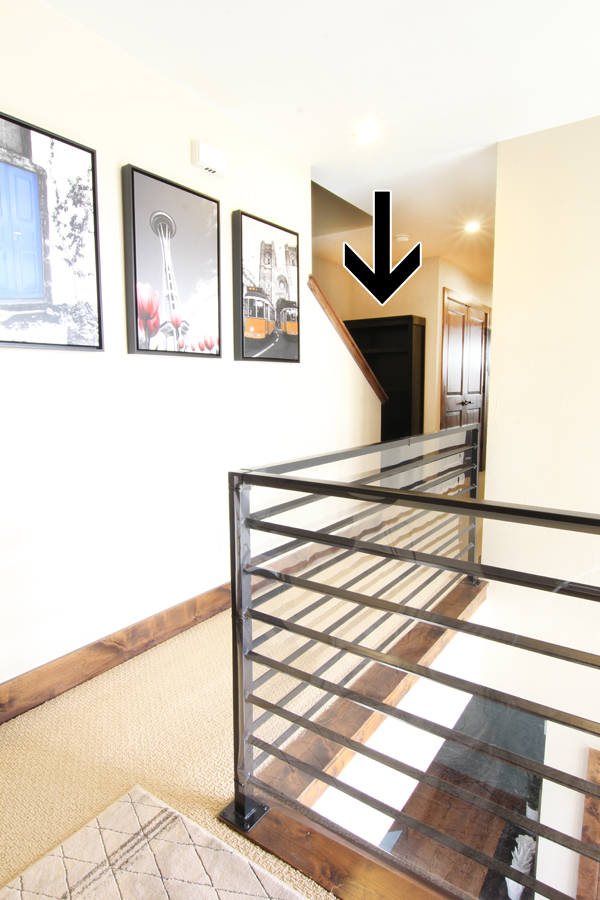
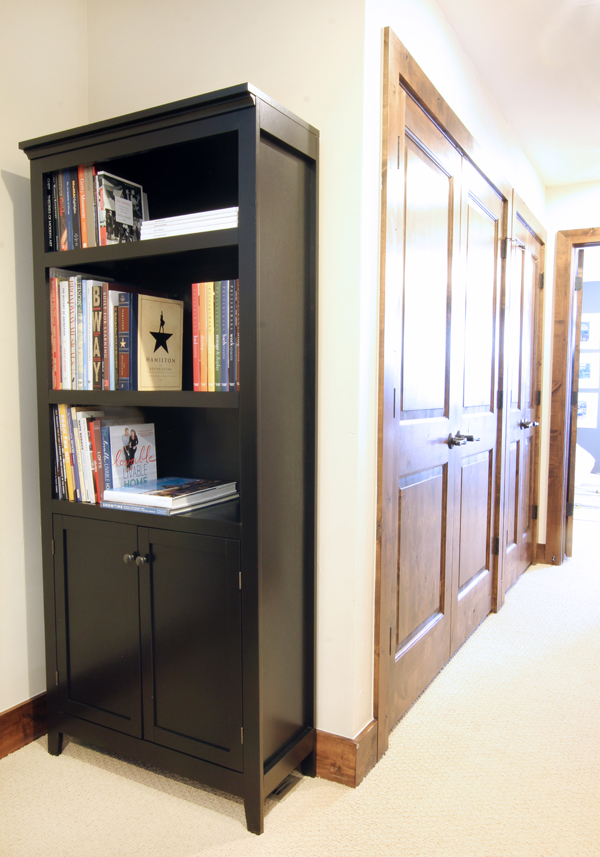
Once I decide on something, I tend to have a one track mind. So we picked up the bookshelf after dinner one night and spent all night assembling it after the kids went to bed.
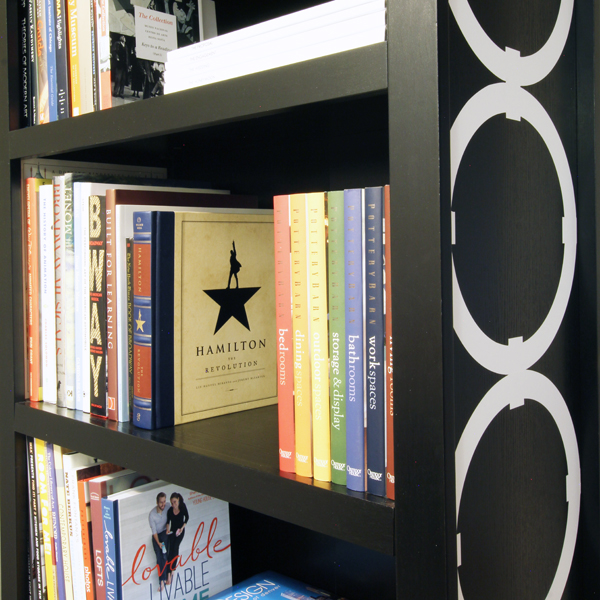
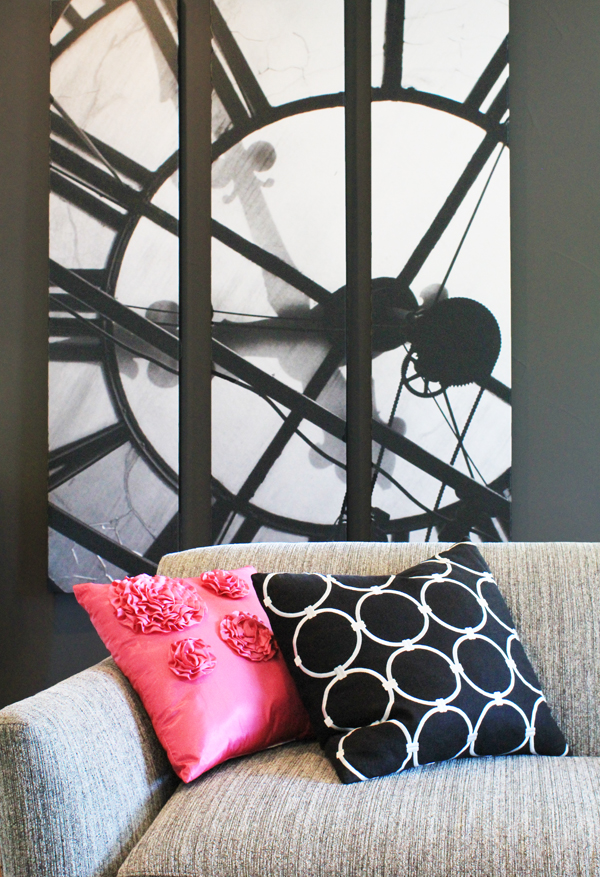
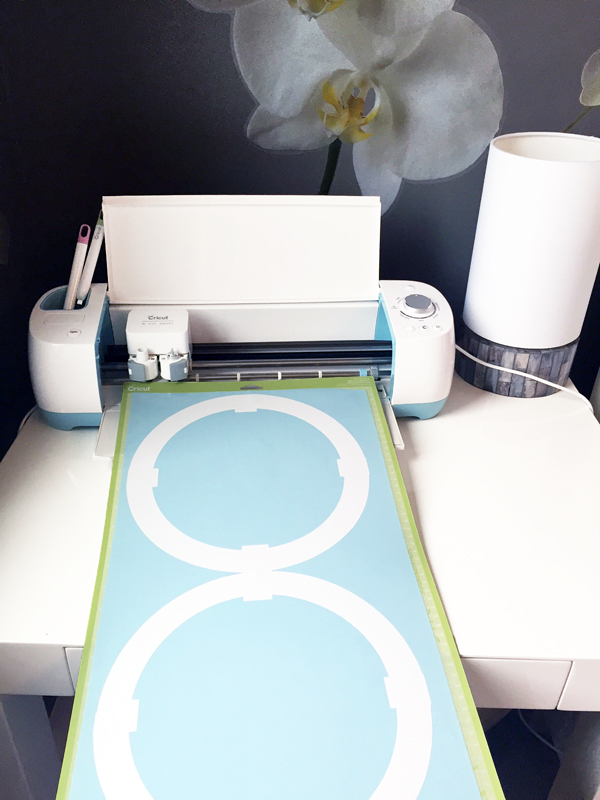
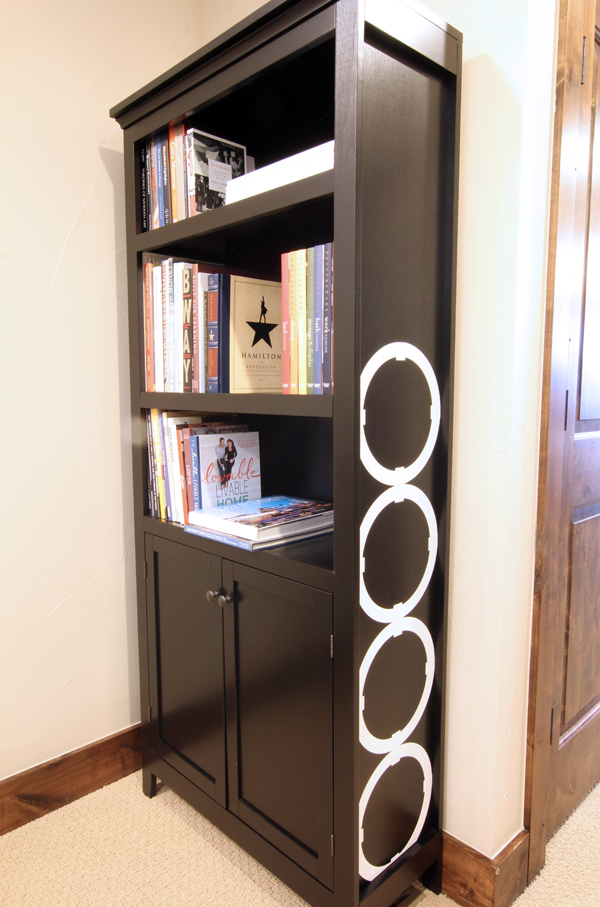
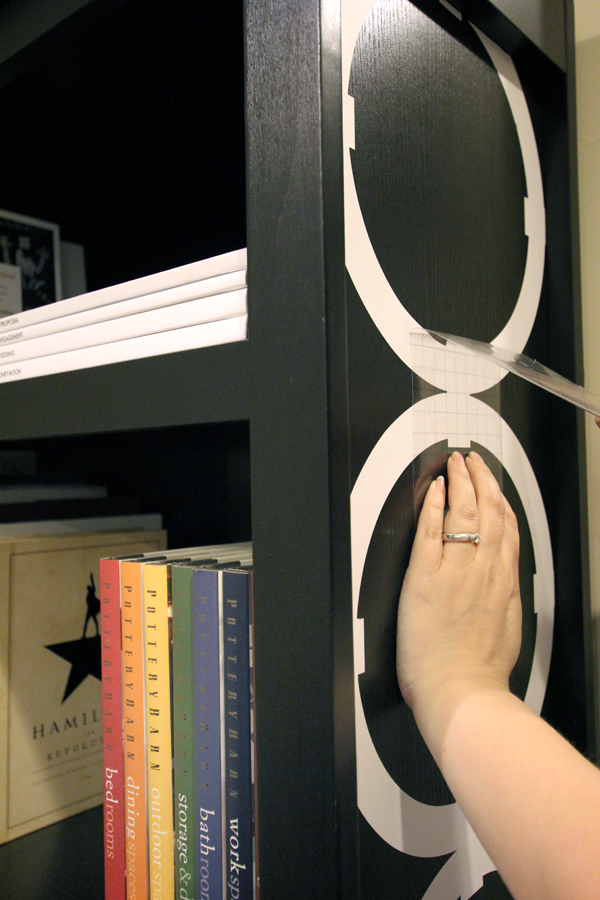
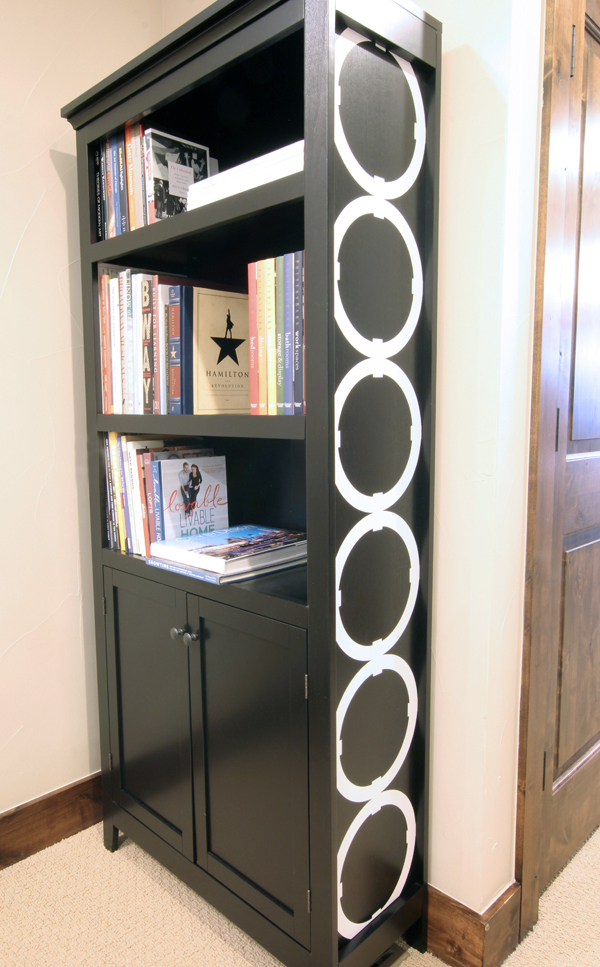
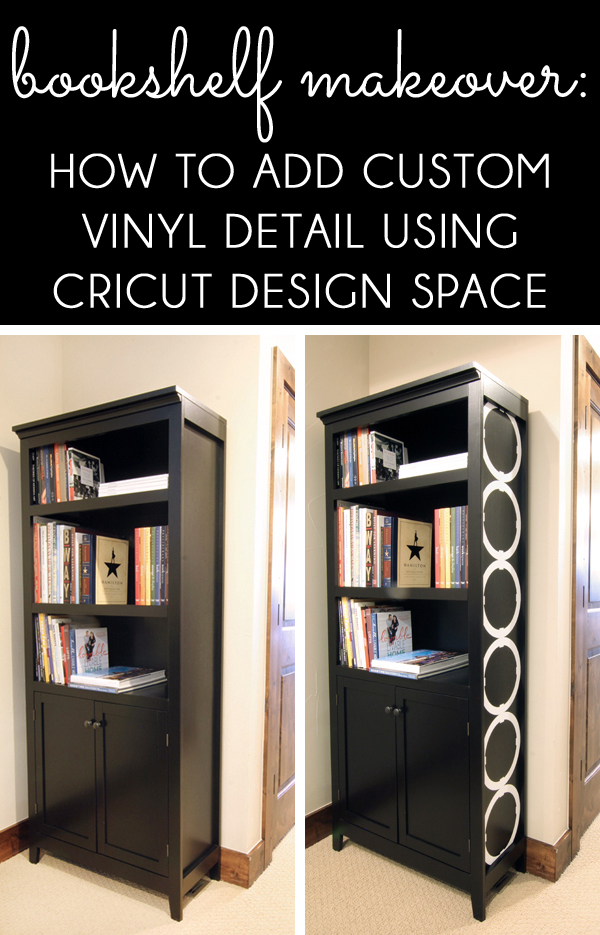
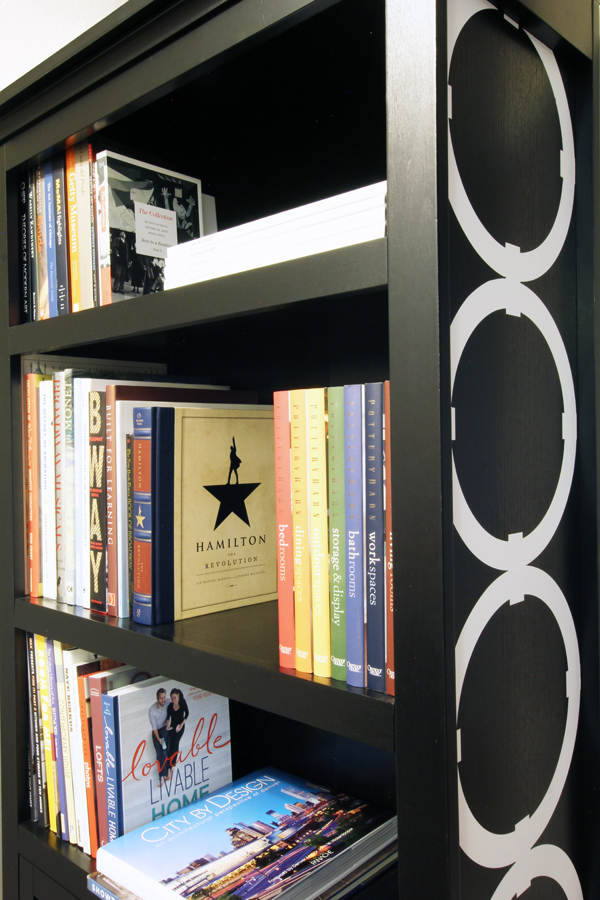
- Add interlocking circle detail down the side of the bookshelf for added style
- Line the back of the bookshelf with fabric to brighten it up
- Swap out the handles on the bottom doors
- Style the shelves
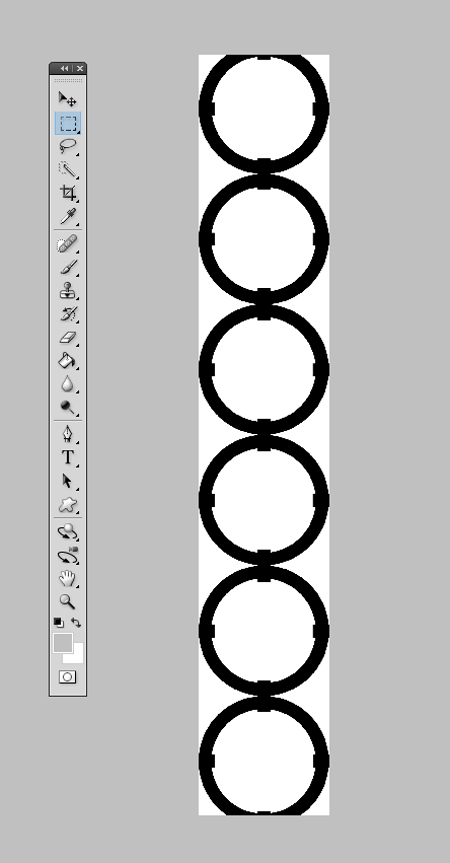
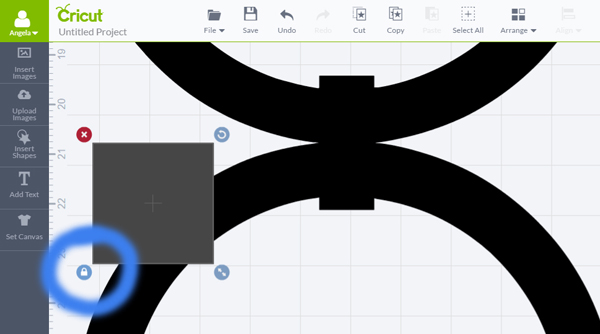
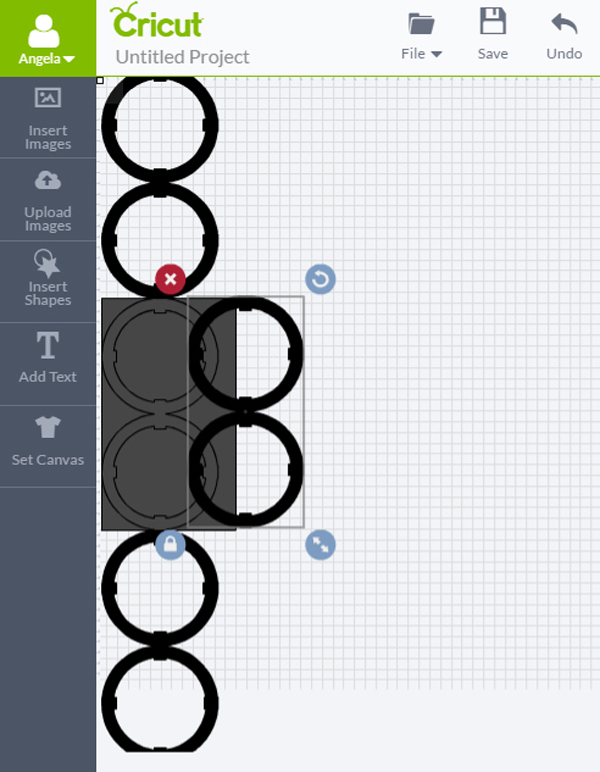
In order to change the shape from a square to a rectangle, I clicked to unlock the proportions in the bottom left corner.
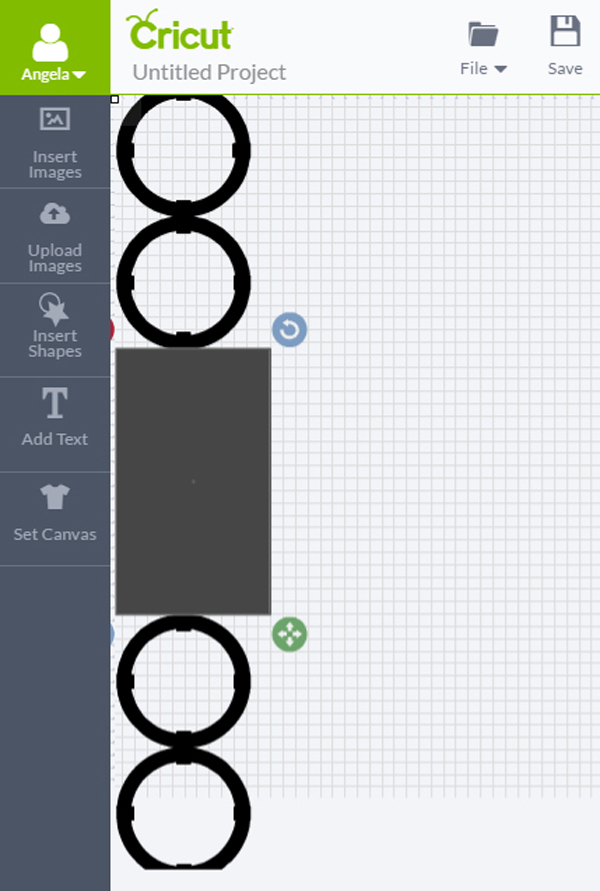
This then allowed me to drag the corners to create a rectangle to cover the center two circles.
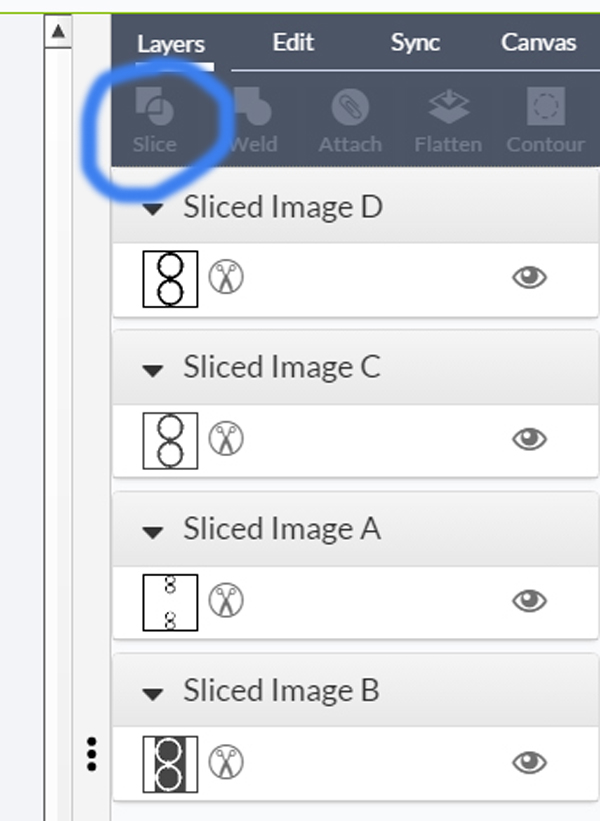
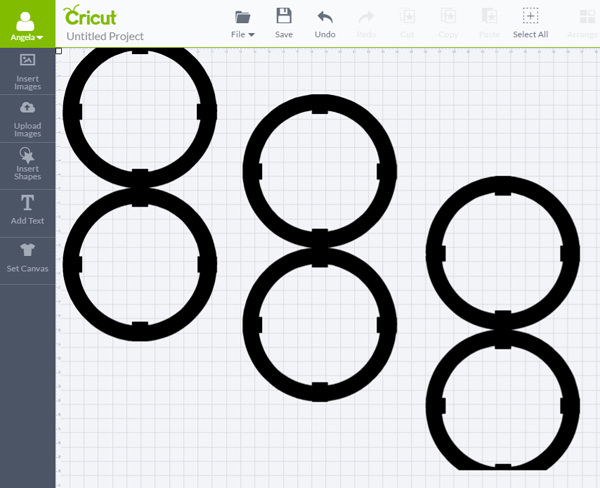
I deleted the grey rectangle, and then repeated the same steps to separate the bottom two circles into a separate layer as well. I was then left with three separate layers, each with two interconnected circles.
This is a sponsored conversation written by me on behalf of Cricut. The opinions and text are all mine. Comments submitted may be displayed on other websites owned by the sponsoring brand.
var ts=document.getElementById(‘ti-pixel-tracker’); var axel = Math.random() + “”; var num = axel * 1000000000000000000; var ti=document.createElement(“img”); ti.style.display=”none”; ti.src=”https://tracking.tapinfluence.com/trk/YzWEs/viQRz/p.png?p=ZOPCX” + String.fromCharCode(38) + “i=tThdX” + String.fromCharCode(38) + “ord=”+ num + String.fromCharCode(38) + “s=” + encodeURIComponent(document.referrer); ts.parentNode.replaceChild(ti,ts); JSON.stringify({“program_id”:”e616f1e8-034b-11e7-b5bb-22000a7d00a4″,”post_id”:”719654f6-0497-11e7-9253-22000a7d00a4″});
