Thank you to Cricut for sponsoring this post, and thank you for supporting the brands that make this blog possible. As always all opinions are my own. This post also contains affiliate links.
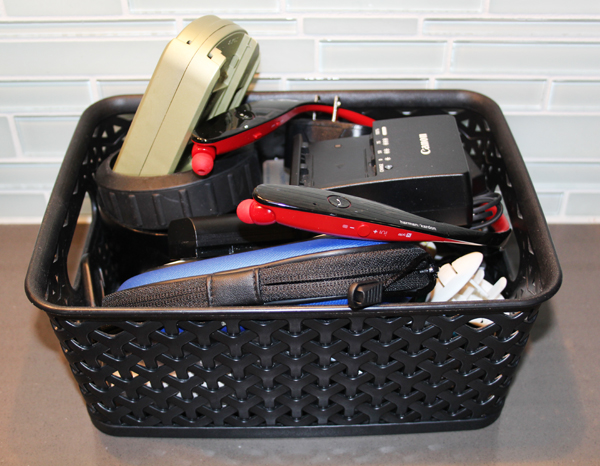
Let’s go back in time one week so I can show you how I was dealing with this problem previously. You know that I’m a fan of using baskets to organize, but I’m also the first to admit when a basket just isn’t getting the job done. This was one of two baskets full of charging cords and small electronics that were junking up my kitchen counter, and digging through the baskets to find what I needed was driving me crazy!
With my old machine, I was limited to cutting with the fonts and graphics available on Cricut cartridges. But with my new machine I can cut anything that I can dream up! Not only can I use all of the fonts on my computer {as I showed you on the custom wood sign I created for my garage} – I can also upload my own designs and use Cricut Design Space to covert my JPEGs into cutable files.
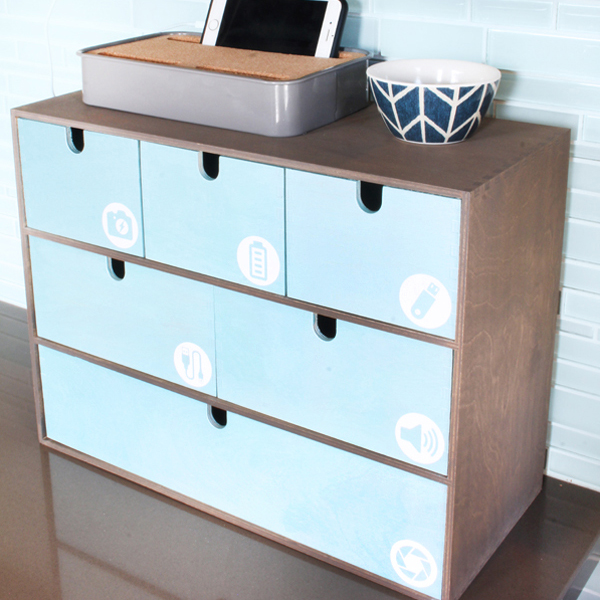
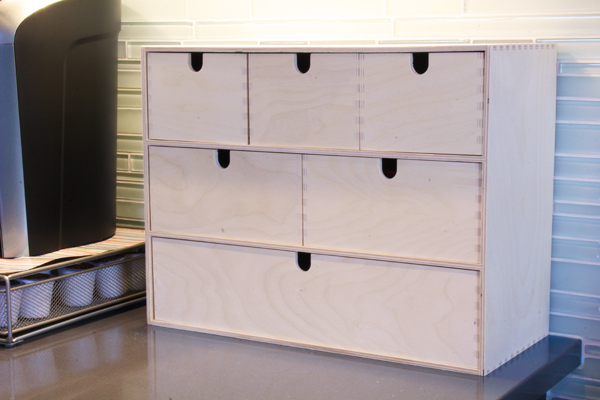
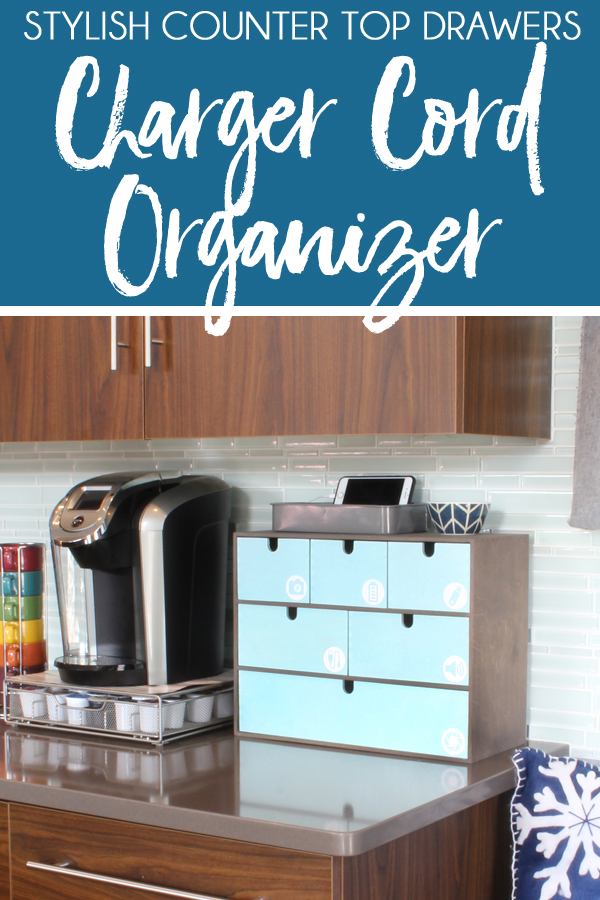
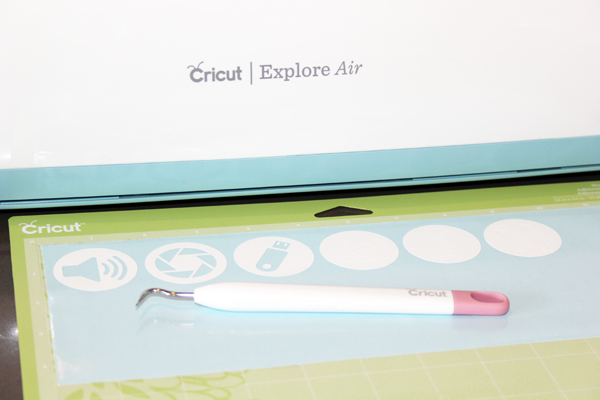
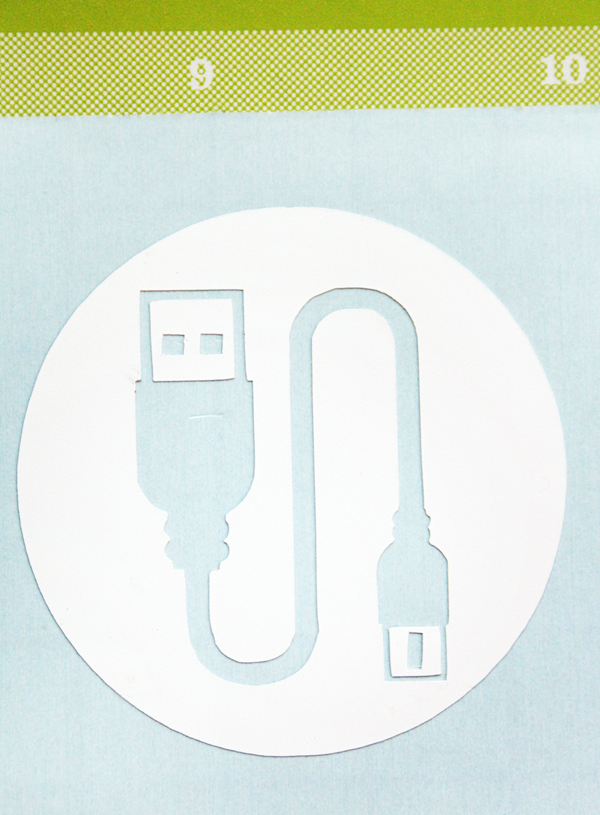
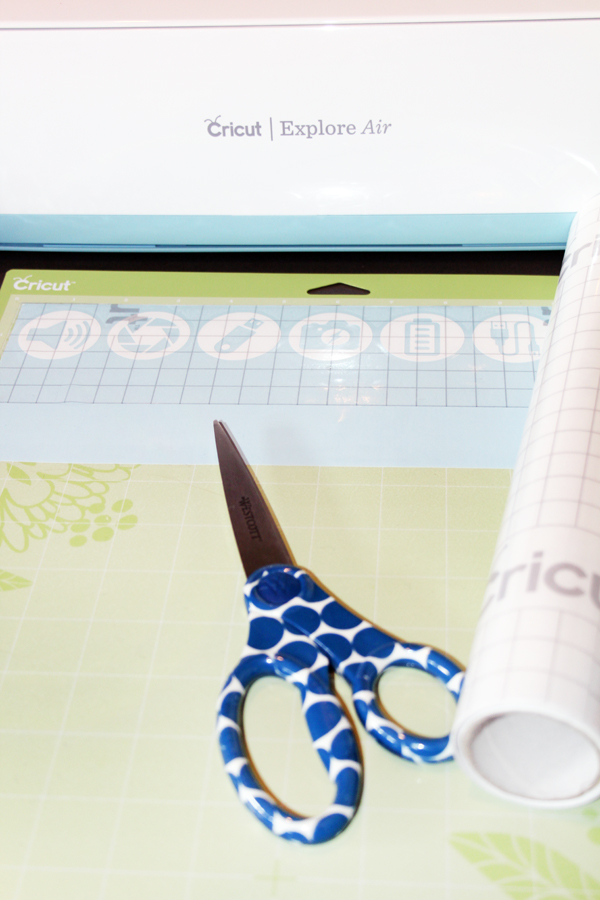
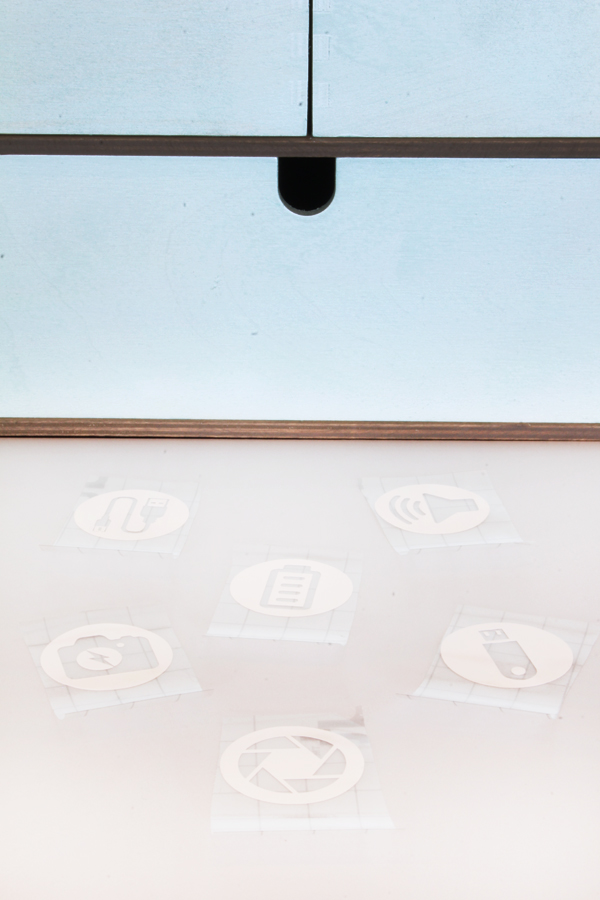
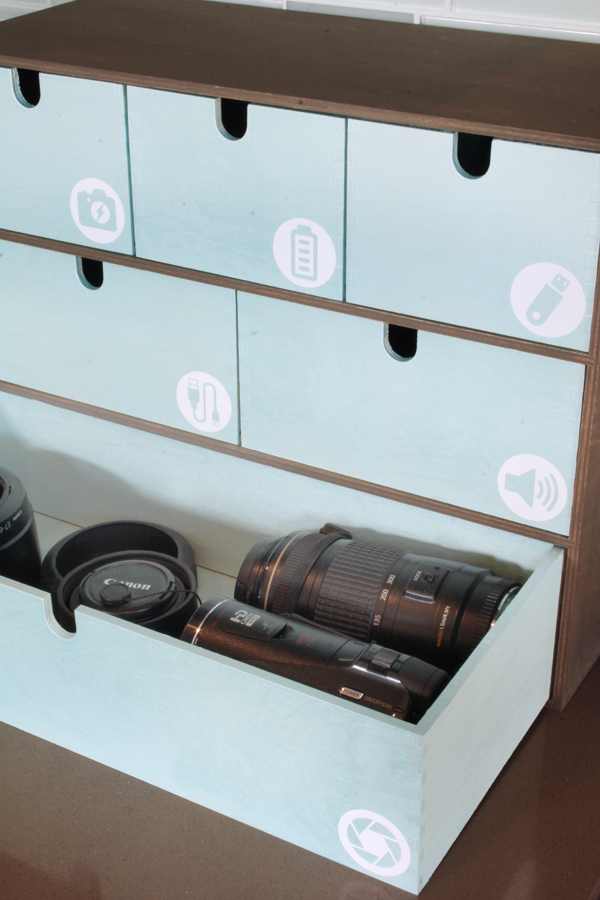
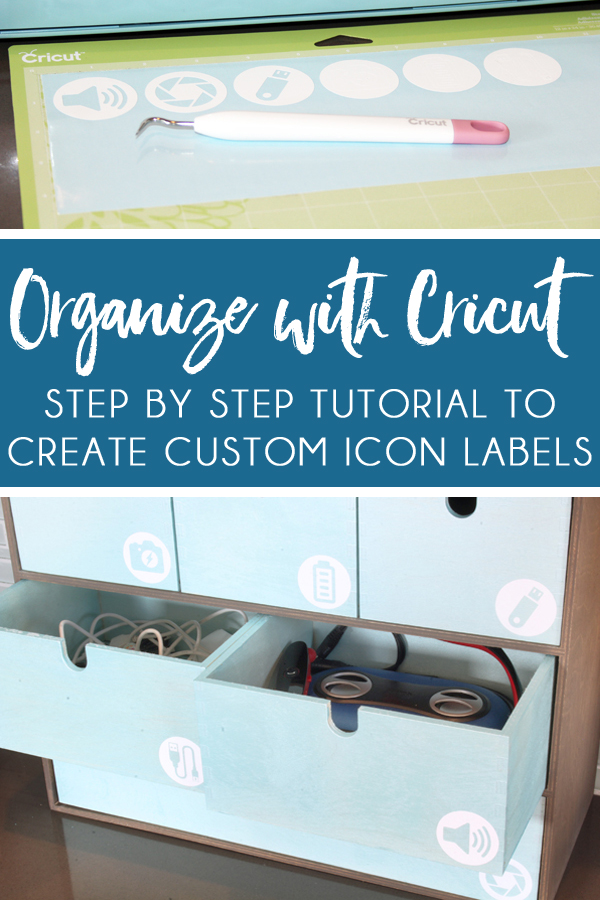
Rather than labeling the drawers of my Moppe with words, I decided to create some simple icon labels that I cut out of white adhesive vinyl with my Cricut Explore Air.
If you want to learn how to upload and convert your images into files that Cricut can cut, I’ve got the full tutorial for you at the end of this post. But first, I want to show you how I put the custom icons stickers on the drawers, and what I organized inside those drawers.
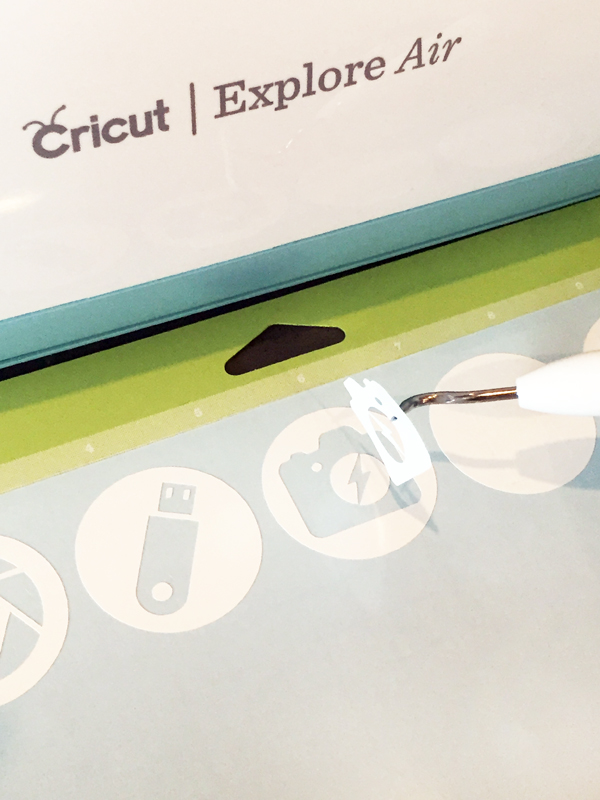
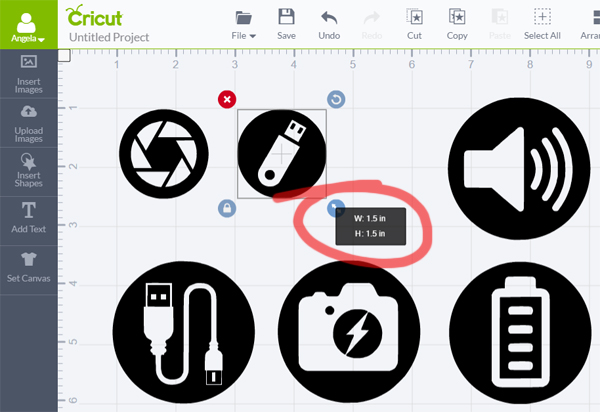
Each of my icon labels is just 1.5 inches in diameter, and some of the icons have very fine details – so I was a bit nervous about how well they would cut. But the precision of the cuts was spot on!
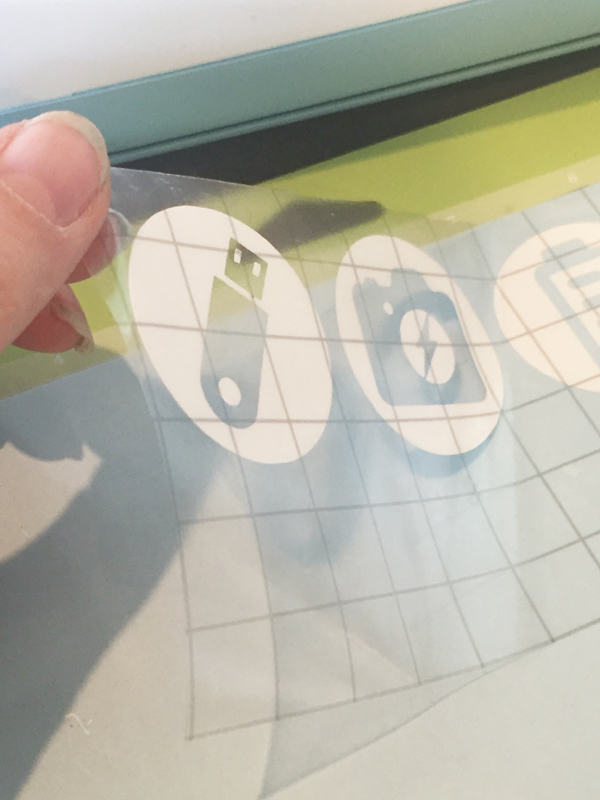
After I finished weeding they vinyl from the center of each icon, I strip of vinyl transfer tape over the icons, smoothing it down to burnish the vinyl onto the surface of the transfer tape.
I then slowly peeled the transfer tape away from the Cricut mat, ensuring that the vinyl lifted up with the transfer tape.
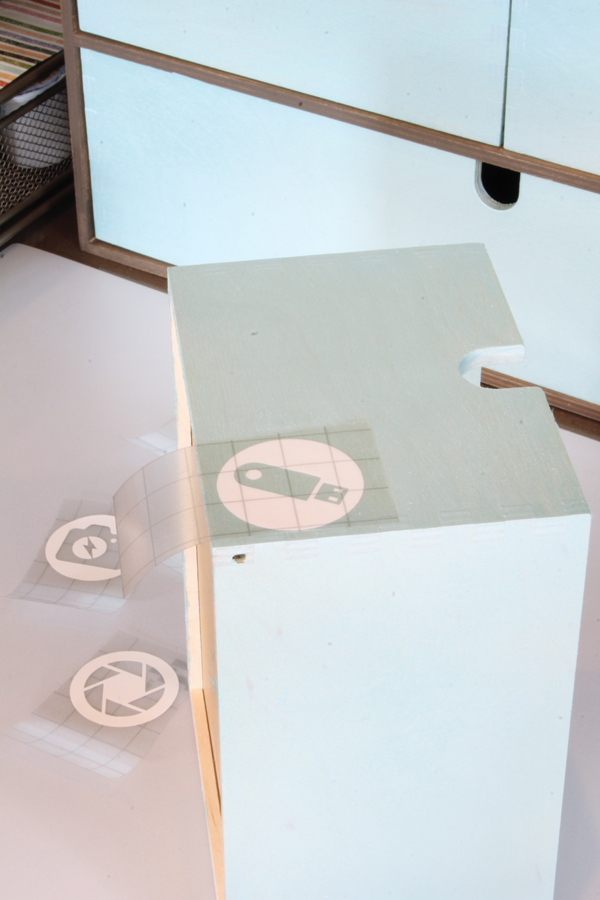
I used scissors to cut the icons apart in preparation for applying each to one of the newly painted drawers.
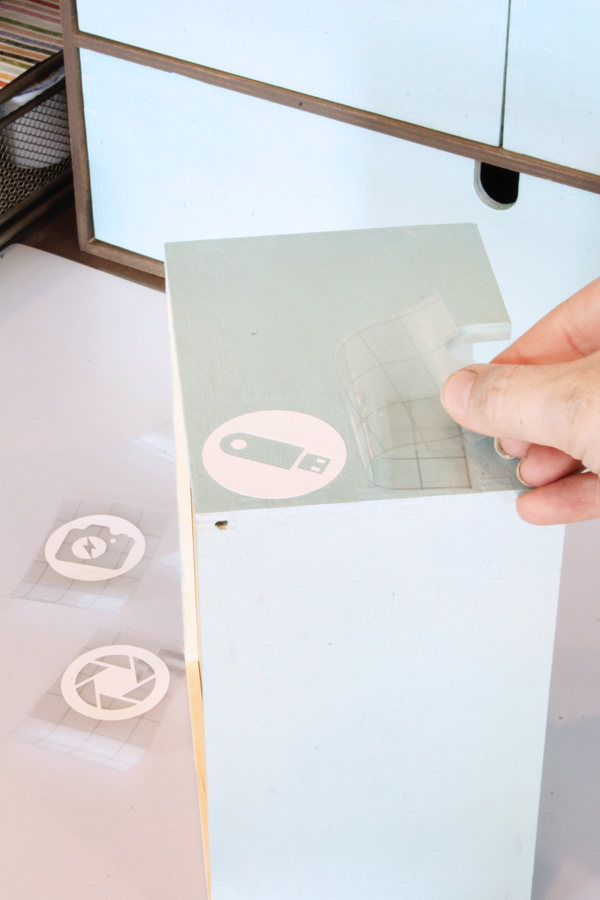
I then slowly peeled back the transfer tape, ensuring that the vinyl was firmly adhered to the drawer.
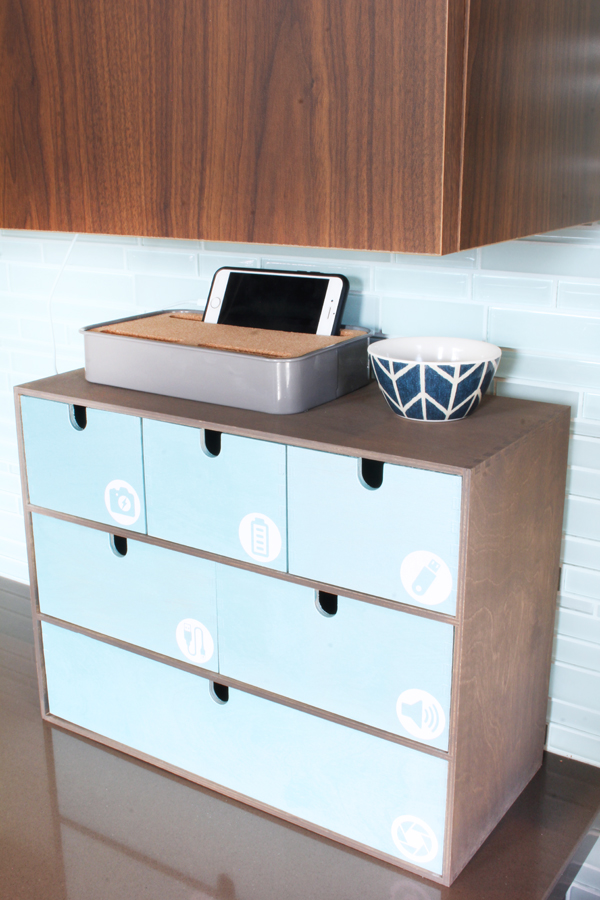
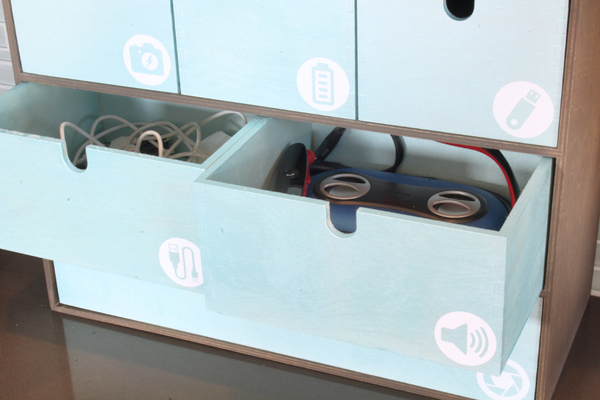
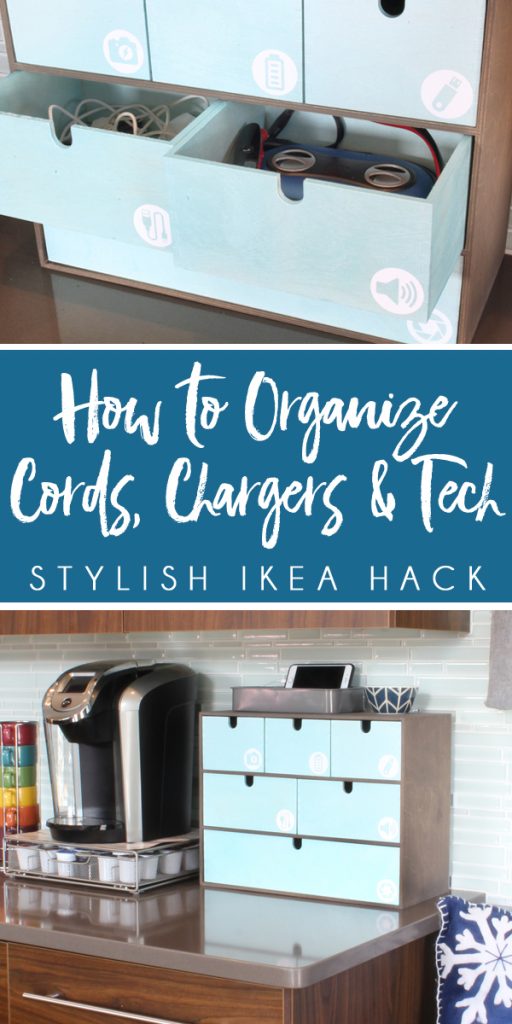
From the top left, the drawers contain:
- Camera batteries and chargers
- Power banks and portable chargers
- USB storage devices / Flash drives
- Charging cords and cables
- Portable speakers and my favorite bluetooth headset
- Camera lenses and lens hoods
I am so excited about how this project turned out! It has allowed me to organize all of our chargers, cords, and even camera lenses in the place where I spend most of my working hours – then kitchen. And best of all, it actually looks nice sitting on the kitchen counter right next to our “mudroom” bench.
The stain is a nice match to our cabinets and the light teal spray paint that I used on the drawers looks great with our glass tile backsplash – both of which help the chest of drawers to blend in a bit. And the custom vinyl icon labels on each drawer are subtle but stylish, and ensure that everyone in the family can find what they need! That’s an organizing win/win/win!
HOW TO CUT CUSTOM LABELS USING CRICUT DESIGN SPACE
Ok, so now let’s get into the nitty gritty details! The following is a quick tutorial for how to upload and cut your own images using the Cricut Explore Air.
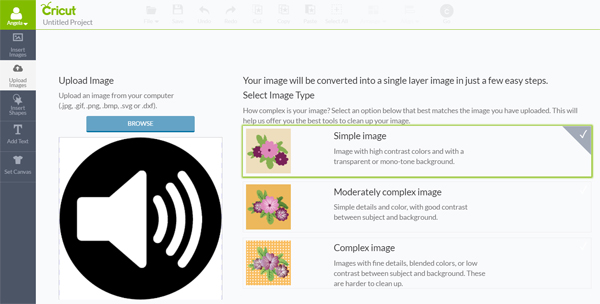
In order to create the icon labels on the drawers, I began by downloading some simple icon images from the internet and using Photoshop to overlay the icons onto black circles, saving each images as a JPEG.
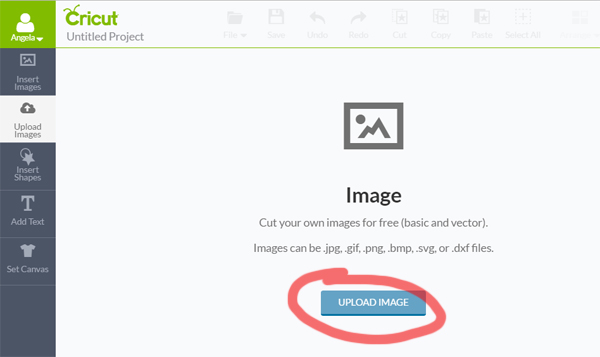
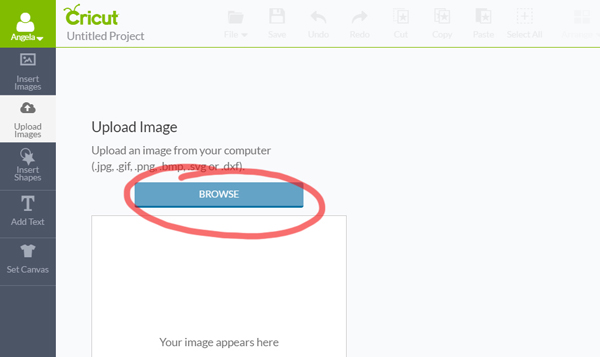
Click UPLOAD IMAGES > UPLOAD IMAGE > BROWSE. Then choose the first file you want to upload from the files on your computer.
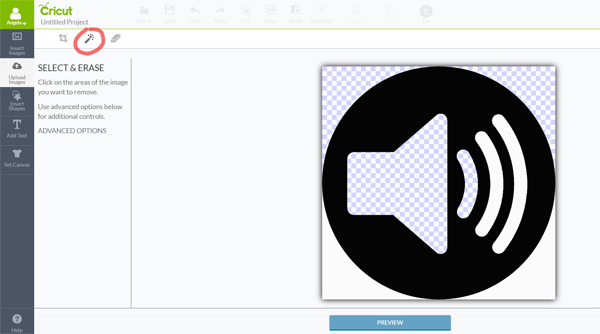
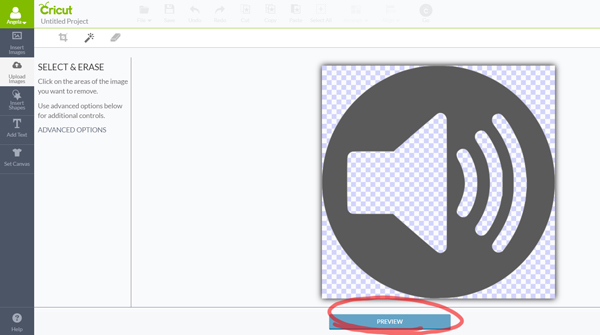
After selecting and erasing each white portion of the icon designs, I clicked on the “Preview” button. The dark gray area that remains shows my design as it will be cut by the Cricut machine.
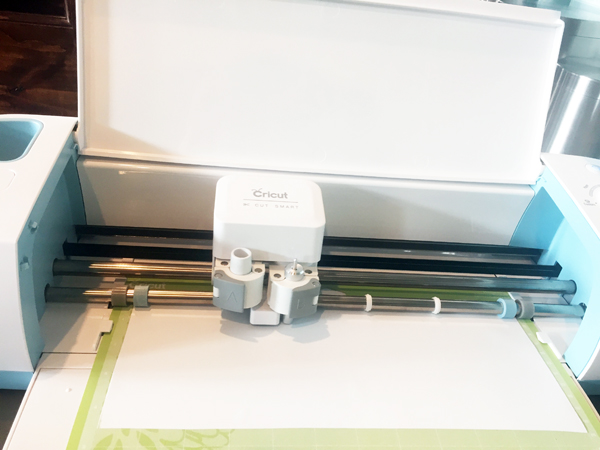
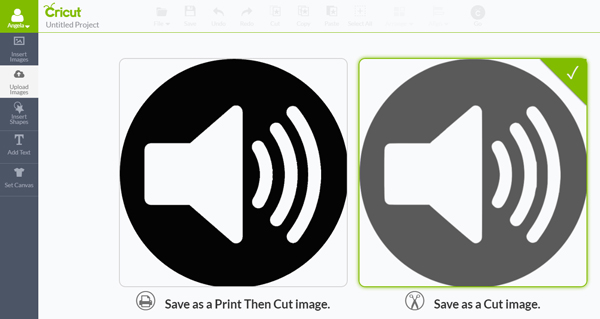
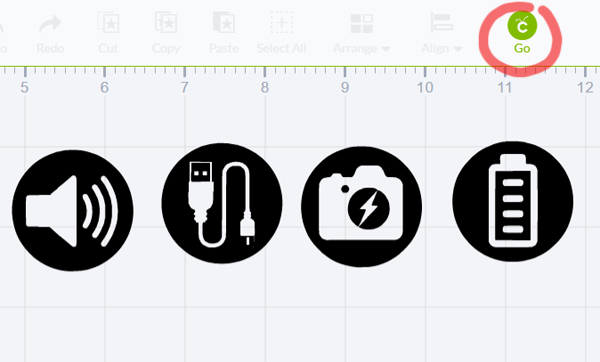
After resizing each of the images, I clicked on the GO button and proceeded to connect my Cricut Explore Air to my computer, loaded the mat, and cut the icons from my white adhesive vinyl {as shown above}.
This is a sponsored conversation written by me on behalf of Cricut. The opinions and text are all mine. Comments submitted may be displayed or featured on other websites owned by Cricut.
var ts=document.getElementById(‘ti-pixel-tracker’); var axel = Math.random() + “”; var num = axel * 1000000000000000000; var ti=document.createElement(“img”); ti.style.display=”none”; ti.src=”https://tracking.tapinfluence.com/trk/P5Af4/SLO4P/p.png?p=vHQPZ” + String.fromCharCode(38) + “i=tThdX” + String.fromCharCode(38) + “ord=”+ num + String.fromCharCode(38) + “s=” + encodeURIComponent(document.referrer); ts.parentNode.replaceChild(ti,ts); new TAP.CogFrame(‘/v1/cogs/60486ef0-75ea-11e6-8eea-22000a7d00a4/comments’).drop({“program_id”:”60475ab0-75ea-11e6-8eea-22000a7d00a4″,”post_id”:”fba9f208-b788-11e6-8fb0-22000a7d00a4″,”host”:”api.tapinfluence.com”,”apiHost”:”api.tapinfluence.com”,”sort_order”:”desc”,”limit”:”20″,”offset”:”0″,”sort_by”:”created_at”,”protocol”:”https://”});
