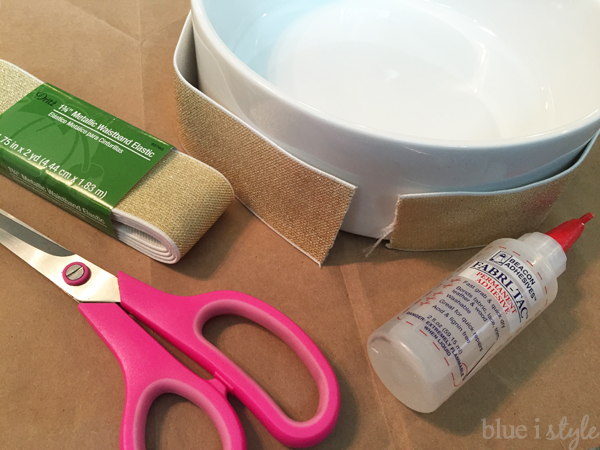
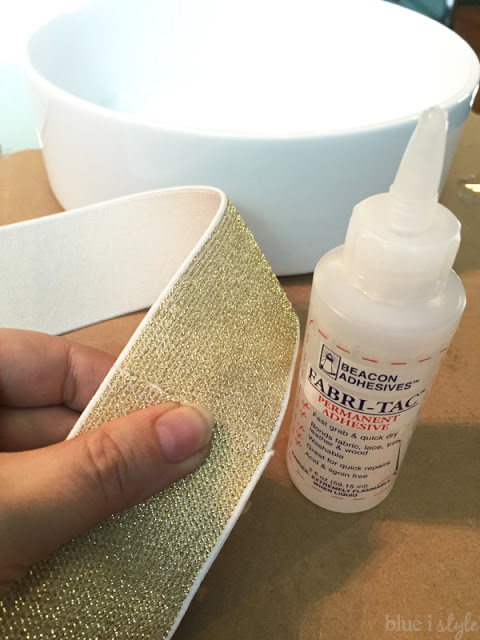
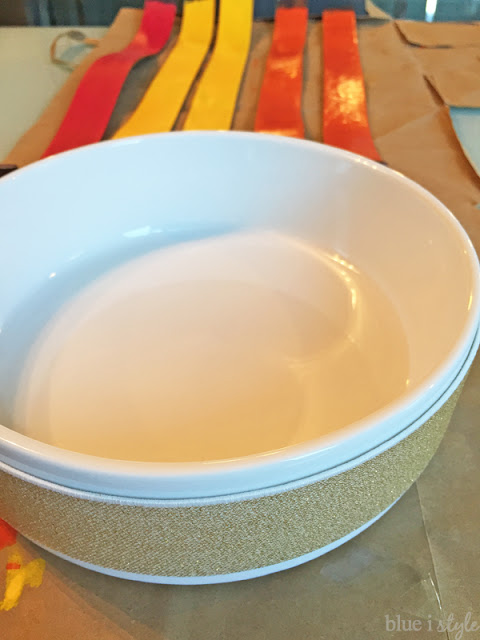
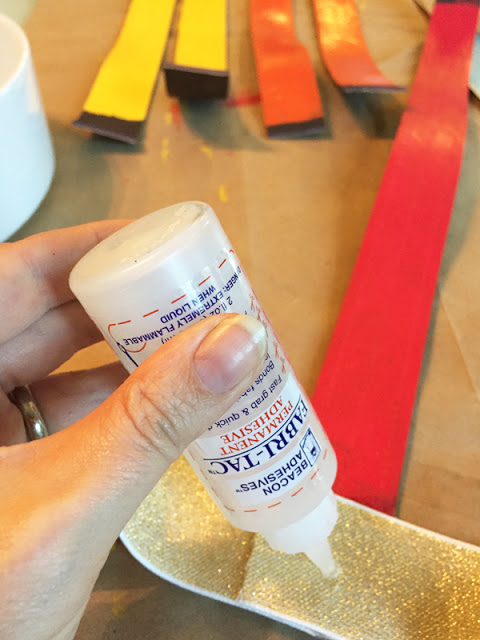
I used Fabri-Tac adhesive to glue the two ends of the elastic together.
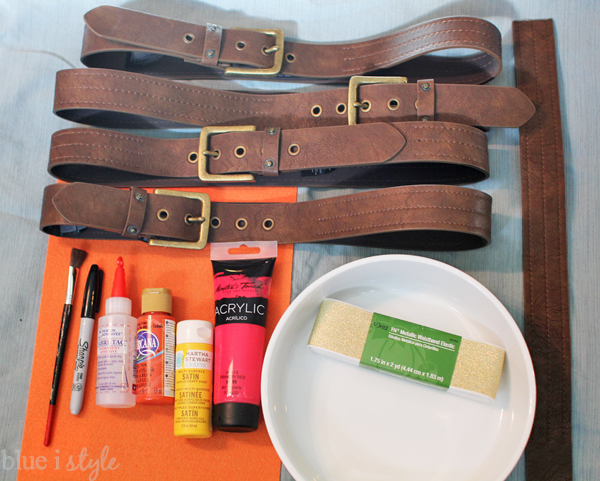
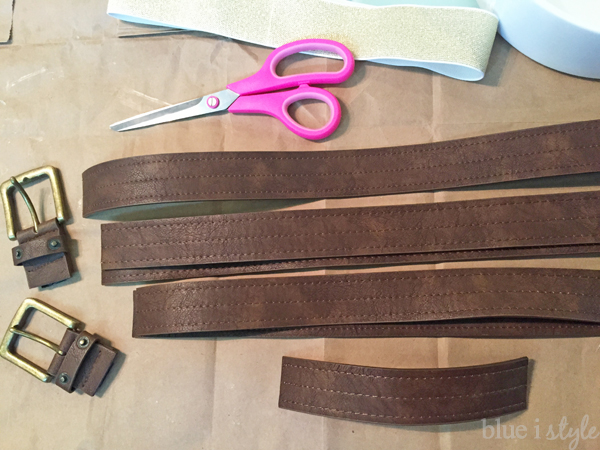
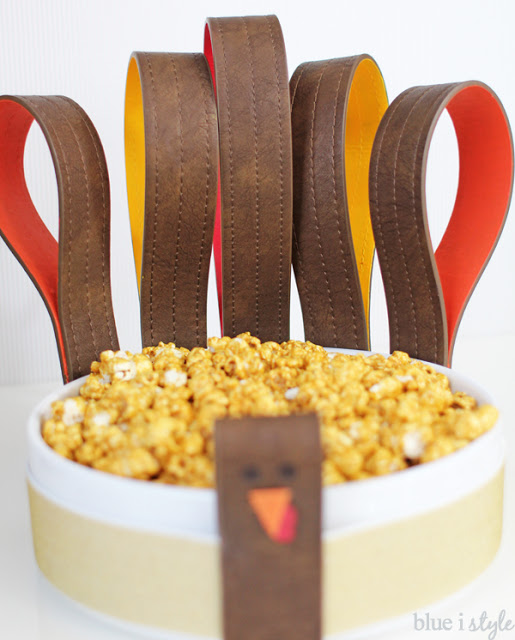
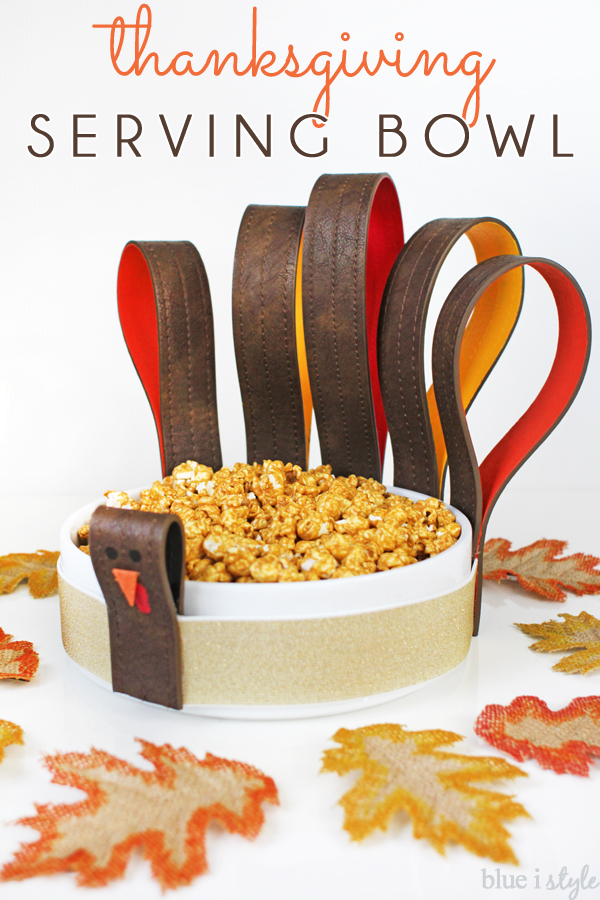
Next, I cut the belts to create the turkey’s five tail feathers and head. The belts I used were left over from prior belt projects, and I had purchased them on clearance at H&M. It would work just as well to purchase mismatched belts from a thrift store.
I wanted the middle tail feather to be the tallest, and for the feathers to get shorter toward the outside. I cut one belt to 22 inches, two belts to 20 inches, and two belts to 18 inches. Then I used left overs from one of the belts to cut a piece 7.5 inches long to use for the head.
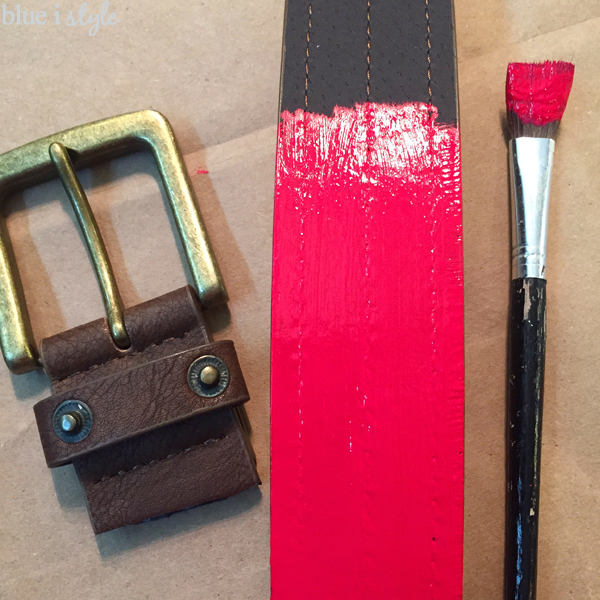
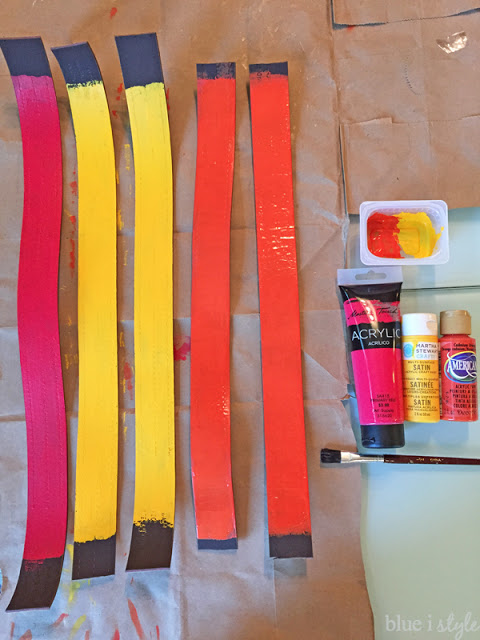
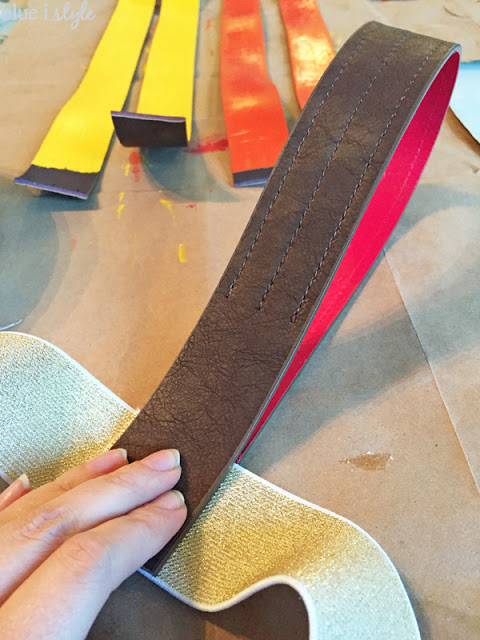
I wanted the center tail feather to cover the overlap in the elastic, so I used Fabri-Tac to glue the red painted belt to the back of the elastic at the point of overlap.
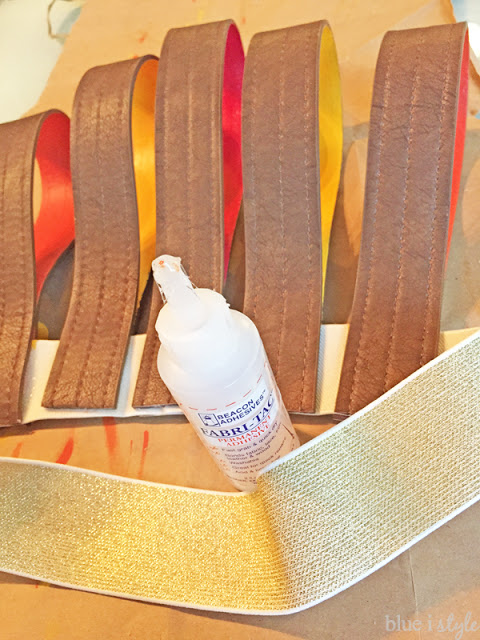
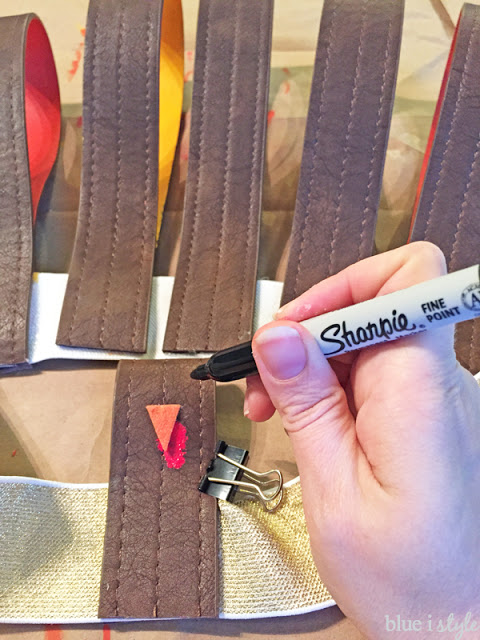
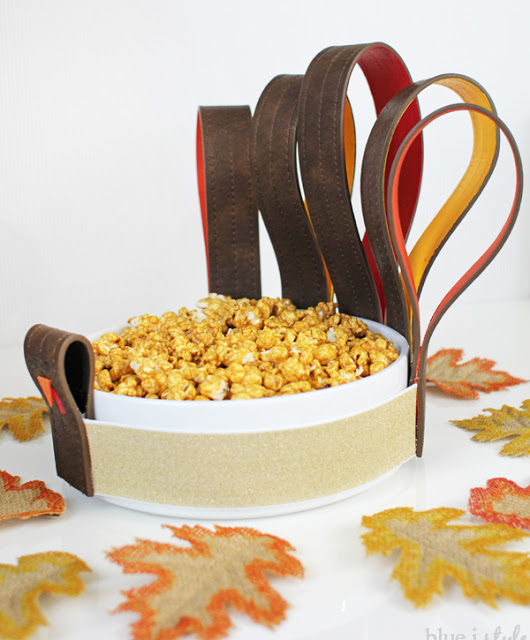
Then added more Fabri-Tac to the front side of the elastic and looped the belt over, applying pressure for a couple of minutes until the glue was dry.
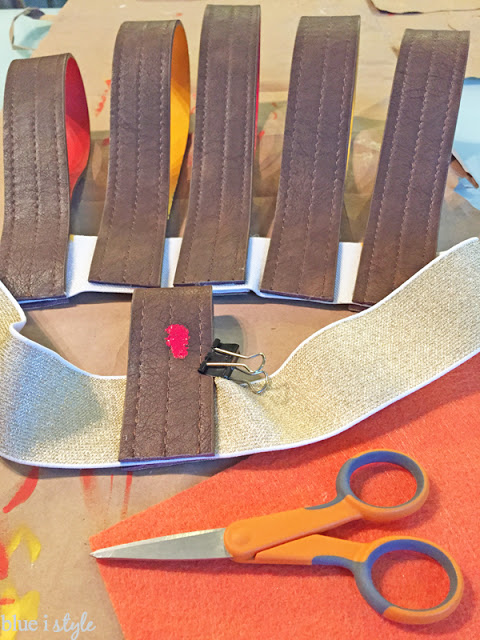
I continued this way until all five belts were affixed to the elastic, each about a quarter of an inch apart.
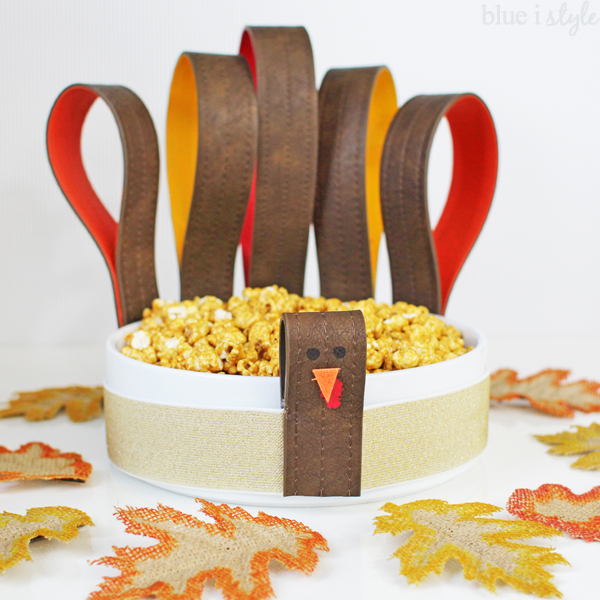
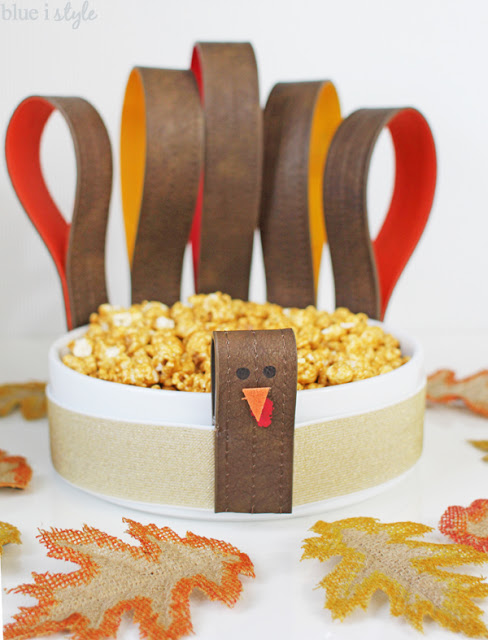
I used red acrylic paint to create a wattle, and then I cut a triangular beak from orange felt and glued it on using Fabri-Tac. Finally, I used a black Sharpie marker to draw in two round, black eyes.
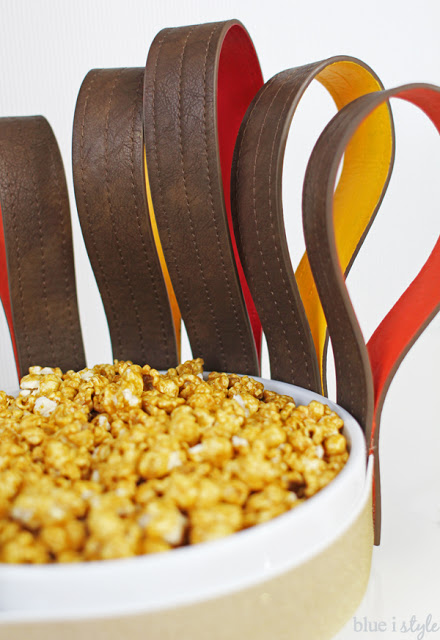
I also am really happy with the texture that the stitching on these belts adds to the look of the turkey’s tail feathers.
This was a really quick and easy project, but I’ll be able to use it again year after year!

