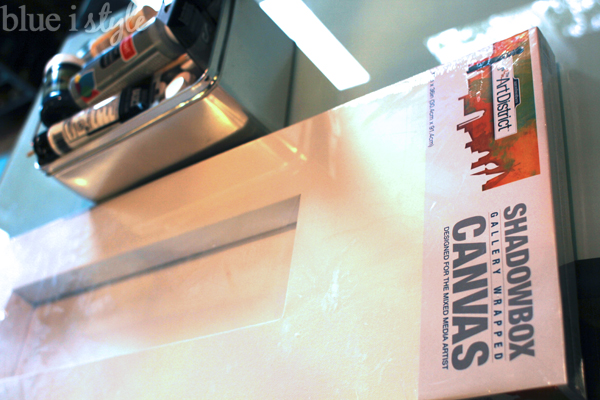
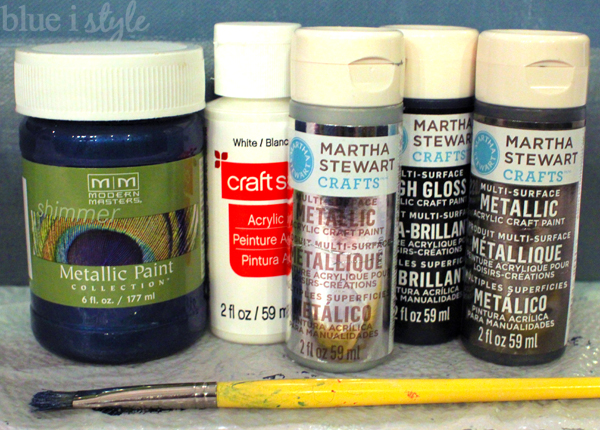
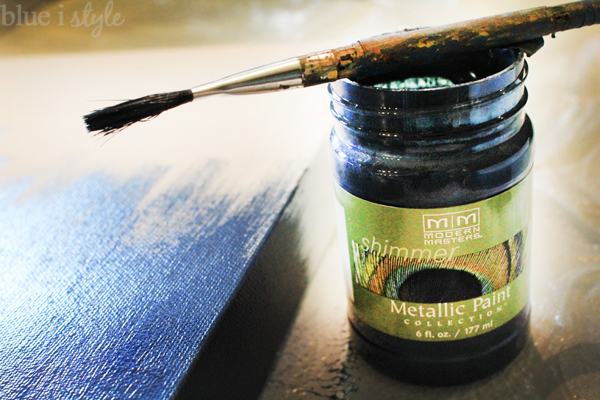
After sorting through all of my blue acrylic paints, I couldn’t find just the shade I had in mind. I wanted something a bit vibrant, but not too bright. Then I remembered that I had picked up a sample bottle of Modern Masters Shimmer Metallic Paint in Venetian Blue.
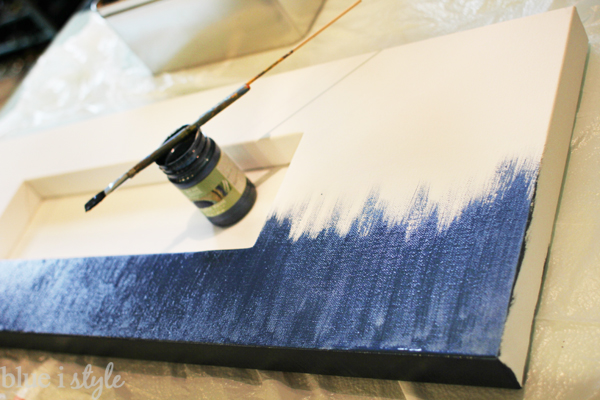
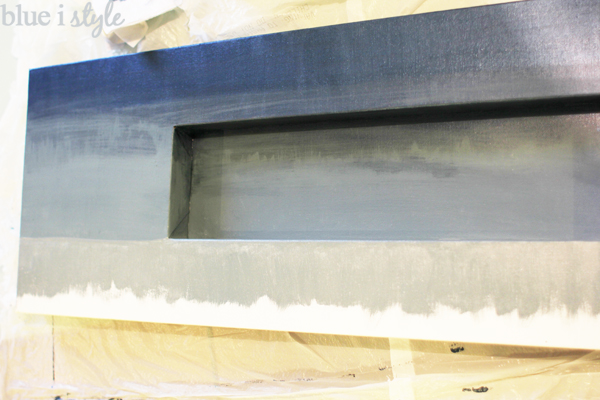
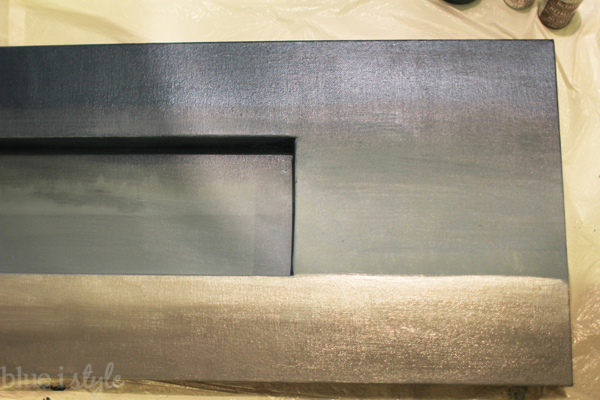
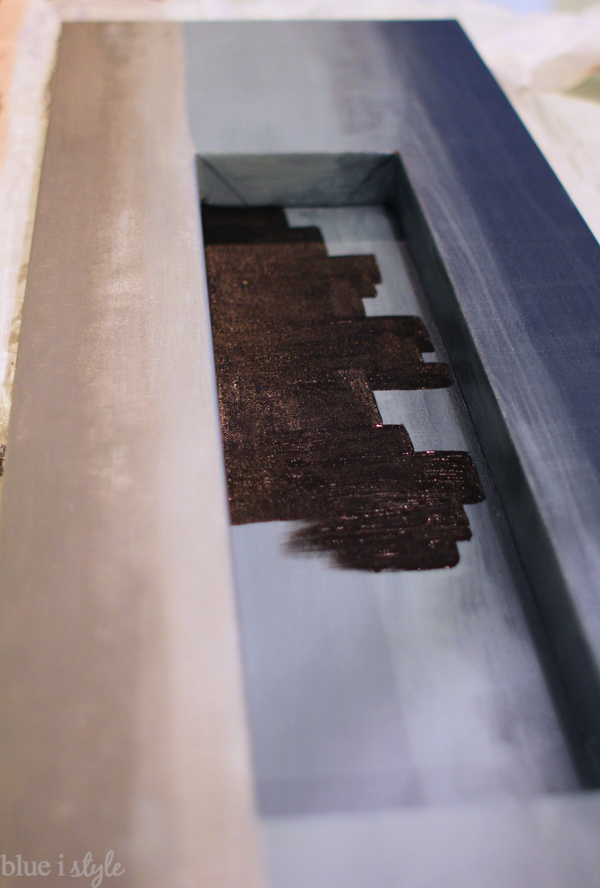
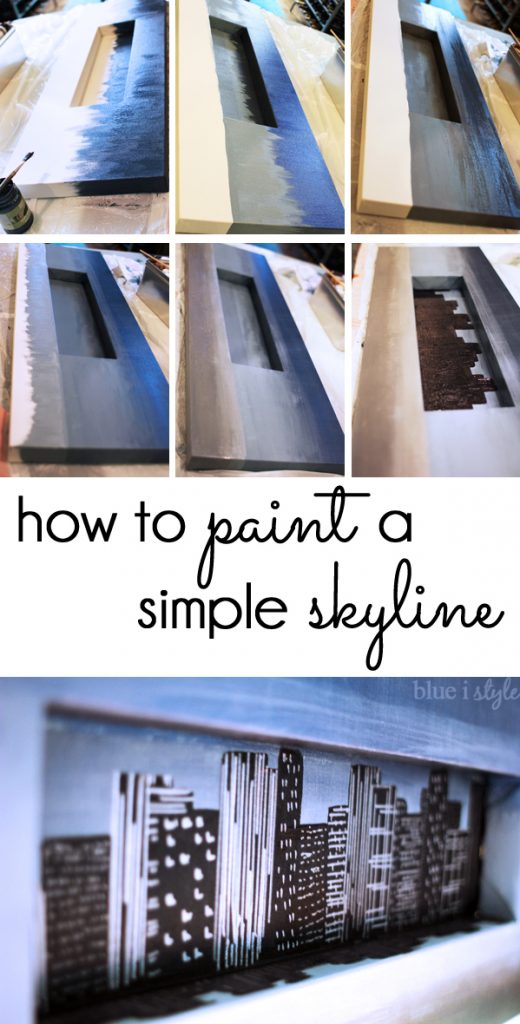
I began by painting about one third of the canvas using the Modern Masters Venetian Blue. I dragged the paint in long vertical strokes. I also carried the paint around the edges of the canvas, and part way into the shadow box inset {as you’ll see below}.
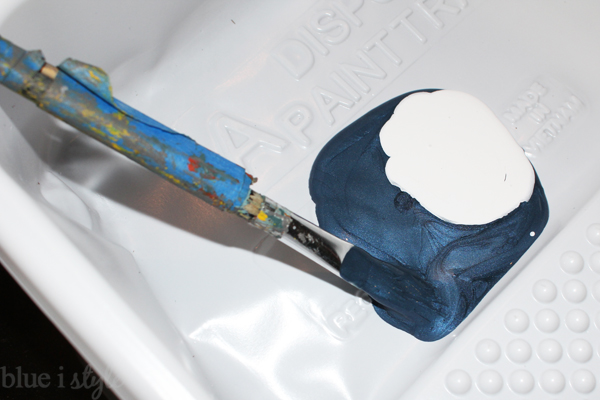
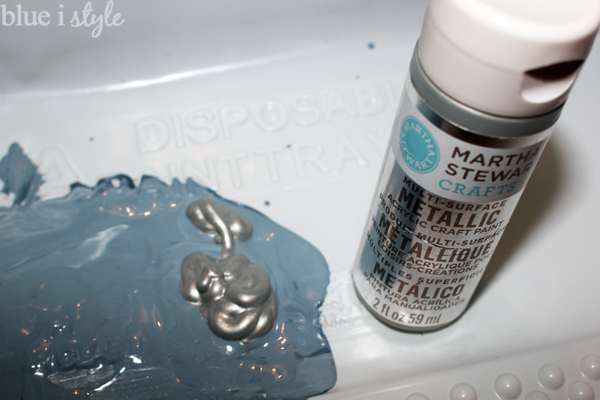
Working quickly, while the dark blue paint was still wet on the canvas, I mixed some white paint into the Venetian Blue in order to create a lighter shade of blue that still had the shimmer metallic quality.
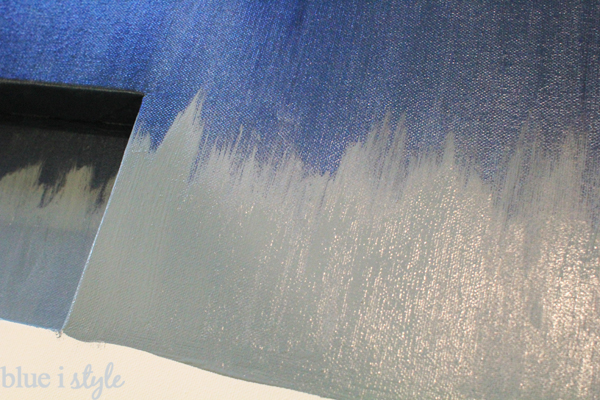
Using the new light blue paint, I painted in a roughly straight line across the canvas even with the bottom of the shadow box inset, and I then dragged the paint up into the darker blue using long, vertical strokes.
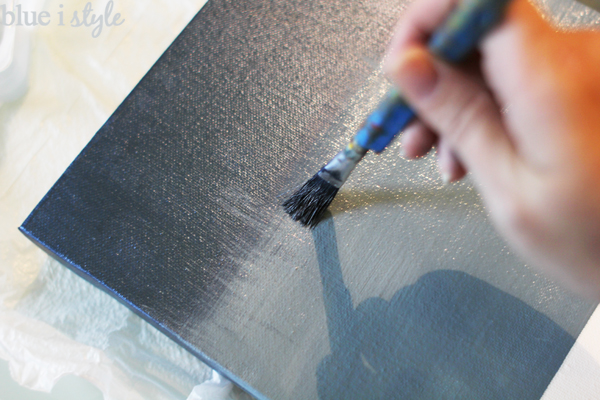
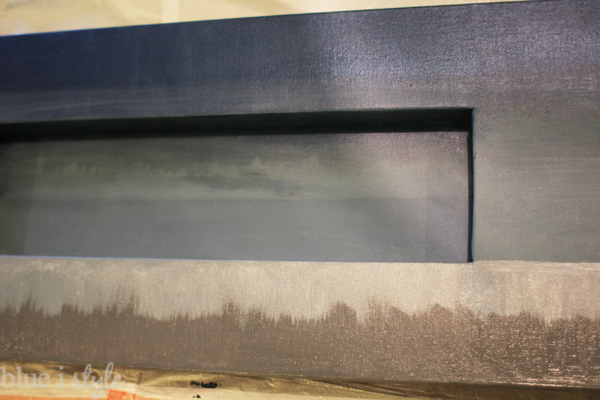
While the light blue paint was still wet, I began blending the dark and light shades together using horizontal brush strokes.
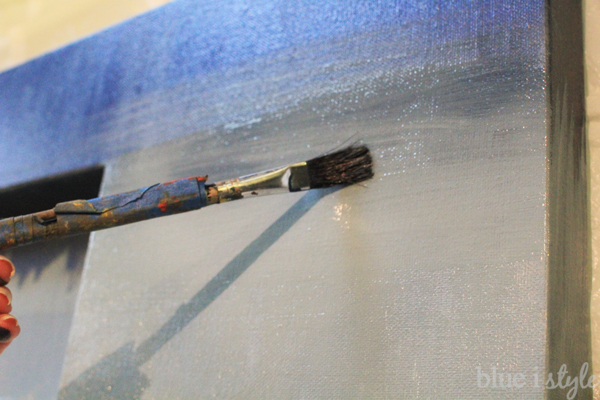
I then used the same technique as above – with long horizontal brush strokes and a wet brush- to blend the two grays together.
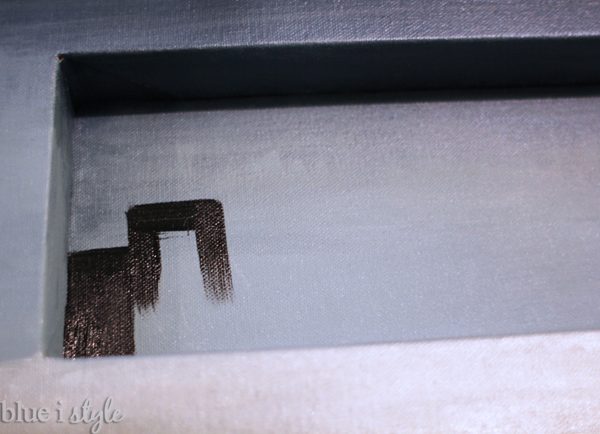
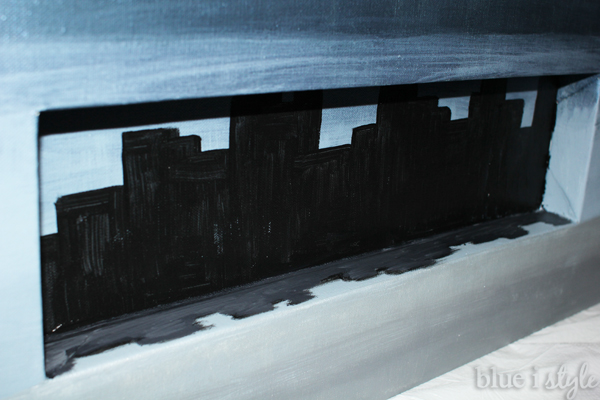
I simply painted rectangles of varying heights all along the length of the shadow box inset, making sure that some were wider and some narrower. If you don’t like the way your skyline looks after painting the rectangles, you can always go back and add some more height to some of them. But don’t over think it – the skyline looks best it it looks random rather than symmetrical!
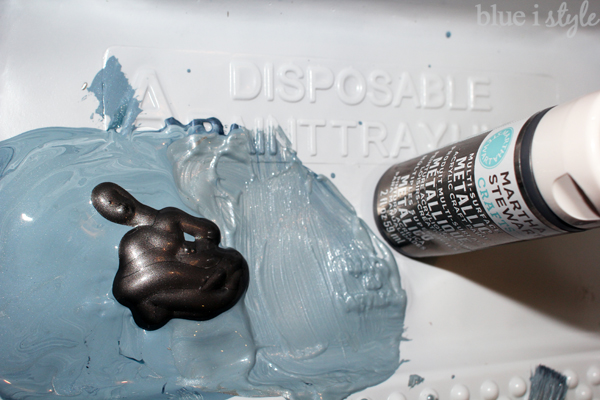
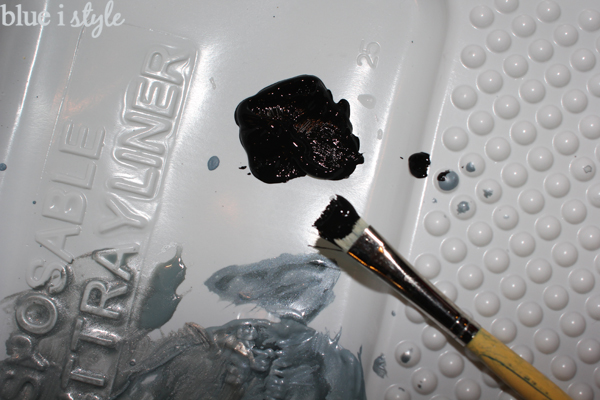
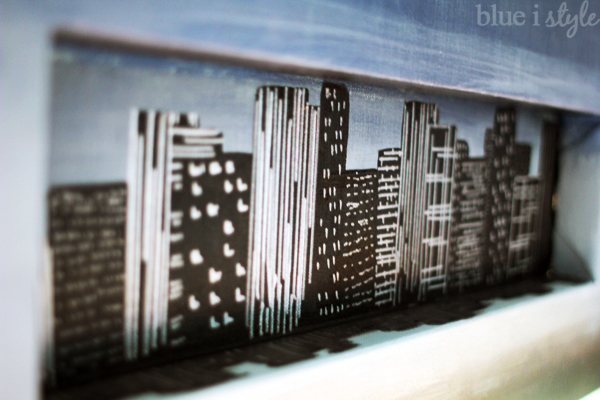
After painting in my skyline, I mixed my black paint and dark grey paint together to create a dark charcoal. I then used the charcoal to pain the shadow of the buildings on to the bottom lip of the shadow box inset. The shadows shouldn’t have crisp lines like the buildings, so after painting in the rough rectangles, I dragged the paint to the left and right to make the edges of the shadowed buildings look a bit fuzzy.
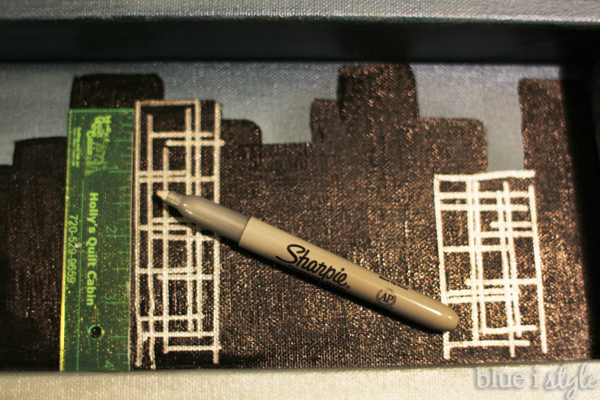
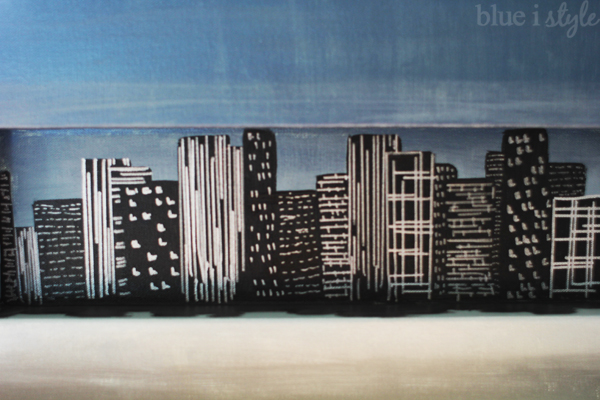
Once the black paint was dry, I was finally ready to add some simple details to my skyline. Because I find it difficult to paint thin, crisp lines with a paint brush, I instead opted to use a silver Sharpie. And to get my lines nice and straight, I used a little 4″ ruler that my mom had picked up for me a quilt store. If you don’t have a super short ruler like this {I’m guessing most people don’t}, then you can use anything with a straight edge – a piece of cardboard from the back of a small notepad would work well, for example.
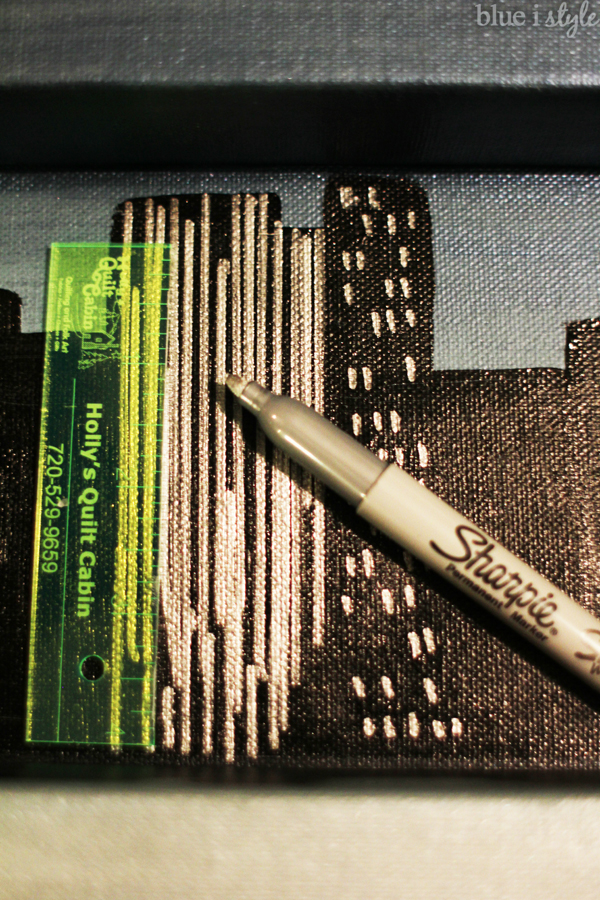
Using the silver Sharpie and my ruler, I drew in various styles of “windows” on the buildings. I used a cross-hatch pattern for some {above}, and long vertical lines for others {below}. I also used the Sharpie without the ruler to draw in other styles of windows, using shorter, uneven horizontal and vertical markings.
As I worked, adding silver window details to my skyline, I made sure to give some buildings the appearance of overlapping others.
When the buildings were complete, I used my lightest gray paint color and a thin paint brush to very lightly add in some light lines into the shadows of the buildings. Rather than trying to mimic the window lines of each building in the shadows, I instead using used straight lines for all of the shadowed windows. These lines are so light that you almost don’t notice them, but they do add just a bit of depth to the look of the overall painting.
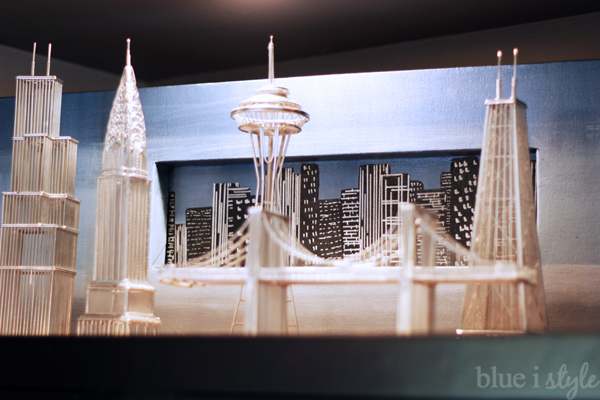
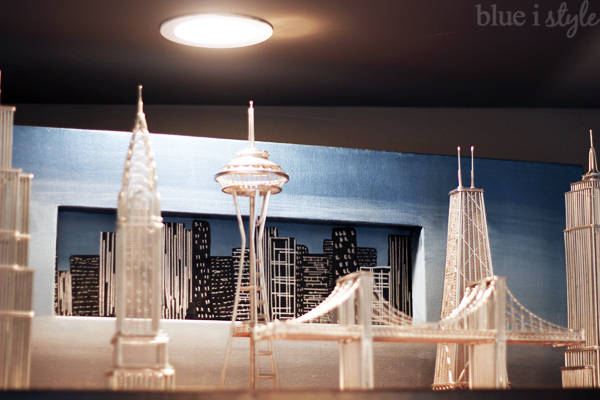
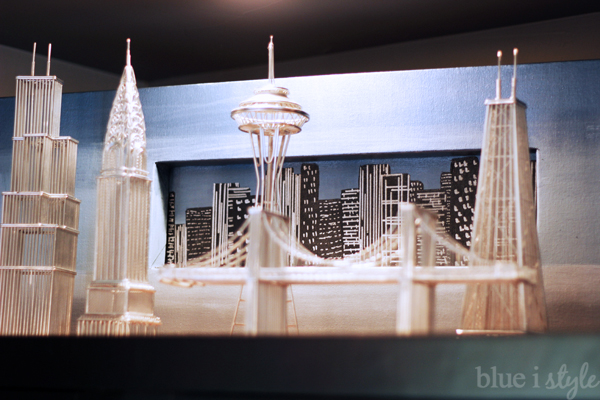
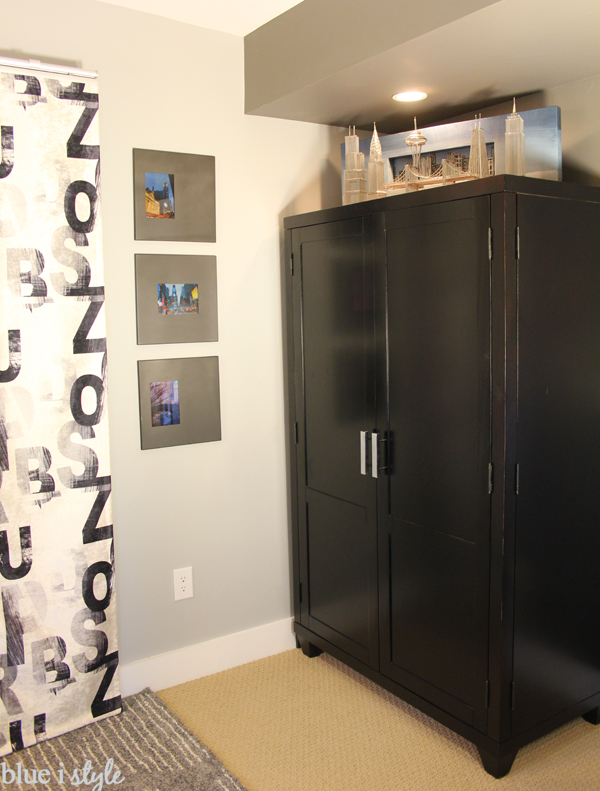
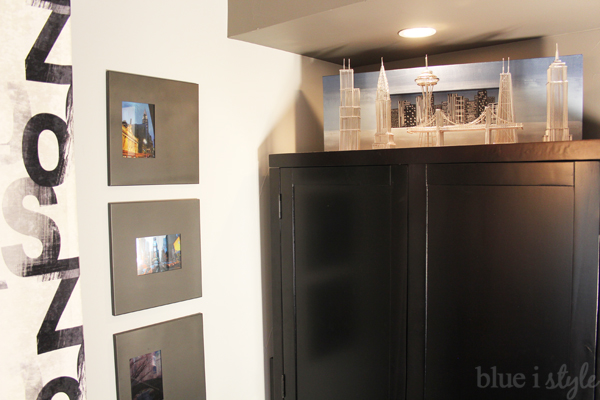
And here is my completed skyline painting behind my collection of skyscraper sculptures!
Those skyscraper sculptures that used to be barely noticeable up on top of my bedroom armoire have now become much more of a focal point.
And the blue sky of my painting ties in so nicely with the blue sky in my DIY metallic photos of New York City that hang on the wall next to the armoire.

