This is a sponsored post, but all opinions are my own.
A few weeks ago, I shared my experience shopping for craft supplies online at ConsumerCrafts, and I told you that I was picking up some supplies for a fun and easy DIY gift. Well today I am excited to show you the supplies I bought and how I turned them into a super cute gift for our neighbors, my husband’s coworkers, and my sons’ teachers. There’s also a BIG giveaway from ConsumerCrafts at the end of this post, so be sure to scroll all the way to the bottom!
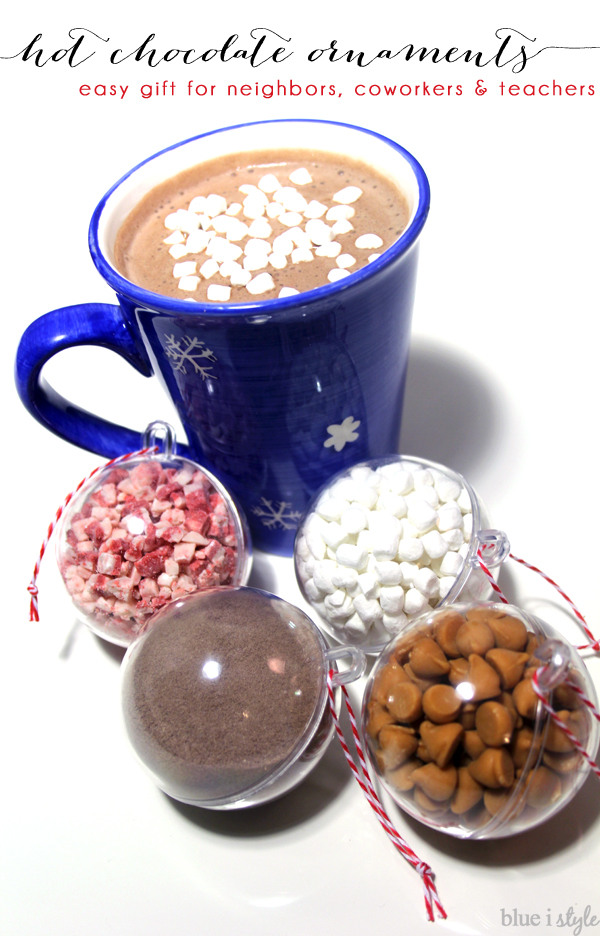
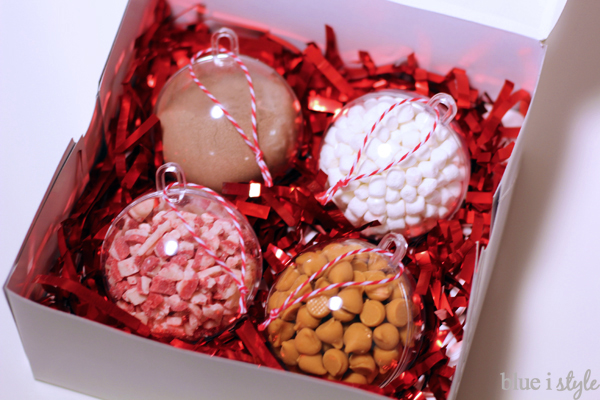
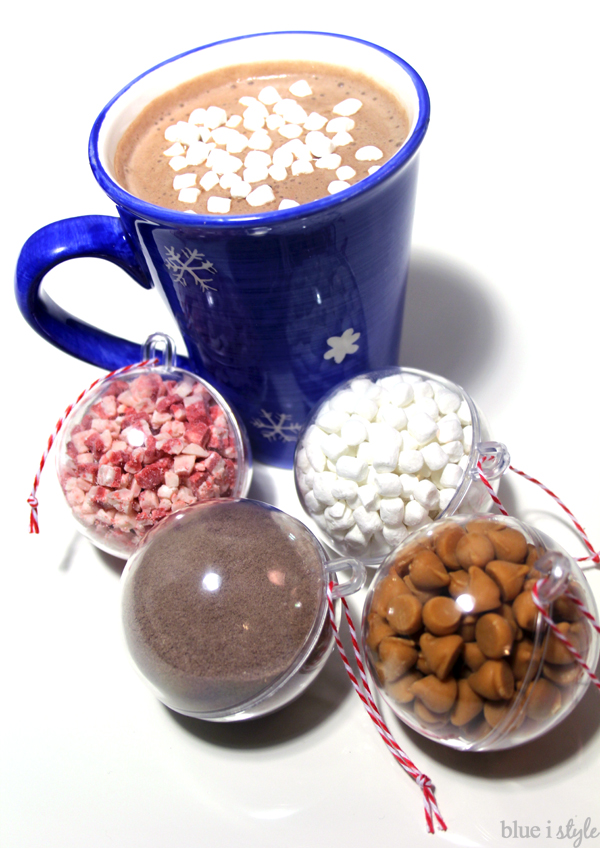
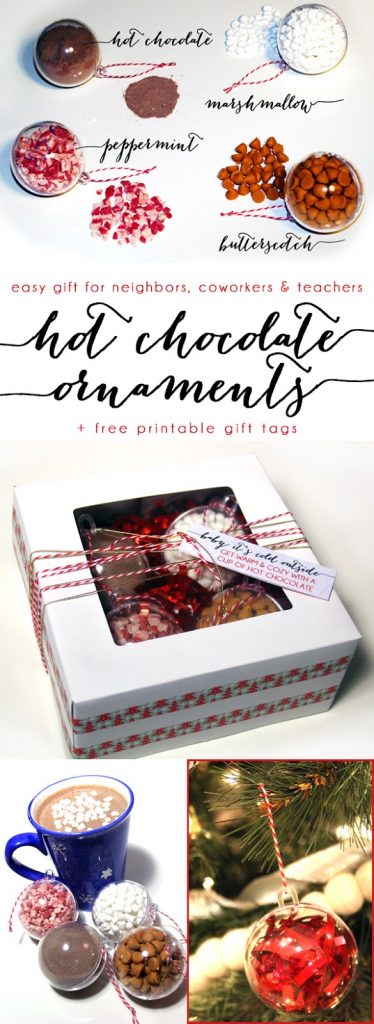
If you saw the Hot Chocolate Bar that I created in my kitchen, then you already know that I love hot chocolate! And I always think it’s a good idea to give a gift that you would love to receive – so this year, we are sharing the gift of hot chocolate! To make it festive, I packed all of the ingredients in clear plastic ornaments. Best of all, after enjoying their hot beverages, the recipients can refill the ornaments with the red tinsel inside the box and they become decorations for the Christmas tree! That’s my kind of recycling!
Now let me show you how easy this gift is to put together, starting with the supply list…
For each gift package, you will the following items. All of these items are available on the ConsumerCrafts website:
- 1 Cupcake Box {Wilton Cupcake Boxes; package of 3 for $4.97}
- 4 Plastic Ornaments {60 mm Clear Ball Plastic Ornaments; $.77/each}
- Shredded Ribbon to fill the bottom of the box {Red Metallic Shredded Ribbon; $2.68/bag}
- Ribbon or Twine to tie on the ornaments and around the box {Baker’s Twine, Red/White Twist; $3.47/410 foot roll AND Gold Lame Cord; $3.47/50 yards}
- Washi Tape to decorate the box {Red Christmas Tree Washi Tape; $1.97/roll}
- Paper for the gift tags {Package of Handmade Paper, $9.37}
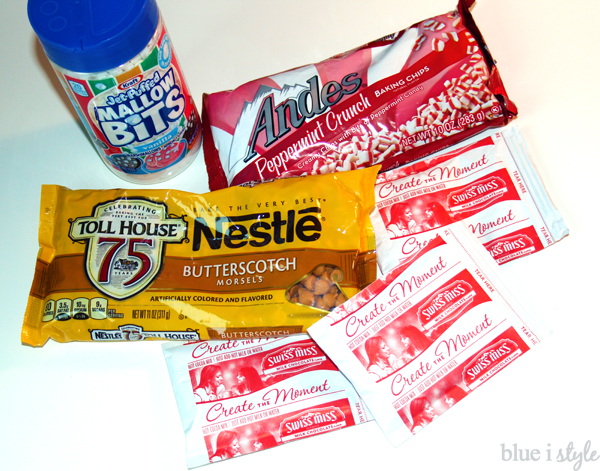
In addition to the packaging supplies, you will, of course, also need the hot chocolate ingredients to fill the ornaments. The options are endless, but I chose my favorites…
- Swiss Miss Milk Chocolate Powder {2 packages per ornament}
- Nestle Butterscotch Morsels {from Safeway}
- Andes Peppermint Crunch Baking Chips {from Walmart}
- Kraft Jet Puffed Mallow Bits {from Safeway}
Once I had all of my supplies and ingredients assembled, these gift packs went together really quickly!
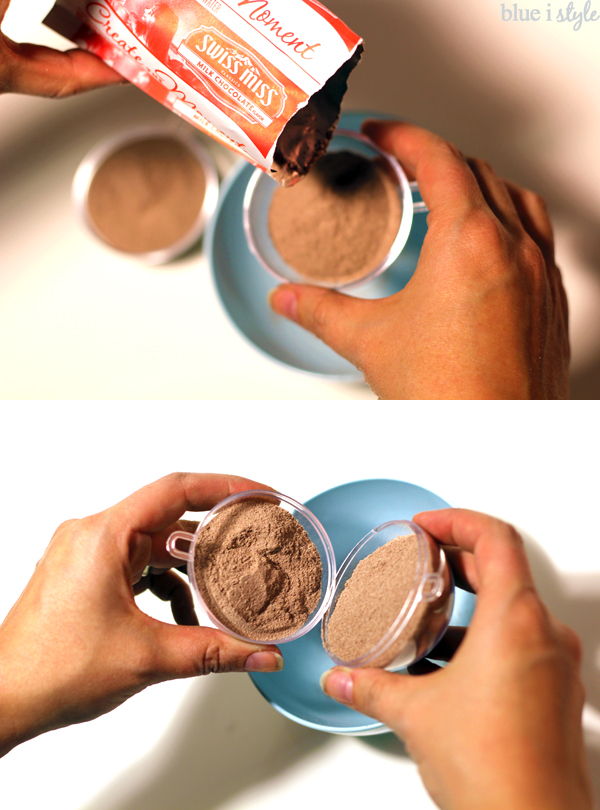
I started by filling each of my ornaments with the ingredients. The ornaments open in the center {like an Easter egg}, so I filled both sides of each ornament with the ingredients and then snapped the two halves together. This is pretty easy to do with the chunkier ingredients, but is a bit trickier with the hot chocolate powder – I’ll show you how I did it.
For the milk chocolate ornaments, I poured one packet of hot chocolate powder into each side on an ornament, then held the ornament halves so that they were touching at the bottom and quickly closed them together, trying to let as little as possible escape. The key is to place a small bowl below the ornaments to catch any spillage {allowing you to contain the mess and reuse the spilled powder rather than wasting it}.
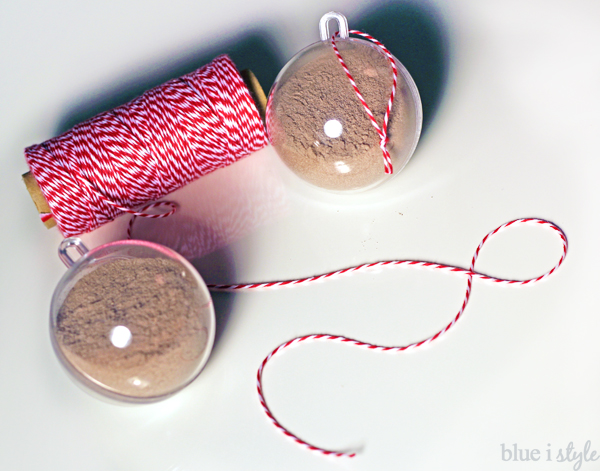
Once the ornaments are filled with the hot chocolate ingredients, tie a piece of red and white bakers twine to each ornament.
With the ornaments complete, it’s time to package them up for gifting.
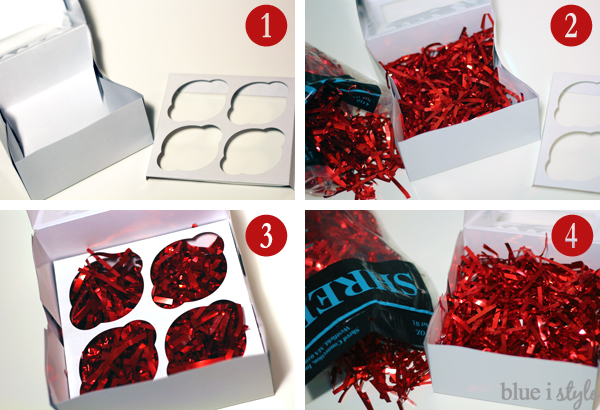
Unfold a cupcake box and fill the bottom with shredded tinsel. The tinsel will help to raise up the ornaments, making the presentation look much nicer. Then put the cupcake insert into the box. This insert is perfect for keeping the ornaments in place! Add more tinsel to cover the top of the insert and then place the ornaments in the box.
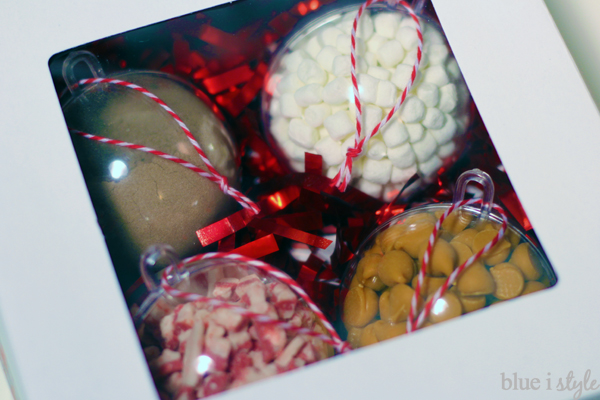
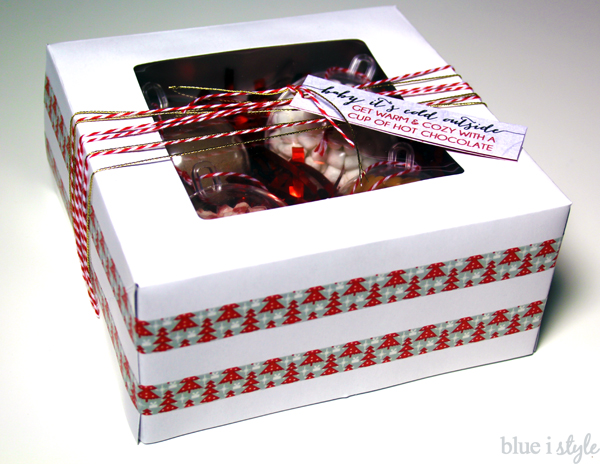
The cupcake boxes have a window in the top, giving you a peek at the ornaments inside. And while the package looked cute just like this, I wanted to dress it up a bit more.
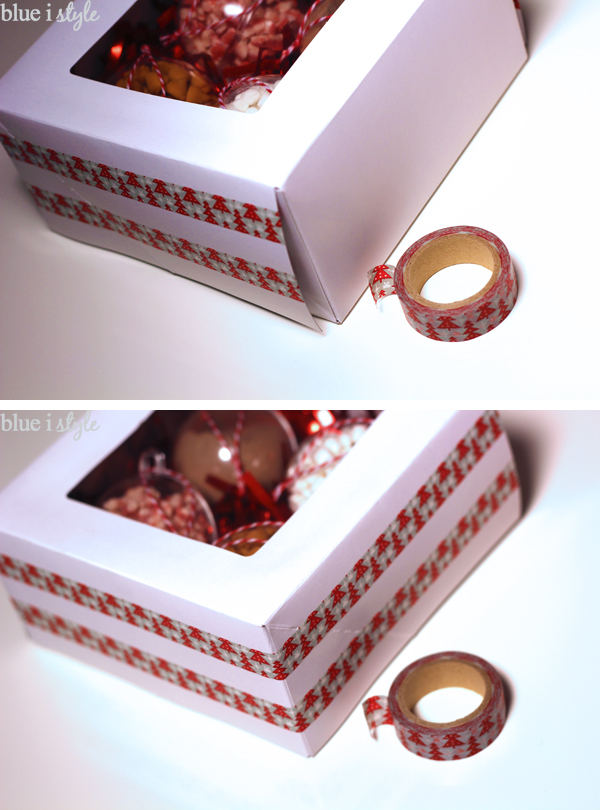
I wrapped two rows of adorable Christmas tree washi tap around the flap of the box.
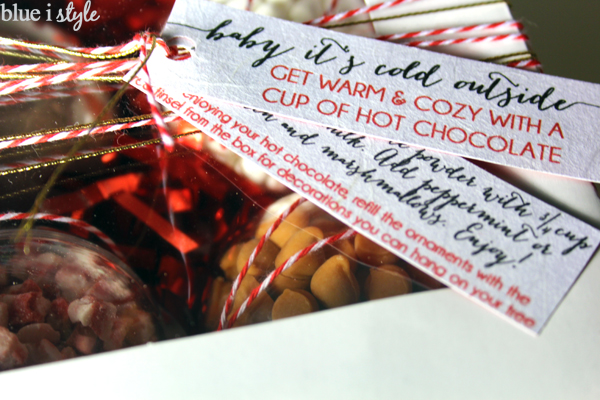
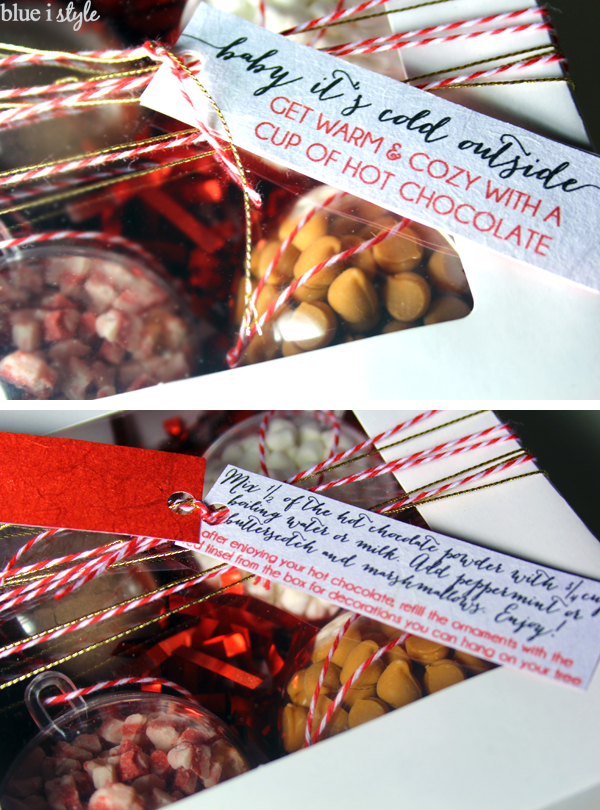
Then I created two cute gift tags to tie to the top of each package.
The top tag introduces the gift, while the bottom tag gives instructions for mixing the cocoa and suggests reusing the ornaments as decorations once the hot chocolate is gone. I printed the tags on some medium weight handmade paper. The paper is white on one side and red on the other, and the texture of it makes it look a bit fancier than you standard cardstock – perfect for gift giving!
Feel free to download a printable version of these gift tags to use on your hot chocolate ornament gifts!
I wrapped red and white baker’s twine and gold lame cord around the box to tie the tags on and to make the package look extra special.
Who wouldn’t want to receive the gift of delicious hot chocolate?!
Now comes the big giveaway! ConsumerCrafts.com is giving away a Cricut Explore machine to one lucky winner. I have an old school Cricut cutting machine and use it all the time {like this project, and this one, and this one}, but I am definitely jealous of whoever wins this prize because the new Cricut Explore has so many great online design features! Enter below and be sure to check out the ConsumerCrafts website for all of your craft supply needs.
