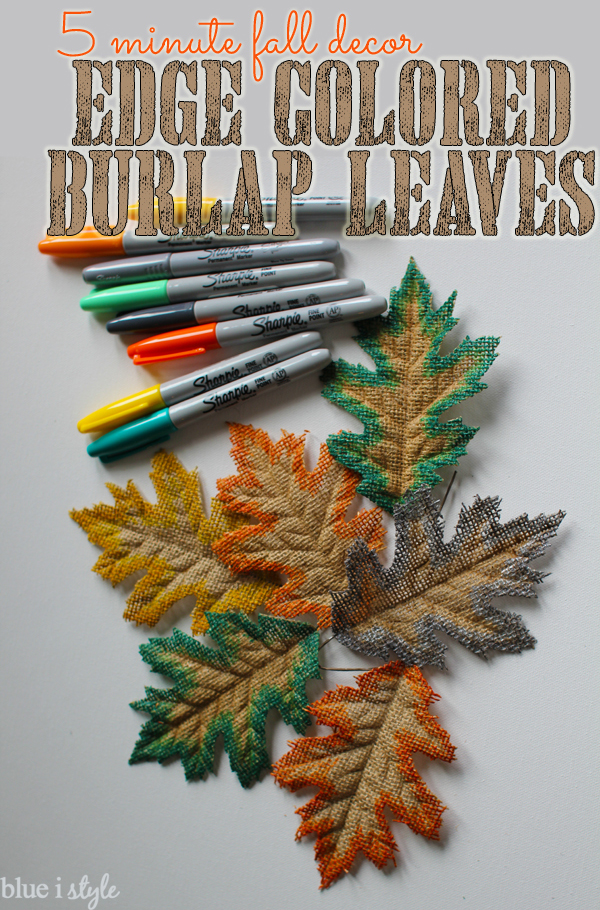
I skipped Five Minute Friday last week because I was participating in a fun Halloween Costume Blog Hop with 80+ other bloggers, but I’m back this week with another five minute project, and this time it’s a quick fall decor tip.
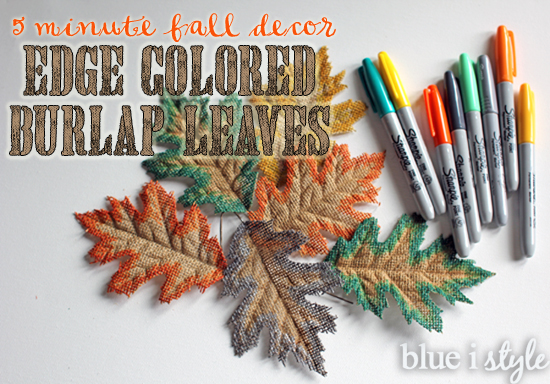
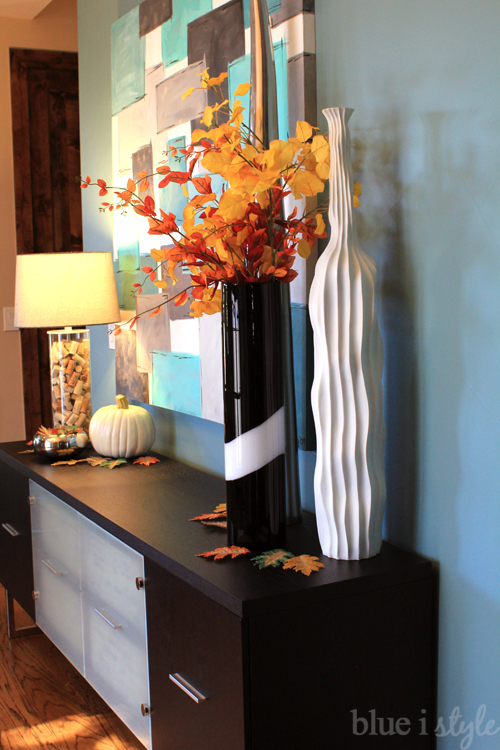
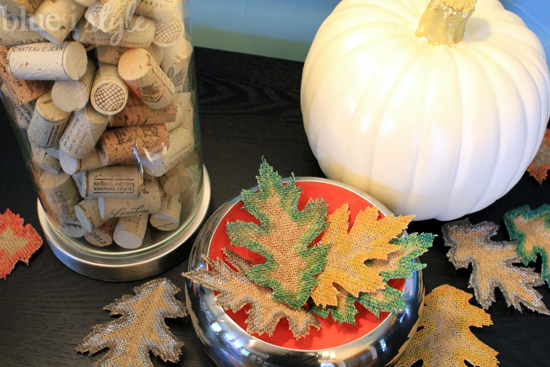
You might have spotted these pretty edge colored leaves in my Fall Home Tour. They were so quick and easy, but look great on my entry table, so I thought I’d share the tutorial for you.
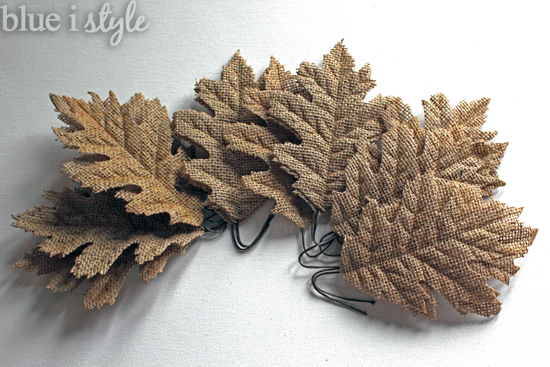
I picked up one inexpensive package of burlap leaves from Hobby Lobby earlier in the season. I knew that I’d somehow use them in in my fall decor, but I wasn’t sure how.
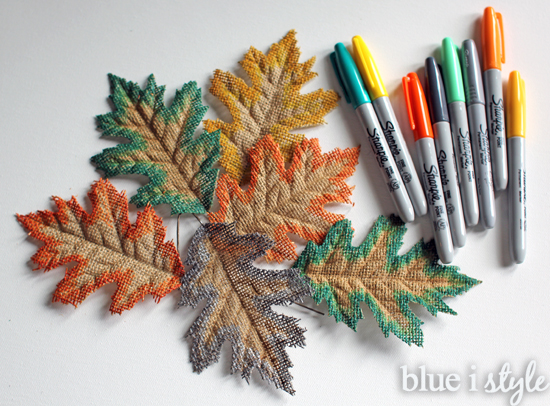
My fall decor is quite modern, so I liked that the burlap leaves added a natural element – but I still wanted to give them a modern touch. Adding some pops of my fall colors was the perfect solution. I originally planned to get out my acrylic paints, but when I opened my craft closet my collection of colorful Sharpies caught my eye, and I decided to try them instead.
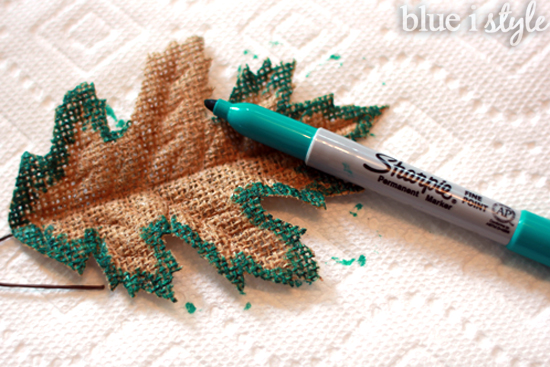
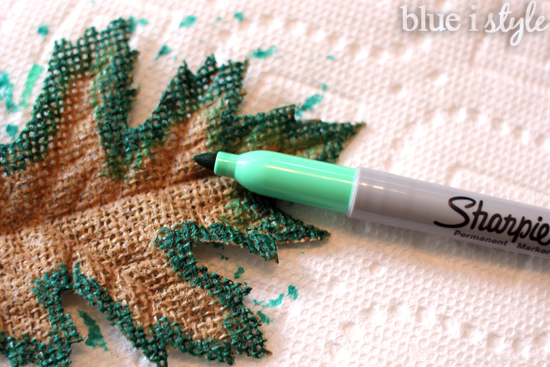
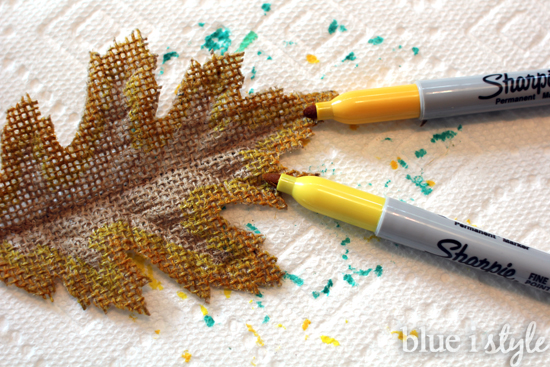
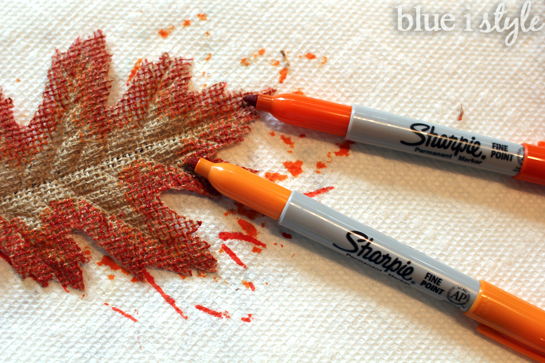
I simply laid each leaf on a paper towel, and colored around the edges. The burlap has a tendency to fray just a bit, so I found it worked best to use short strokes beginning about a quarter of a inch in and drawing out toward the edge of the leaf.
I started with my dark teal Sharpie, and liked the look. But I wanted to add a bit more dimension, so I added a second, lighter shade of teal just a bit further in on the leaf {about another quarter of an inch in}.
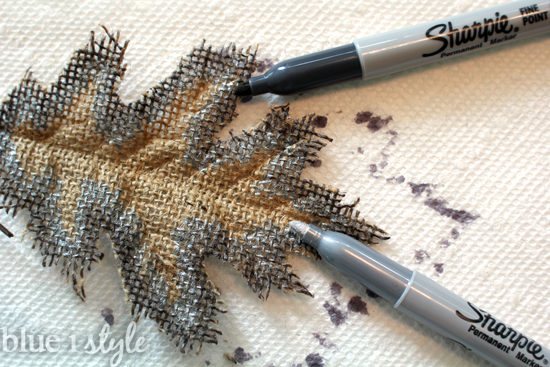
I only had one shade of grey Sharpie, so I used my silver metallic Sharpie around the inner edge of the grey colored leaf.
